I decided to equip my car with a car alarm for which I originally made the following requirements:
1. Dialogue with two-way communication.
2. Key fob range.
3. Autostart function.
4. Ability to install additional. sensors.
5. Ability to install additional. Locks.
6. Convenience of programming and adjustment.
7. Ability to connect via CAN bus.
8. Door closer for 4 glasses.
At first, the choice fell on Scher Khan Magicar 9, but I read on the forum that this car alarm is subject to electronic hacking by a code grabber, in addition, the base unit of the system, judging by the photo on the Internet, is too large. One good thing is that the communication range is long due to the long antenna of the RF module. My choice would have fallen on starline if not for Pandora. As a result, I bought a Pandora DXL 3500. Why is this alarm system so good?
1.Surprised by the very small size of the base unit!
2.Siga satisfies all my requirements from p.1 to
p.7 3.I was pleased with the possibility of setting up and programming via the USB port in the base unit, there is even saving the settings to a file.
4. Shiga is currently unaffected by code grabbers (according to the manufacturer).
5. You can update the firmware version of the base unit (features are added and bugs are fixed).
6.The base unit can be powered by a backup battery.
So the costs:
1. Pandora DXL 3500
2. One-tone non-autonomous siren Pandora DS-530 - got as a gift
3. Closer for 4 glasses CHAMELEON PWC-4 - 300 rubles.
4. Starline BP-03 immobilizer crawler - 400 rubles.
5. Backup battery HW 12V, 2.3Ah - 650 rubles.
6.USB cord 1.5m - 150 rubles.
7. Heat shrink, add. Wires, terminal blocks, electrical tape, ties - 300 rubles.
Total cost is about 15300 rubles, excluding installation.
Installation costs: 0 rub. - I set it myself.
Tools: soldering iron, wire cutters, wire stripper, carving knife, file, glue Moment, TORX T20 screwdriver and more.
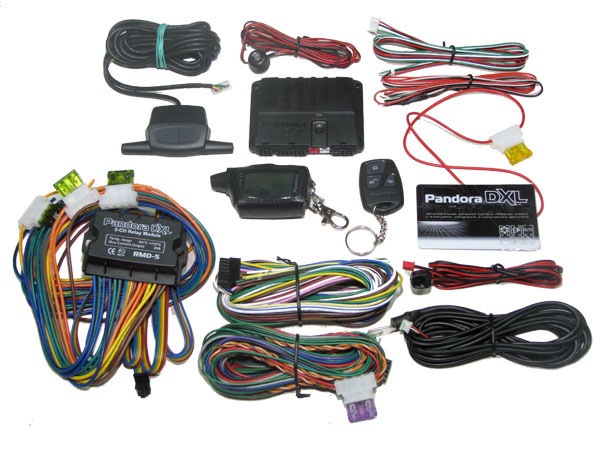
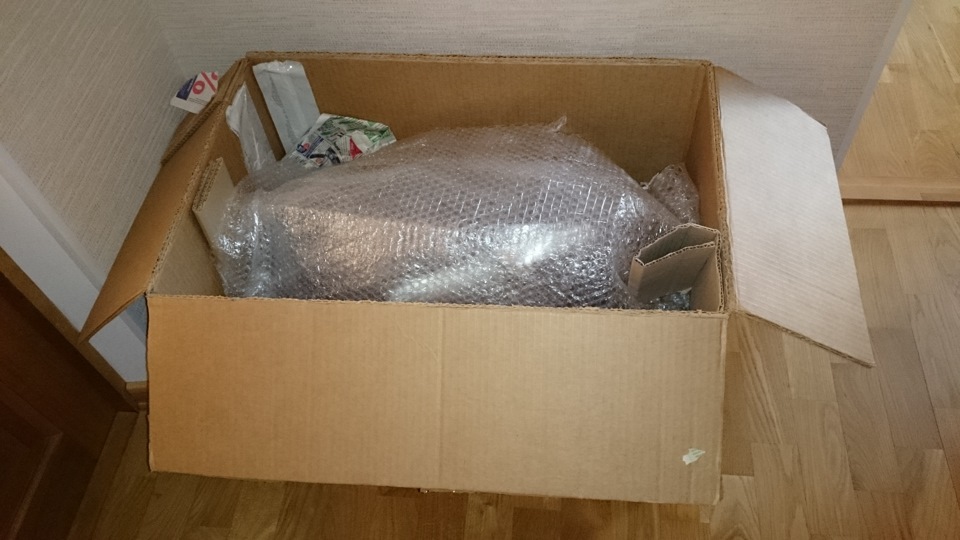
Complete set of Pandora DXL 3500.
Before installing, I read the entire polosedan.ru forum about installing an alarm to make it easier to install, studied the wiring diagrams from the book and the Pandora connection diagram, and based on everything I learned, I drew my own alarm connection diagram, which I often had to edit.
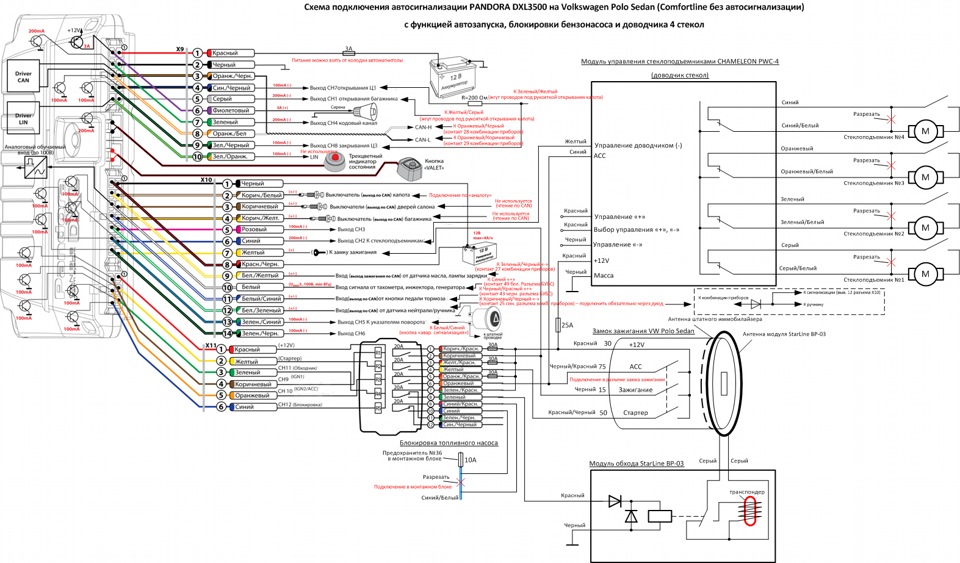
Wiring diagram for VW Polo Sedan Comfortline.
I will say right away - I have not yet installed the door closer module for 4 glasses due to the large amount of work on installing it, I think this will be a topic for another BZ article if I decide to install it.
The installation process itself was divided into stages:
1. Removing the necessary panels and devices in the car.
2. Work in the engine compartment.
3. Work inside the cabin.
4. Assembly of panels and devices.
5. Programming, setting and checking the operation of the car alarm.
Stage 1: for installation, the following were removed: the right and left panel linings, the glove box, the frame of the car radio, the radio, the instrument cluster, the upper trim of the steering column (the lower one was simply bent, since you need to remove the steering wheel to remove it), the left air duct deflector (for convenience wire pulling), the left panel opposite the windshield (for pulling the cable from the RF sensor and installing the LED), the fuse box cover and (nearby) the air duct to the driver's feet and the panel under the hood opening handle. All this is removed with the help of a book, hand efforts, a TORX T20 screwdriver, all fasteners are made soundly. This stage took a lot of fuss, since everything was done for the first time.
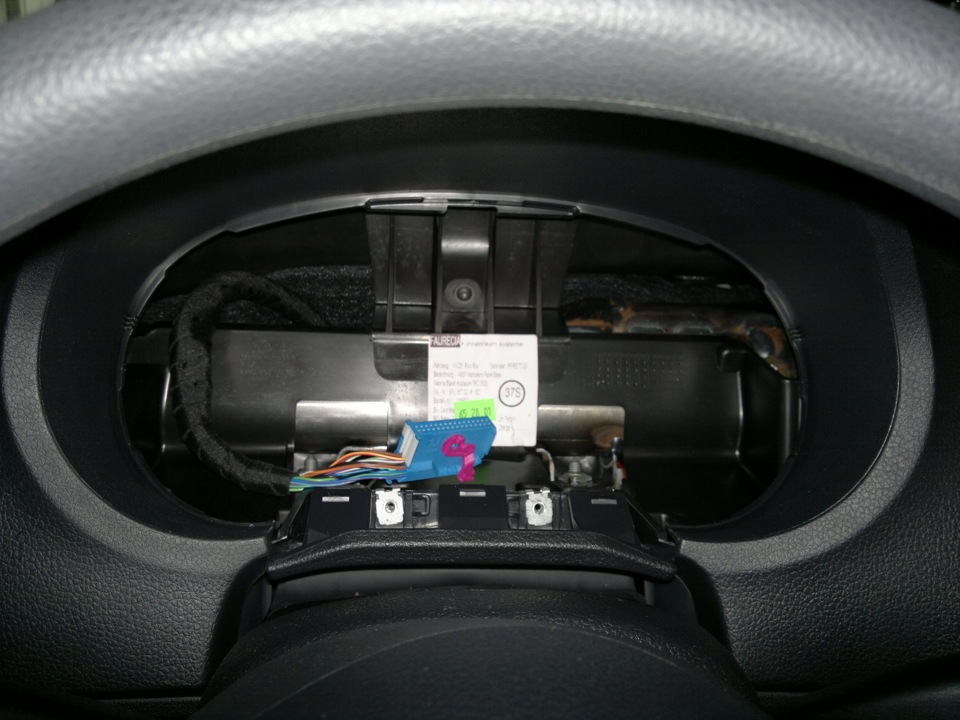
The instrument cluster has been removed.
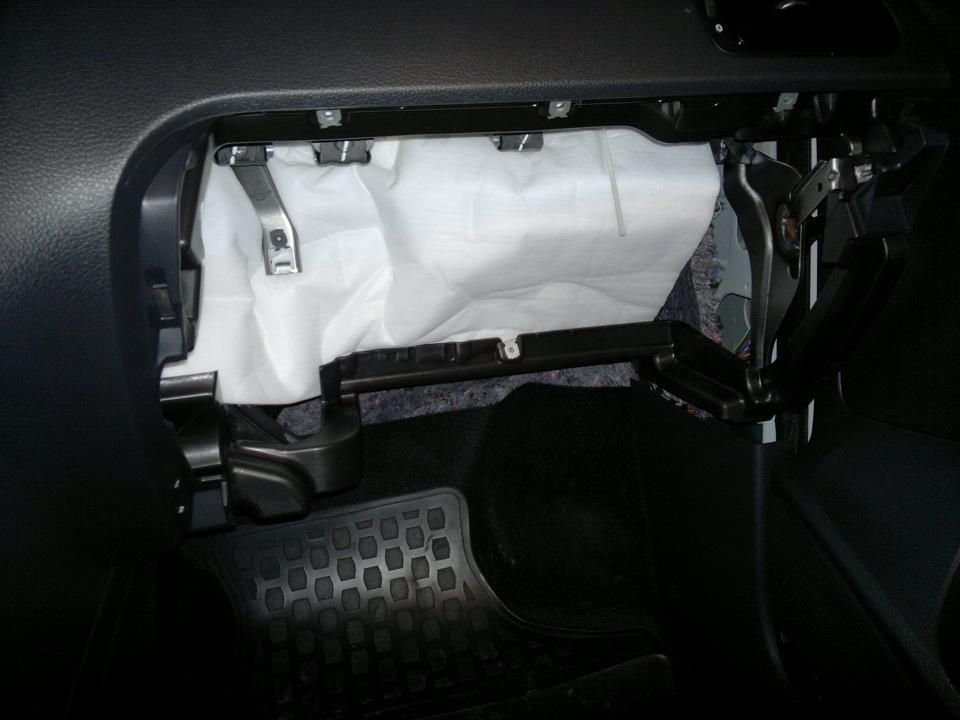
Removed glove box.
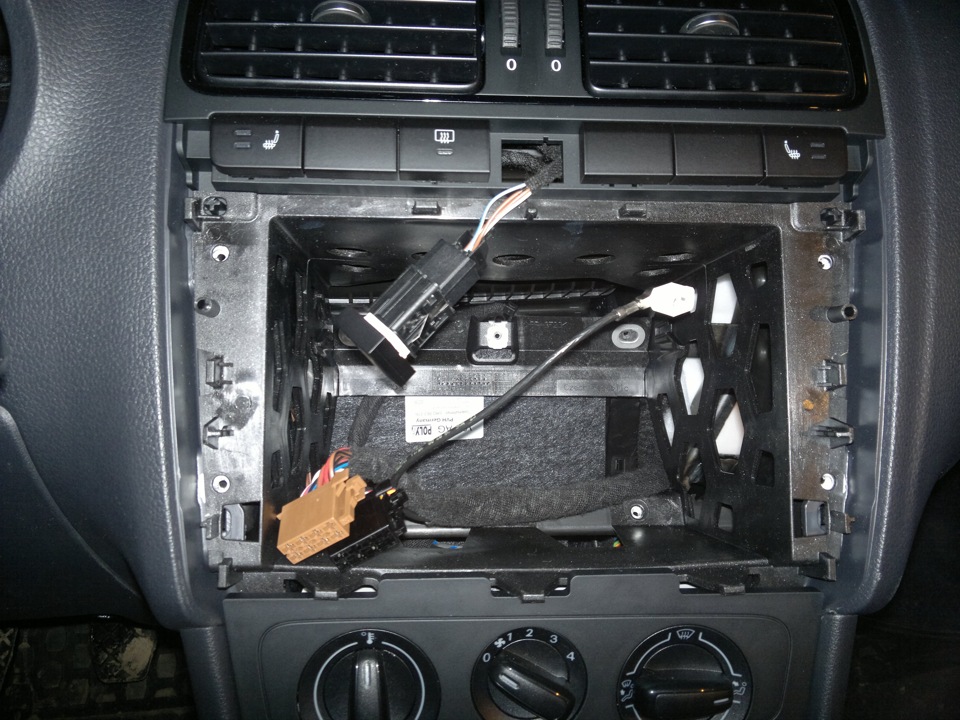
Removed radio and emergency button.
Stage 2: the hood limit switch was installed in a standard hole above the left headlight (he bored the hole a little, and eventually shortened the limit switch by two turns)
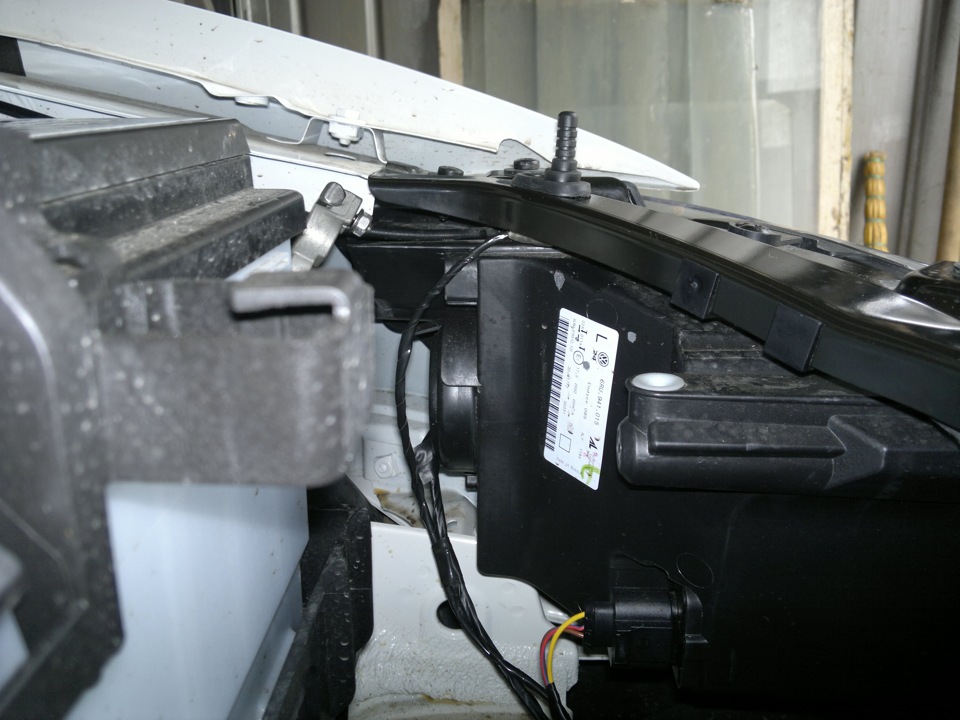
End switch installed.
The siren was also installed on regular studs inside the engine compartment on the body under the engine control unit. Siren pre-prepared (closed up the ground wire).
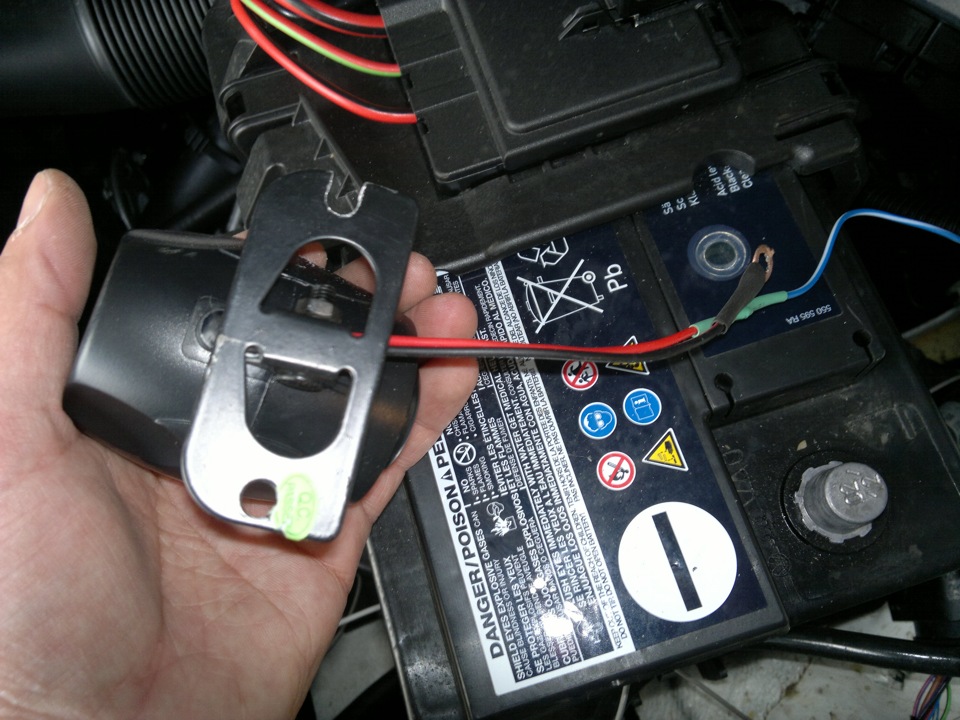
Siren ready for installation.

Siren installed.
I fixed the engine temperature sensor to a standard bolt on the engine (see Figure).
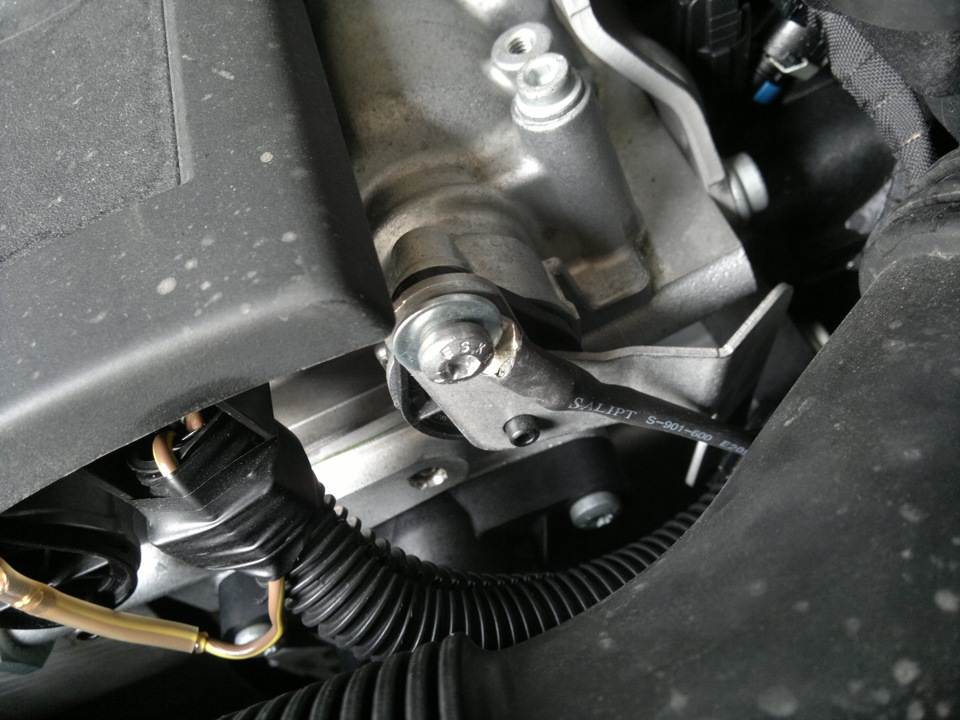
The engine temperature sensor is fixed.
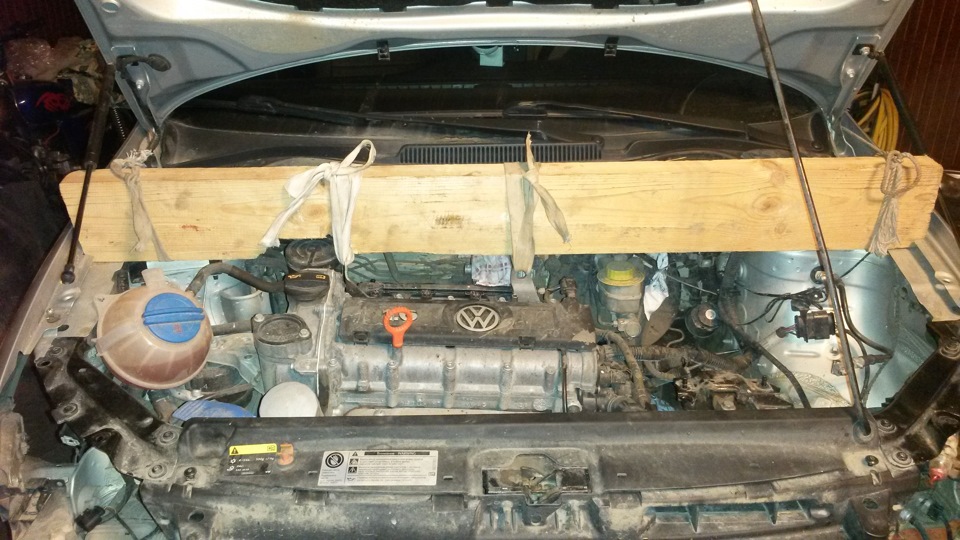
All wires from the limit switch, sensor and siren were wrapped with black electrical tape, carefully pulled into the passenger compartment through a rubber seal between the passenger compartment and the engine compartment using steel wire (I had to tinker, remove the engine control unit, black shield, the shield under the left wiper simply bent, removing the left Street cleaner).
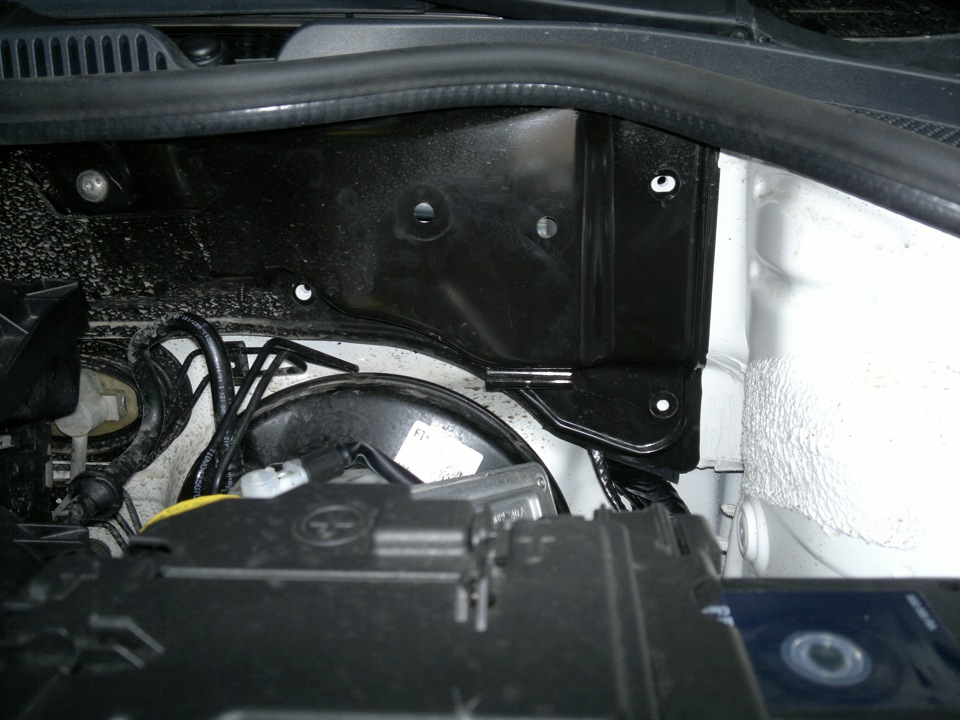
The black shield is almost unscrewed.
3. Stage: first of all, I installed the RF module inside the cabin and pulled its wire under the skin to the installation site of the base unit, then drilled a hole in the side panel and fixed the LED on the glue - I ran the wire to the base unit. I hid the Valet button, also brought out the wire. I installed the relay module behind the instrument cluster on the left side and secured it with screws from the kit.
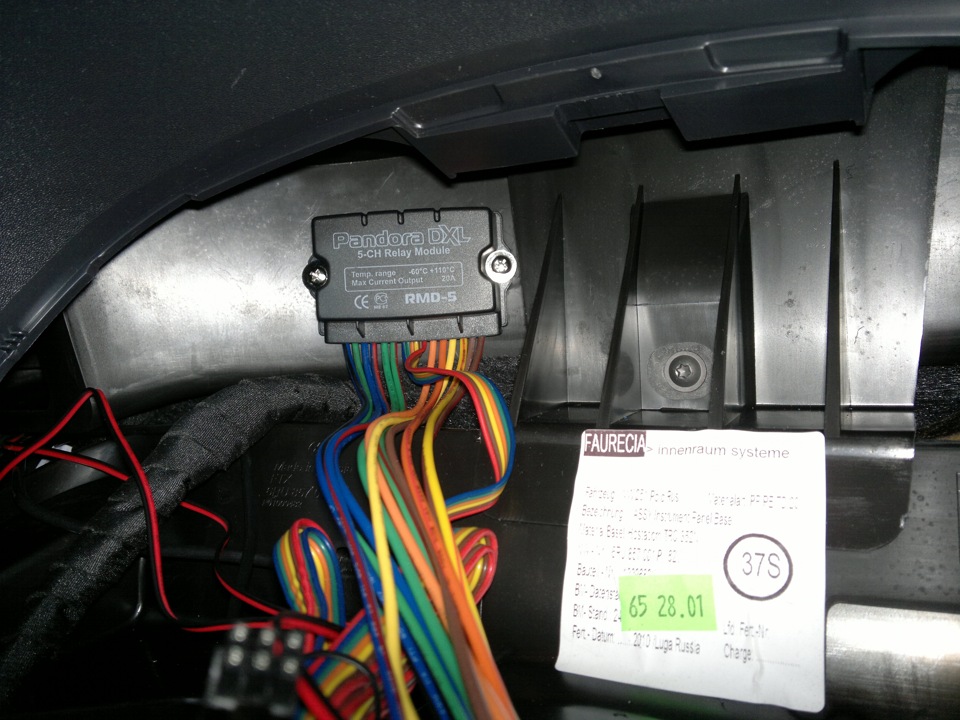
Relay module installed.
I connected the module according to the diagram, not forgetting to block the fuel pump (the fuel pump wire is in the fuse box, the fuse box itself is also removed first by removing the air duct to the driver's feet). I disassembled the second ignition key and, using a soldering iron and acetone, removed the immobilizer chip from it (carefully! Glass), reassembled the key, and put the chip into the immobilizer crawler module, fixing the chip inside with glue.
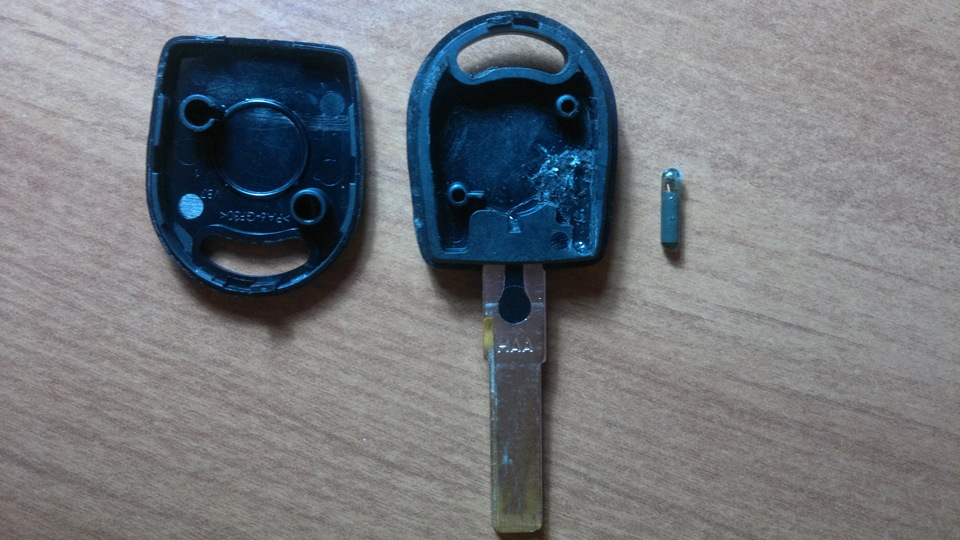
The chip has been removed from the key.
The lineman himself was hidden and connected by an antenna wound around the ignition switch. The antenna is wound in about 6 turns (turn to turn) and secured with superglue.
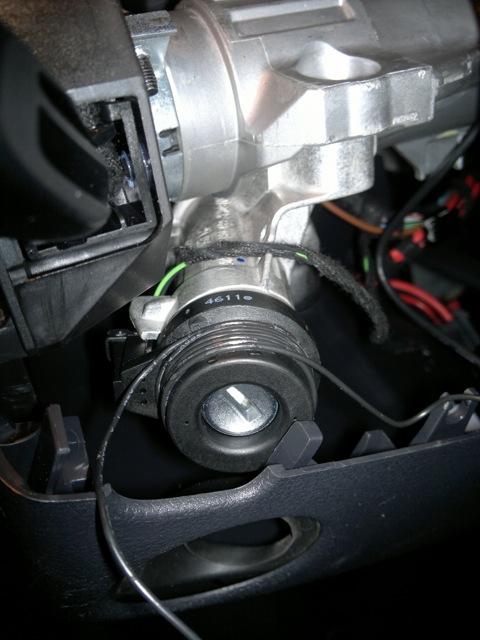
Crawler Antenna.
Connections to the power wires of the ignition lock were made right next to the ignition lock connector, having previously removed the block from the lock (the connector sits on a latch). The interior temperature sensor was connected to the driver's foot duct as shown.
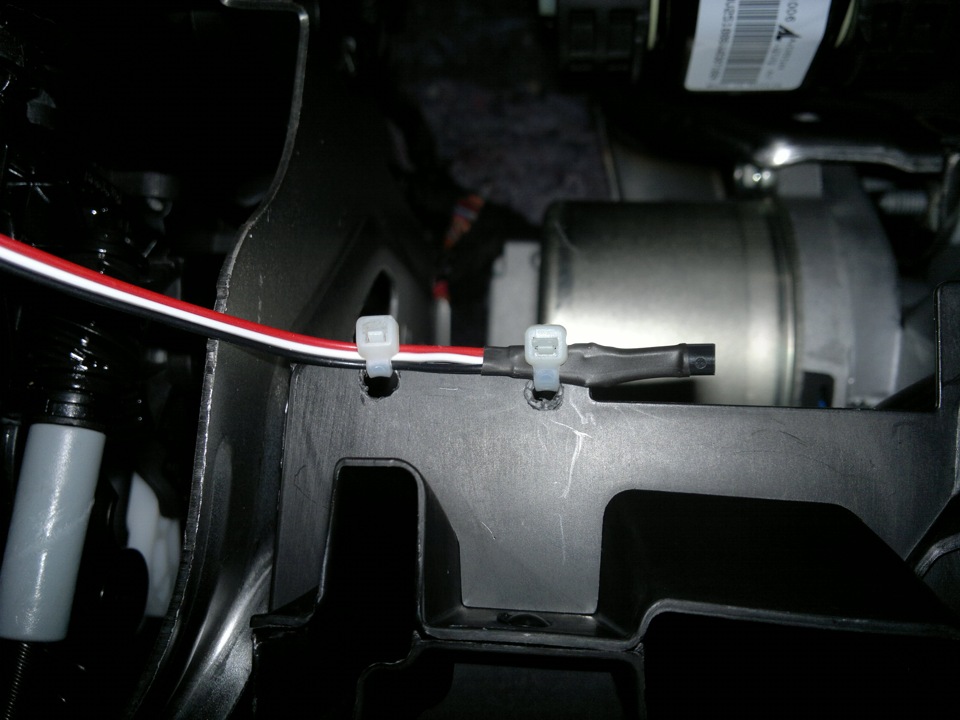
The temperature sensor is attached to the air duct.
The base unit was also hidden and a USB cable was removed from it for programming in a secluded place. The ground connection was found inside the panel with the glove box removed.
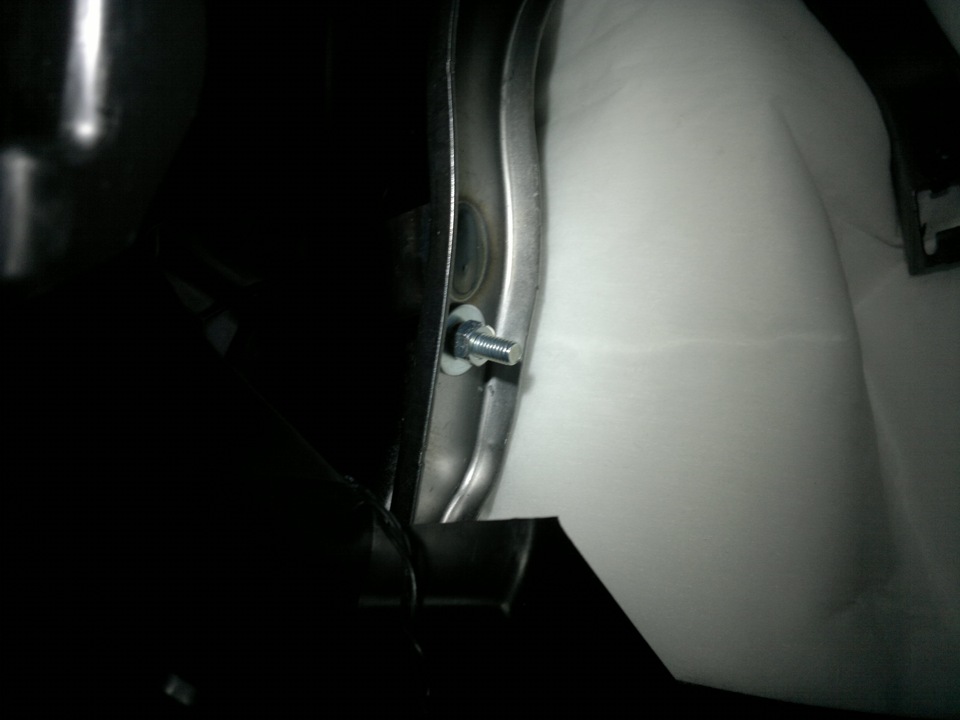
Here you can connect the mass.
The backup battery was placed in a secluded place, insulating it with a thick sponge so as not to strum.
All connections were made according to the scheme for twisting, or soldering where possible, insulated with thermotubes or electrical tape, the wires were pulled together with ties in places. Some connections are best taken from the onboard power supply control unit (BUBS).
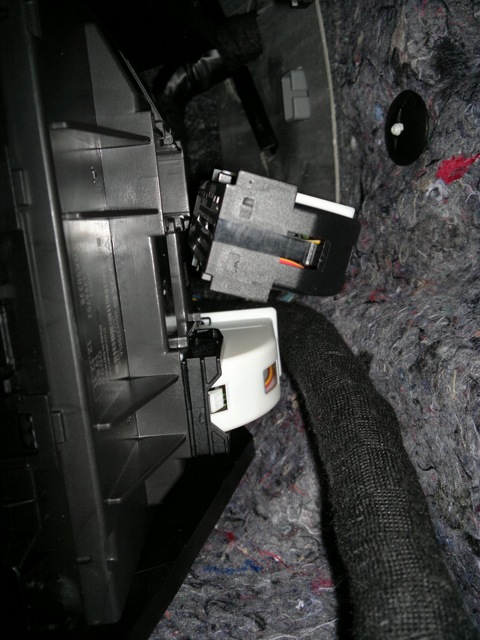
BUBS connectors.
I haven't installed window closers yet. It was connected to the central lock through a 200 ohm resistor, to the handbrake through a decoupling diode.
Stage 4: I assembled the panels in the reverse order, carefully and slowly checking all my connections and wiring along the way.
Stage 5: I connected the pre-output USB cable to the laptop and programmed and configured the sig, added key fobs, changed the service code. With the setting, I also shamanized for a long time, set up autorun.
So far unresolved tasks:
Glass closers have not been installed.
I recommend the signaling to all cultivators and not only ...
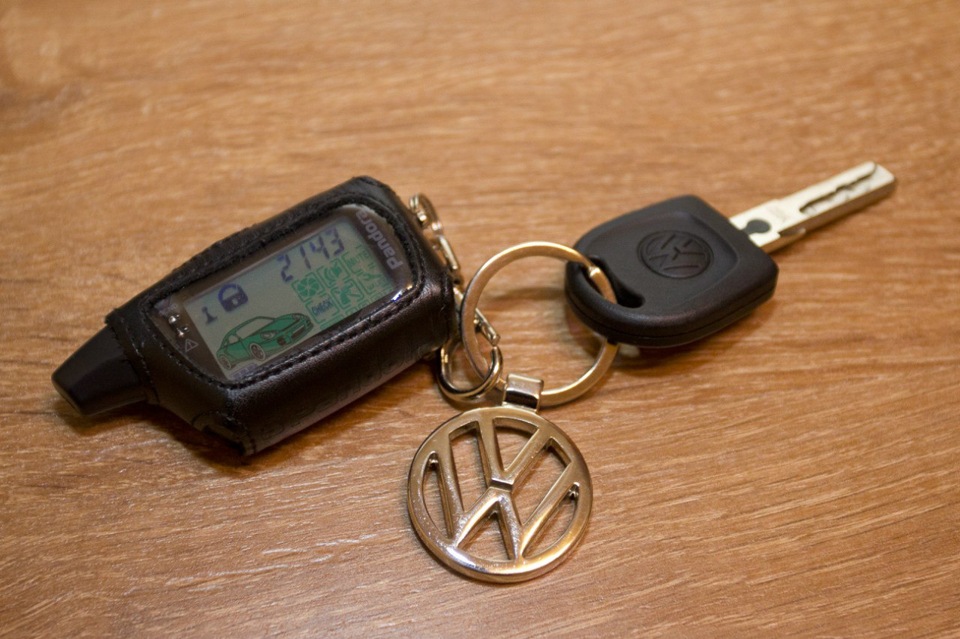
Pandora DXL 3500 and VW Polo Sedan.
Perhaps this BZ entry will be updated for a more detailed description. Good luck with the install! I look forward to feedback and suggestions.
Source: https://www.drive2.ru/l/288230376152954367/
![4 generation [2001 - 2005]](/uploads/Volkswagen_Polo_2005_-_2009_.jpg)
![5 generation [2009 - 2015]](/uploads/Volkswagen_Polo_2009-2015_.jpg)
