Honda Civic Clutch Reservoir Replacement Procedure
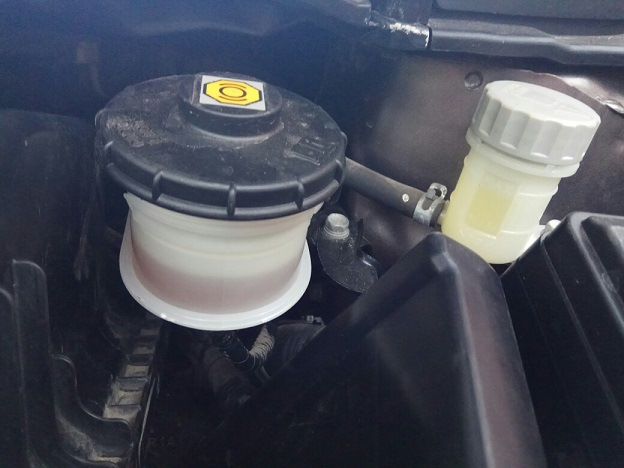
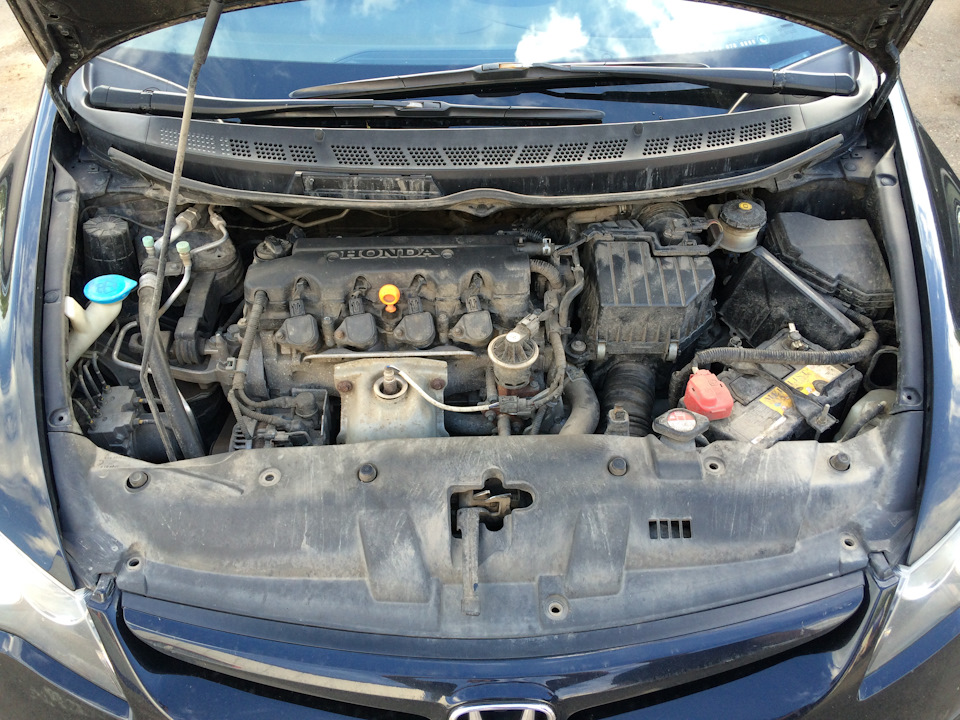
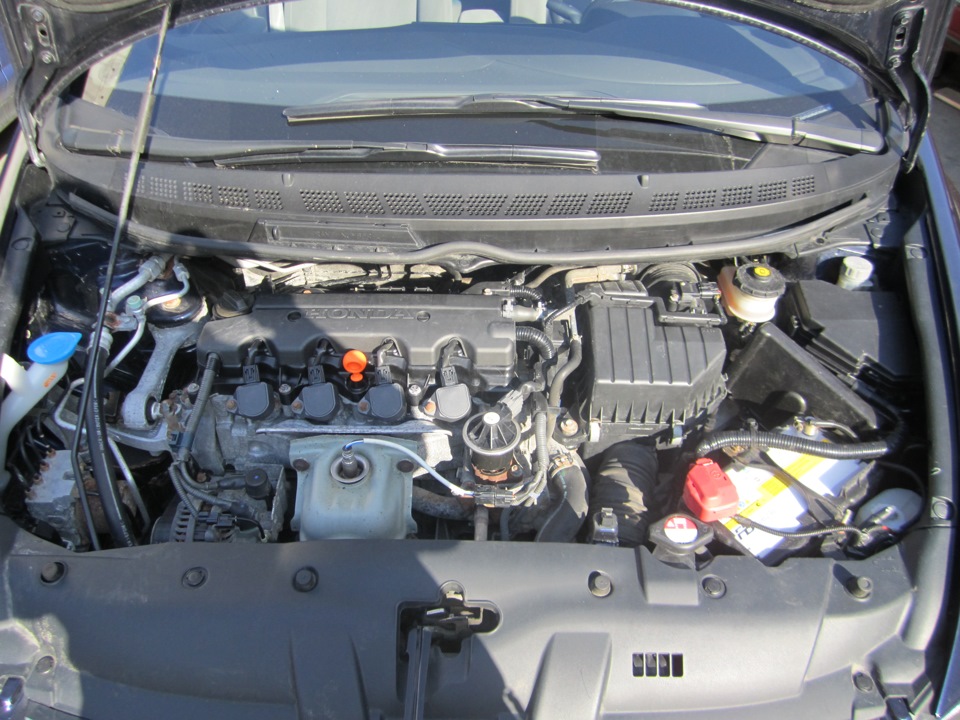
1. Park the vehicle on a level surface and open the hood. The clutch reservoir is installed on the left side of the engine compartment.
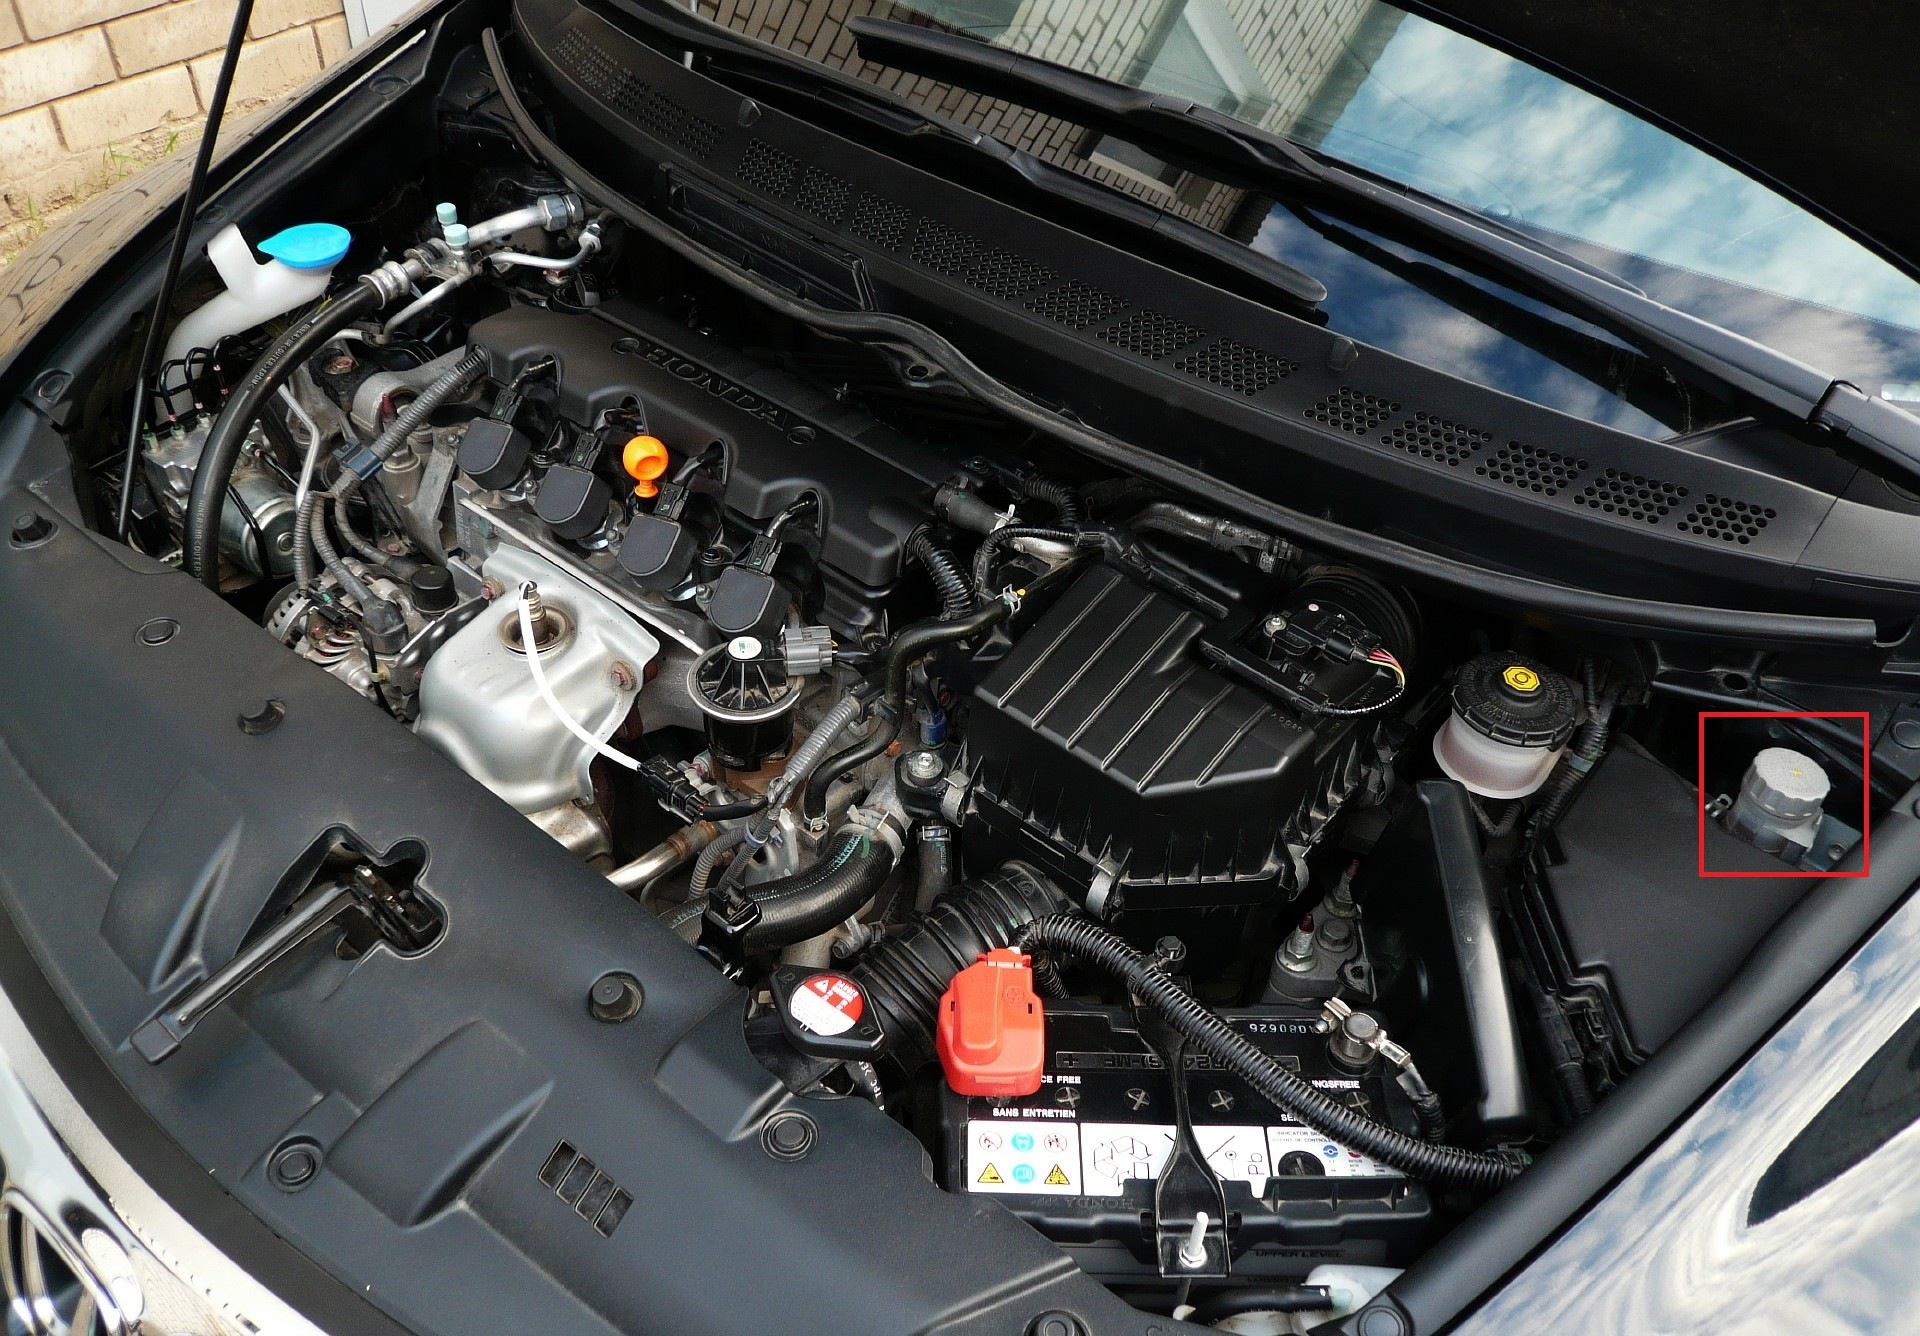
2. Turn counterclockwise and unscrew the Honda Civic reservoir cap.
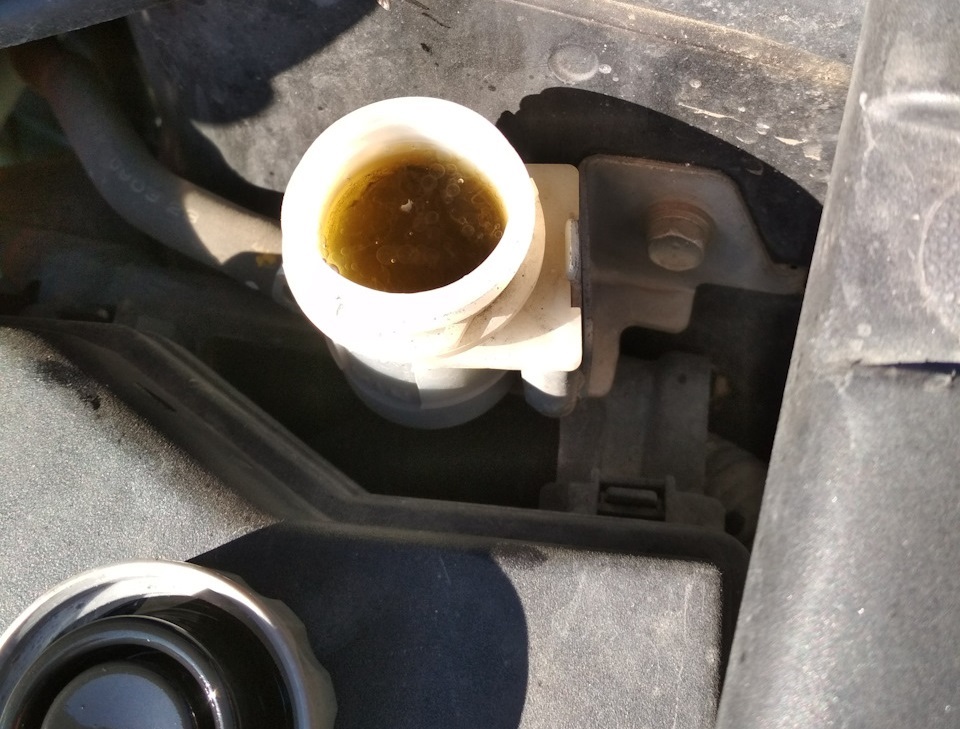
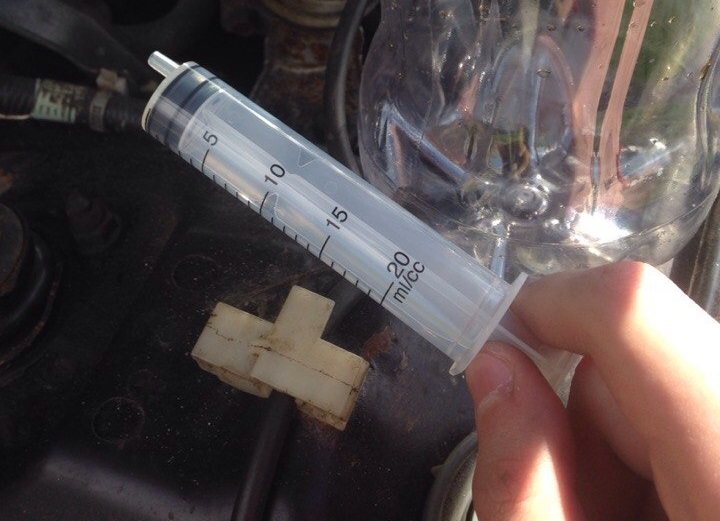
3. Using a syringe, pump out the fluid from the clutch master cylinder reservoir.
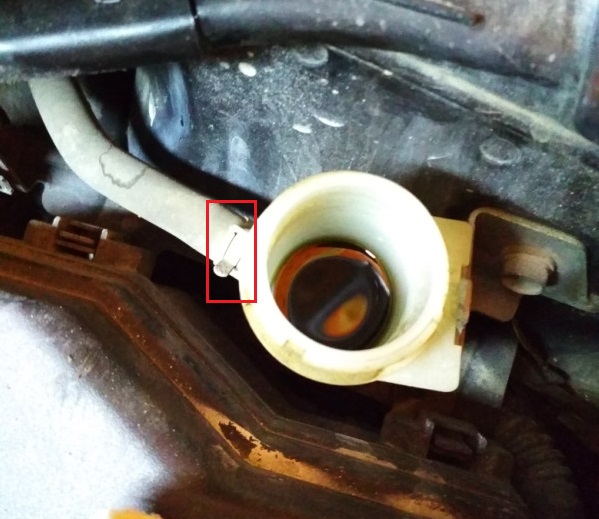
4. Squeeze the ends of the clamp with pliers and disconnect the hose from the Honda Civic clutch reservoir.
5. Pry with a screwdriver and remove the clutch reservoir from the bracket.
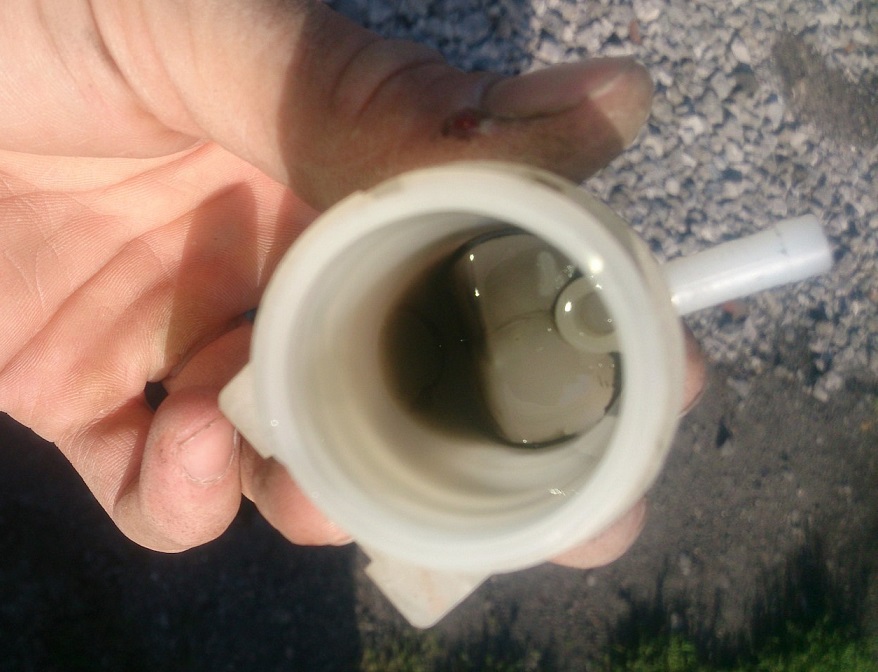
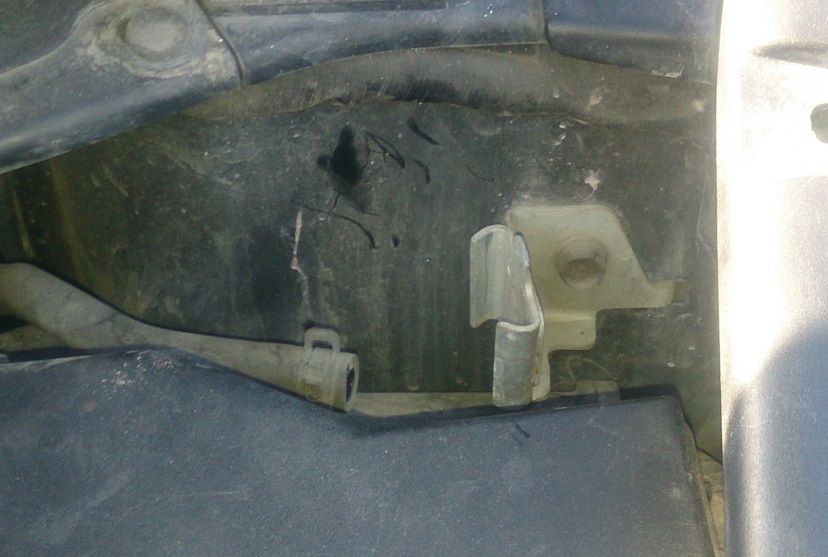
6. If the tank is damaged, replace the Honda Civic tank with a new one.
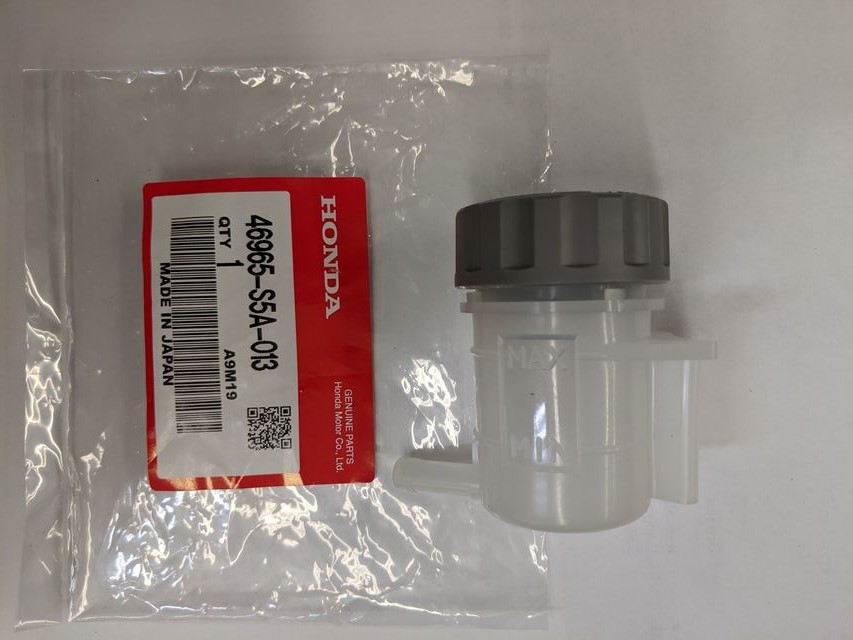
7. Install the clutch reservoir and secure the hose in the reverse order of removal.
8. Fill the Honda Civic clutch reservoir with brake fluid up to the “MAX” mark.
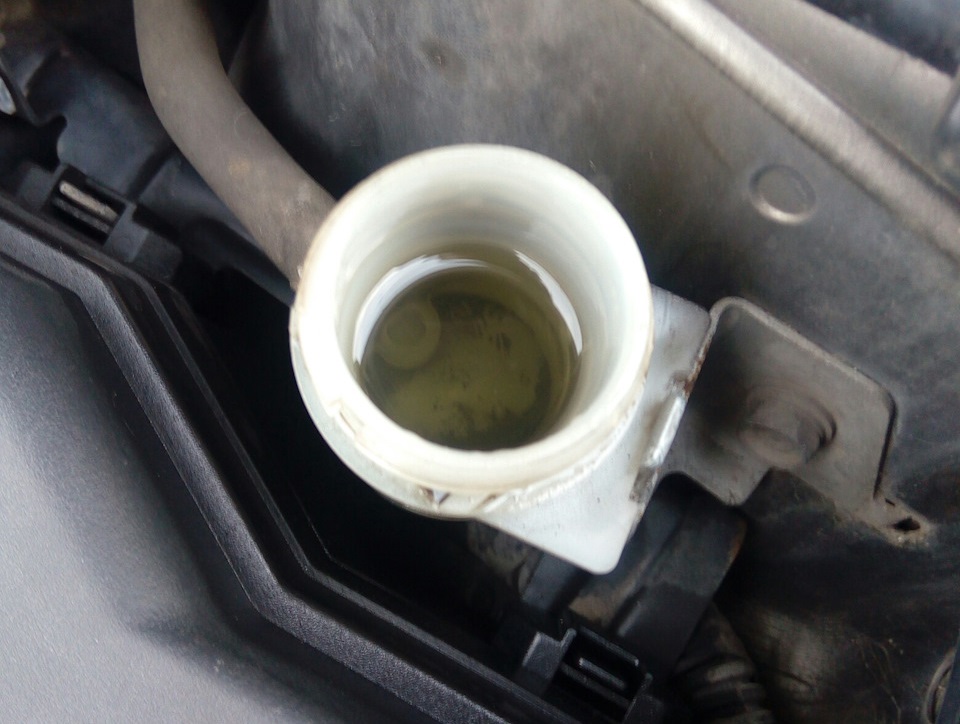
9. Close the reservoir cap tightly.
Note:
Contact with brake fluid on wires, plastic or painted parts of the body can cause damage. Therefore, if liquid comes into contact with these parts, immediately wipe them with a clean cloth.
Source: carpedia.club


![8 generation [2005 - 2011]](/uploads/Honda_Civic_2011_-_2012.jpg)
