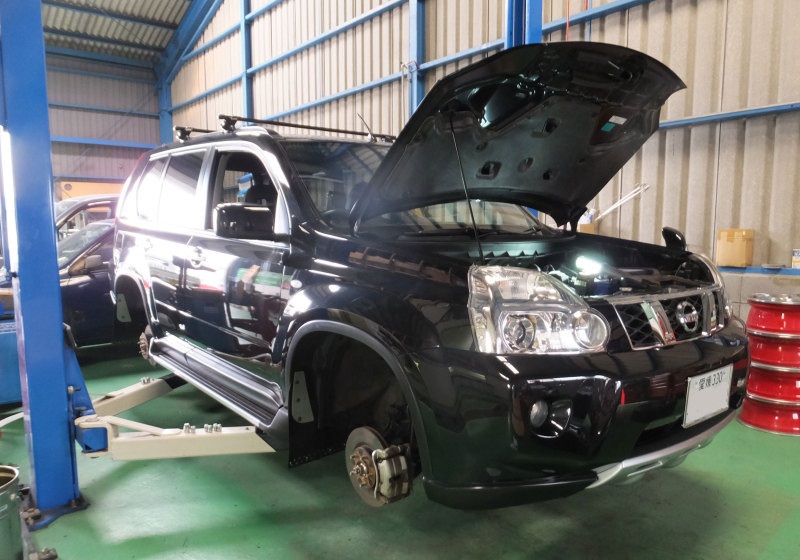
![T31 [2007 - 2011]](/uploads/-_2009.jpg)

Note:
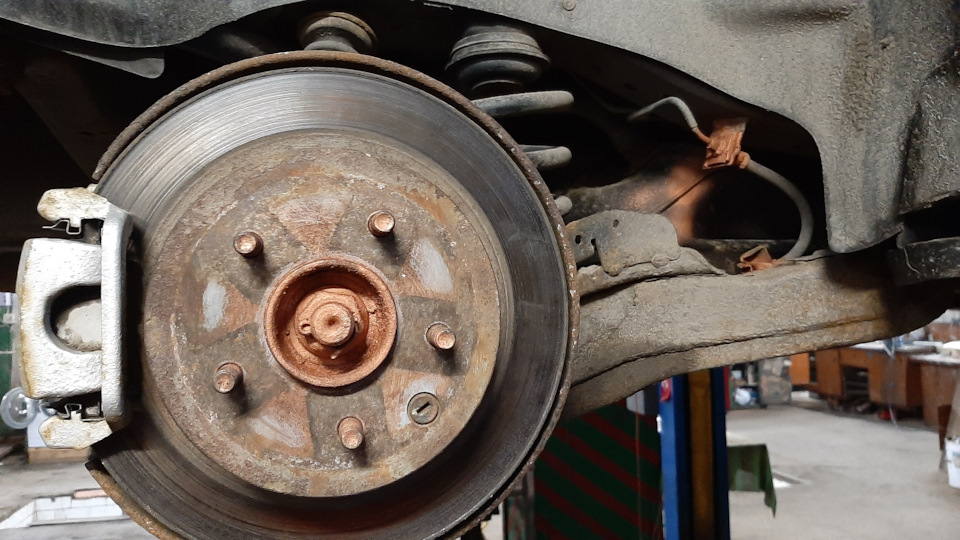
Before you change the handbrake pads Nissan X-Trail, you will first need to remove the rear brake disc.
Replacing handbrake pads Nissan X-Trail
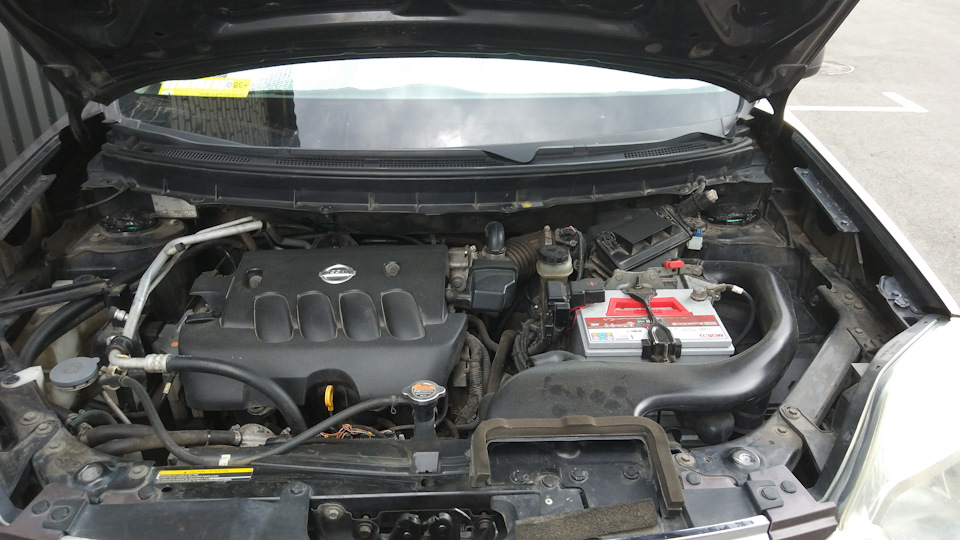
1. Raise the hood cover and place it on the stop.
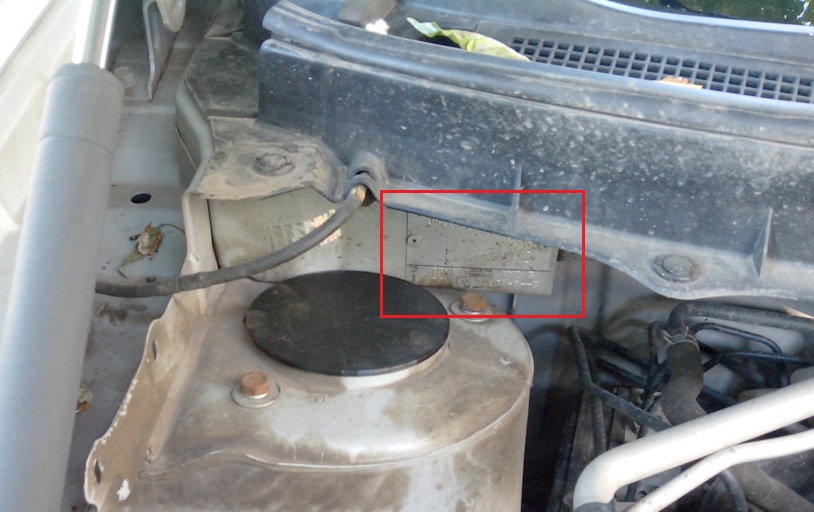
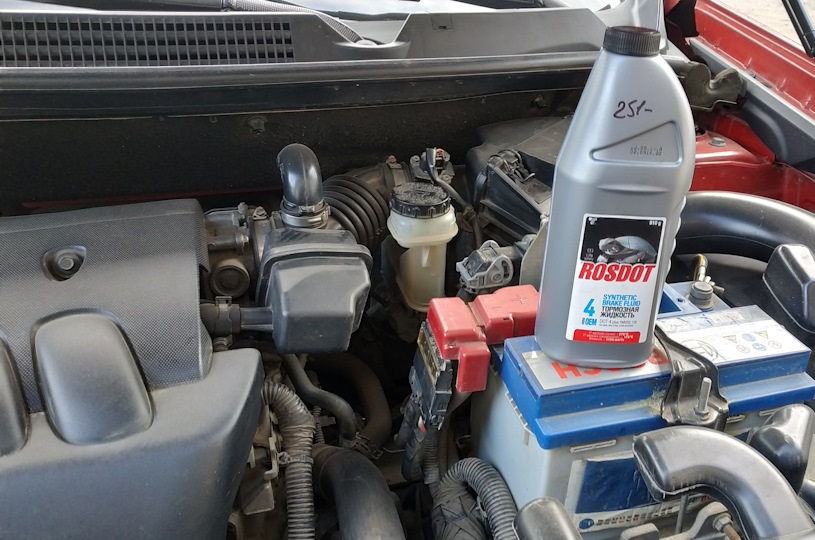
2. Unscrew the brake reservoir cap and check the fluid level, as when the pistons are separated, the fluid may overflow.
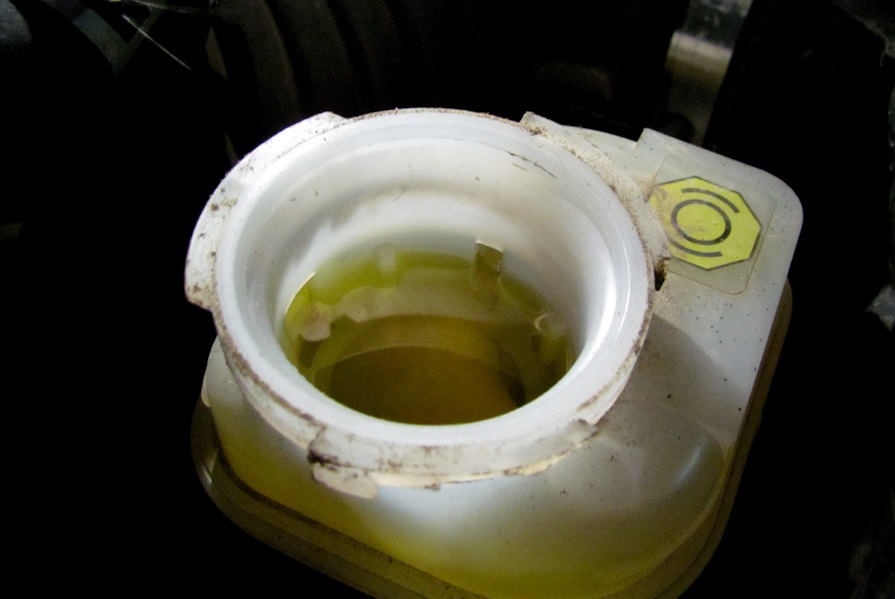
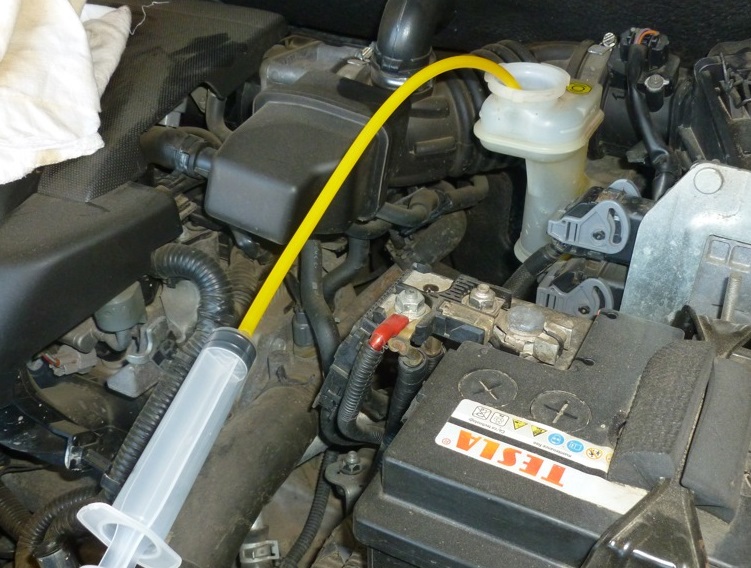
3. If the level is close to the “MAX” mark, remove the excess with a pear or syringe.
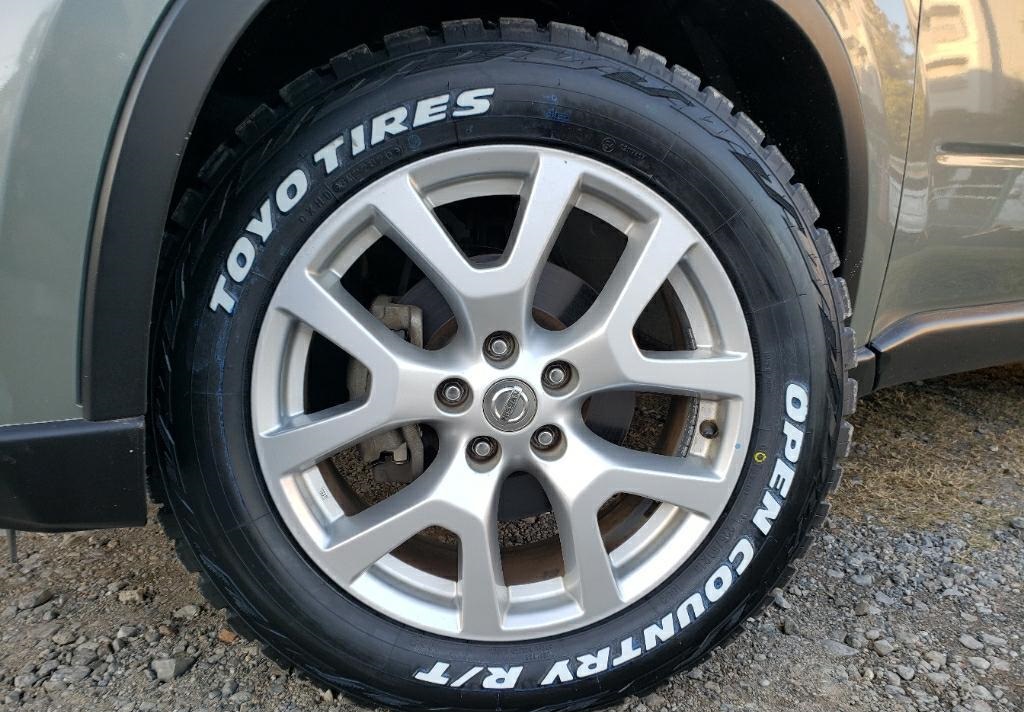
4. Use a 21mm Allen wrench or socket to loosen all rear wheel nuts approximately one half turn.
5. Install the car on a lift, pit or overpass.
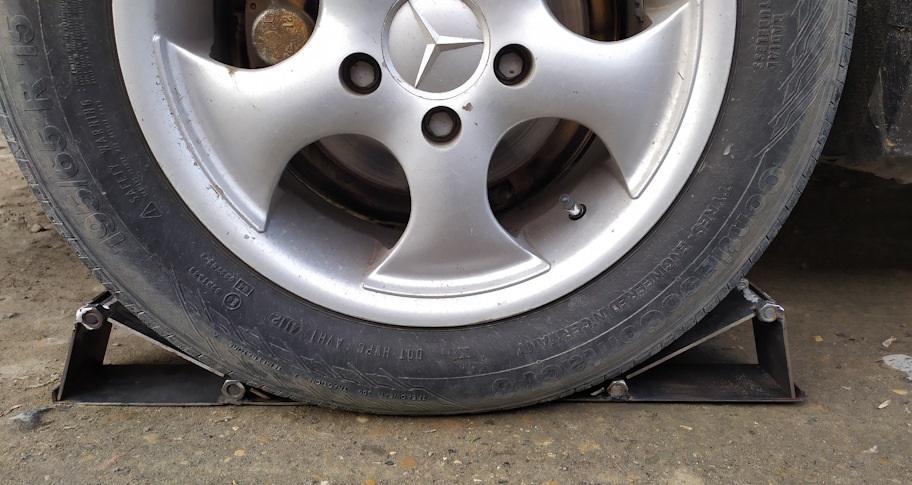
6. In the absence of a lift, brake the wheels with a parking brake and place wheel chocks under them.
7. Raise and support the rear of the vehicle.

8. Finally turn away nuts of fastening, and remove a wheel.
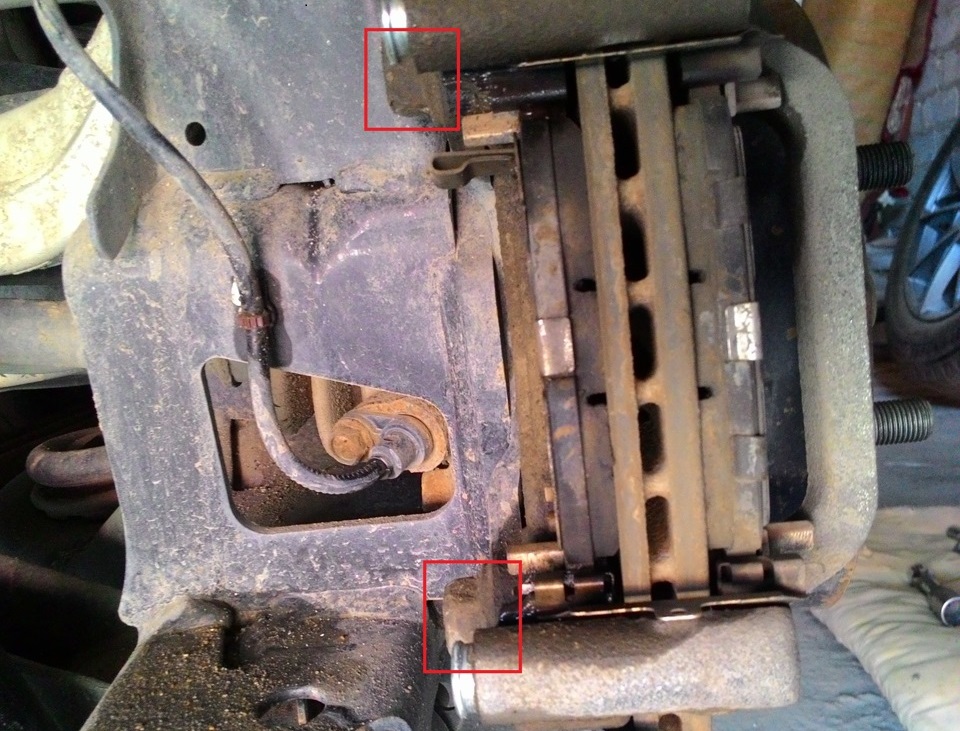
9. Insert a flathead screwdriver between the inner brake shoe and slave cylinder piston. Push the piston into the cylinder.
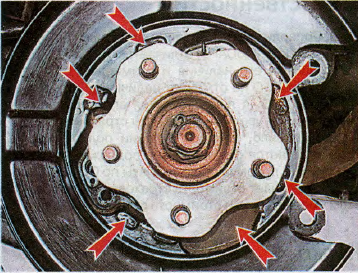
10. Using a socket head or a 17 mm wrench, remove the 2 bolts securing the brake shoe guide.
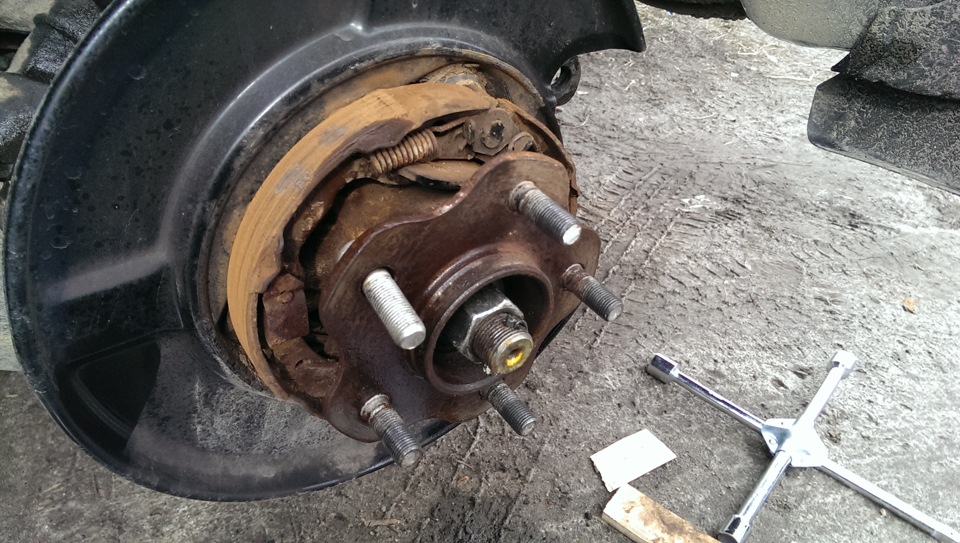
11. Remove a support in gathering. The brake hose does not need to be disconnected.
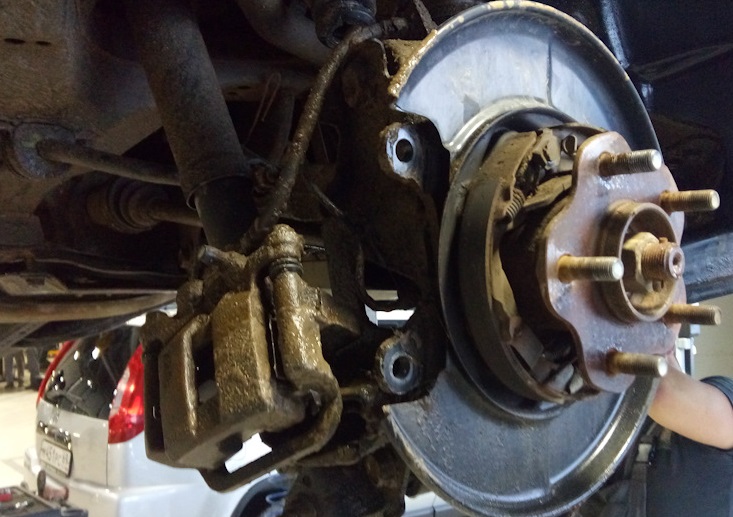
12. Hang the caliper with a cord or put it on the upper arm.
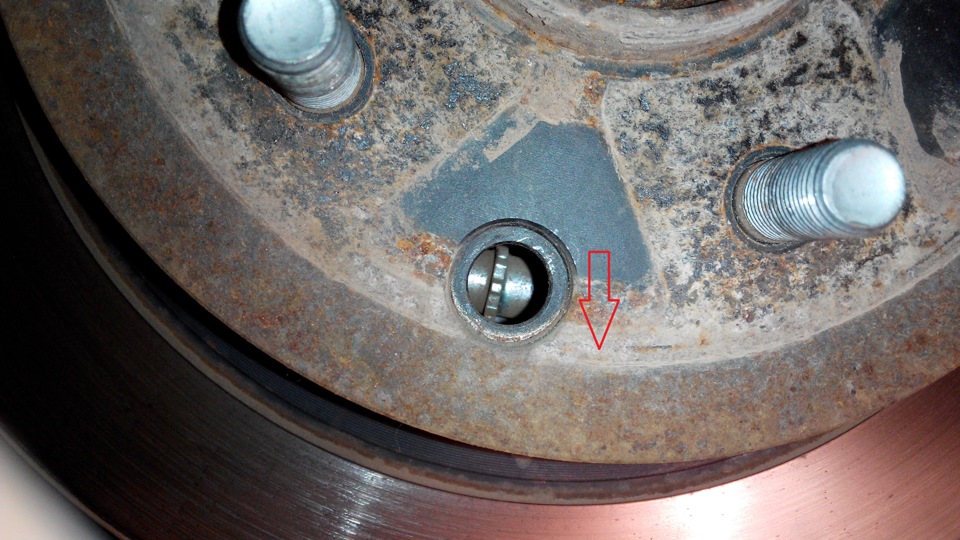
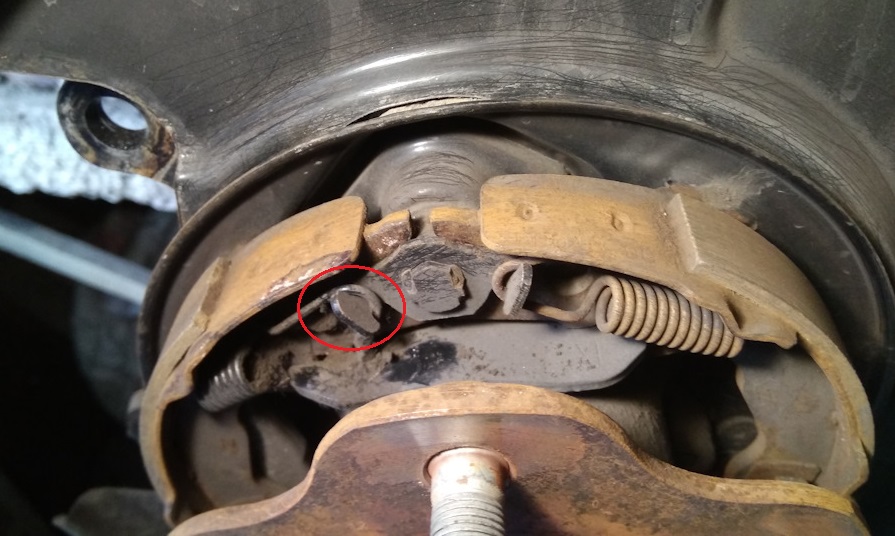
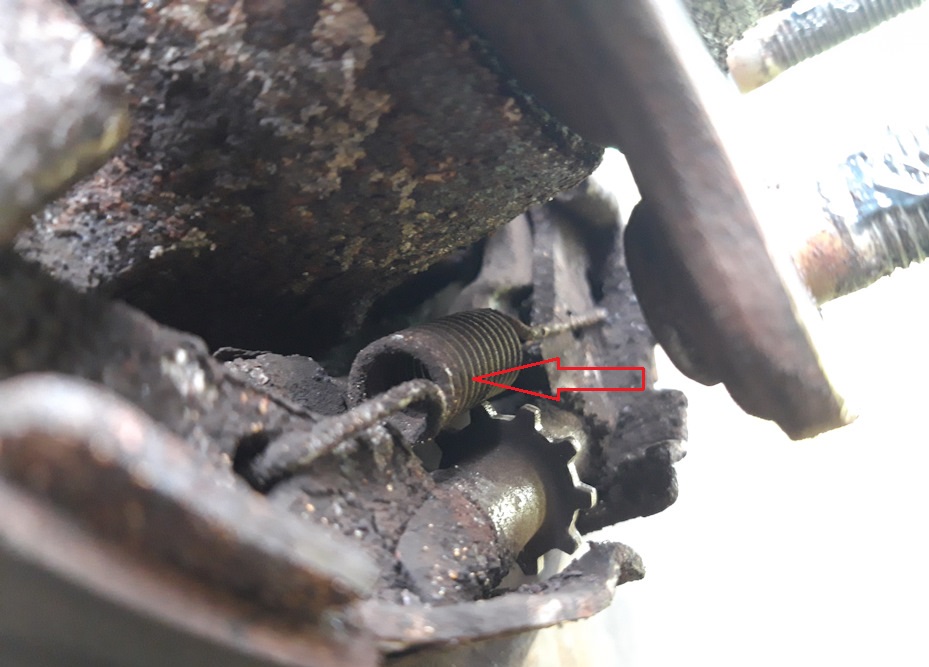
13. Pull the plug out of the hole in the drive.
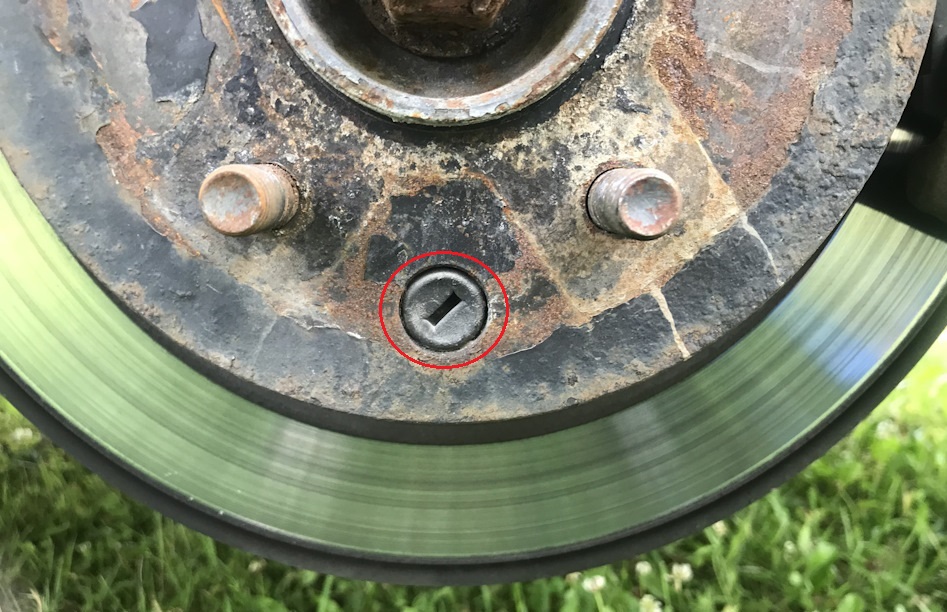
14. Use a flathead screwdriver to turn the adjuster wheel down.
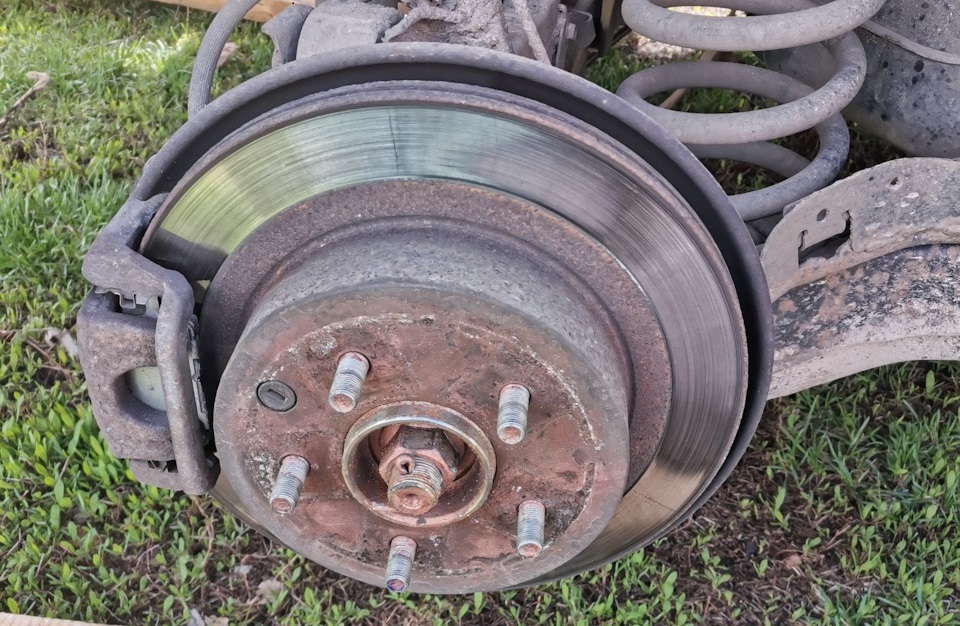
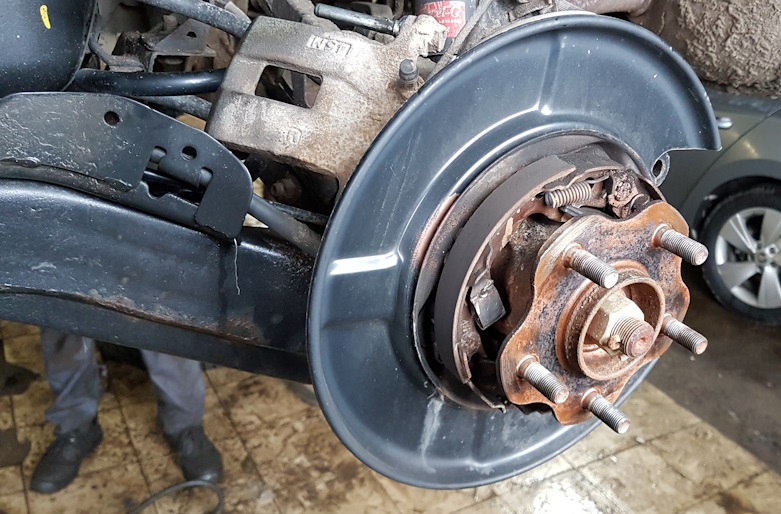
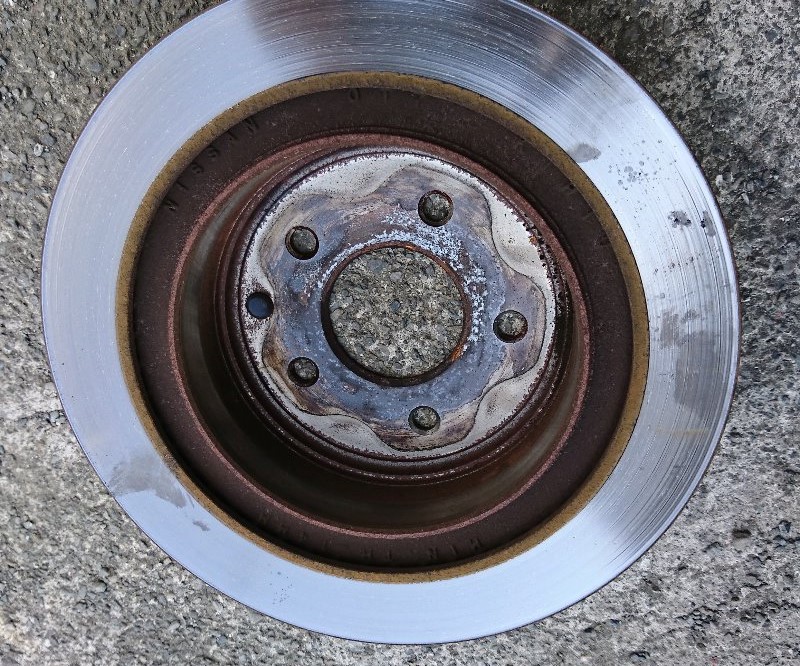
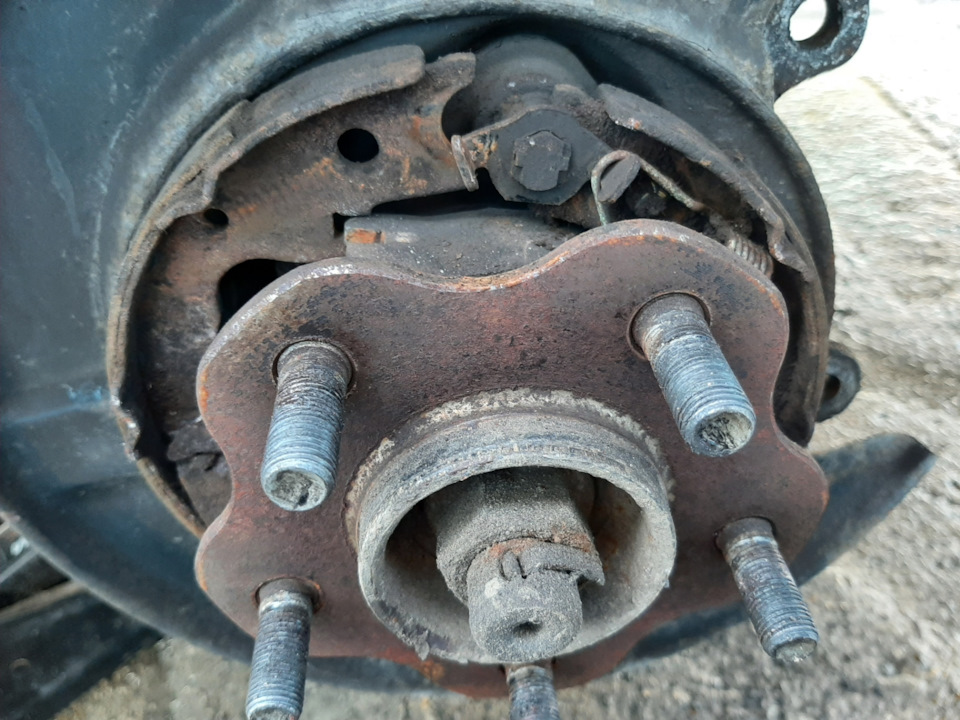
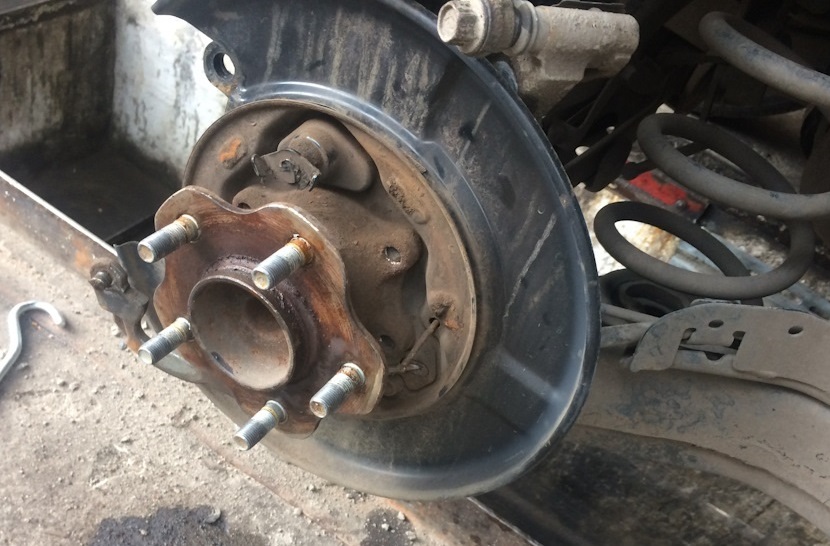
15. Remove the rear disc from the hub.
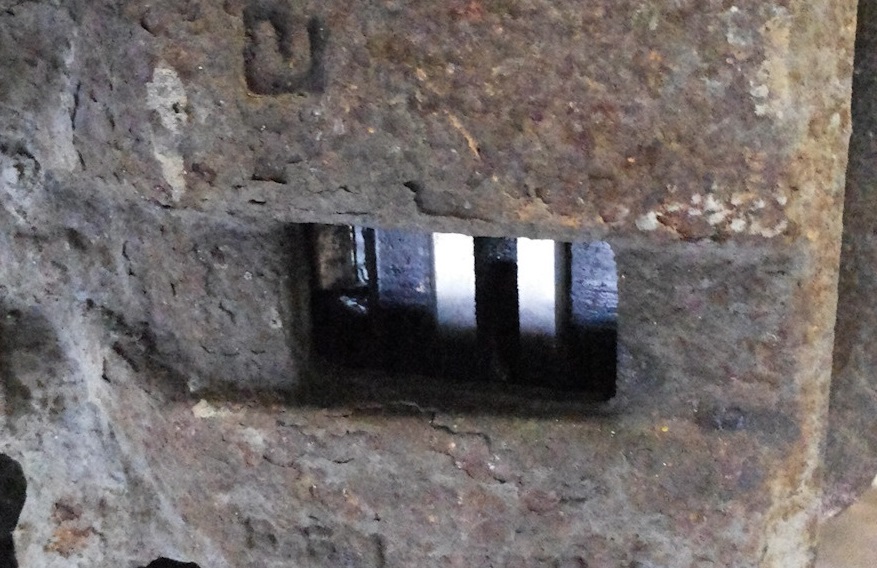
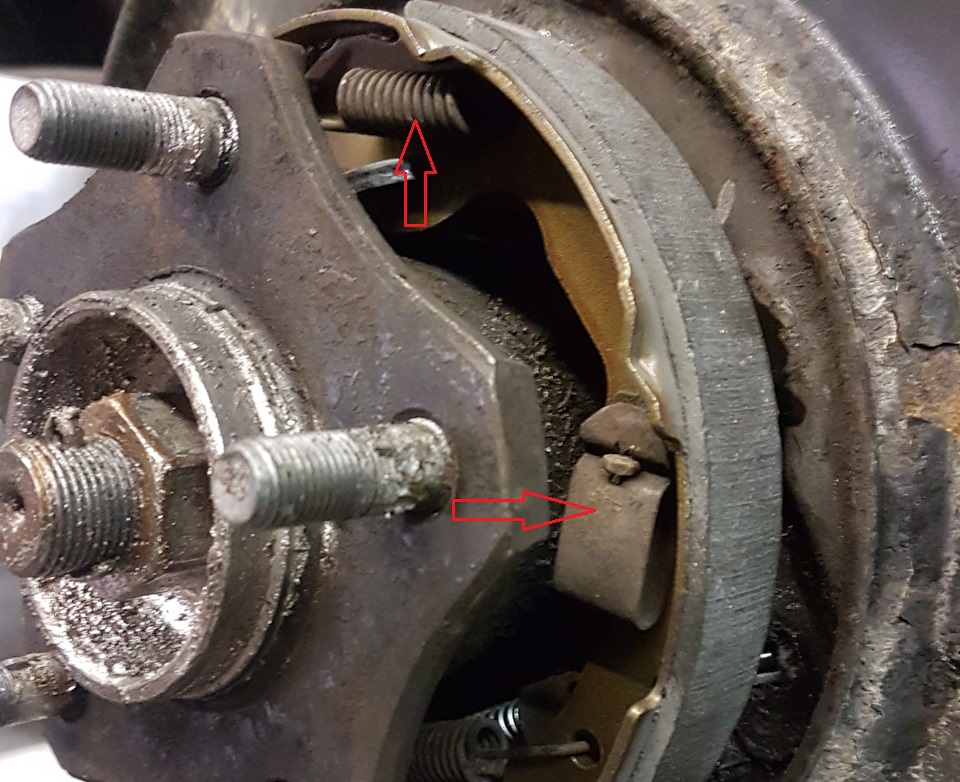
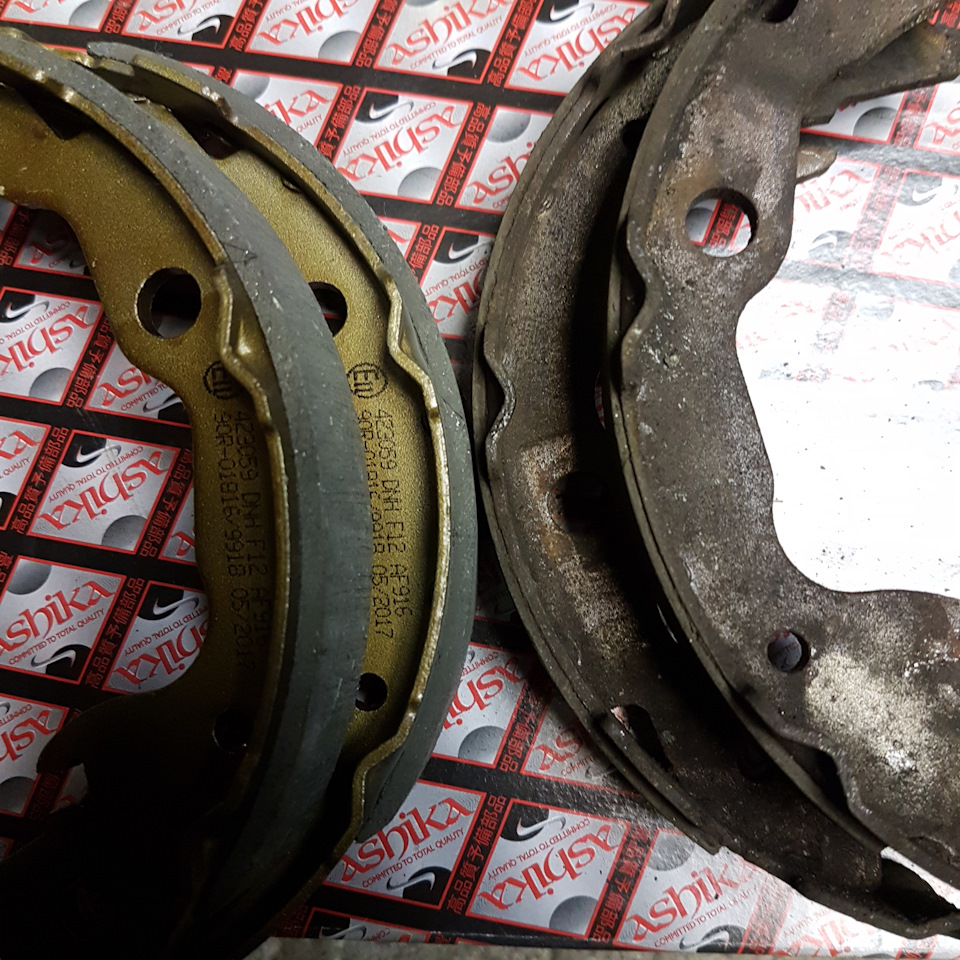
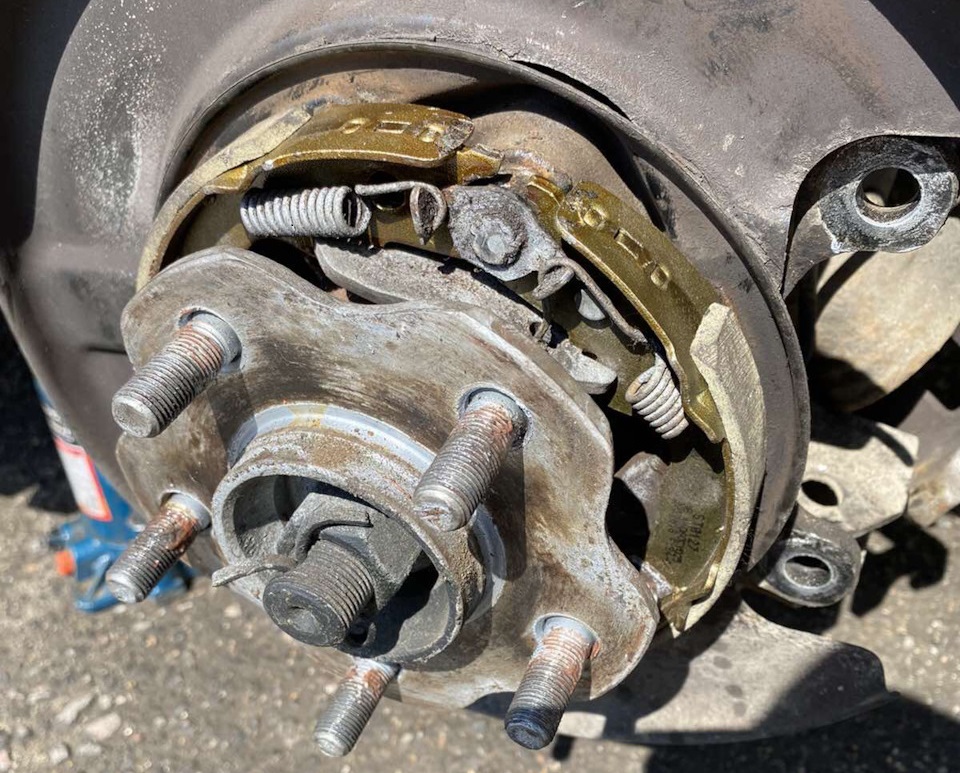
16. Take a caliper and check the thickness of the Nissan X-Trail handbrake pad lining. It must be at least 1.5 mm. If the thickness is less than recommended, the pads will need to be replaced with new ones.
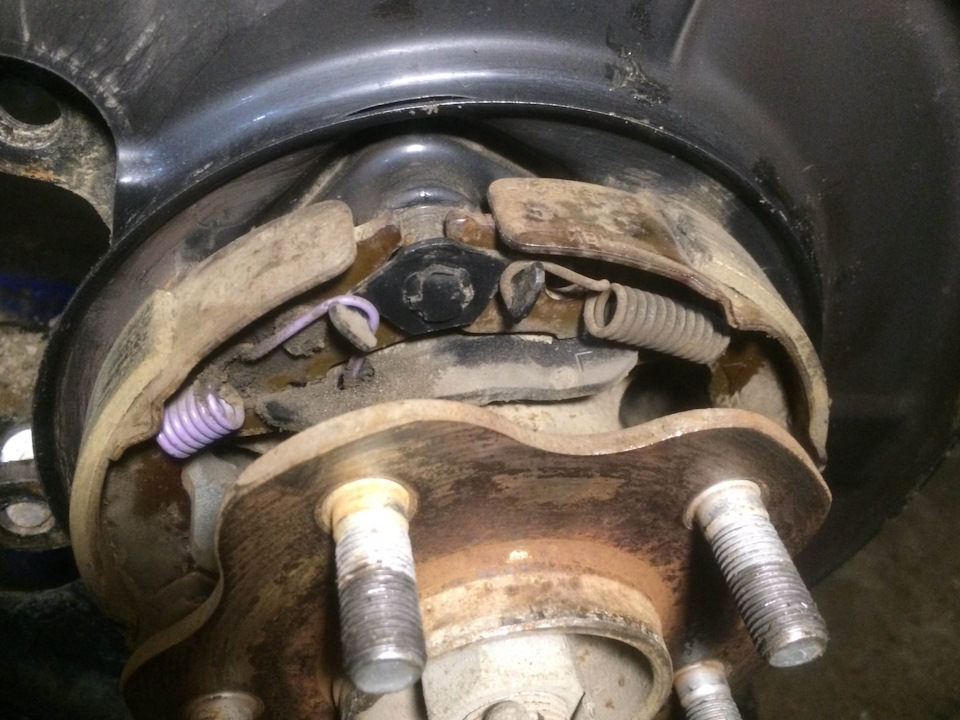
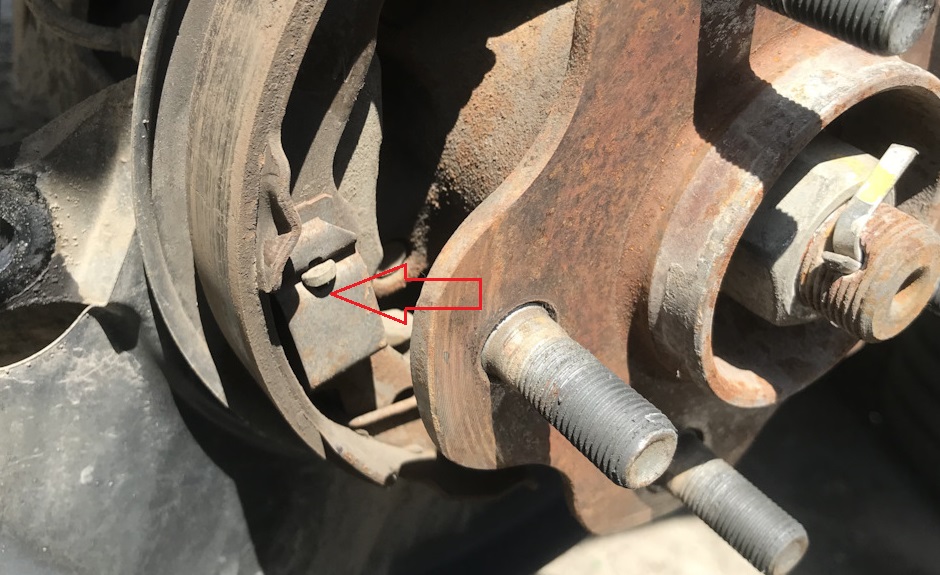
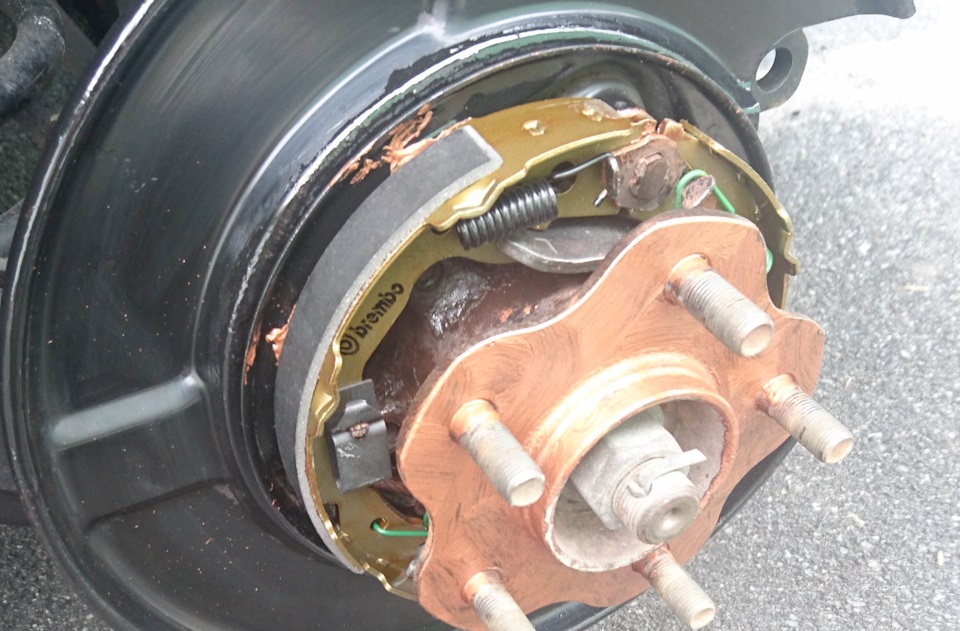
17. Pry off the edge of the spring with a flathead screwdriver.
18. Remove the return spring of the Nissan X-Trail parking brake shoe.
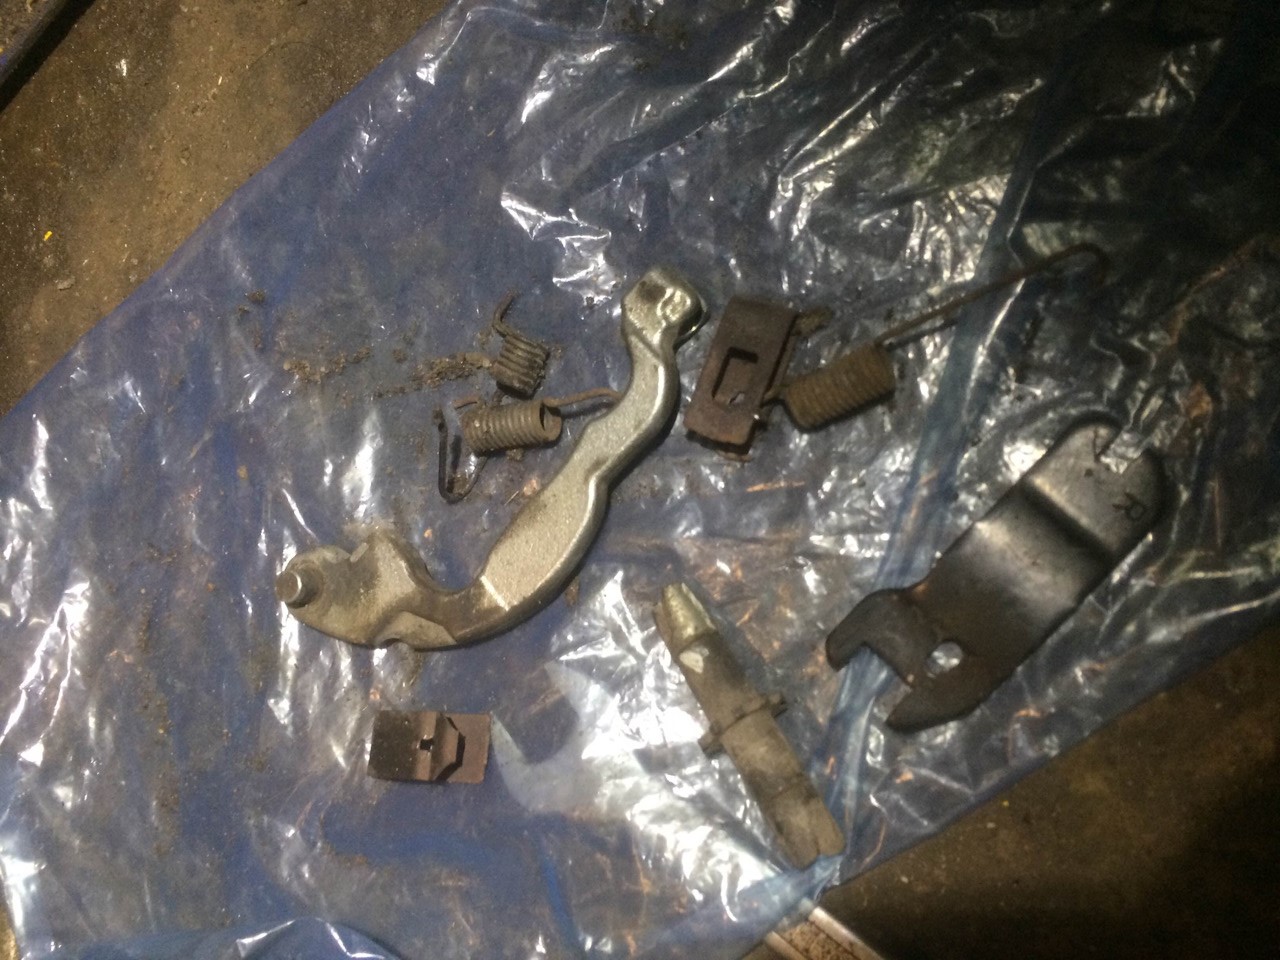
19. Remove the retainer with pliers and remove the clamping spring.
20. Take away a block and remove a regulator.
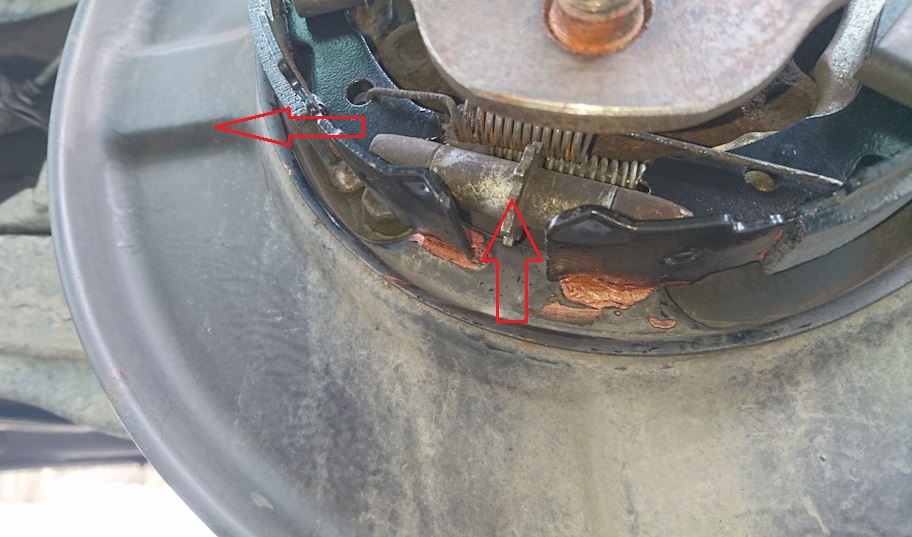
21. Disconnect the lower return spring from the Nissan X-Trail handbrake block.
22. Remove the return and clamping springs of the rear handbrake shoe.
23. Disconnect from the lever and remove the pads.
24. Disconnect from the cable and remove the lever itself.
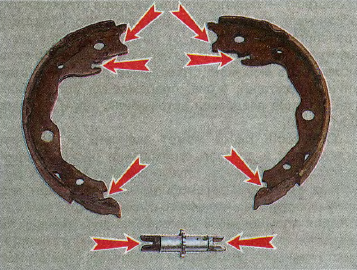
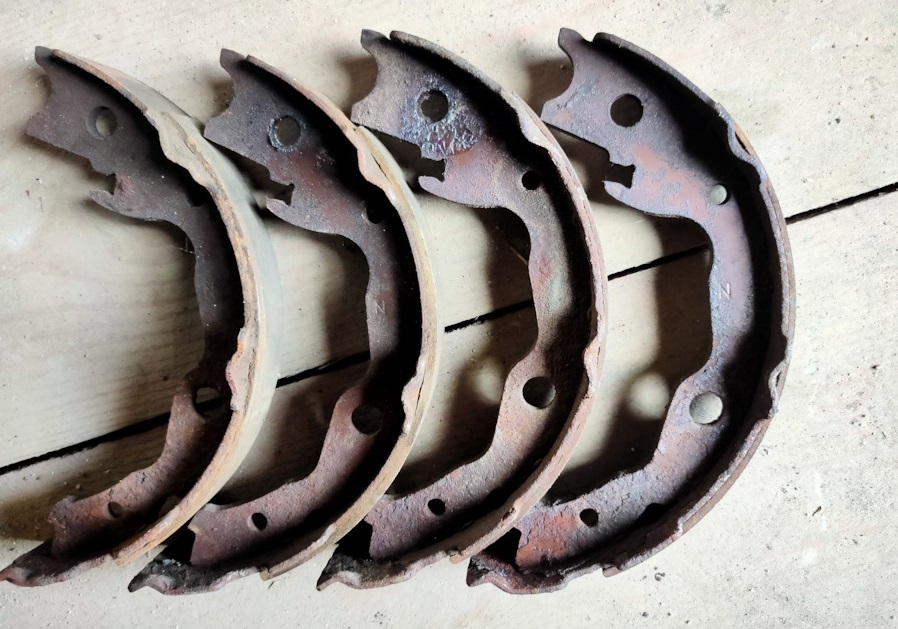
25. If necessary, replace the Nissan X-Trail handbrake pads with new ones.
26. Apply a special lubricant for brake mechanisms on the rubbing surfaces of the mudguard, parking brake pads and regulator.
27. Install the Nissan X-Trail parking brake pads and all removed parts in place in the reverse order of removal.
28. Reinstall the brake disc and caliper. Wrap its fixing bolts.
29. Reinstall the rear wheel. The tightening torque of the nuts is 108 N•m.

30. In the same way, replace the rear handbrake pads Nissan X-Trail and on the other side of the car.
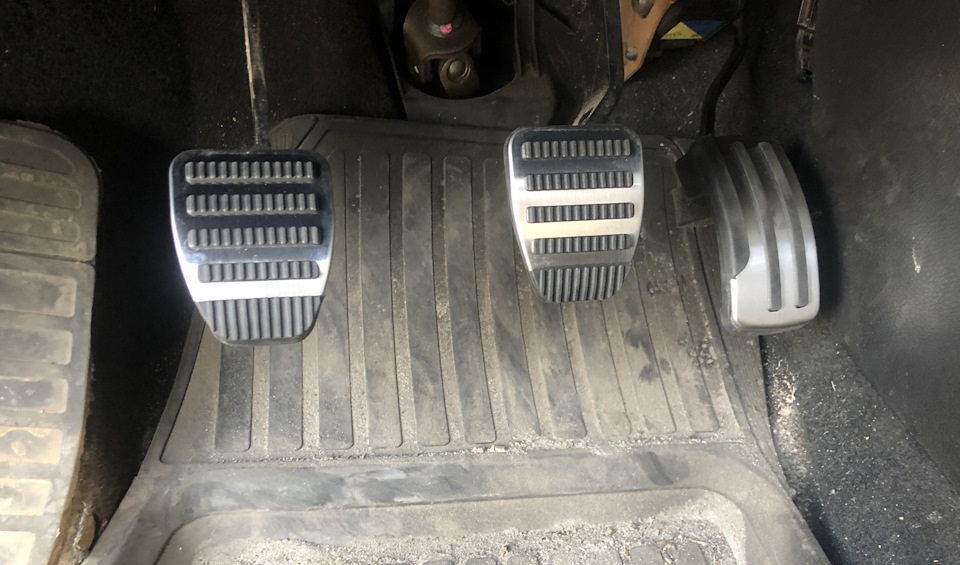
31. Press the brake pedal several times. This is necessary to self-adjust the gaps between the brake pads and the disc.
32. Check the brake fluid level. It should be closer to the MAX mark on the tank.
33. If necessary, add fluid to the norm.
34. Adjust the parking brake actuator.
Note:
How to properly adjust the parking brake is described in the article Adjusting the parking brake Nissan X-Trail .
Source: carpedia.club