Tools:
- balloon wrench
- Emphasis (shoe) recoil
- Support legs
- Screw jack 2 pcs.
- Collar for end cap 3/4"
- Nozzle on the collar 32 mm
- Crank pipe
- Open-end wrench 19 mm
- Hammer big
- Bronze drift (adjustment)
- Vise
- Two mounting blades
- Retaining ring puller
- Wheel bearing replacement press
- Bearing press tool
- Chisel
Parts and consumables:
- Rear hub bearing (51720-2J001)
- Retaining ring (52718-26500)
- Motor oil
- Hub nut (49551-3S000)
- Long bar / long pipe
Note:
This article describes how to replace the rear wheel bearing on the Hyundai ix35.
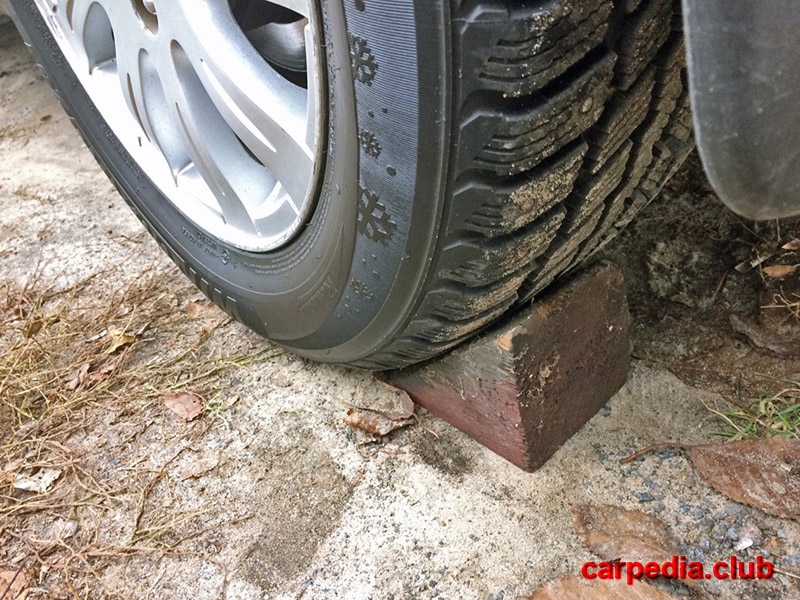
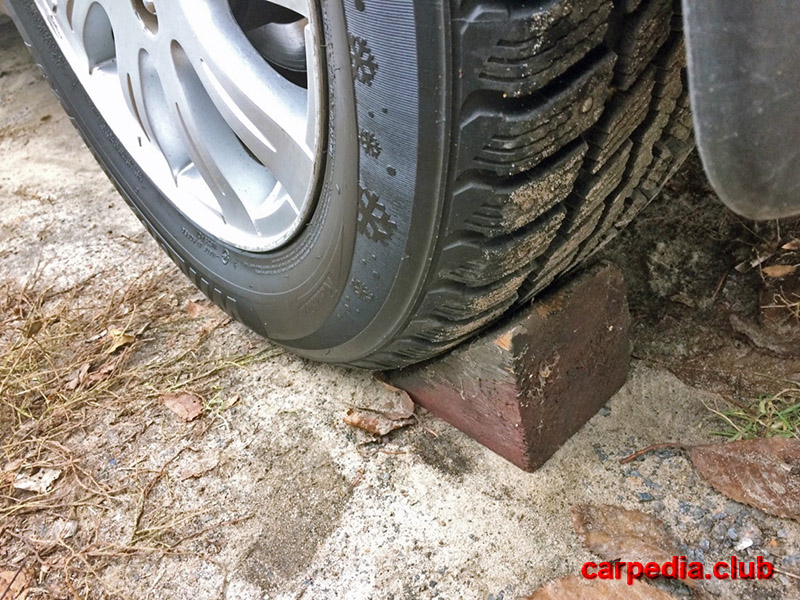
1. Engage 1st gear (transfer the automatic transmission selector to the “P” position) and install the chocks “boots” under the front wheels.
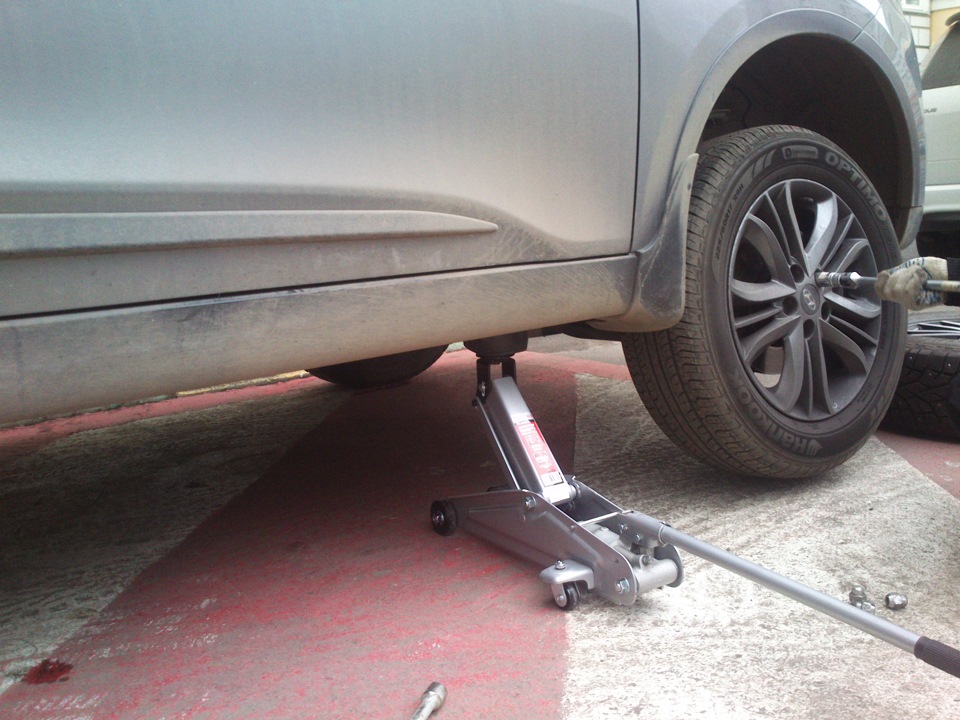
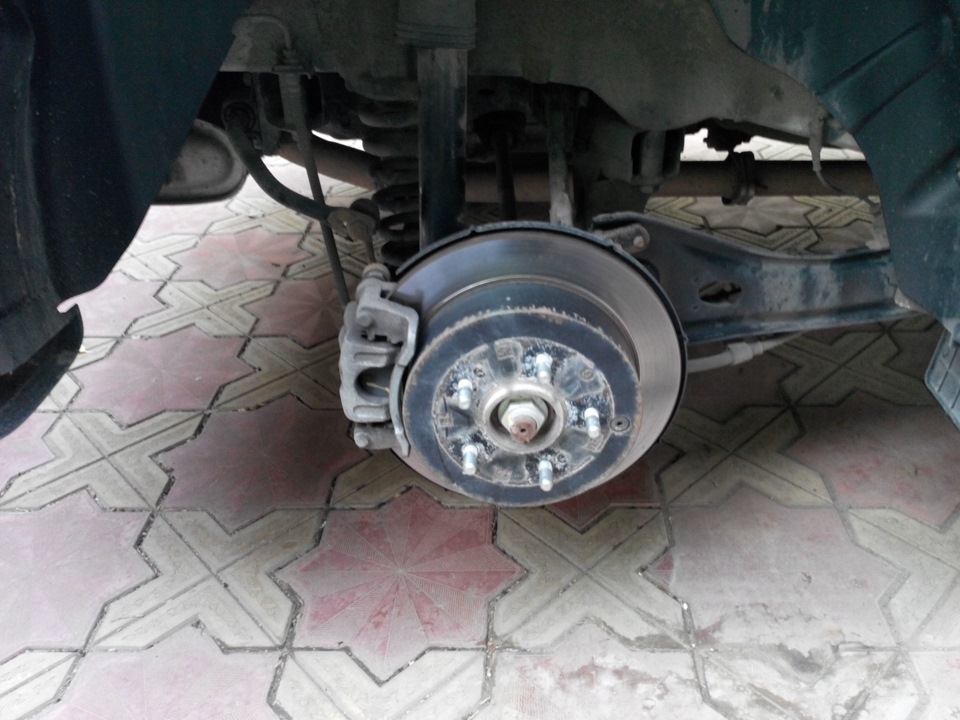
2. Loosen wheel nuts. Raise the rear of the vehicle with a jack, place the vehicle on jack stands and remove the wheel.
WARNING:
Loosen and tighten the wheel nuts only with the vehicle on the ground.
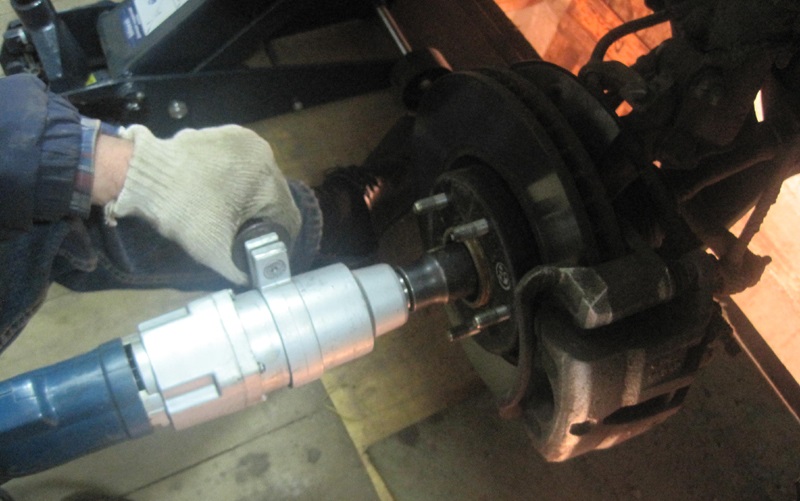
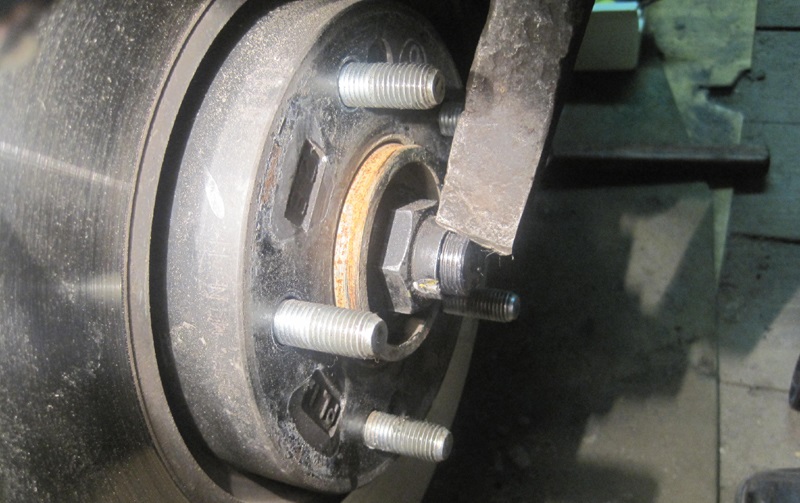
3. Unscrew the hub nut (you can use a socket wrench with a pipe, and fix the brake pedal with a long bar or pipe).
4. Remove the brake drum and disconnect the parking brake cable.
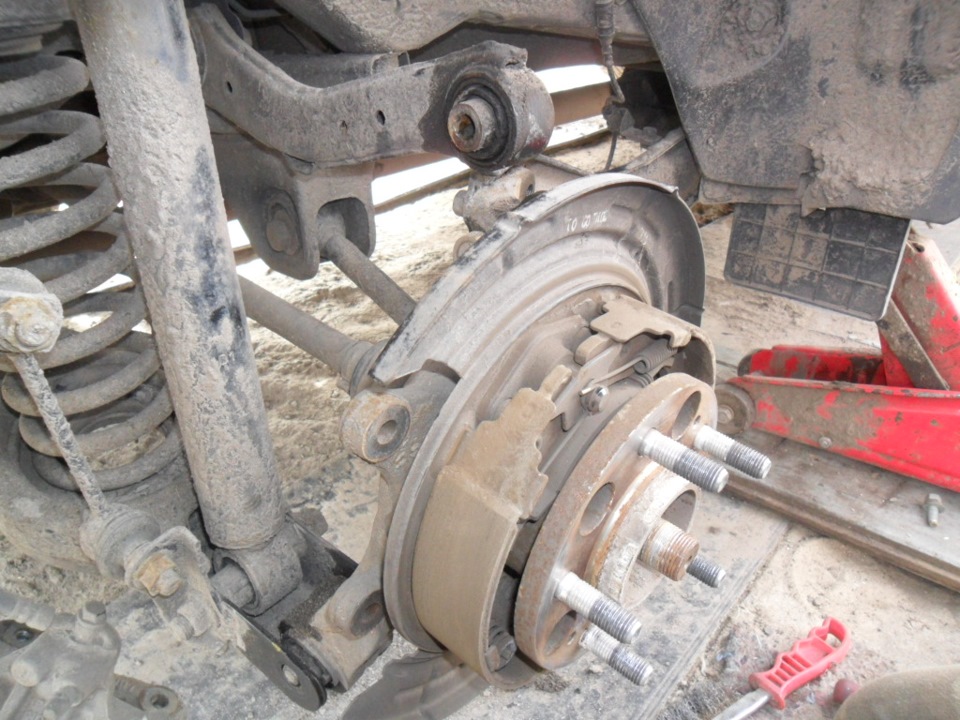
5. Loosen the lower rear suspension arm fasteners as described in this article . Loosen the upper rear suspension arm fasteners.
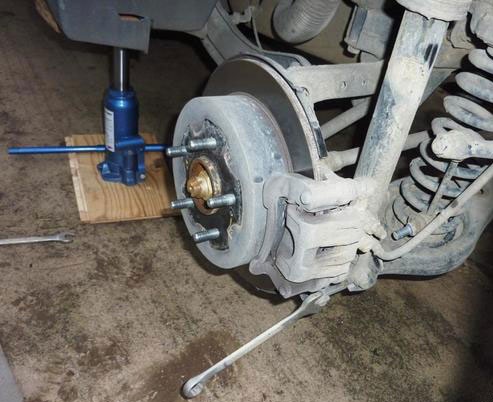
Lower arm mounts.
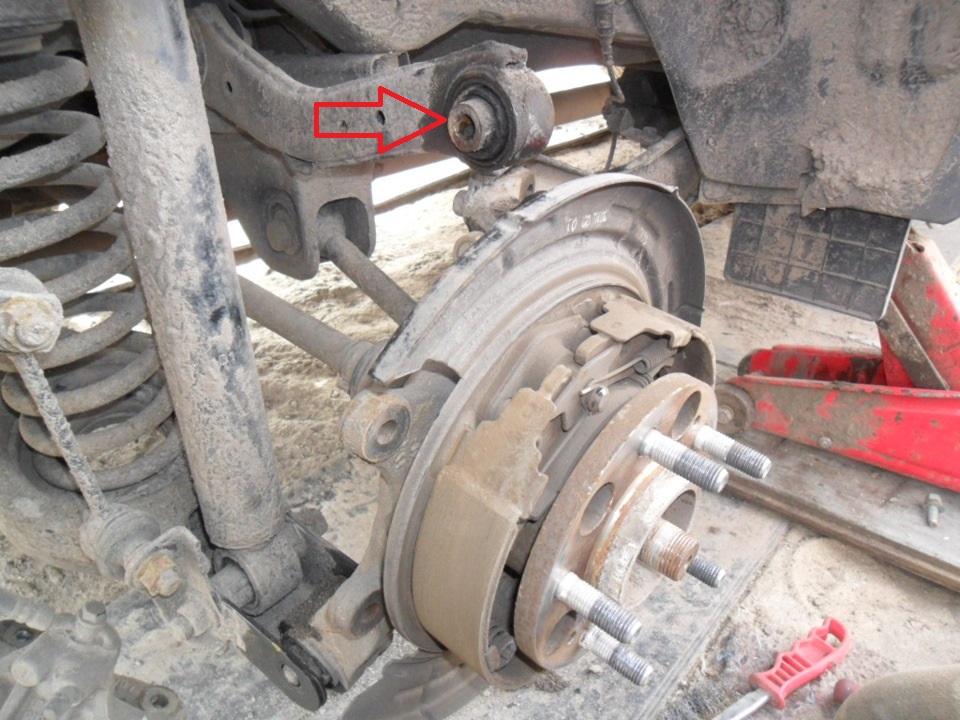
Top arm mount.
6. Remove the hub assembly.
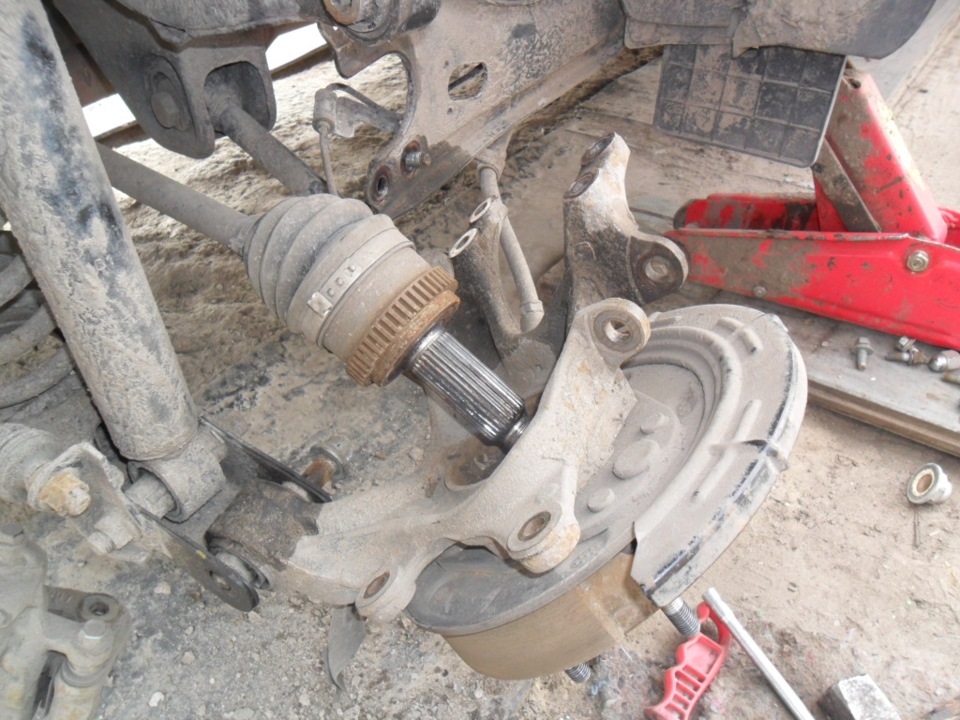
Note:
If the CV joint on the splines has rusted to the hub, then knock it out with a bronze tip and a hammer.
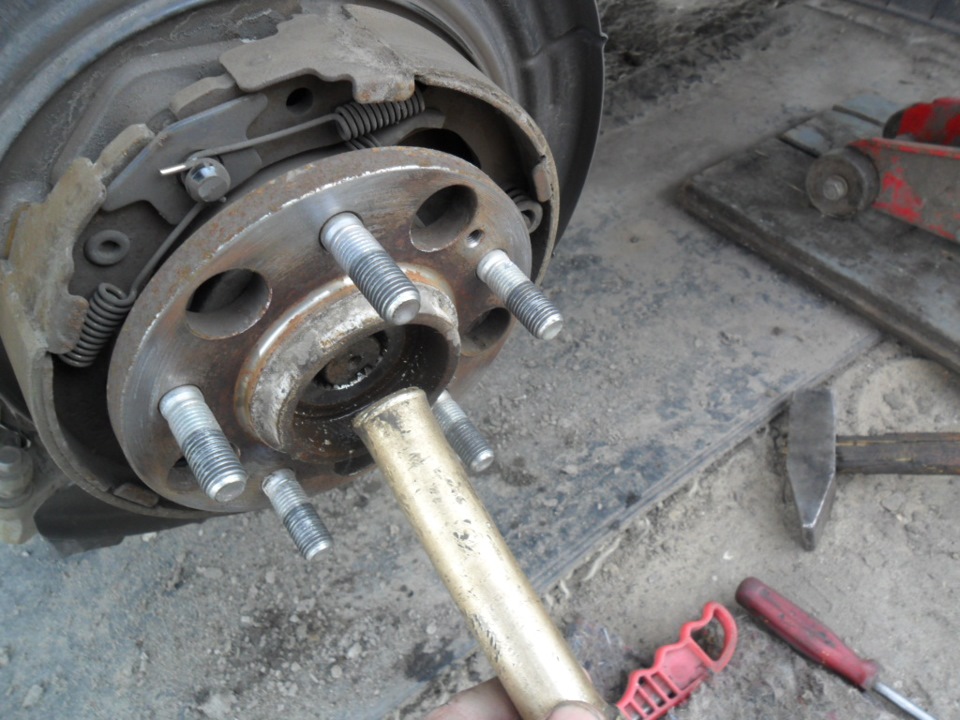
7. Remove the parking brake pads.
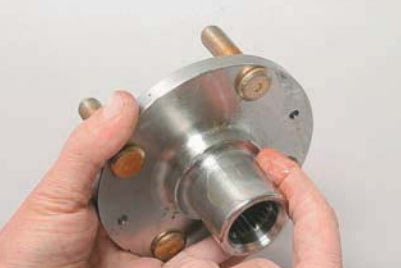
8. Clamp the steering knuckle in a vice and remove the hub with two mounting blades.
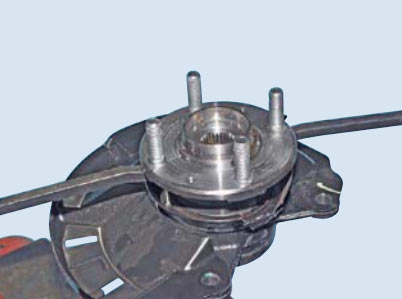
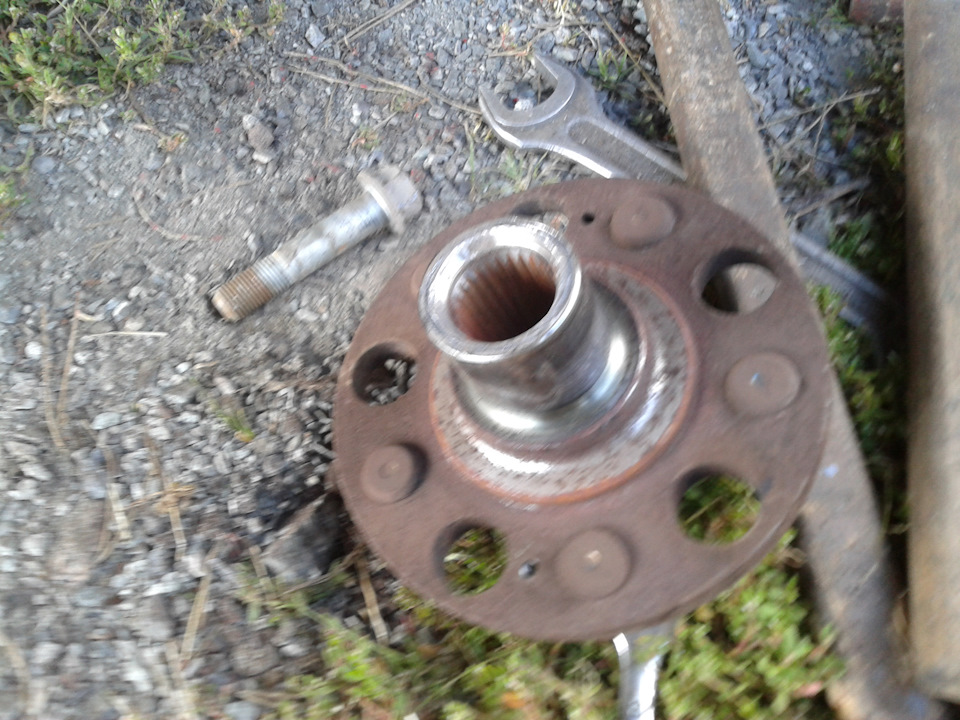
Hub for Hyundai ix35.
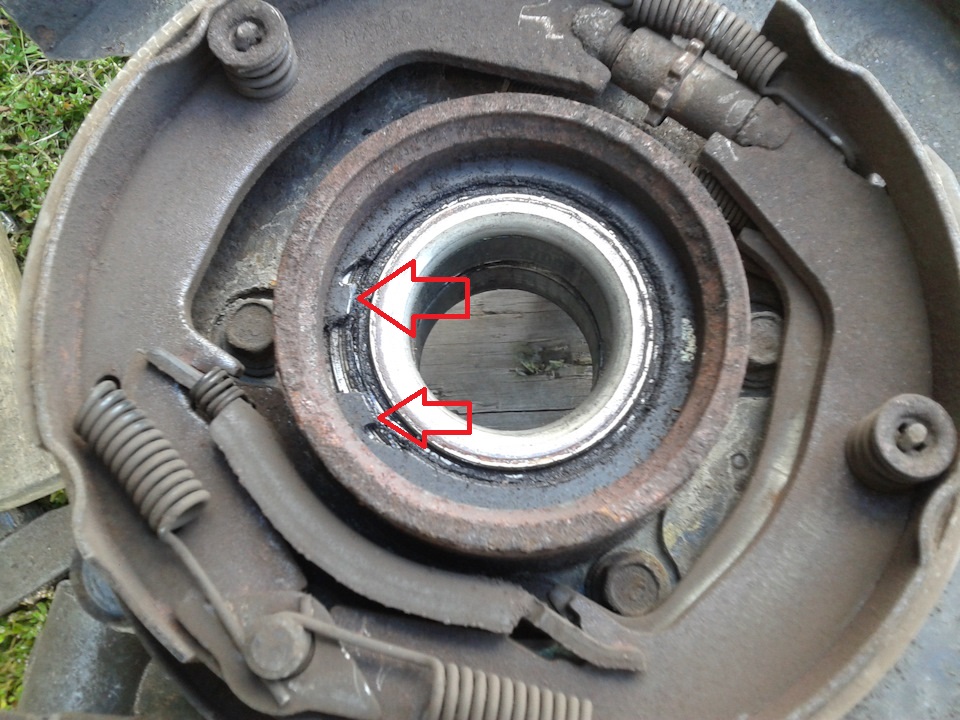
9. Remove the bearing snap ring with a puller.
10. Install the steering knuckle ( 1 ) on the press ( 2 ), put in a suitable mandrel for pressing the bearing ( 3 ) and remove the bearing using the press.
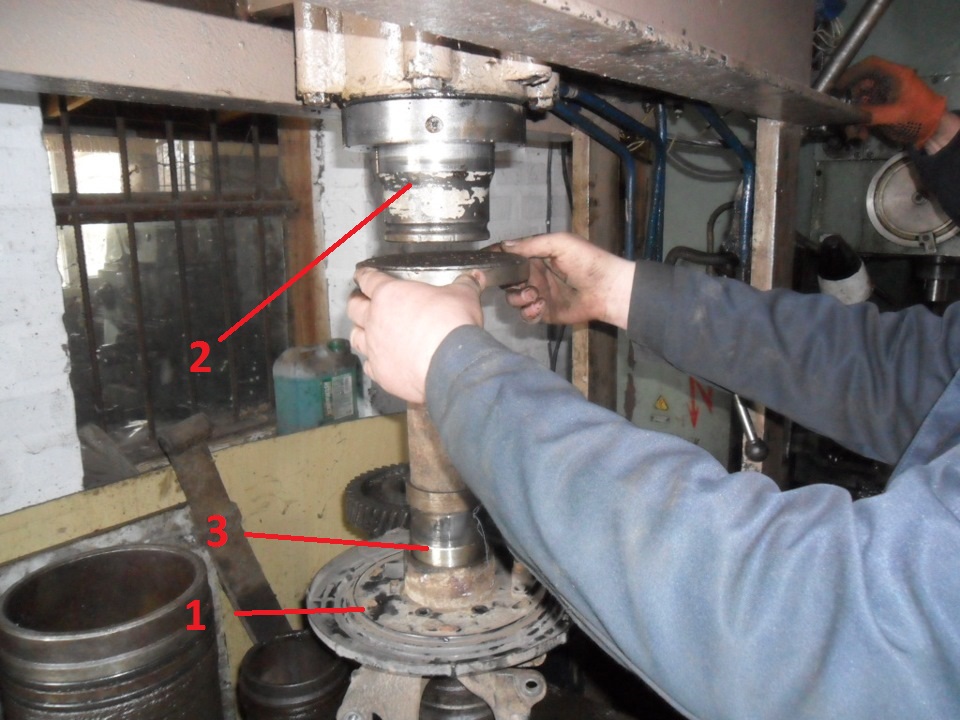
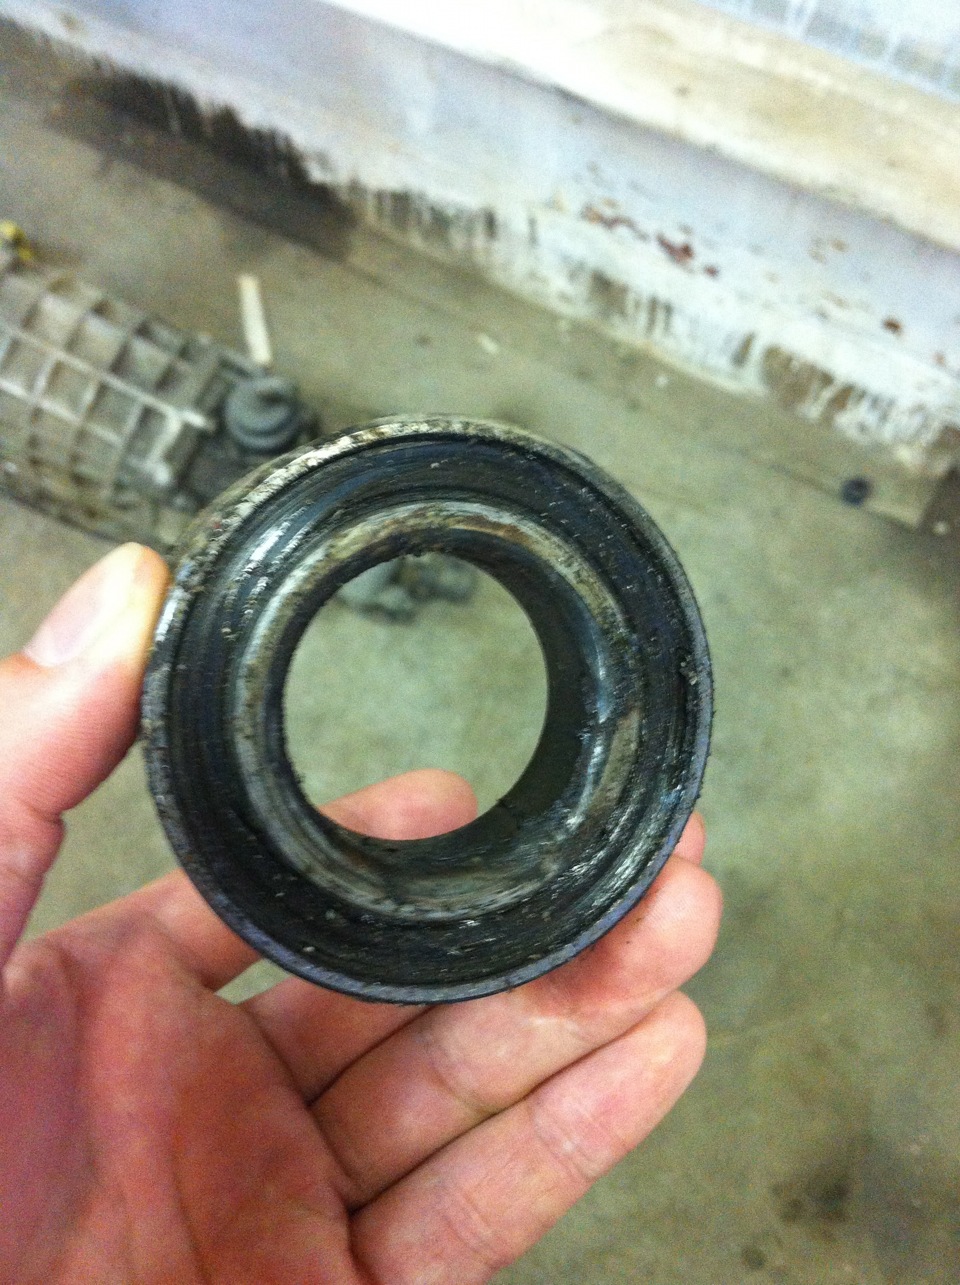
Rear hub bearing for Hyundai ix35.
11. Press the new bearing into the steering knuckle and install the circlip.
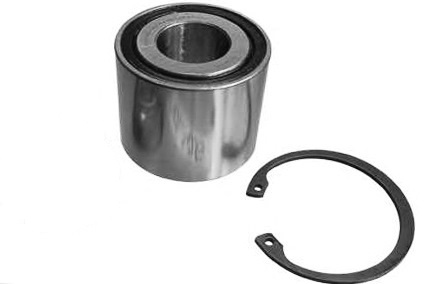
New bearing and circlip.
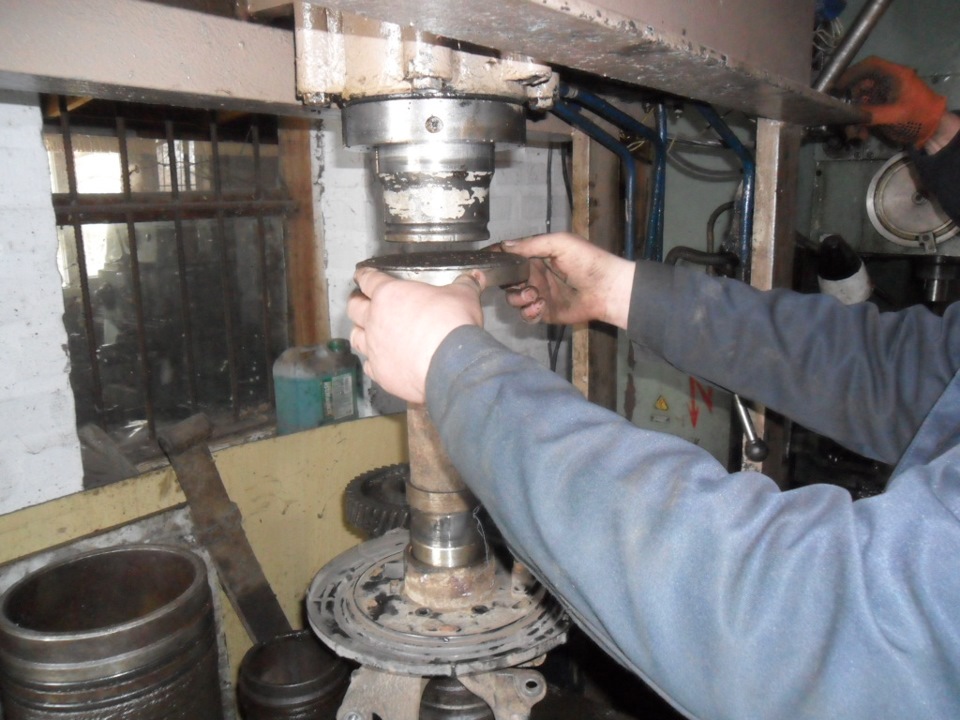
Pressing the hub bearing for Hyundai ix35.
Note:
An old bearing can be used as a mandrel.
12. Apply a light coat of engine or gear oil to the hub surface.
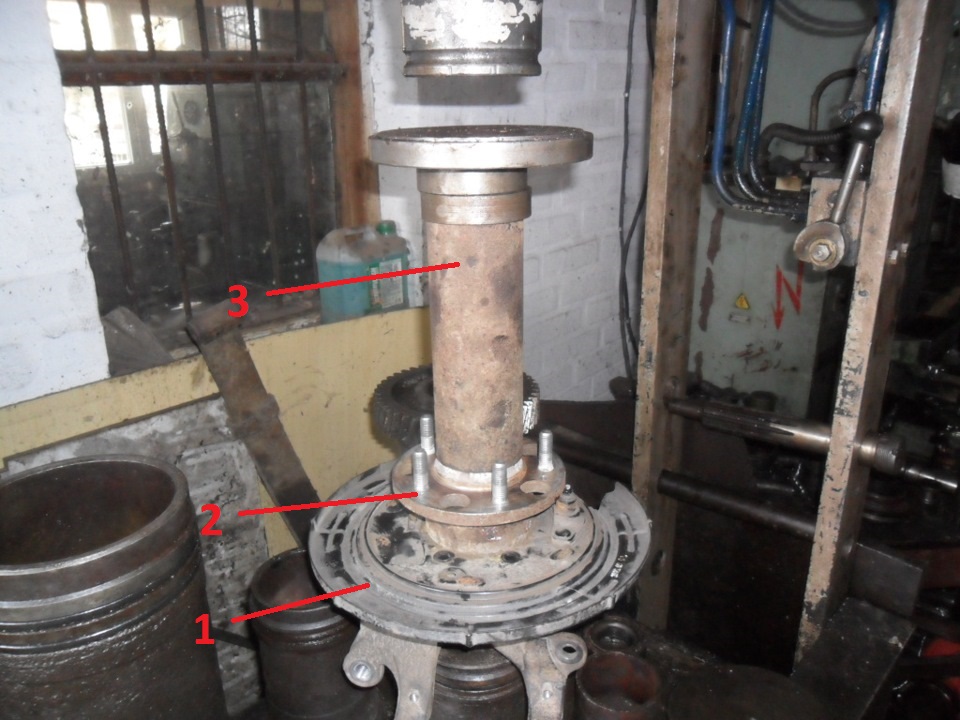
13. Install the hub ( 2 ) on the steering knuckle ( 1 ), and press it in using a suitable mandrel ( 3 ).
14. Install all removed parts in the reverse order of removal.
Note:
Install a new hub nut and screw it on.
The article is missing:
- Tool photo
- Photo of parts and consumables
Source: http://carpedia.club/



![1 generation [2010 - 2015]](/uploads/Hyundai_ix_35_2013_-_2015_.jpg)
