![8 generation [2005 - 2011]](/uploads/Honda_Civic_2011_-_2012.jpg)


Replacing the clamping sleeve of the steering rack Honda Civic
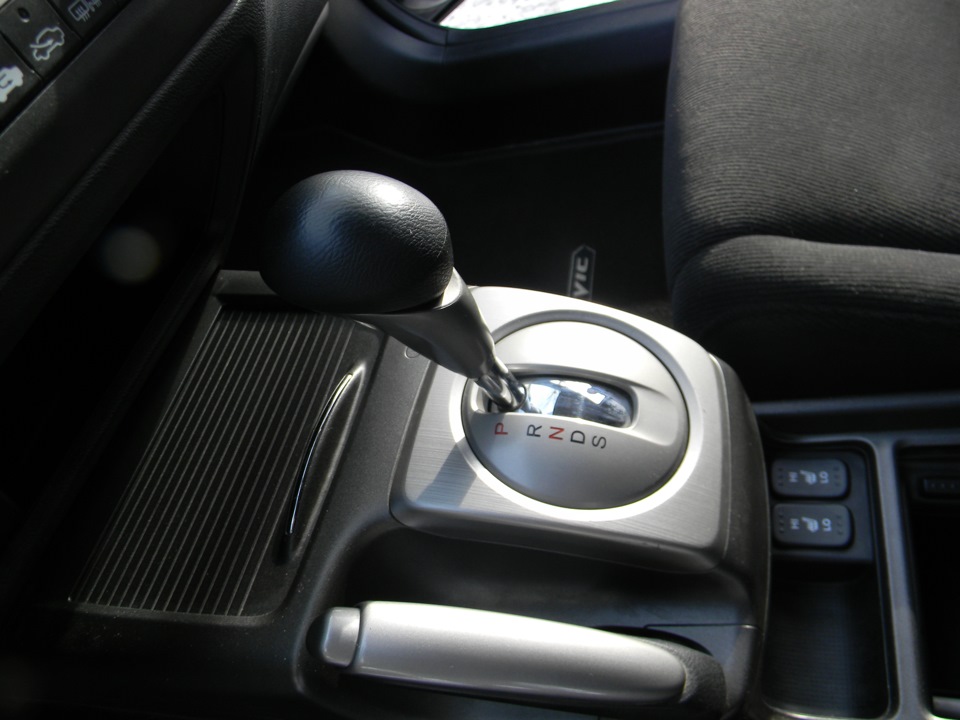
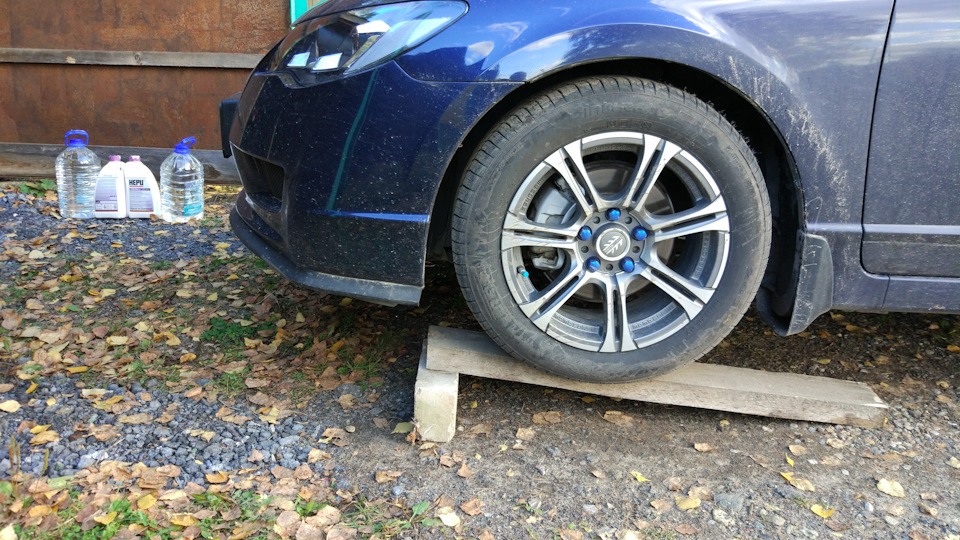
1. Install the car on a pit or overpass. The front wheels must be in the straight ahead position.

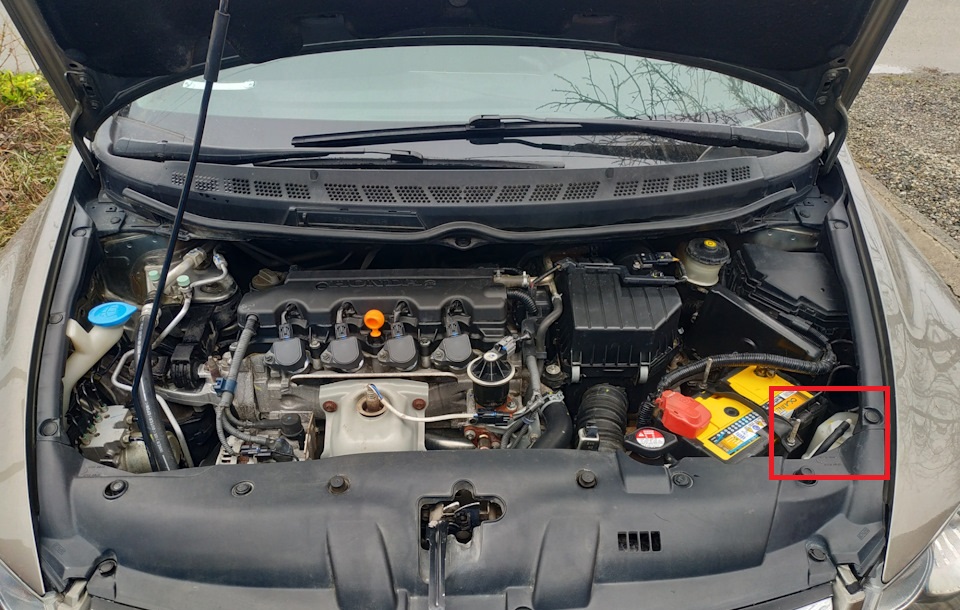
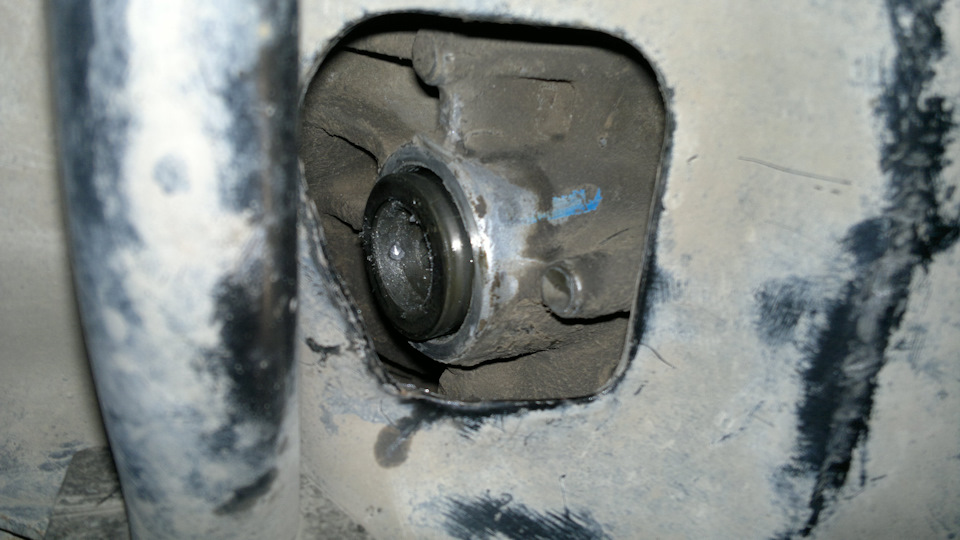
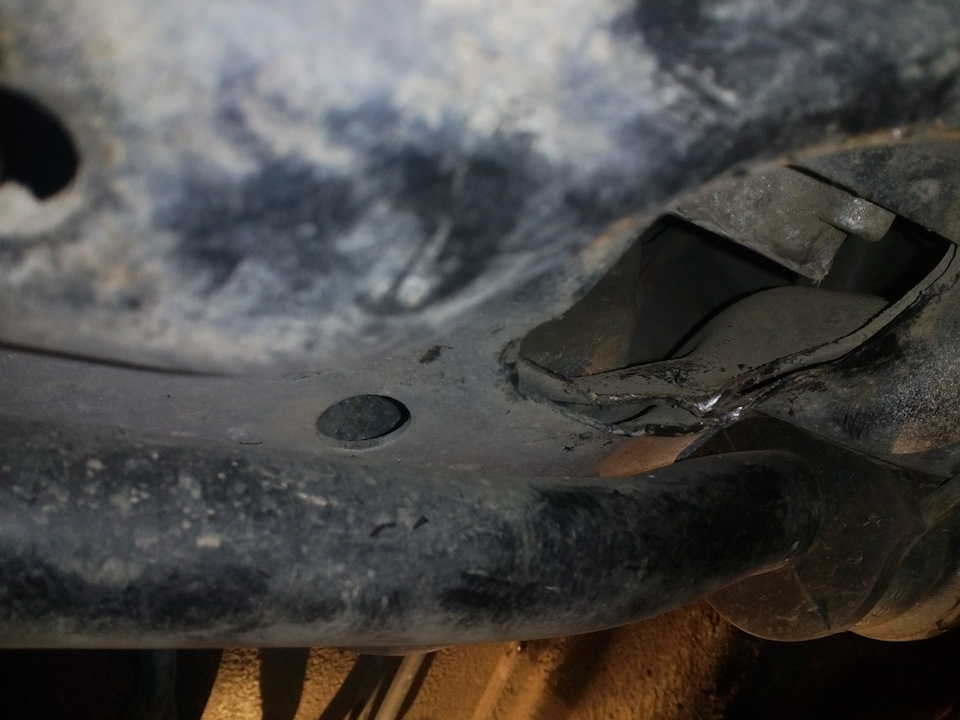
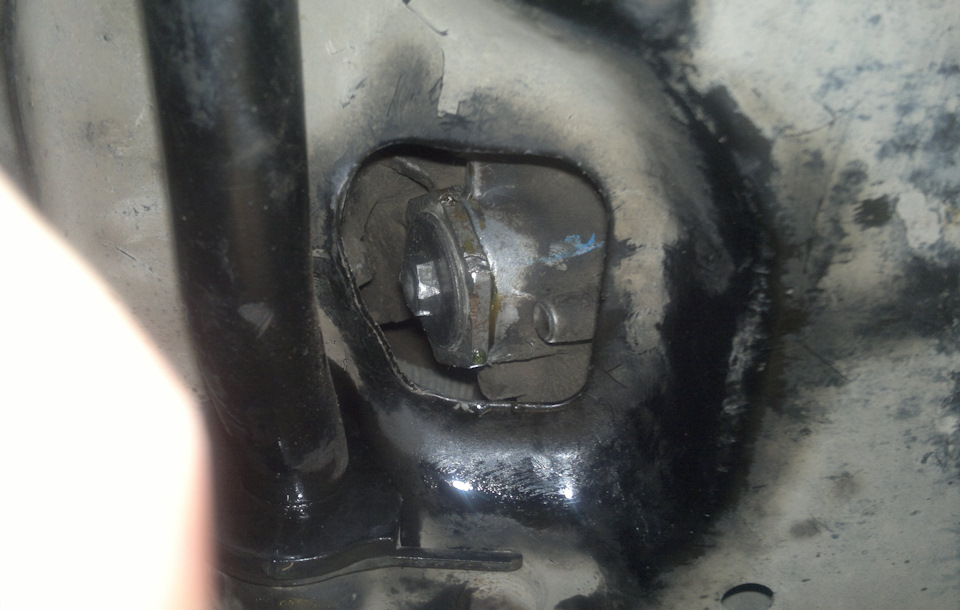
2. To access the steering rack clamping sleeve on a Honda Civic, find a special window in the subframe.
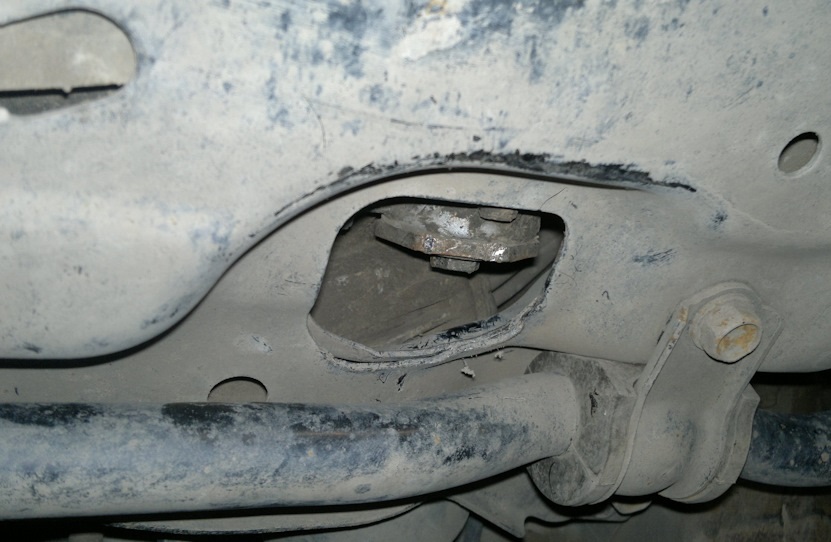
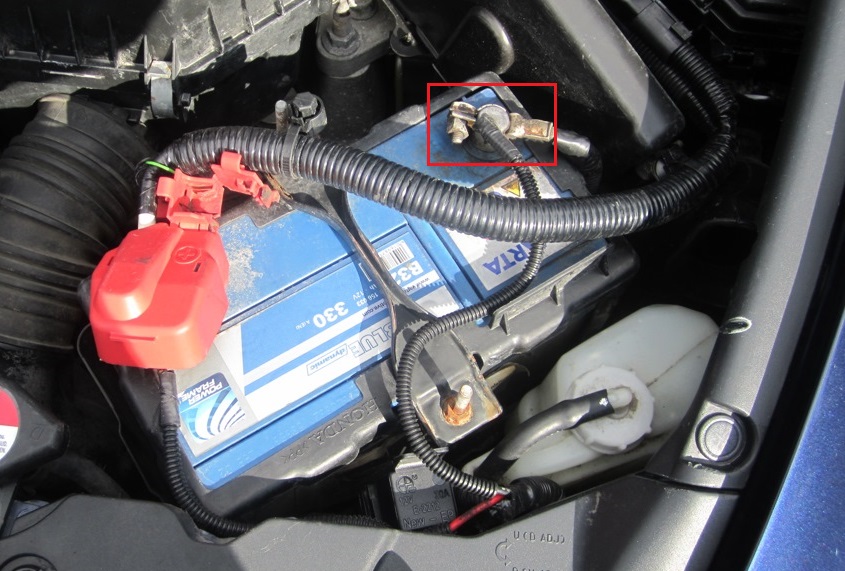
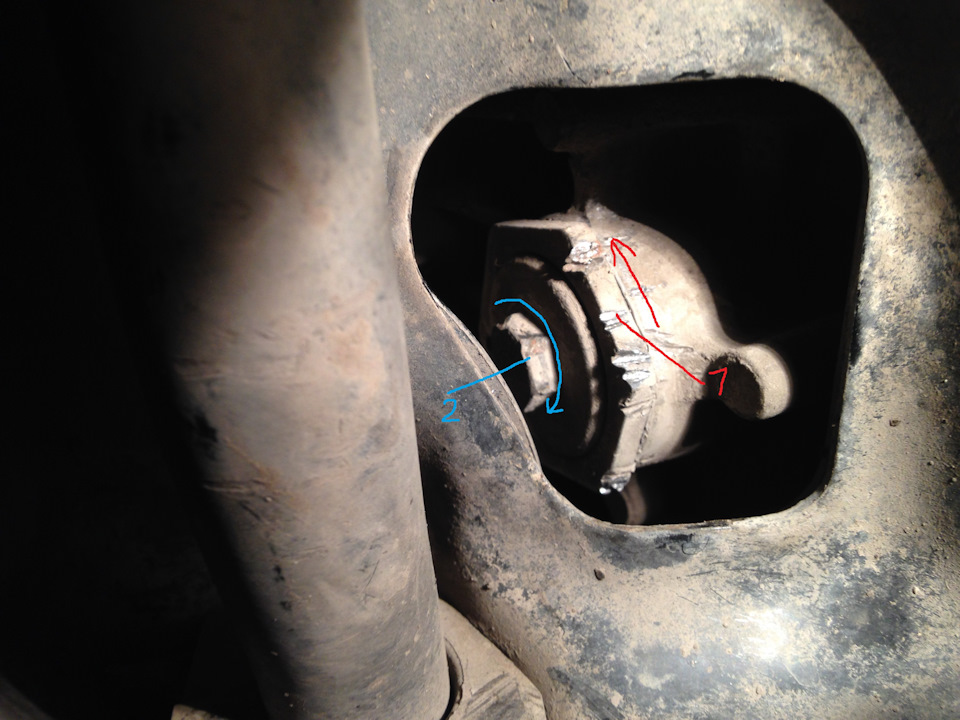
3. With a 14 mm wrench, unscrew the lock nut 1 and with a special 43 mm wrench, unscrew the adjusting bolt 2 (first the bolt, then the nut).
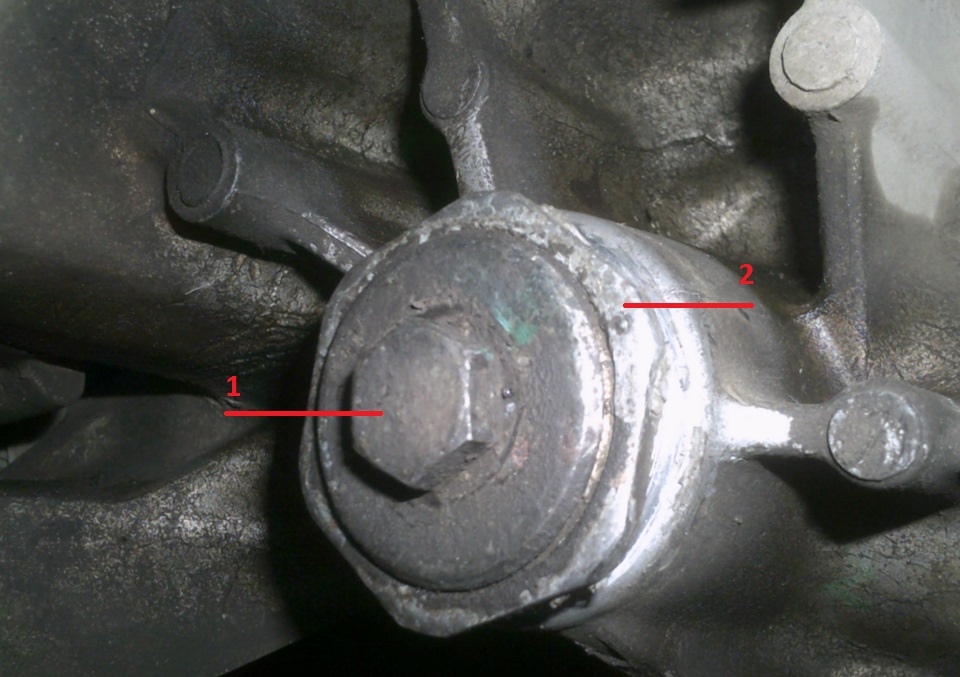
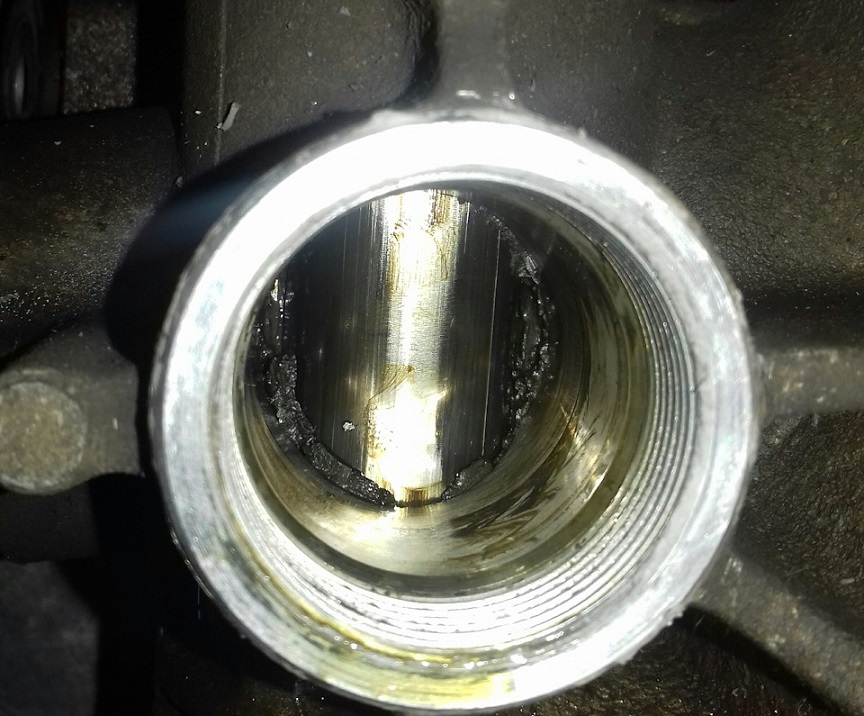
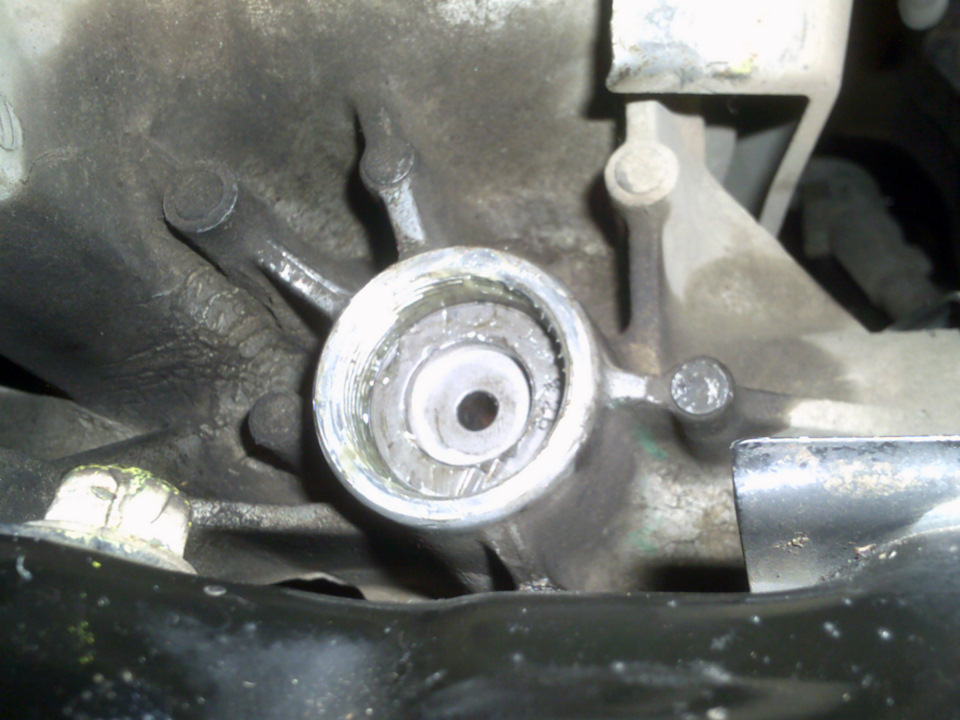
This will open access to the bushing.
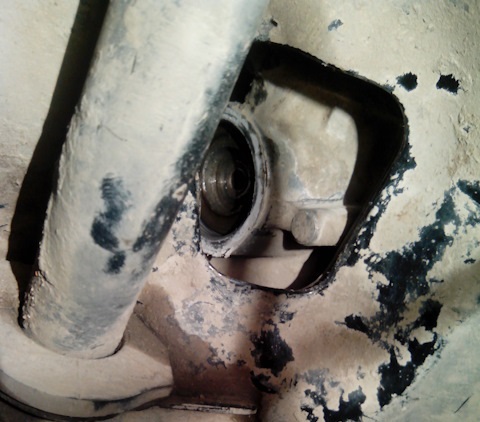
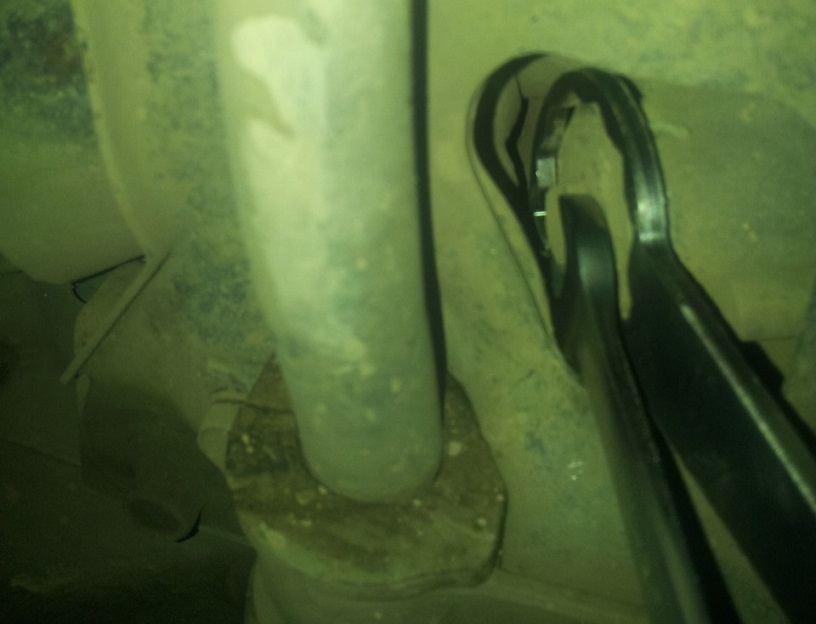
4. Use a flathead screwdriver or other suitable tool to pry out the Honda Civic steering rack clamp.
Note:
Some drivers have noticed that when pulling out the bushing, it rests against the subframe. Therefore, you may have to bend the inside of the subframe.
Also, picking up the sleeve itself with a screwdriver is not so easy. Therefore, you can try to drill a small recess so that there is something to catch on.
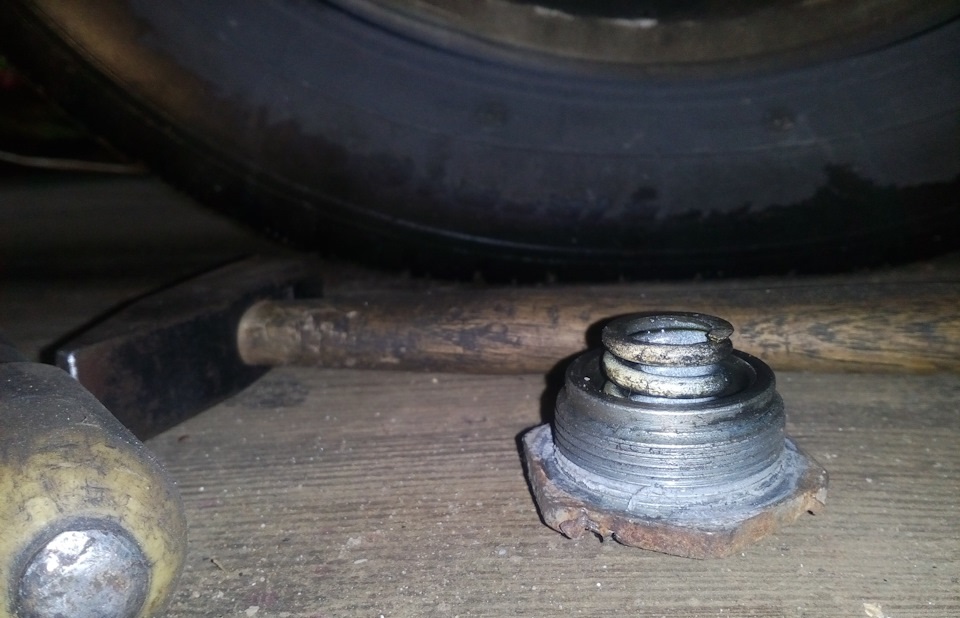
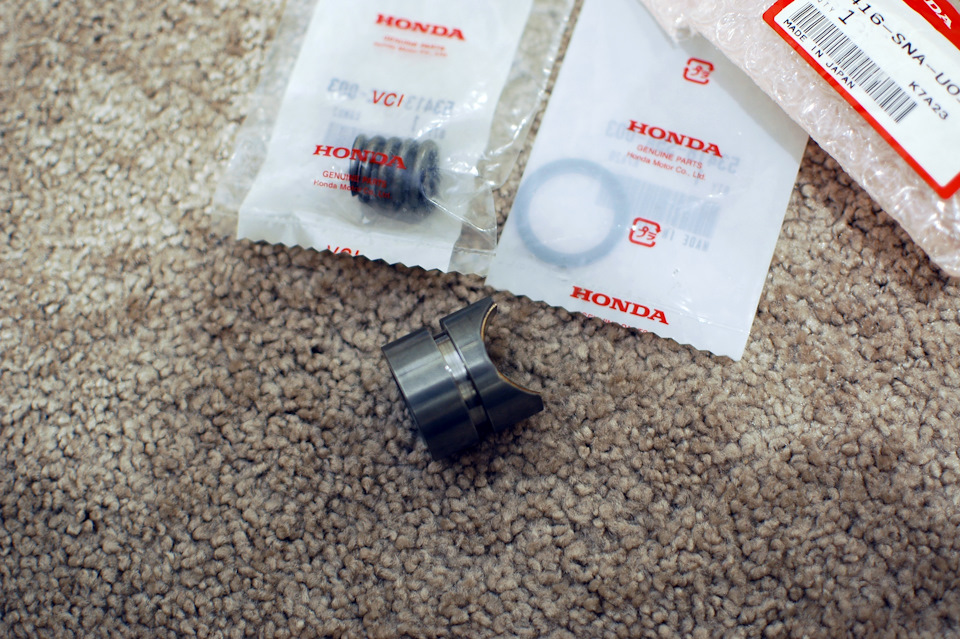
5. Replace the spring and clamping sleeve steering rack Honda Civic with a new one.
6. Lubricate the rubbing surfaces with lithol.
7. Reinstall the retainer spring.
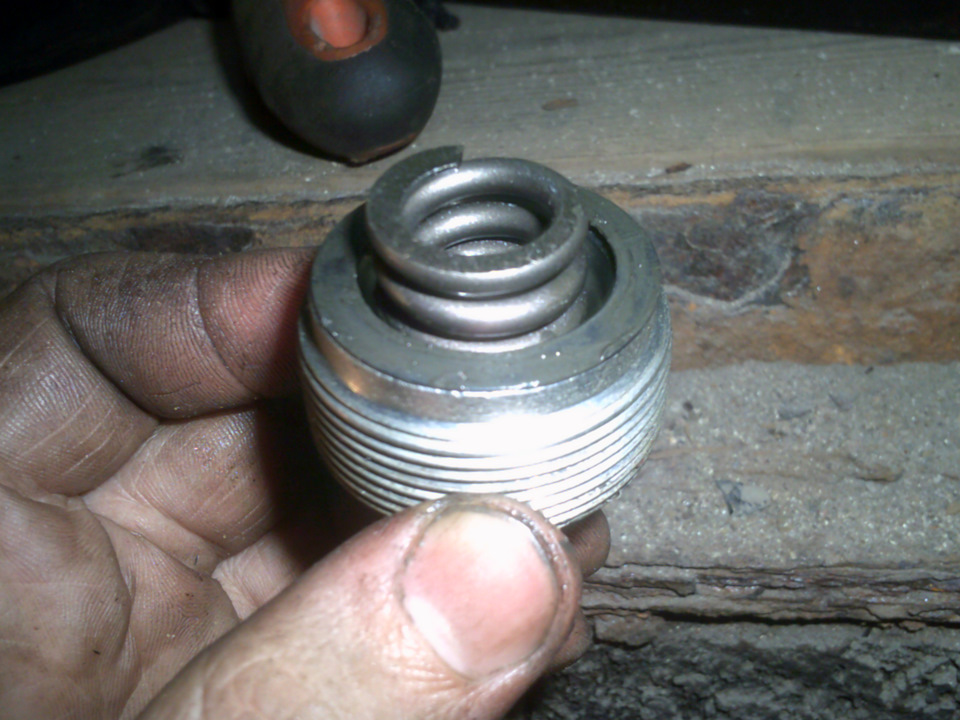
8. Reinstall the Honda Civic steering rack guide bush.
9. Install bolt and locknut.
10. If necessary, adjust the steering rack guide. To do this, turn in the steering rack adjusting bolt to 25 N•m (2.5 kgf-m) and then loosen it.
11. Screw in the adjusting bolt to a torque of 3.9 N•m (0.4 kgf-m), and then turn it out (7 ° ± 3 °).
12. While holding the adjusting bolt from turning with a 14 mm wrench, tighten the Honda Civic steering rack locknut with a second 43 mm wrench to 44 N•m (4.5 kgf-m).
13. Make sure there is no excessive resistance on the steering wheel. To do this, turn the steering wheel from one extreme position to another.
Dimensions of the steering rack bushing Honda Civic 4d

Source: carpedia.club