![CM [2006 - 2010]](/uploads/Hyundai_Santa_Fe_2006-2010_.jpg)
![DM [2012 - 2016]](/uploads/Hyundai_Santa_Fe_2012_-_3.jpg)

- You will need: socket heads “for 10”, “for 13”, a key “for 13”, coolant, cleaning cloth, a container with a capacity of at least 10 liters for draining the coolant, a screwdriver with a Phillips blade, pliers.
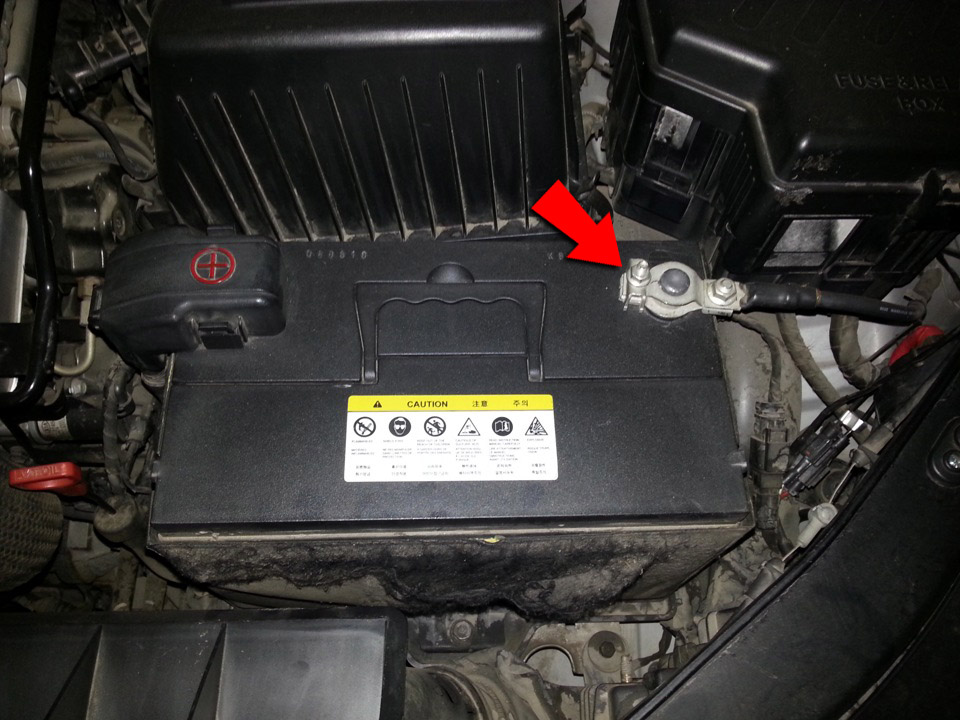
- 1. Disconnect a wire from the minus plug of the storage battery.
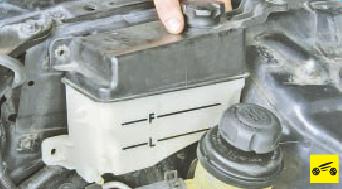
- 2. Drain the coolant from the radiator.
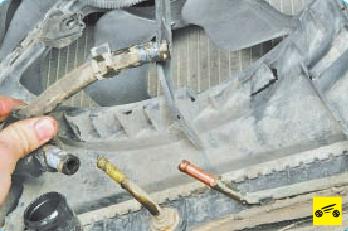
- 3. Squeeze the bent ears of the clamp for attaching the radiator inlet hose ...
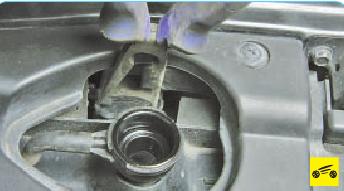
- 4. ... and disconnect the inlet hose from the radiator pipe.
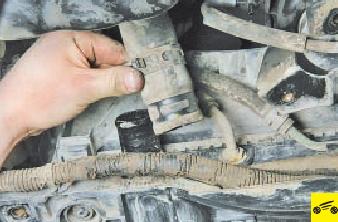
- 5. Squeeze the bent ears of the fastening clamp, slide the clamp along the hose ...

- 6. ... and disconnect the outlet hose from the radiator pipe.
- 7. On vehicles with automatic transmission, squeeze the bent ears of the clamps for fastening the automatic transmission fluid cooling hoses, slide the clamps along the hose ...
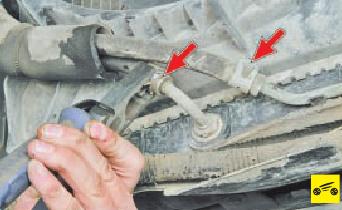
- 8. ... and disconnect the hoses from the pipelines.
- NOTE
- Plug the automatic transmission fluid cooler hoses and lines to prevent fluid from escaping and debris from entering the system.
- 9. Remove the radiator electric fans (see "Removing and installing the radiator electric fans of the engine cooling system").
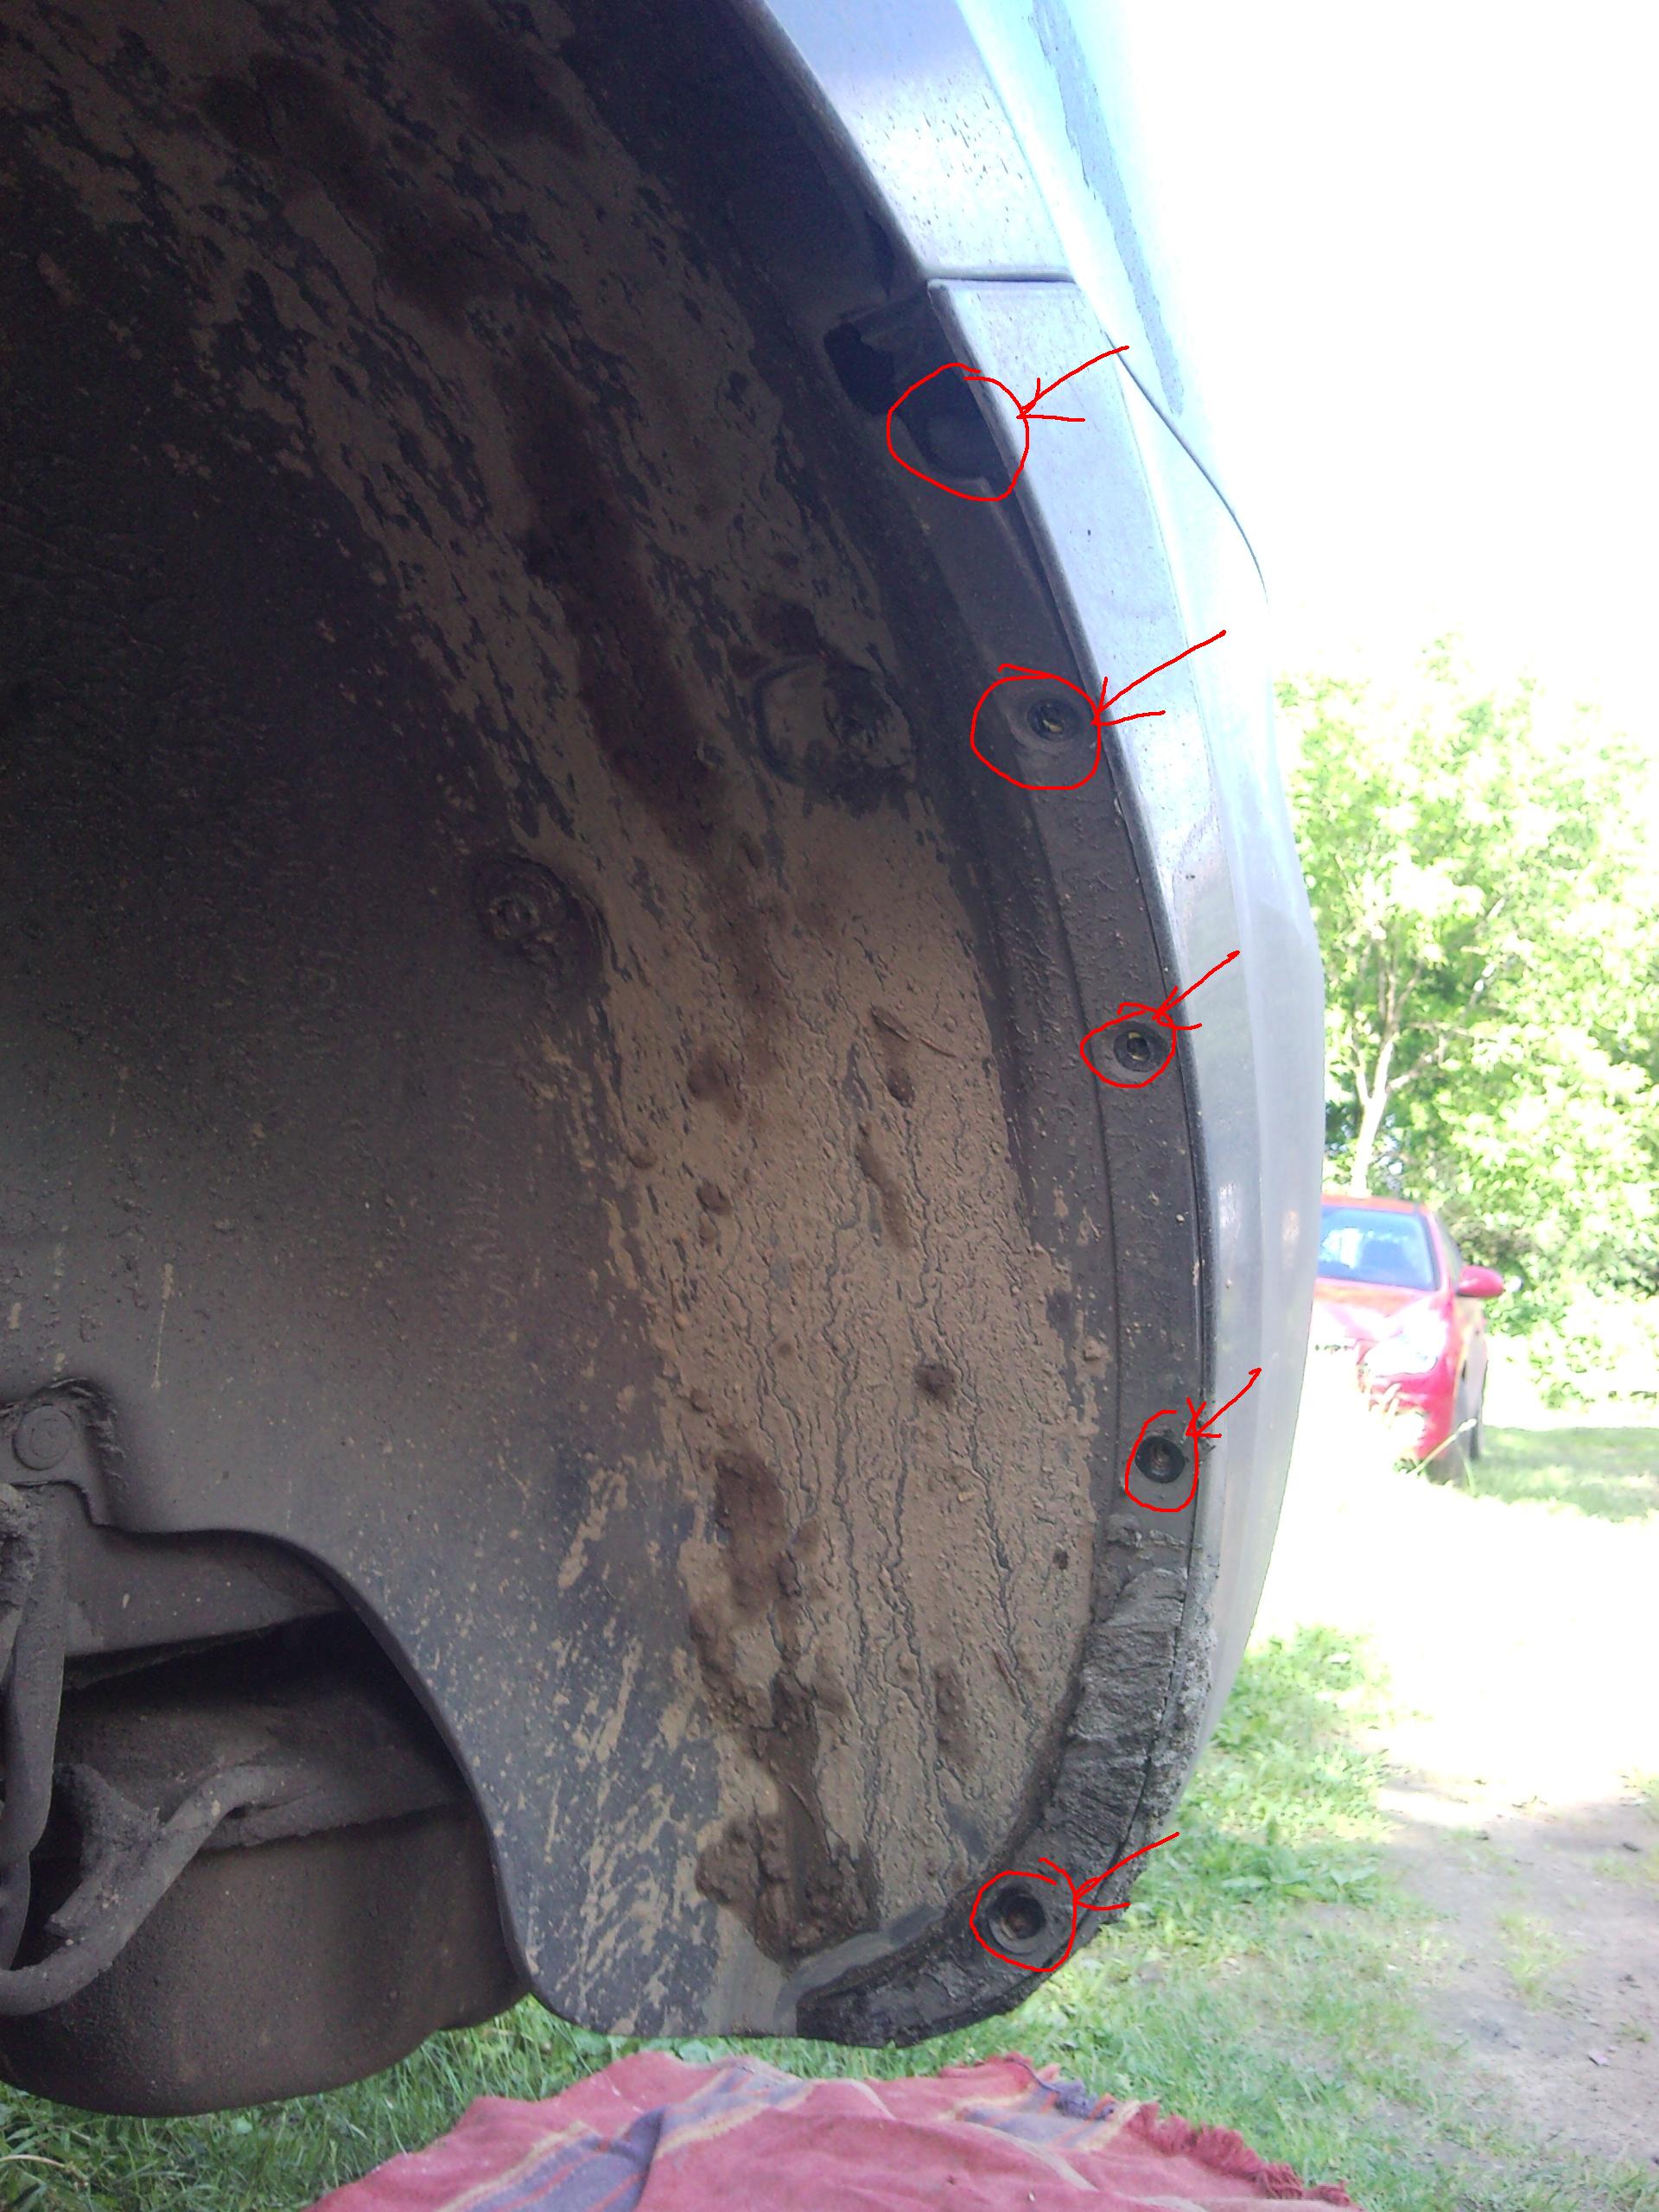
- 10. Remove the front bumper (see "Removing and installing the front bumper").
- 11. Remove the hood lock (see "Removing and installing the hood lock").
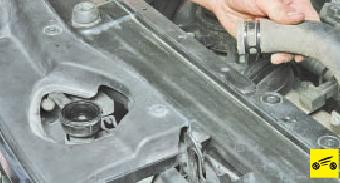
- 12. Disconnect the steam outlet hose from the fitting on the radiator filler neck.

- 13. Turn out on two bolts of fastening of the top support of a radiator from the left and right side.
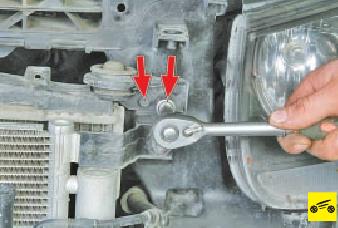
- 14. Remove the radiator from the car

- 15. Examine pillows of support of a radiator, replace strongly deformed or hardened pillows.
- 16. Rinse the outside of the radiator with a jet of water and dry. If cracks appear on the plastic tanks of the radiator, replace the radiator.
- 17. Check the tightness of the radiator, for which plug its pipes, supply air to the radiator at a pressure of 1 kgf / cm2 and lower it into a container with water for at least 30 s. Leakage of the radiator is determined by the outgoing air bubbles. If the radiator does not fit into the container as a whole, check it sequentially from all sides.
- 18. Establish a radiator and all details in an order, the return to removal.
- 19. Fill in coolant and remove air plugs from the cooling system (see "Replacing the coolant").
- Source: Hyundai Santa Fe Owner's Manual, Third Rome Publishing House
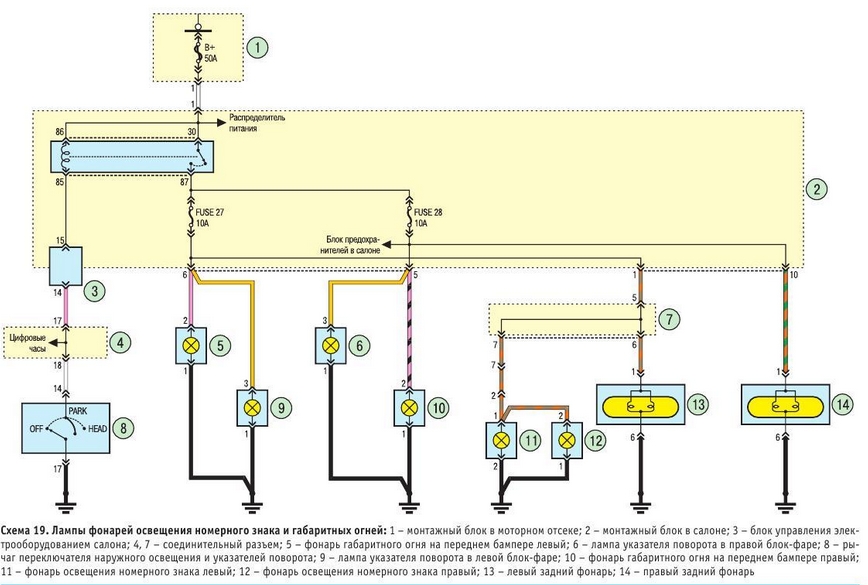
Lamps for license plate lights and parking lights. Scheme
[[ article.getBookmarkIcon() ]]
Instrument
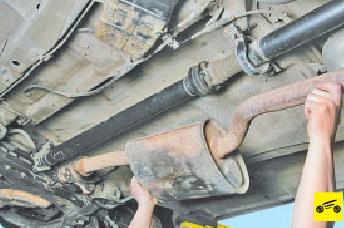
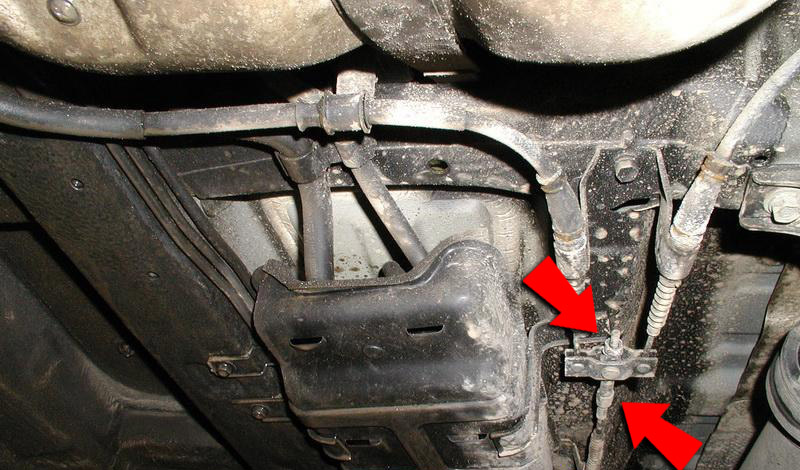
Removal and installation of additional muffler Hyundai Santa Fe
[[ article.getBookmarkIcon() ]]
Instrument
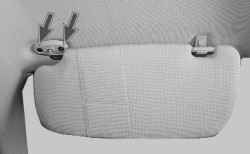
Removing and installing the front seat Hyundai Santa Fe CM 2006-2012
30 minutes - 1 hour
[[ article.getBookmarkIcon() ]]
Instrument
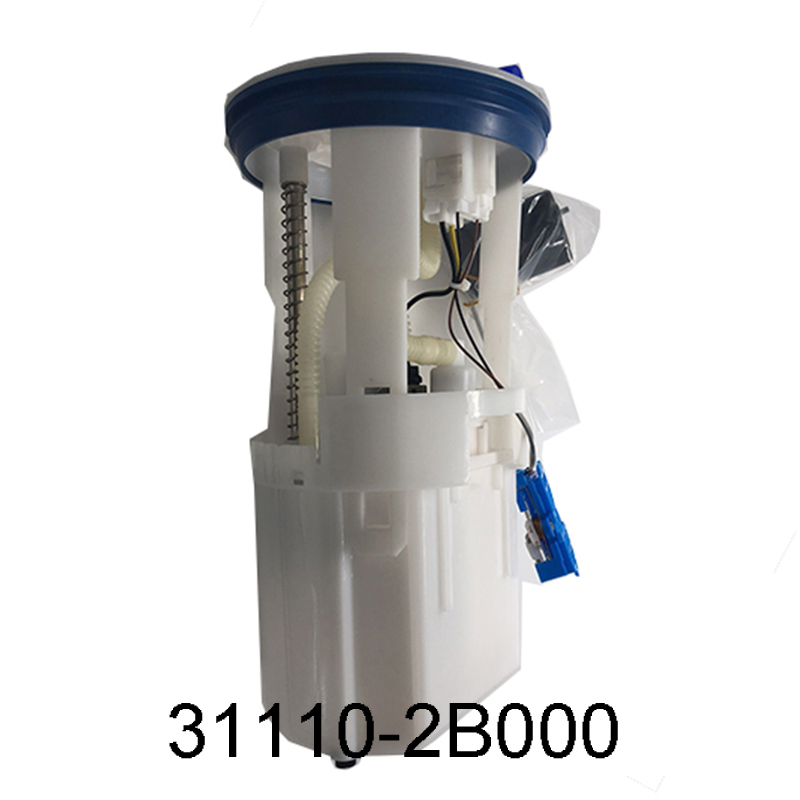
Removing and installing fuel pump module Hyundai Santa Fe CM 2006-2012
[[ article.getBookmarkIcon() ]]

Setting the piston of the first cylinder to the TDC position of the compression stroke Hyundai Santa Fe
[[ article.getBookmarkIcon() ]]
lift