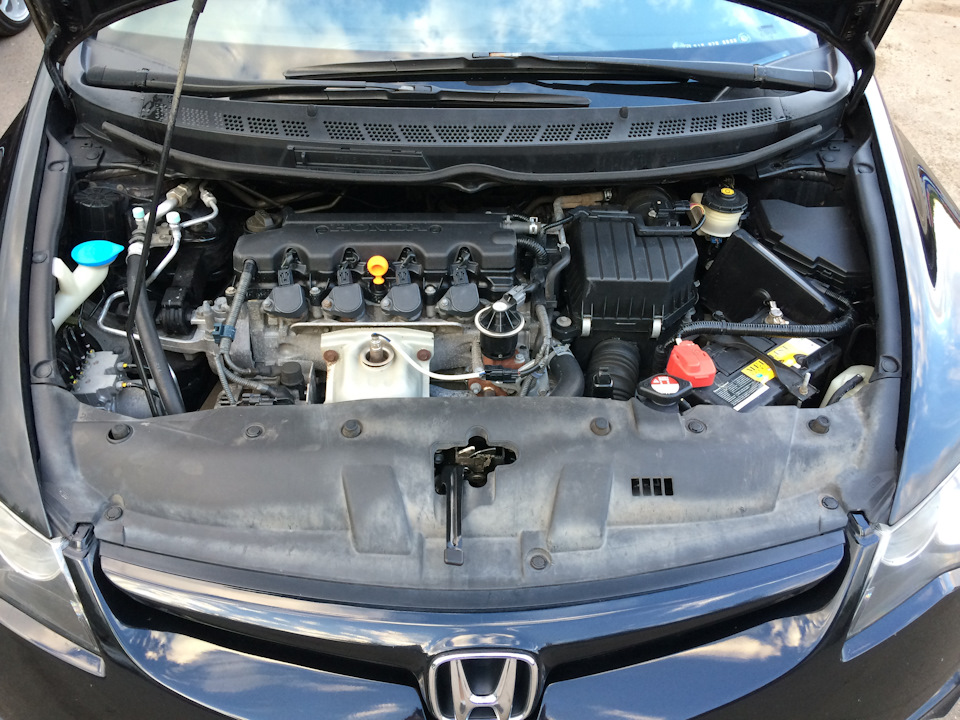
![8 generation [2005 - 2011]](/uploads/Honda_Civic_2011_-_2012.jpg)


Note:
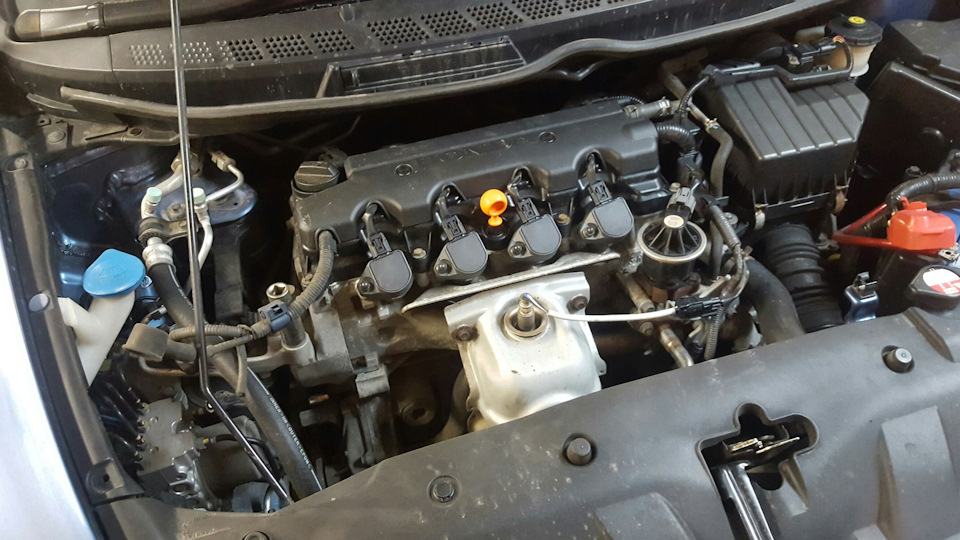
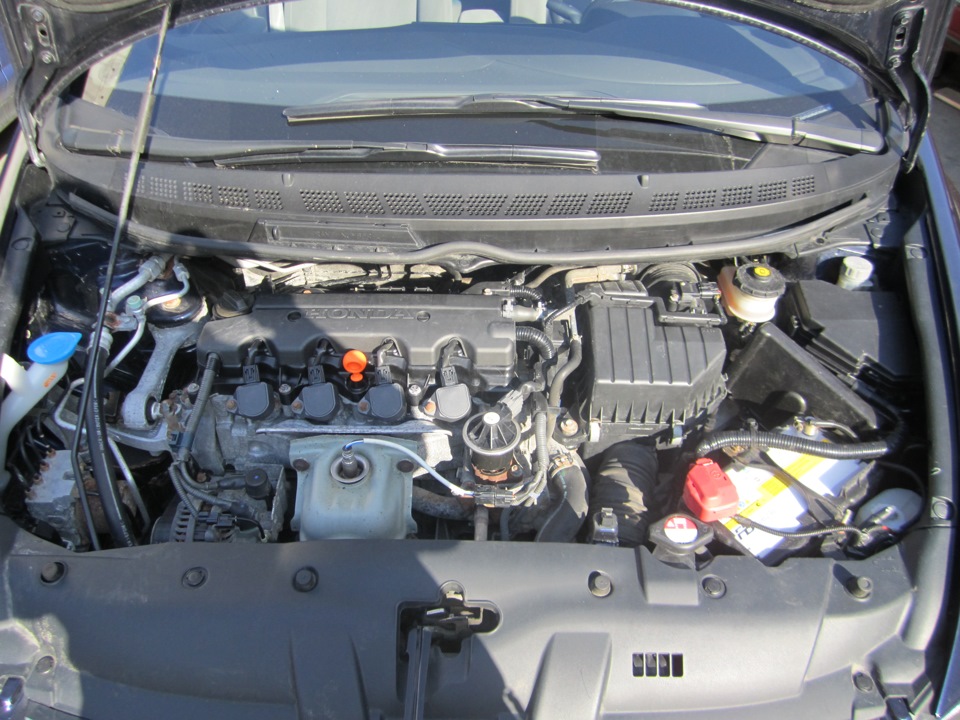
The thermostat is installed in a housing fixed to the cylinder head.
The need to remove the thermostat may arise to replace it when the engine temperature is unstable: overheating or insufficient heating.
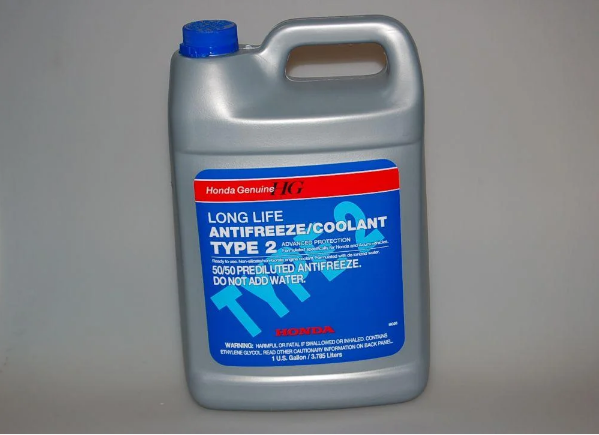
Before replacing the thermostat on a Honda Civic, you will first need to drain the coolant from the system.
Draining coolant on a Honda Civic
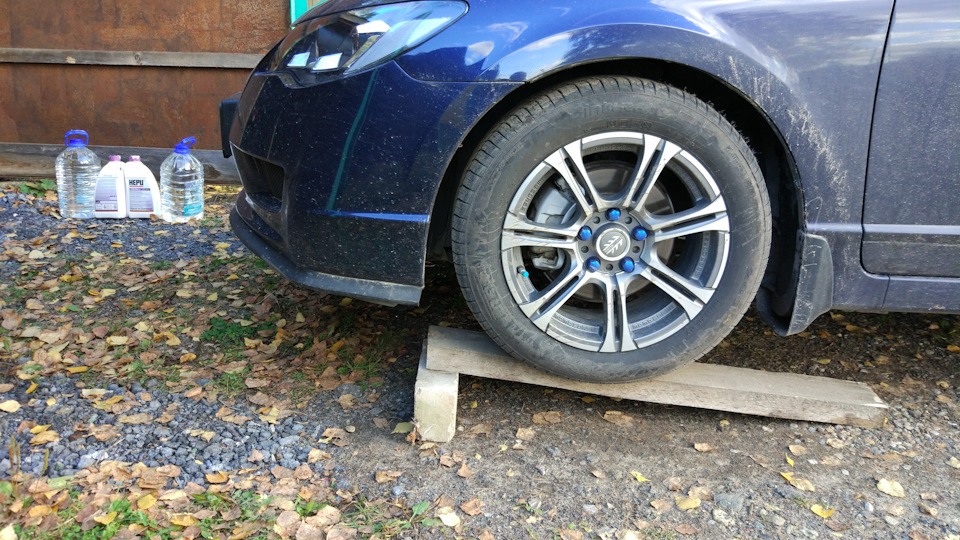
1. Install the car on a flyover or other elevation.
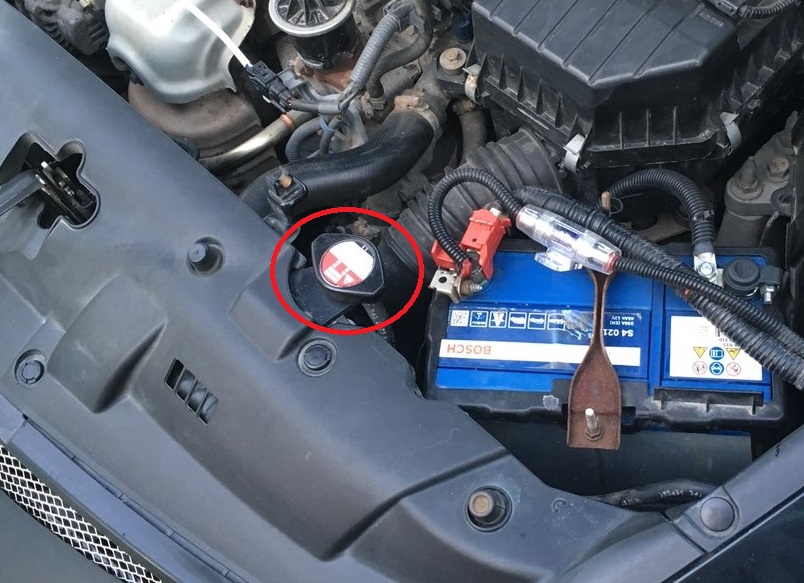
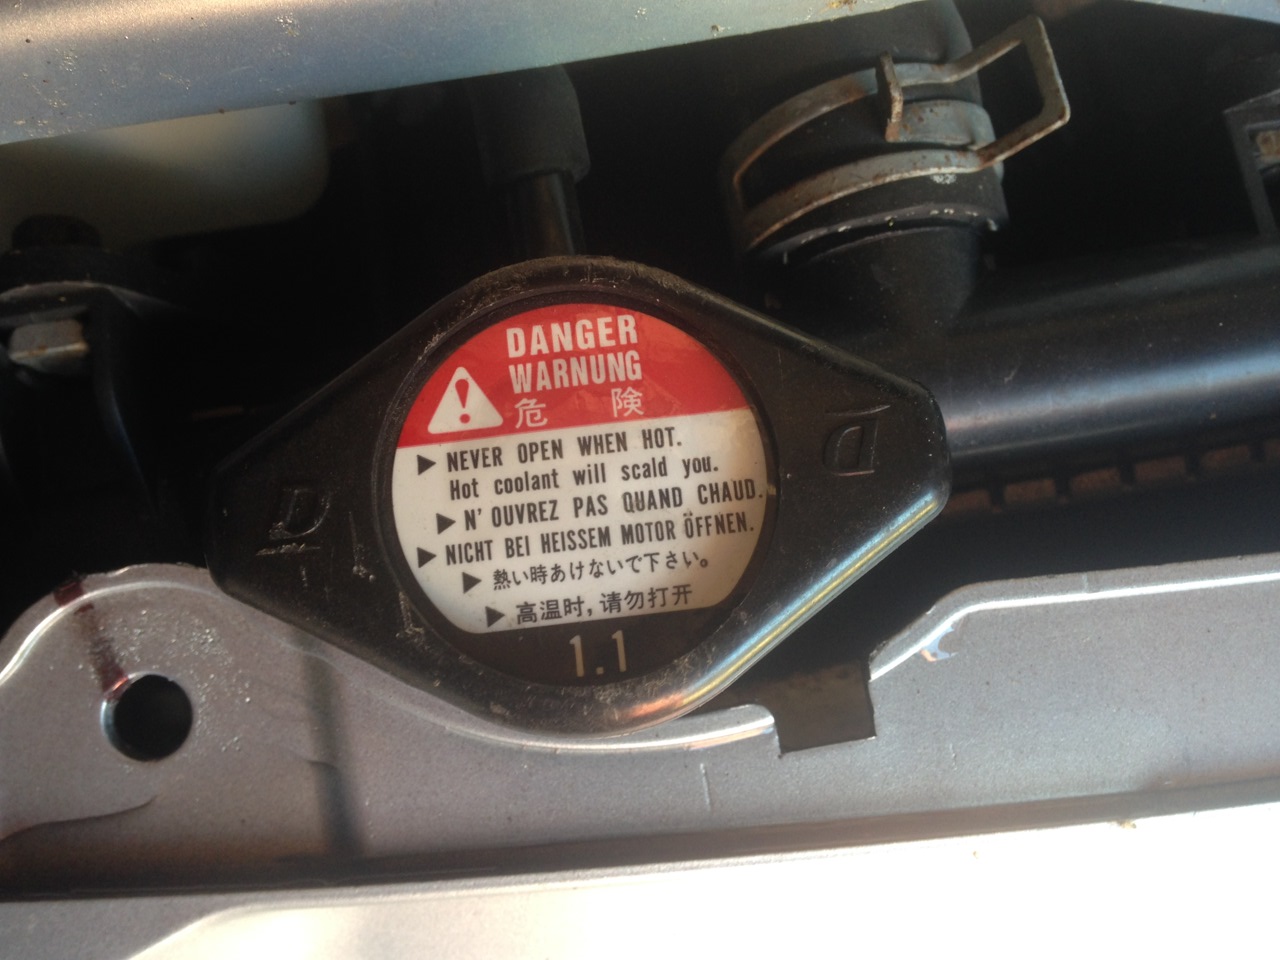
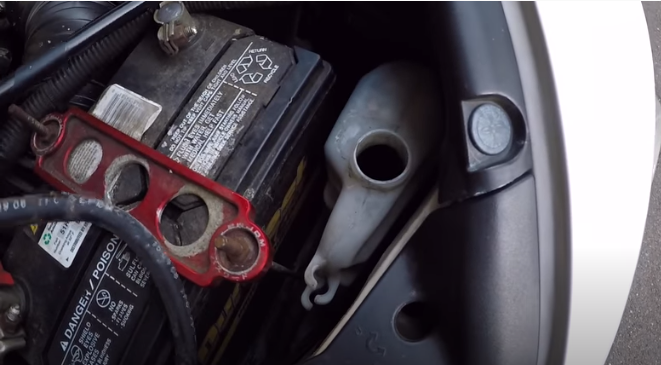
2. To relieve pressure in the cooling system, slowly turn the expansion tank cap counterclockwise.
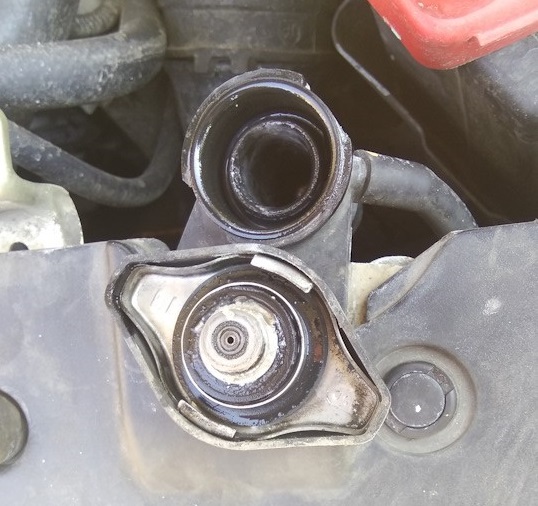
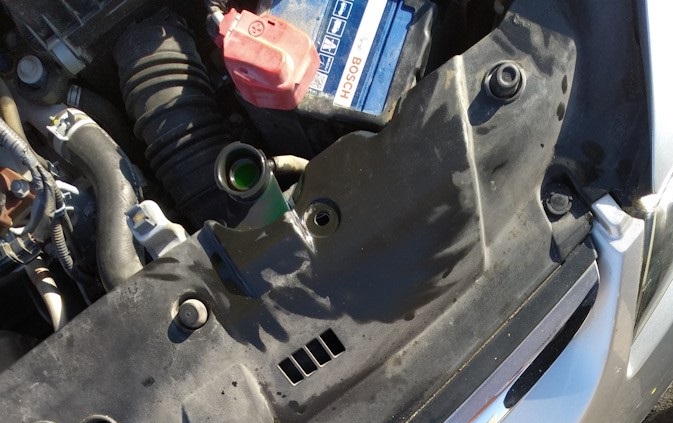
3. Remove the cover.
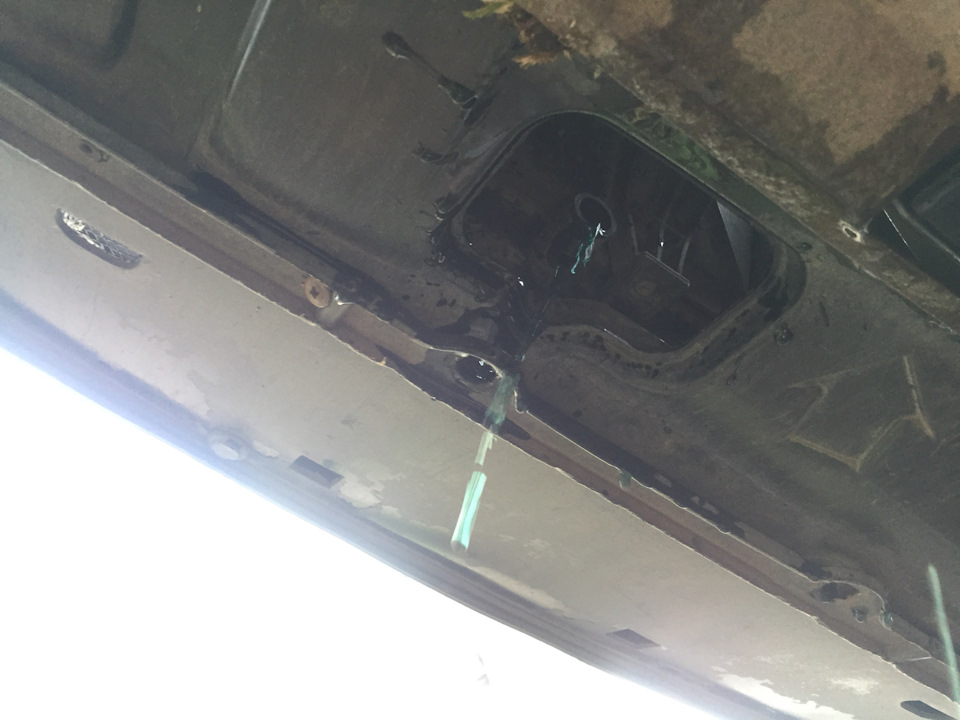
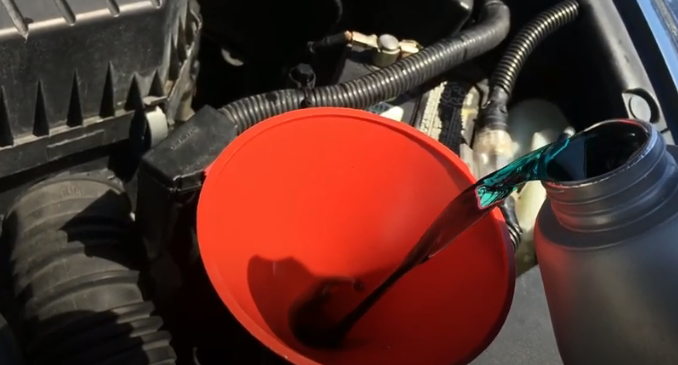
4. Get under the car. Place a container under the radiator drain valve.
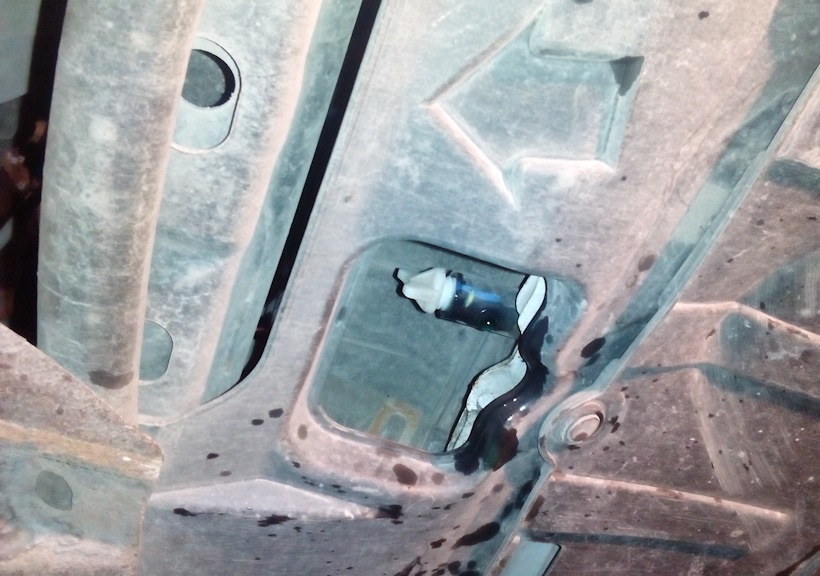
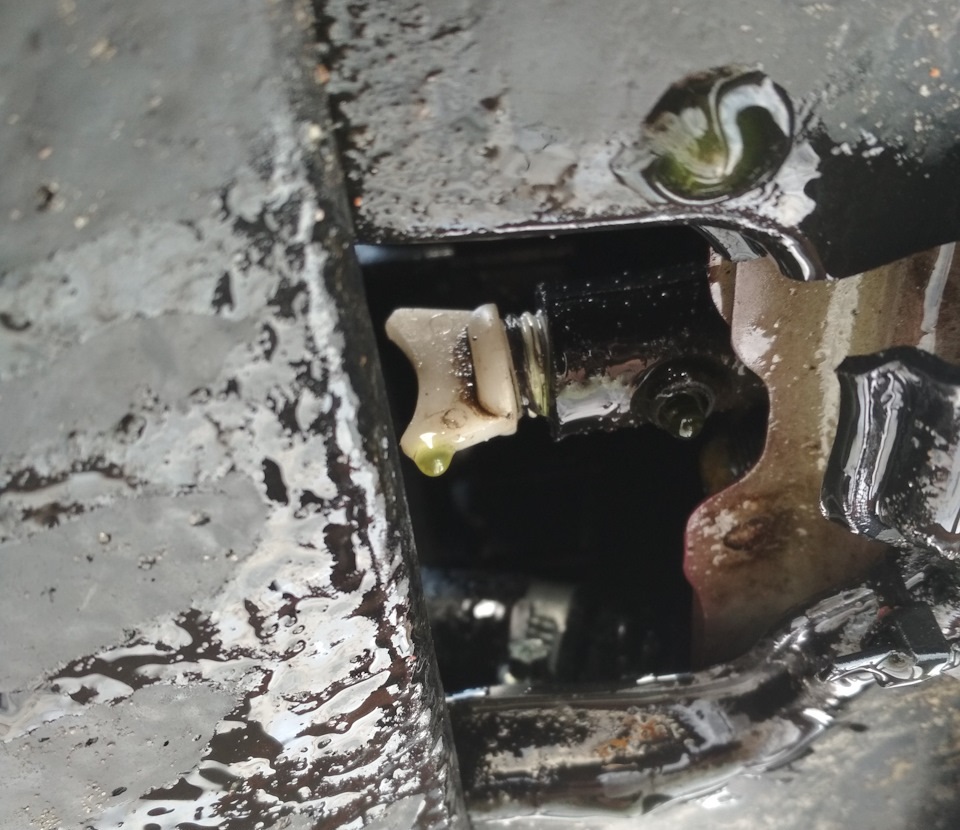
5. Unscrew the drain valve plug 2-3 turns and wait until the antifreeze is completely drained.

6. Screw on the drain valve plug by hand.
Honda Civic Thermostat Replacement
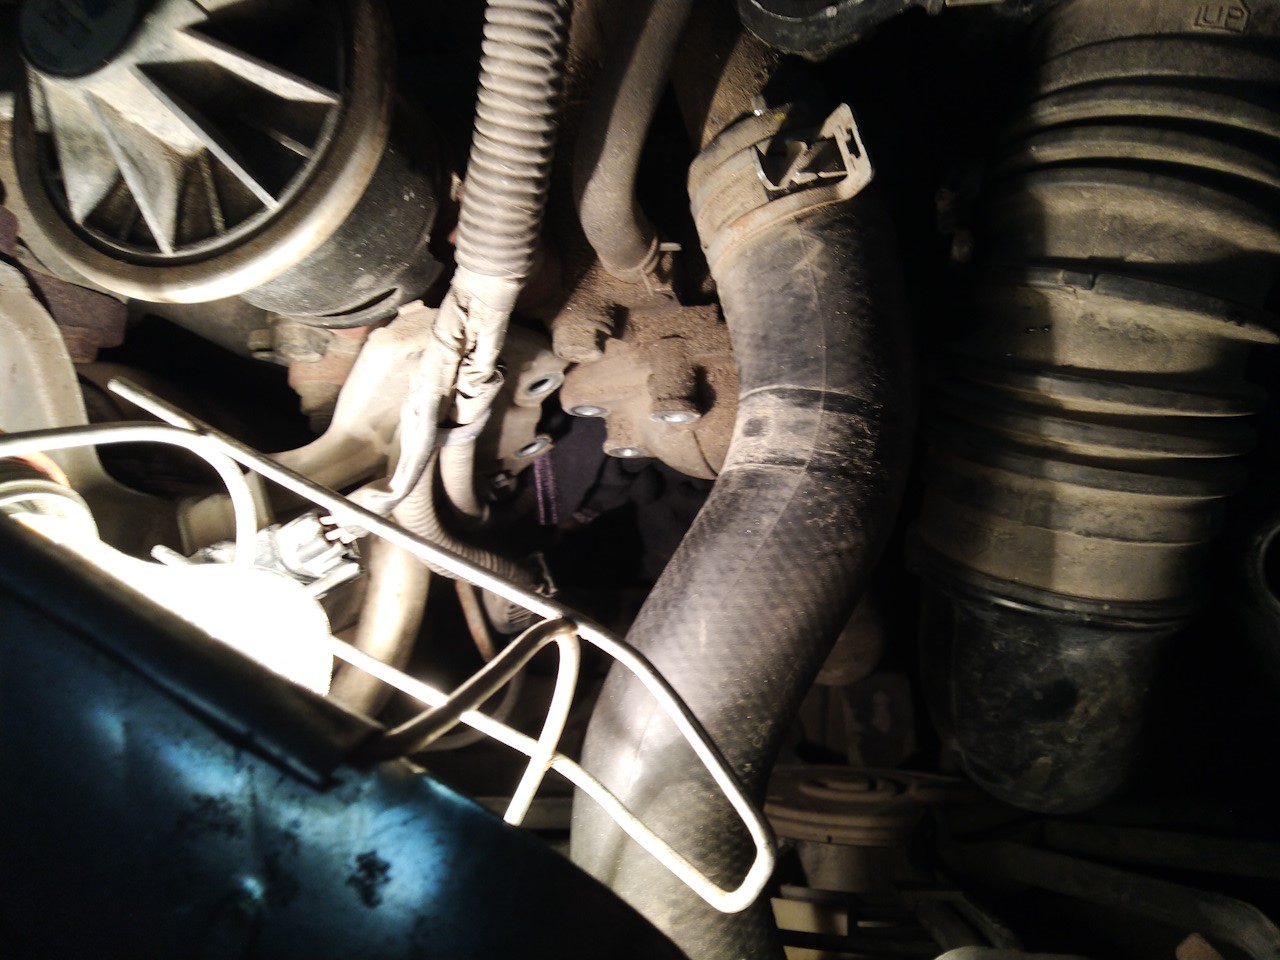
1. For more comfortable access to the thermostat, loosen the clamp with pliers and slide it along the pipe. Disconnect the pipe from the cylinder block and take it aside.
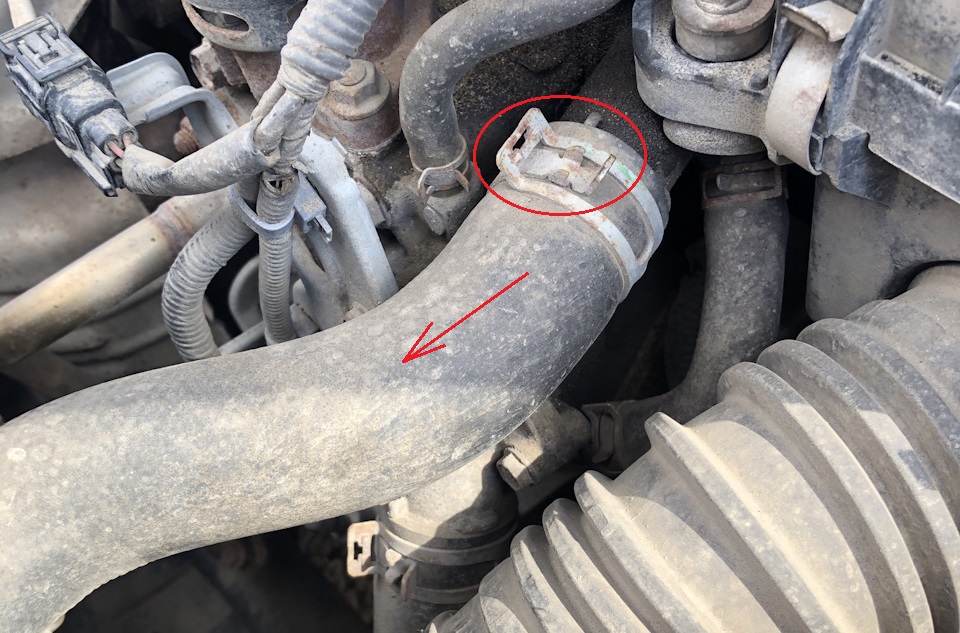
Note:
This step is not required.
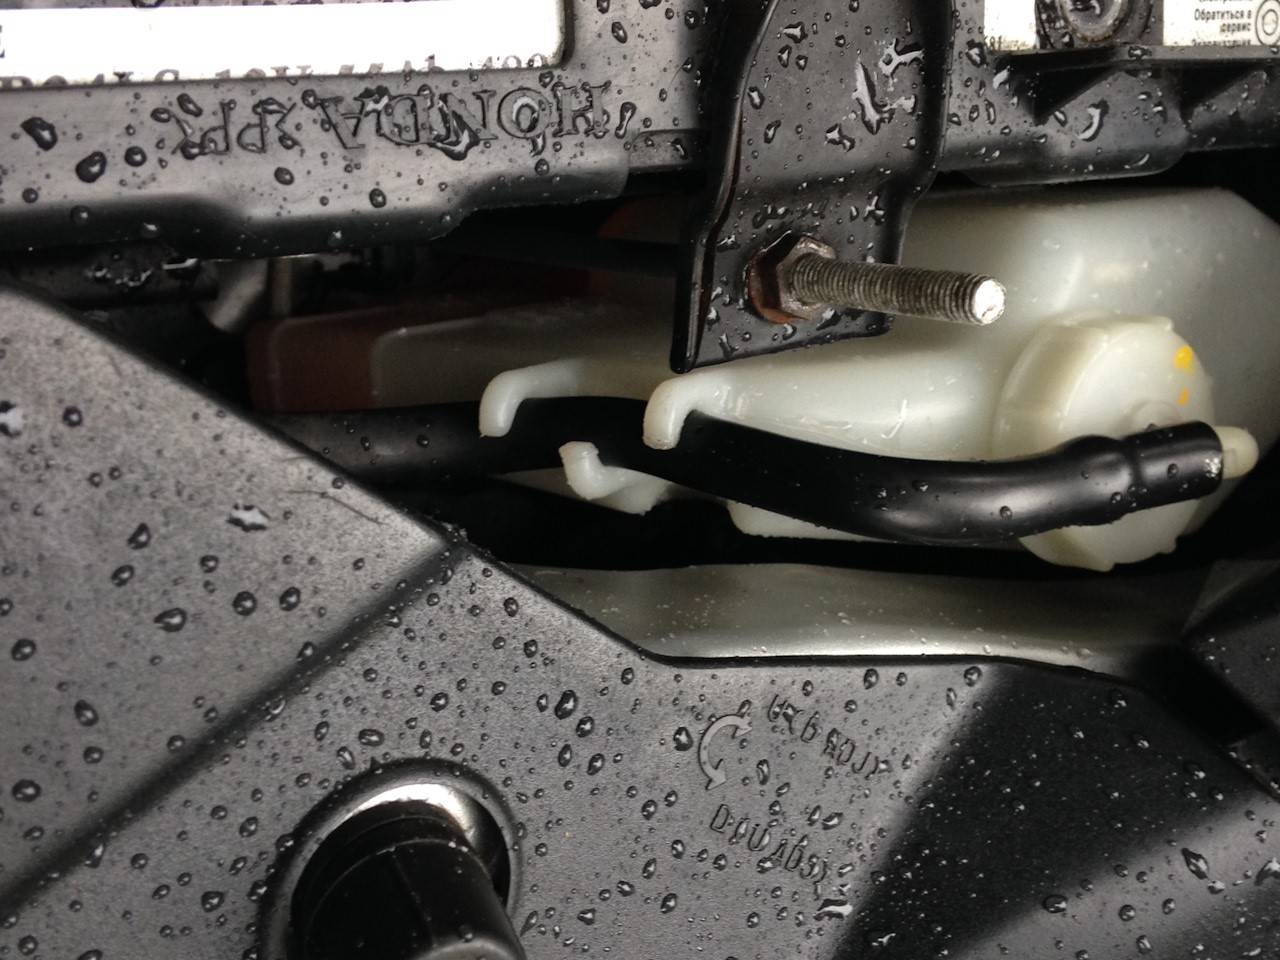
2. Use a 10mm socket to remove the 2 wire harness retainer bolts.
3. Take him aside.
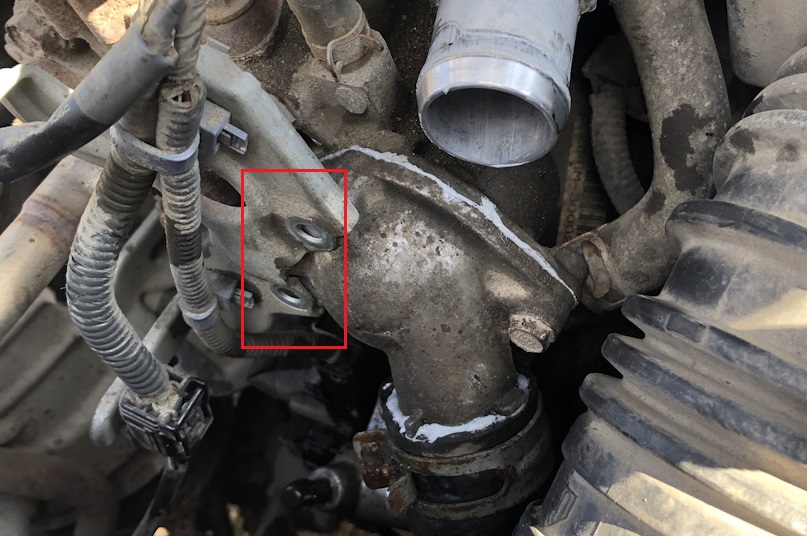
4. Using a 10 mm head, remove the 2 screws securing the Honda Civic thermostat cover.
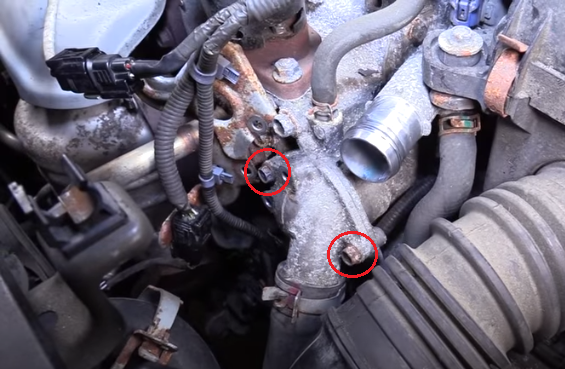
5. Remove the cover together with the thermostat.
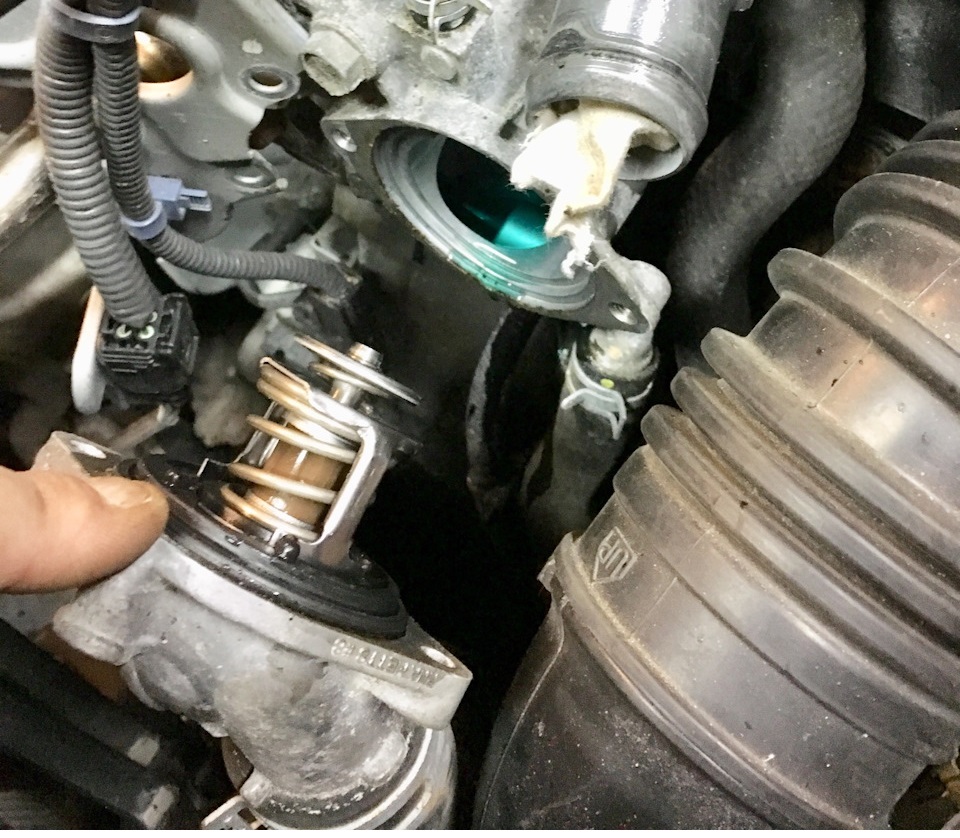
6. Pull the Honda Civic thermostat out of the cover.
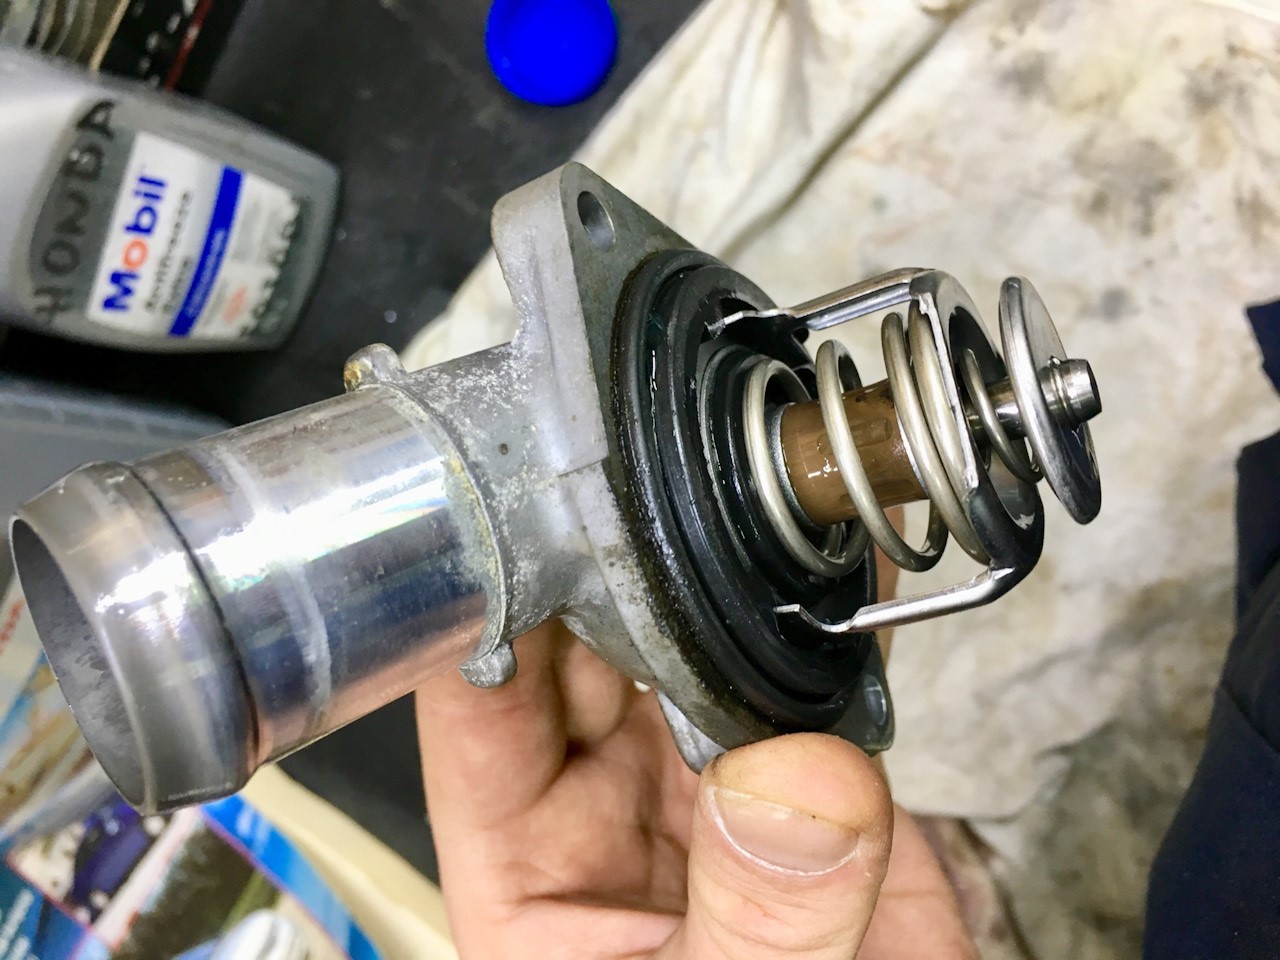
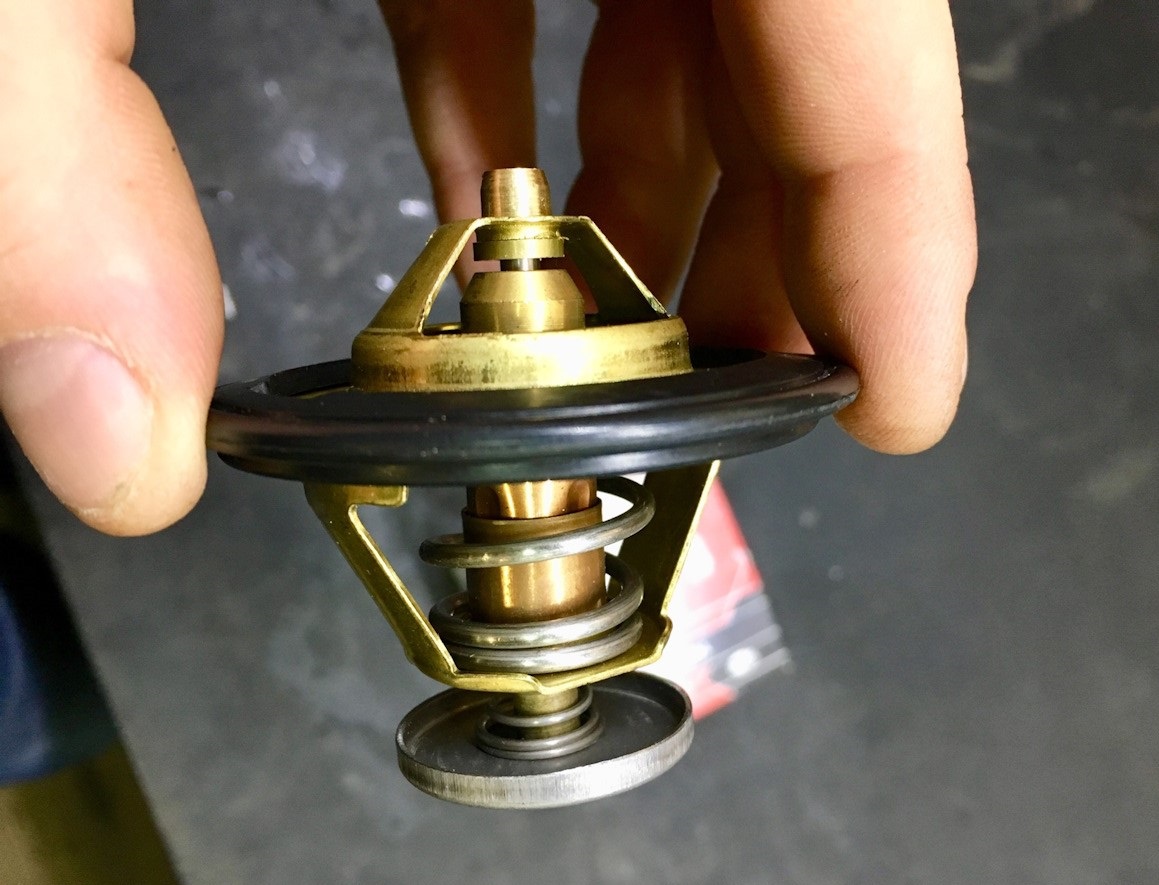
7. Remove the o-ring from the thermostat and inspect it. Replace a severely compressed, hardened or torn ring.
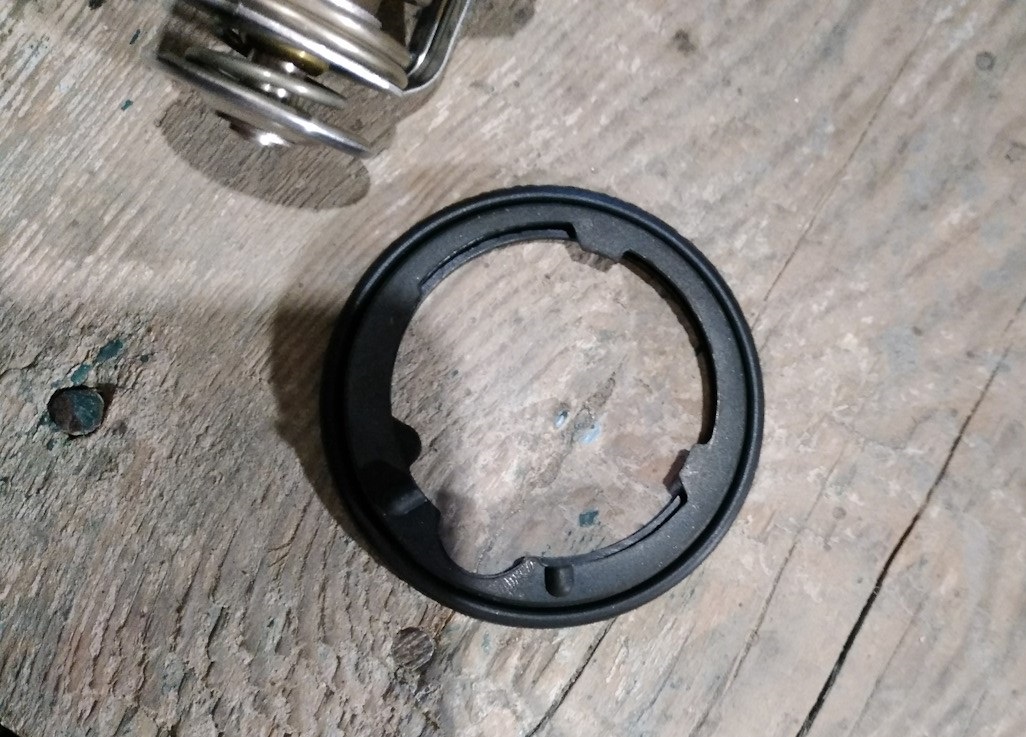
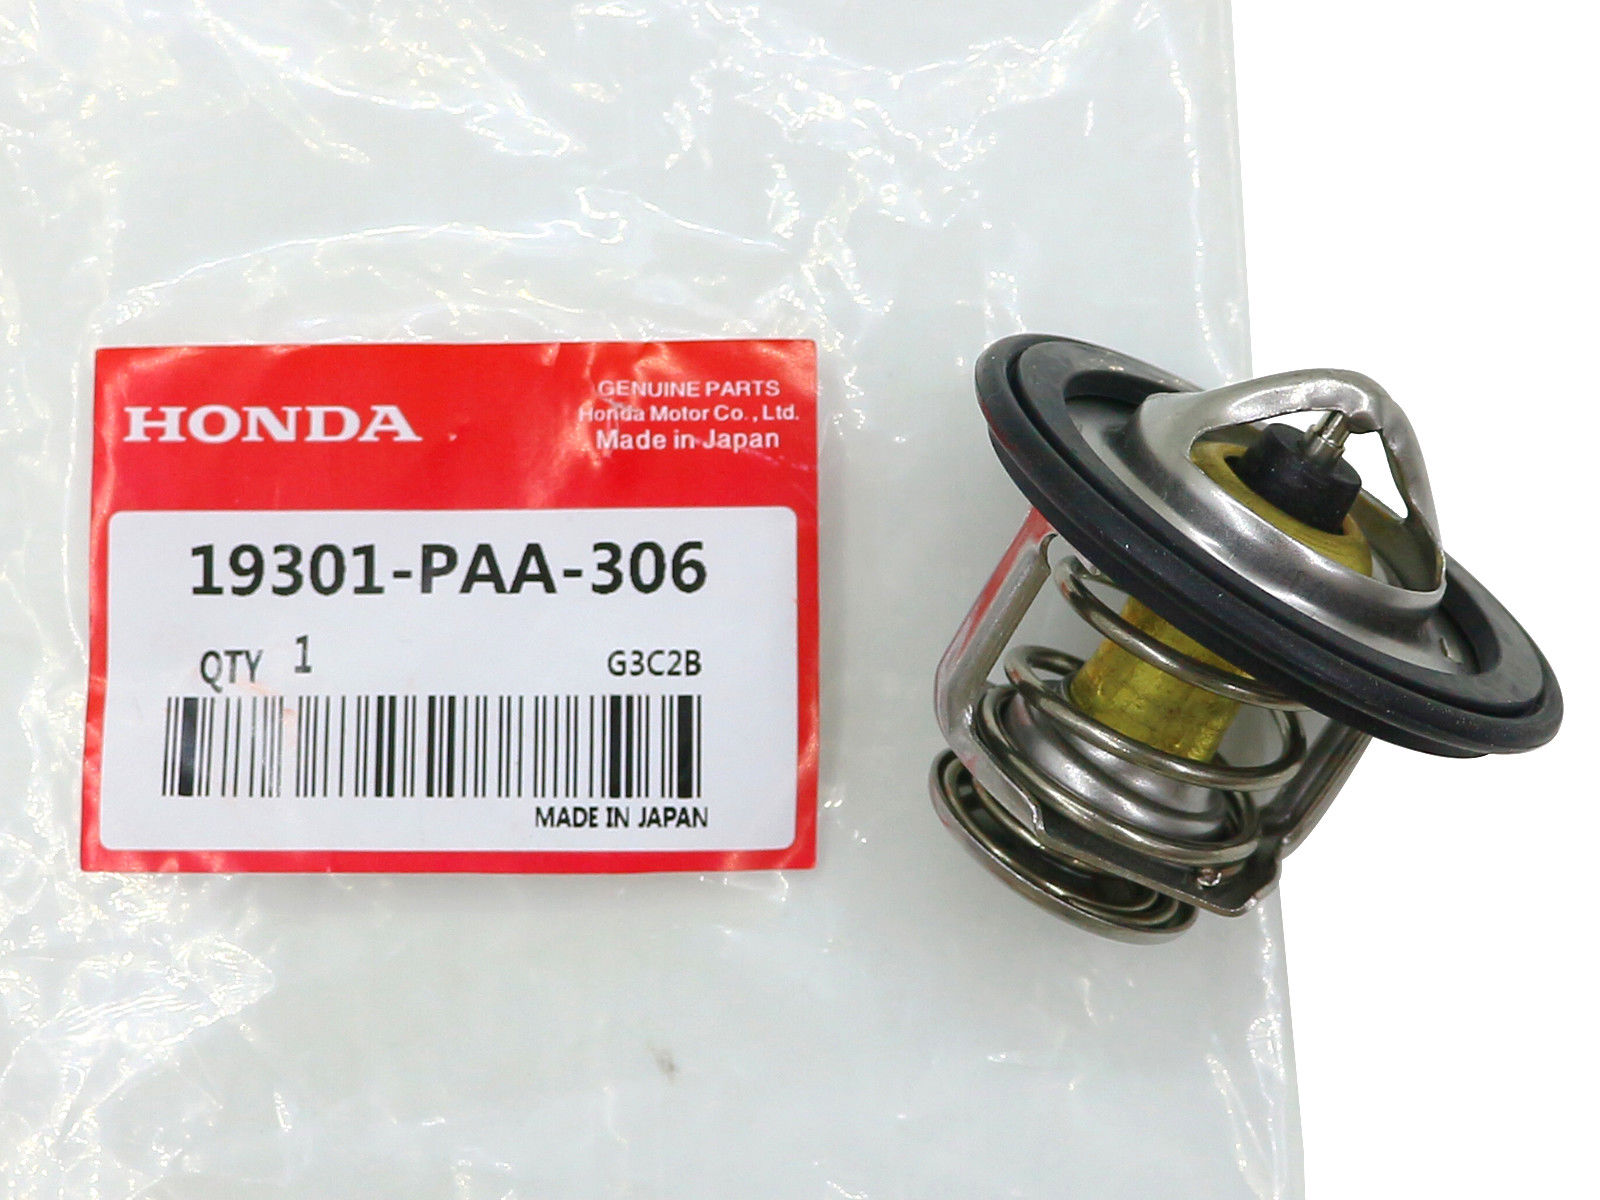
8. If necessary, replace the Honda Civic thermostat with a new one.
9. Install the O-ring on the new thermostat.
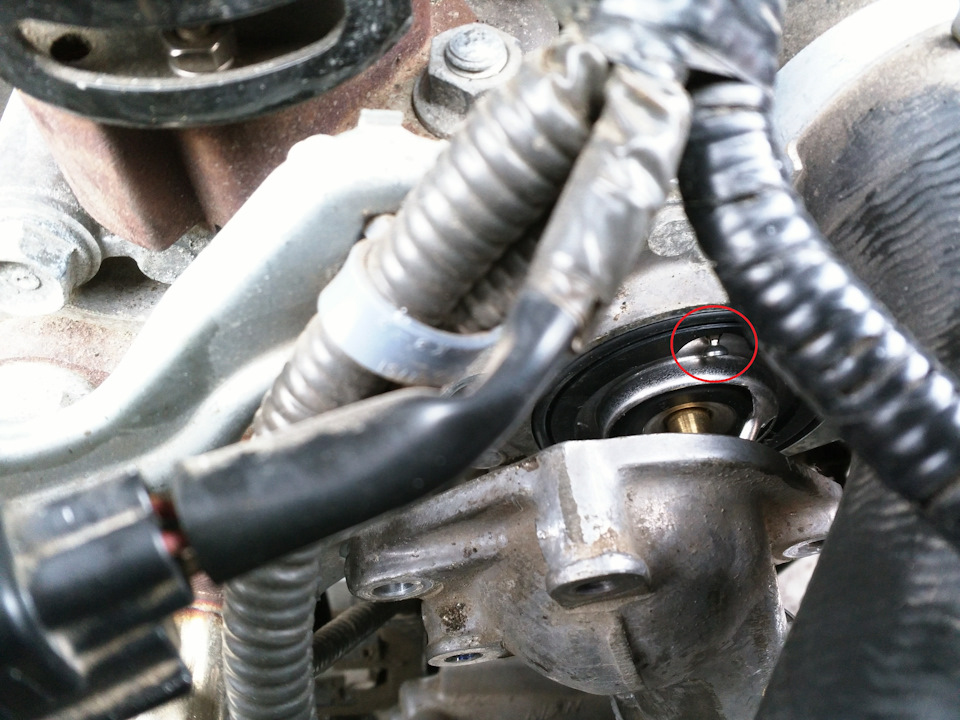
10. Install the Honda Civic thermostat in place in the cylinder block housing with the drain hole on top.
11. Install the parts in the reverse order of removal.

Adding coolant to a Honda Civic
1. Fill the engine cooling system by slowly pouring coolant into the radiator up to the level of the vapor tube.
2. Start the engine and warm it up to operating temperature (before turning on the fan).
3. As air escapes from the system, add liquid to the tank (the fan will turn off 3-5 times until the air is completely out).
4. Close the radiator cap tightly.
Note:
Tighten the filler cap of the cooling system radiator tightly. When the engine is running, the cooling system is under pressure, so coolant may leak from under a loosely wrapped plug or the plug may be torn off.
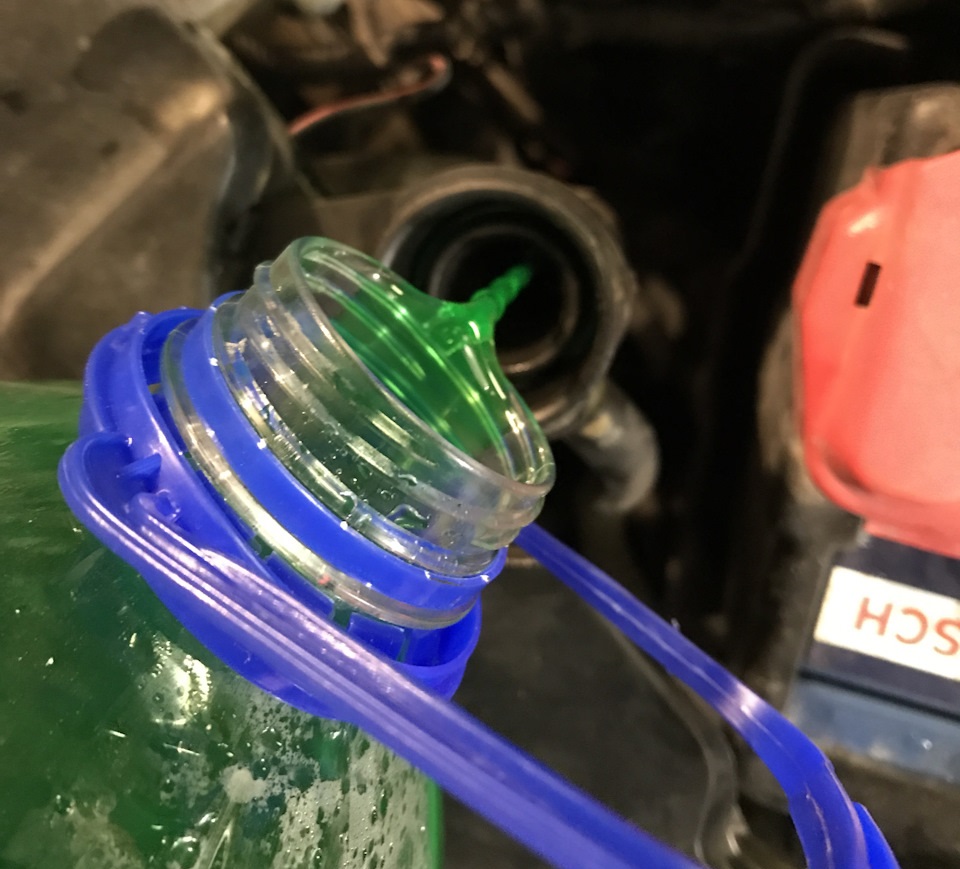
5. Open the cap of the expansion tank.
6. Add antifreeze to the expansion tank up to the “MAX” mark.
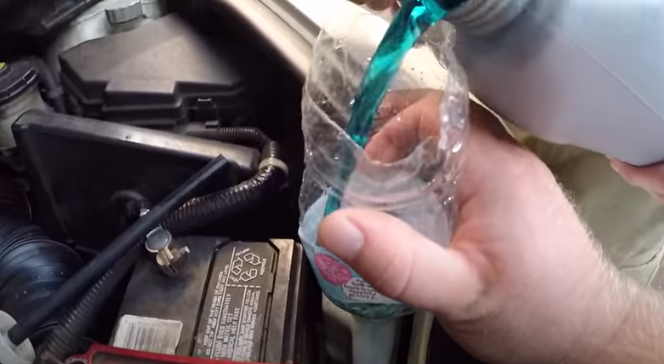
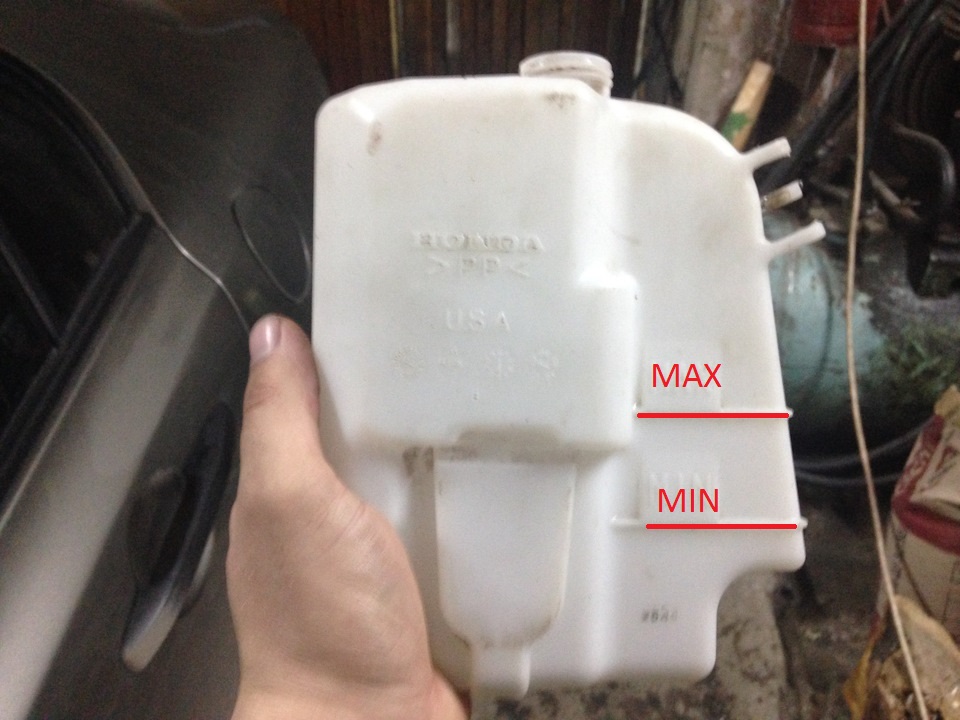
An example is shown on a removed tank.
7. Screw on the reservoir lid. Wipe up spilled coolant with a clean cloth.
Note:
For better filling of the system without air pockets, periodically squeeze the radiator hoses by hand.
8. After a few days of vehicle operation after replacing the coolant, check its level. If necessary, bring it to the norm.
Source: carpedia.club