![IX [2000 - 2005]](/uploads/mitsubishi_lancer_2005_images_2.jpg)
![X [2007 - 2017]](/uploads/Mitsubishi_Lancer_Sedan_2007.jpg)


You will need: keys "for 10", "for 12", pliers, a screwdriver with a Phillips blade.
Notes:
If a fuel leak is found in the tank, it is recommended to replace it.
If the fuel filter becomes clogged frequently, remove and flush the tank.
If a leak is found along the junction line of the upper and lower parts of the tank, these places can be soldered (it is recommended to do it in specialized workshops). To do this, pour out the remaining gasoline, thoroughly rinse and dry the tank. Then solder the leak with soft solder.
You can only solder a thoroughly washed and dried tank that does not contain gasoline vapors, otherwise the vapors may ignite when soldering.
To flush the fuel tank, use Lobomid, MS or ML detergents. Then, to remove detergent residue, rinse and steam the tank with hot water. Dry the tank thoroughly.
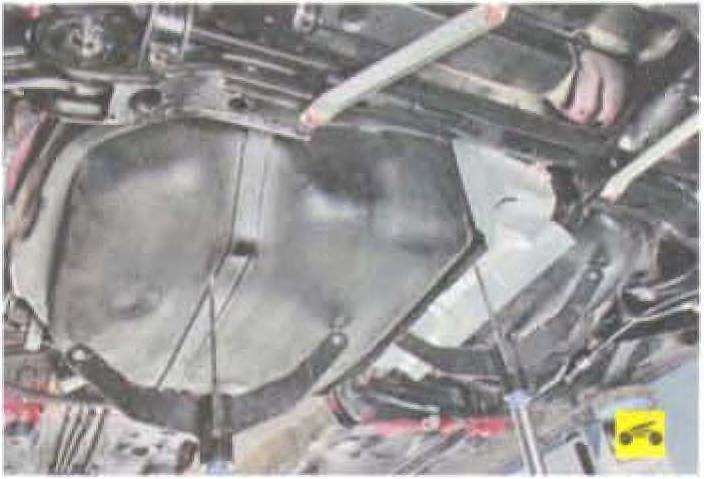
It is more convenient to remove an empty tank. working on a lift, overpass or viewing ditch.
To remove fuel residues, remove the fuel pump module (see "Removing and installing the fuel pump module", page 115) and pump out the fuel through the opened hole in the tank.
Replacing the fuel tank and its filler pipe Mitsubishi Lancer X
1. Reduce the pressure in the fuel system (see "Reducing the pressure of the fuel in the fuel system", p. 114).
2. Disconnect a wire from the minus plug of the storage battery.
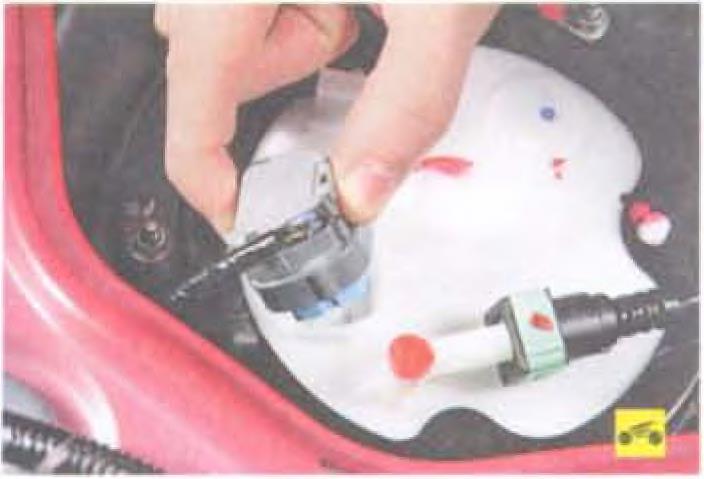
3. Disconnect the connector from the fuel pump module connector (see "Removing and installing the fuel pump module", page 115).
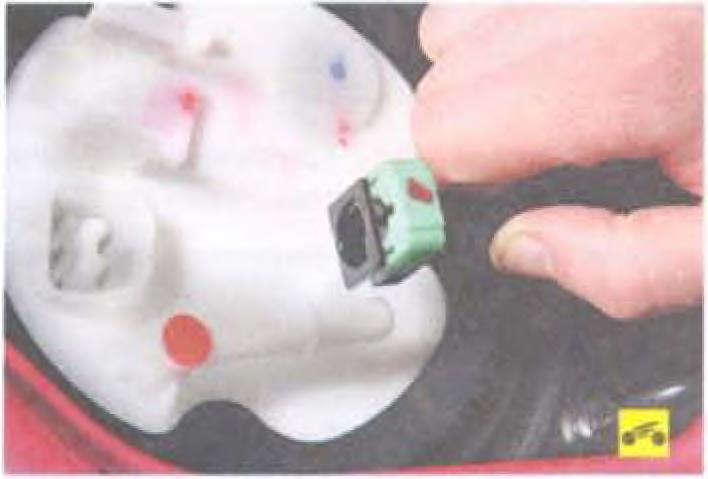
4 Disconnect the fuel hose tip from the fuel pump module fitting (see "Removing and installing the fuel pump module", page 115).
5. Place the vehicle on a lift or pit.
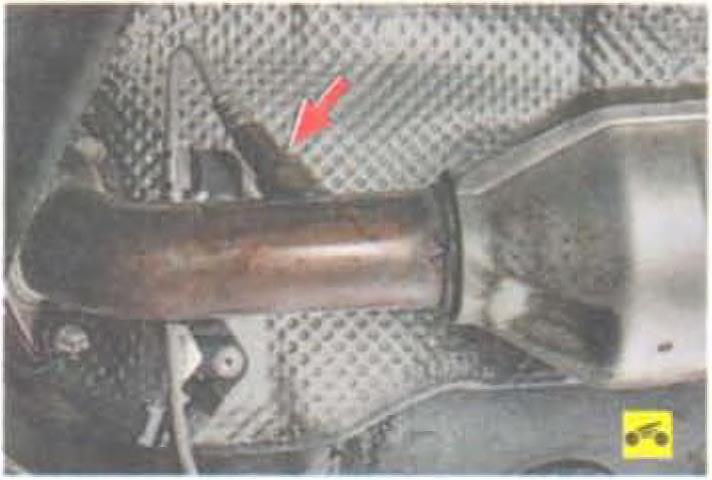
6. Remove the catalytic converter, resonator and additional muffler (see "Replacing the converter, resonator and additional muffler", p. 109), since the additional muffler is located under the fuel tank and interferes with its removal.
7. Remove the left rear wheel (see "Changing a wheel", page 51).
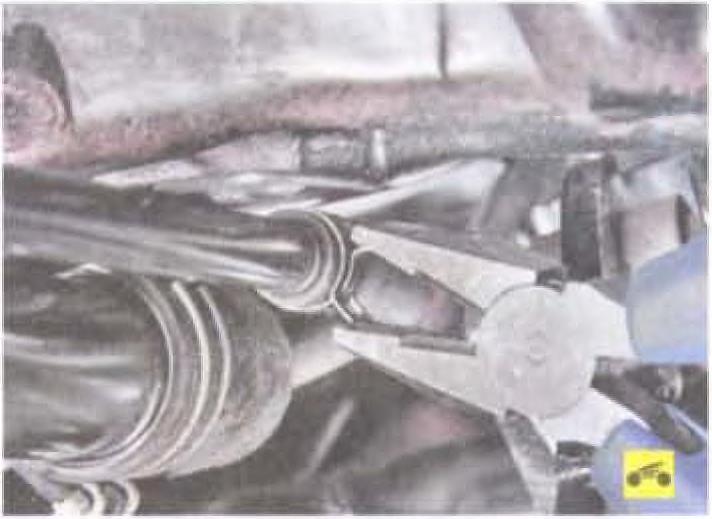
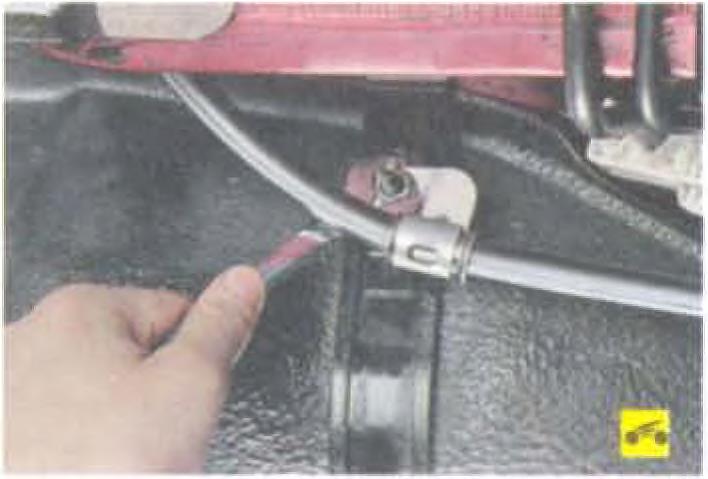
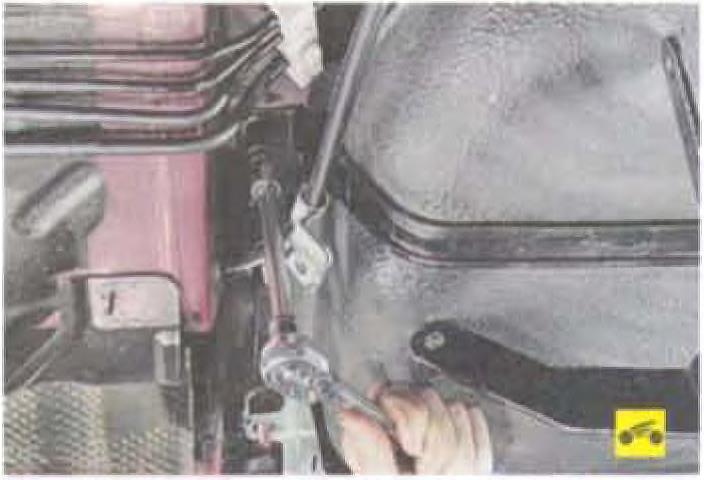
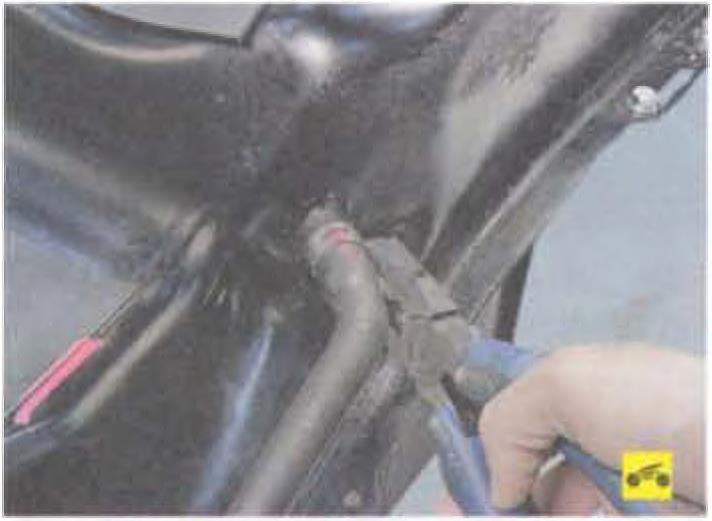
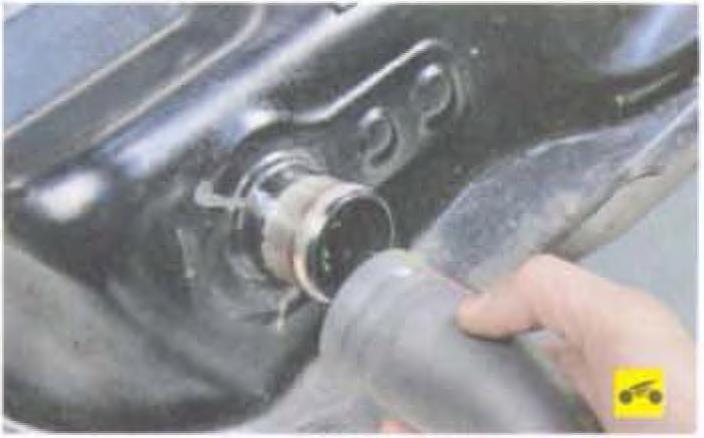
8. Loosen the clamp of the fuel tank ventilation hose, squeezing its bent ears with pliers, slide the clamp along the hose.
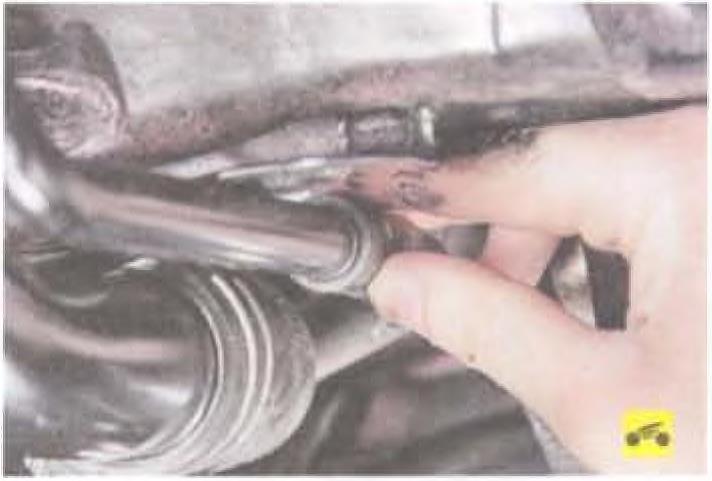
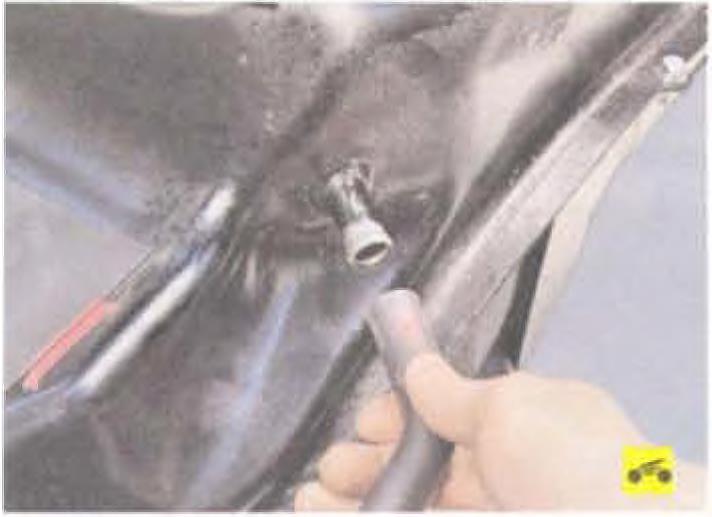
9. Disconnect a hose from a tube of a bulk mouth.
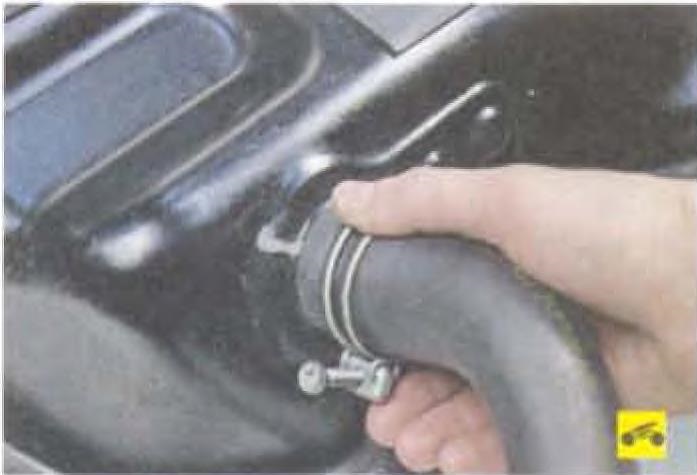
10. Loosen the clamp that secures the hose to the fill pipe.
11. Disconnect the hose from the pipe.
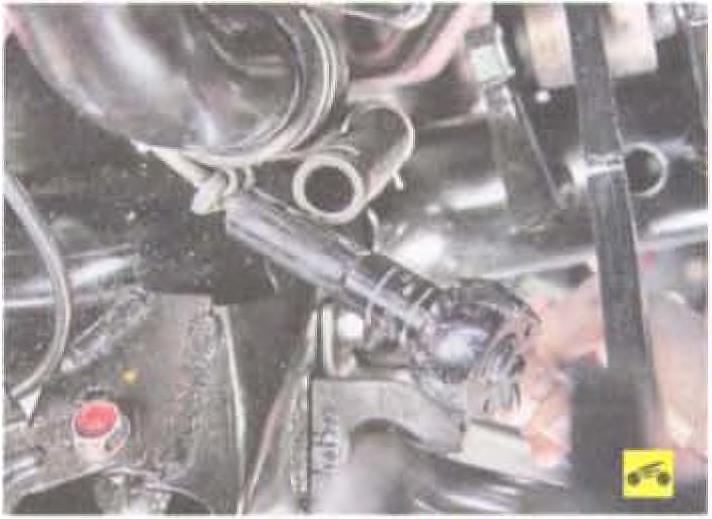
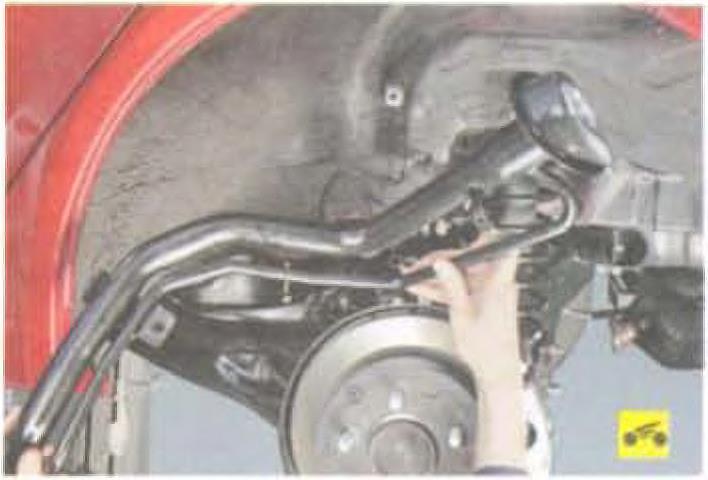
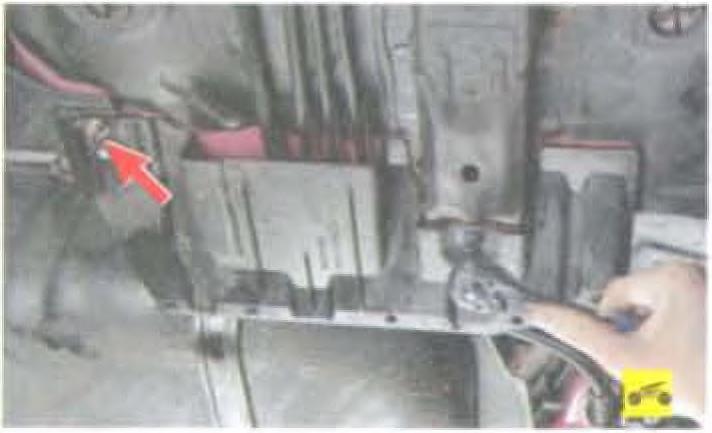
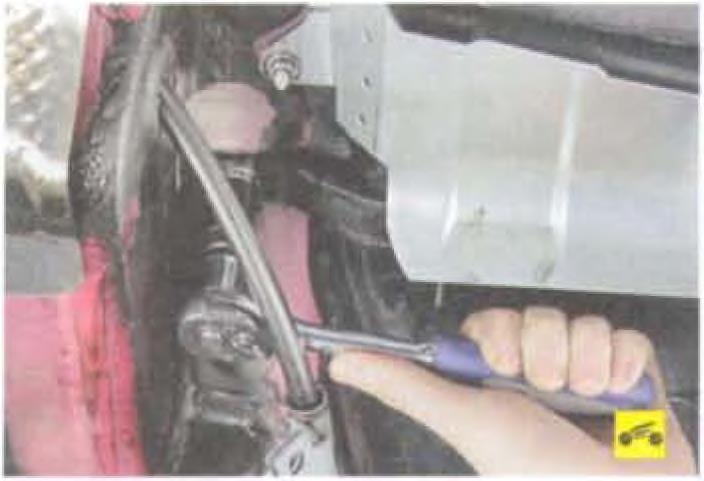
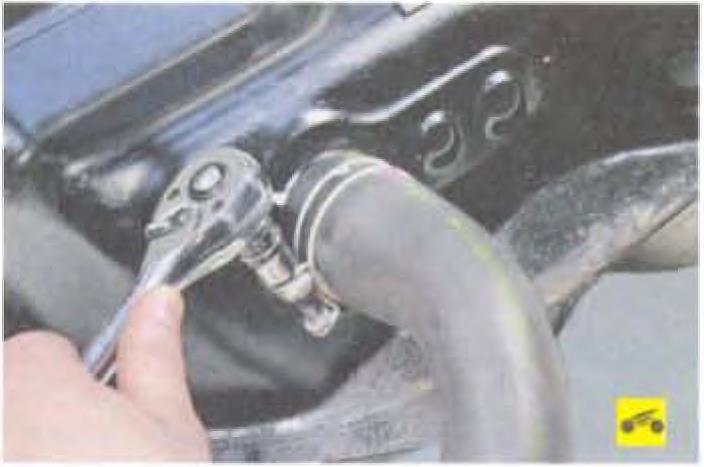
12. Turn out the bottom bolt of fastening of a bulk pipe to a body.
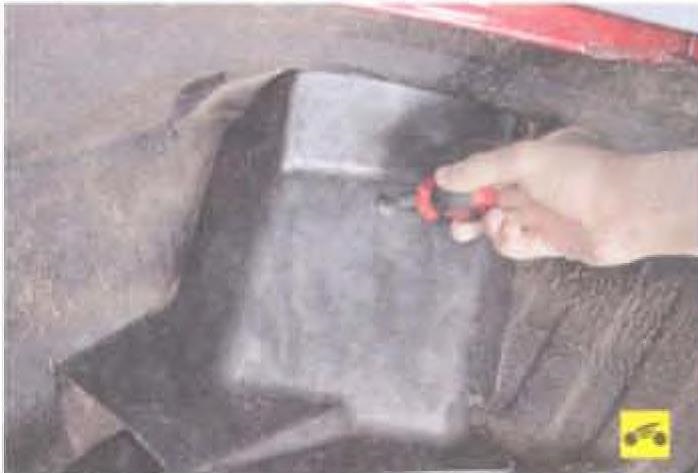
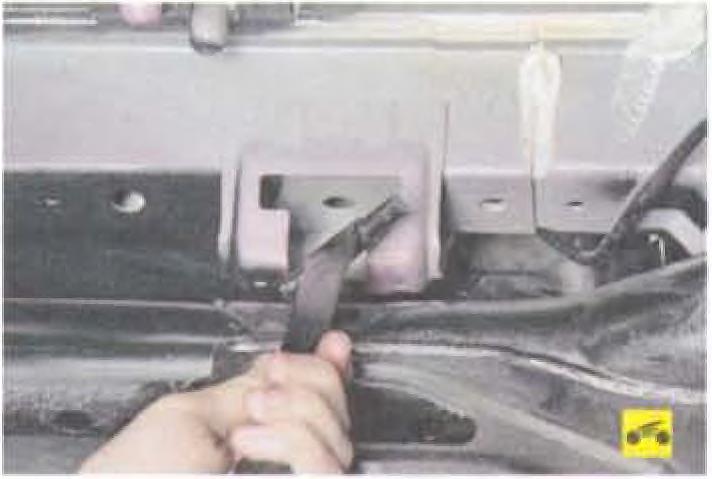
13 Unscrew the retainer of the clip that secures the protective shield of the filler pipe.
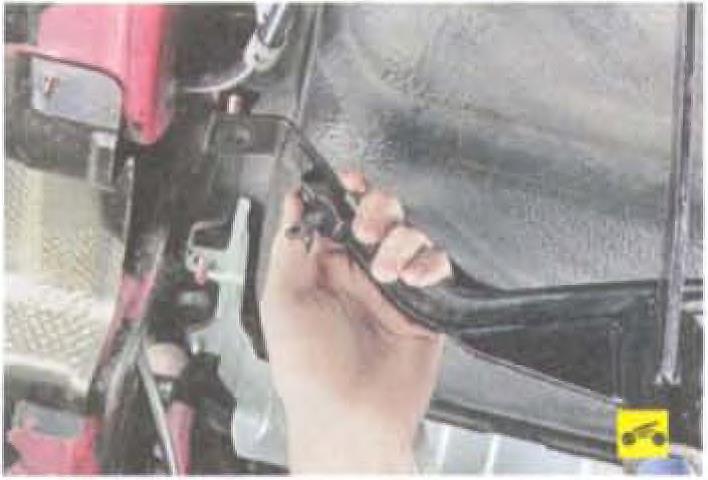
14. Remove the piston.
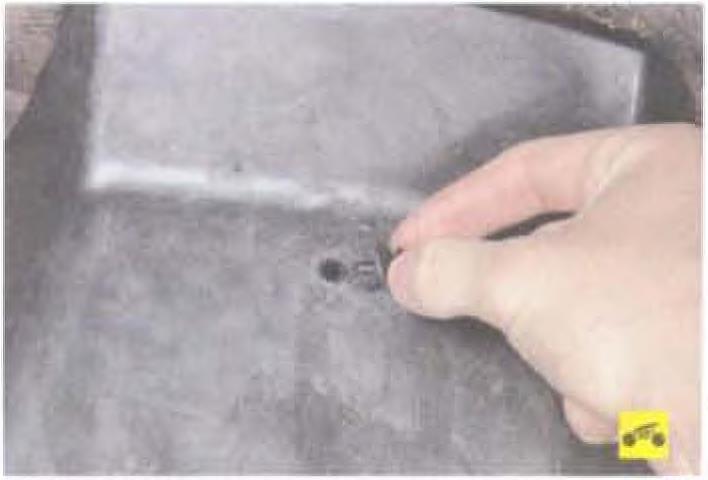
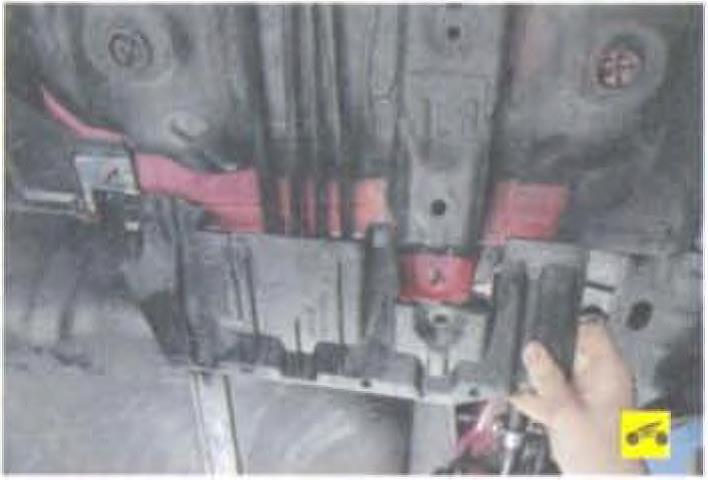
15. Remove the shield, overcoming the resistance of its holder.
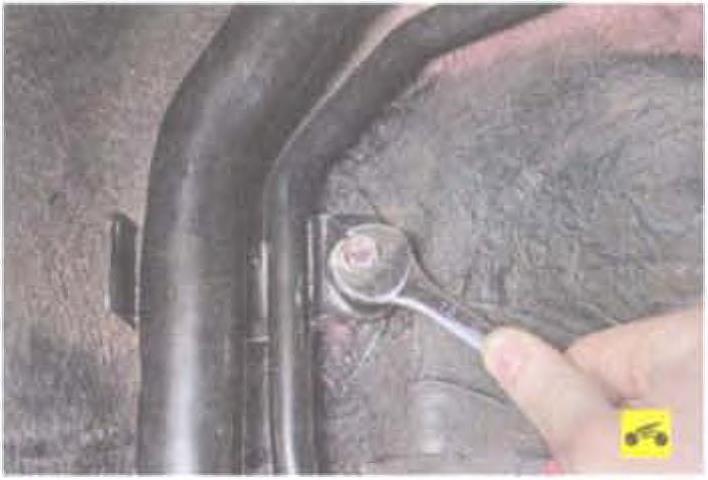
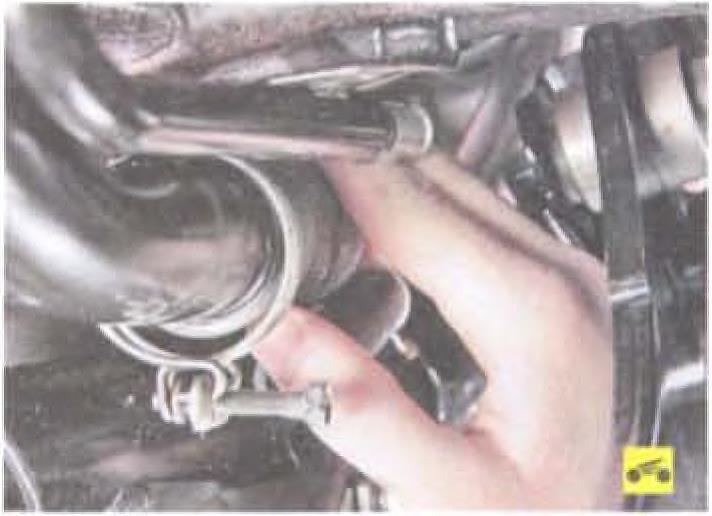
16. Turn out a bolt of the top fastening of a bulk pipe to a body.
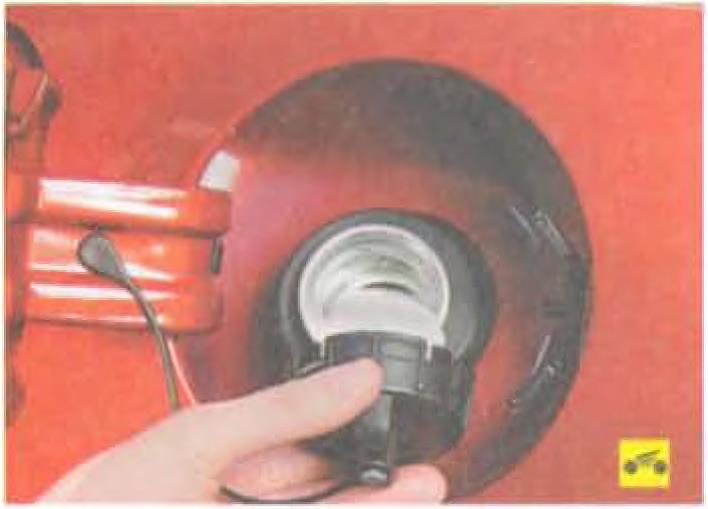
17. Turn out a stopper of a bulk mouth.
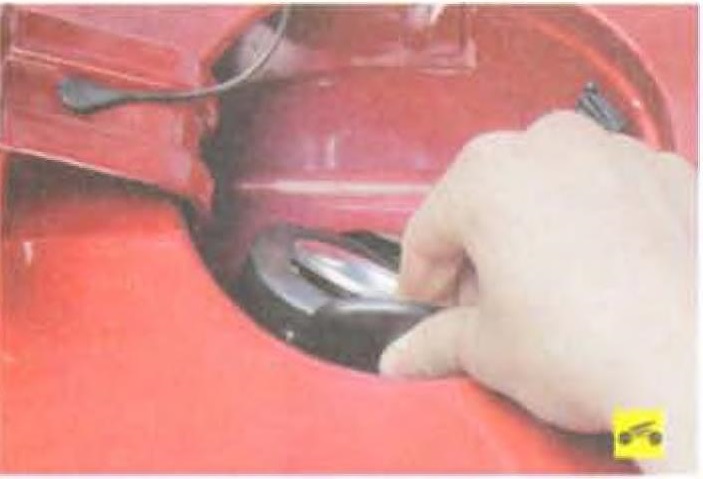
18. Push the filler neck seal into the hatch hole.
19. Remove the filler pipe from the vehicle.
20. Slide the seal from the neck onto the drain pipe.
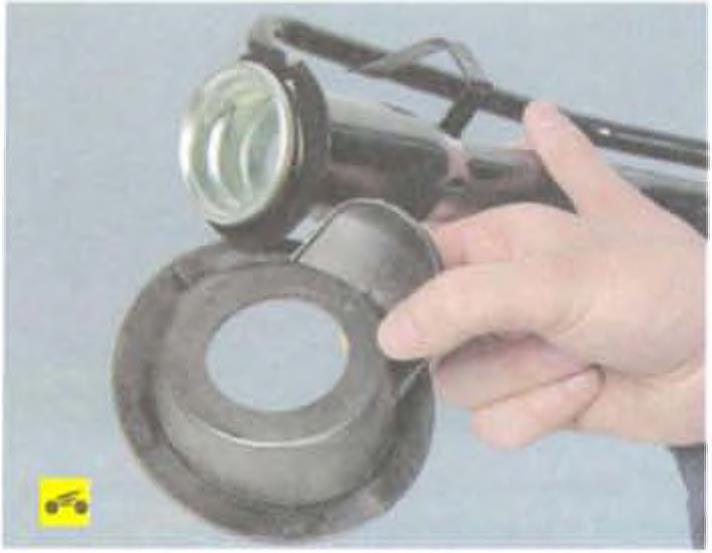
21. Remove the seal.
Notes:
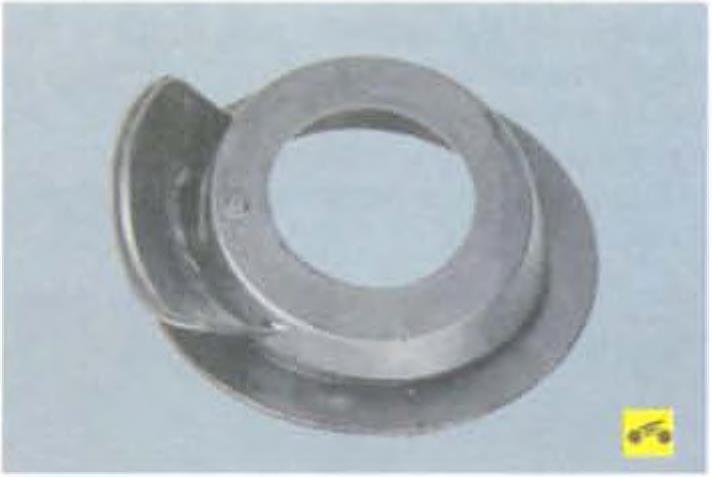
Replace a torn, hardened or severely deformed seal with a new one.

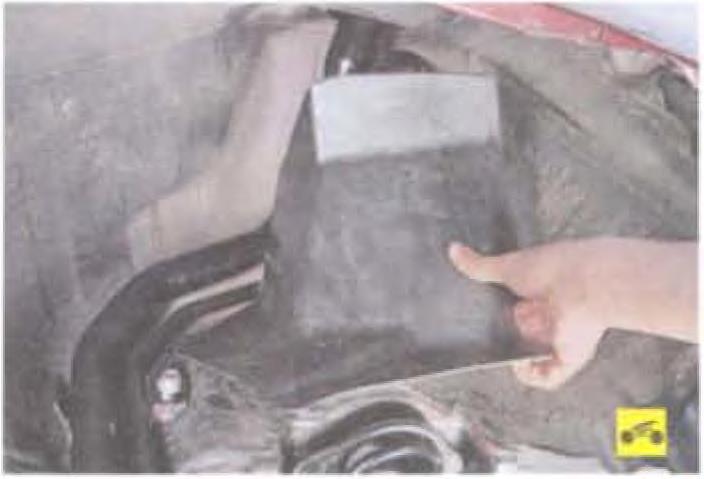
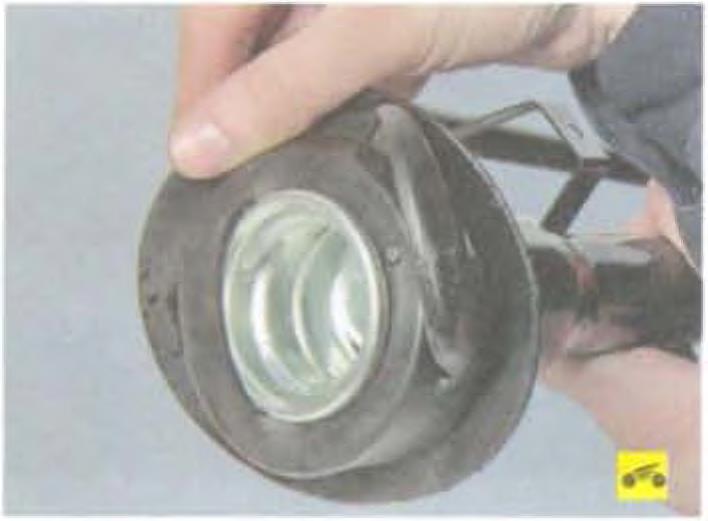
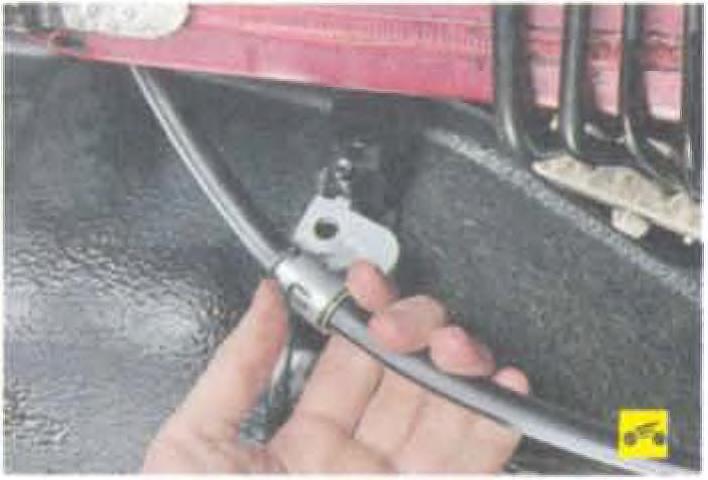
This is what the fuel tank filler pipe looks like when removed from the car.
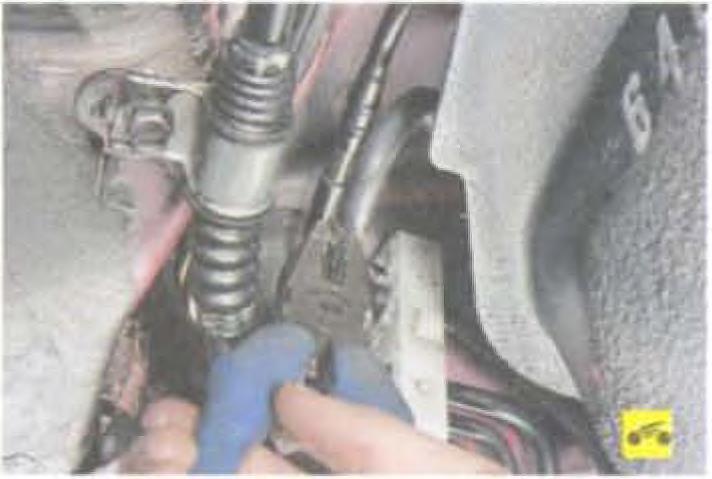
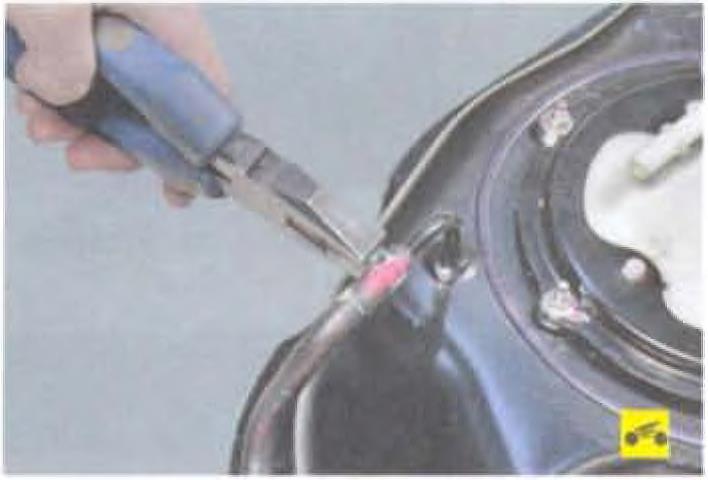
22. Loosen the hose clamp of the fuel vapor recovery system hose, squeezing its bent ears with pliers, slide the clamp along the hose.
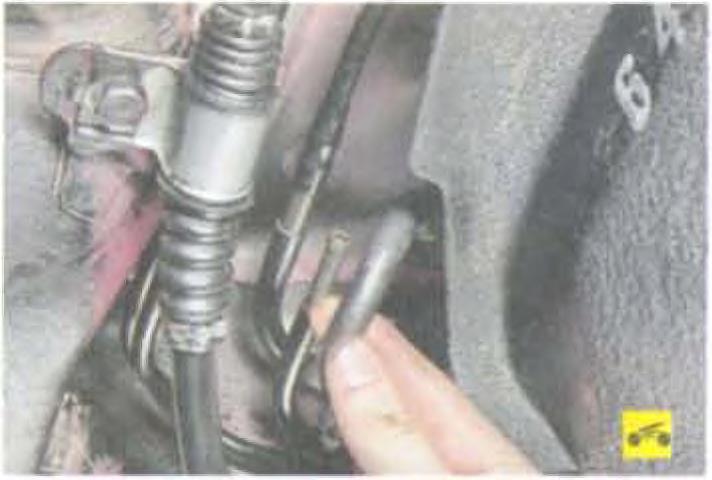
23. Disconnect the hose from the steam pipe.
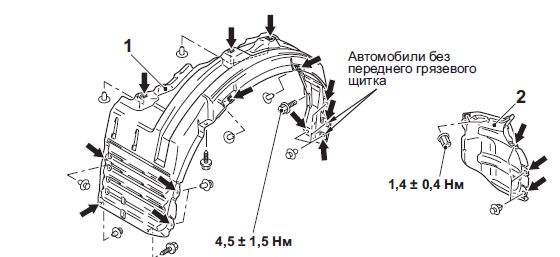
24. Turn away two nuts of fastening of the left aerodynamic guard located near a fuel tank.
25. Remove the shield.
26. Similarly, remove the right aerodynamic shield.
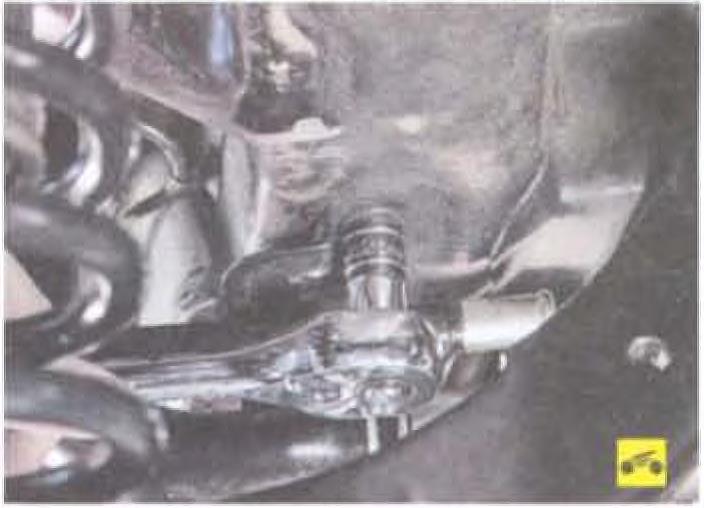
27. Turn away a nut of fastening of the holder of the left cable of a drive of a parking brake.
28. Remove the holder from the stud of the left fuel tank mounting bracket.

29. Turn away a nut of fastening of the holder of the right cable of a drive of a parking brake.

30. Remove the holder from the stud of the right fuel tank bracket.
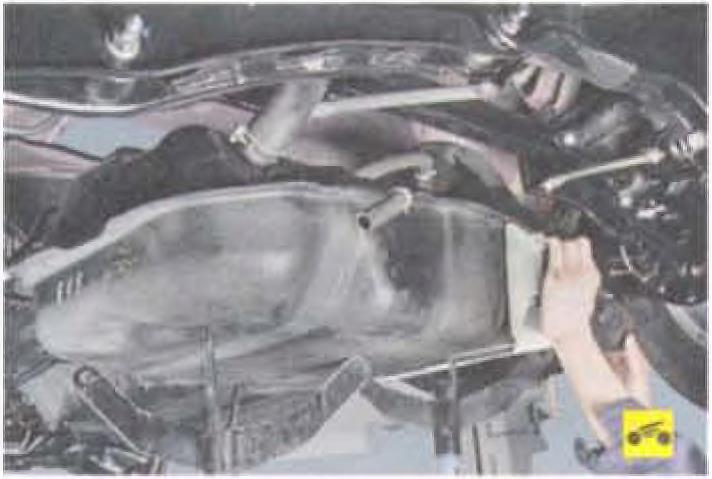
31. Install two supports under the tank.
32. Turn out bolts of fastening left.
33. And the right brackets of the Mitsubishi Lancer X fuel tank.
34. Move the brackets away from the fuel tank.

35. Carefully inspect the safety rubber gaskets of the fuel tank mounting brackets. If they are frayed and are not suitable for further use, replace them.
36. If necessary, remove the fuel tank brackets, removing their pins from the holes in the body panel.
37. Remove the fuel tank.
Helpful Hint:
The fuel tank is quite bulky, so it is better to remove it with an assistant.
38. Loosen the fuel tank ventilation hose clamp by squeezing its bent ears with pliers, slide the clamp along the hose.
39 Disconnect the hose from the fuel tank connection.
40. Loosen the clamp securing the inlet hose to the fuel tank nozzle.
41. Slide the clamp over the hose.
42. Disconnect the filler hose from the fuel tank connection.
43. Loosen the hose clamp of the fuel vapor recovery system hose, squeezing its bent ears with pliers, slide the clamp along the hose.

44. Disconnect the hose from the fuel tank fitting.
45. Remove the fuel pump module (see "Removing and installing the fuel pump module", page 115).
46. Install the parts in the reverse order of removal.
Source: Mitsubishi Lancer X Owner's Manual