![B10 [2006 - 2013]](/uploads/Nissan_Almera_Classic_2006-2013_.jpg)

Tools:
- Straight box wrench 12 mm
- Straight box wrench 17 mm
- Pliers
Parts and consumables:
- Detergent for washing the fuel tank
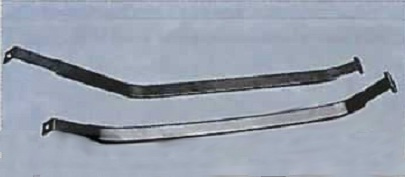
- Fuel tank
- Filling pipe
If a fuel leak is found in the tank, it is recommended to replace the tank. If the fuel pump screen is often clogged, remove and flush the tank.
Warning:
To flush the fuel tank, use Lobomid, MS or ML detergents. Then, to remove detergent residue, rinse and steam the tank with hot water. Dry the tank thoroughly.
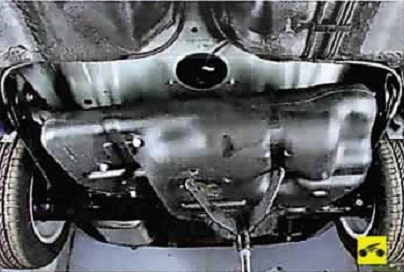
It is more convenient to remove an empty tank while working on a lift, overpass or inspection ditch. To remove residual fuel, remove the fuel pump module and pump out the fuel through the opened hole in the tank.
Fuel tank replacement
1. Reduce the pressure in the supply system. Instructions on how to do this are here .
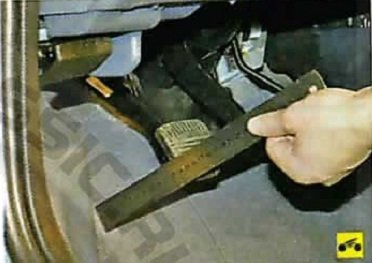
2. Disconnect a wire from the plug "minus" of the storage battery.
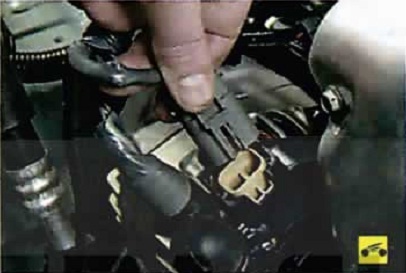
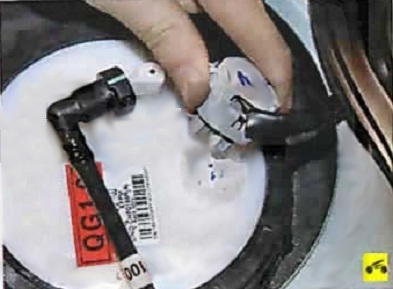
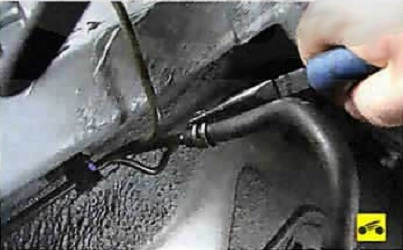
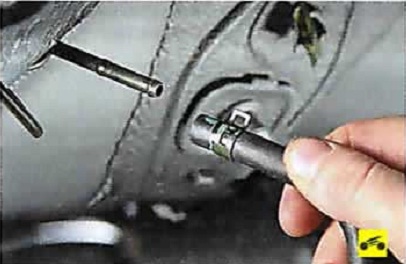
3. Disconnect the connector from the fuel pump module connector.
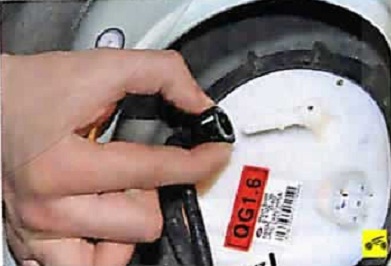
4. Disconnect the fuel hose end from the fuel pump module fitting.
5. Place the vehicle on a lift or pit.
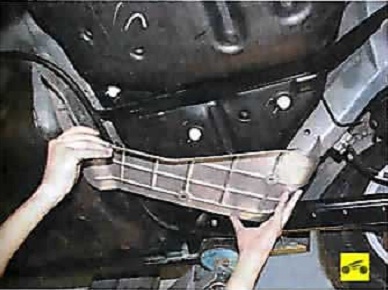
6. Remove the additional muffler, as it is located under the fuel tank and interferes with its removal (instructions on how to do this are given here ).
7. Remove the additional muffler pipe thermal shield from the fuel tank.
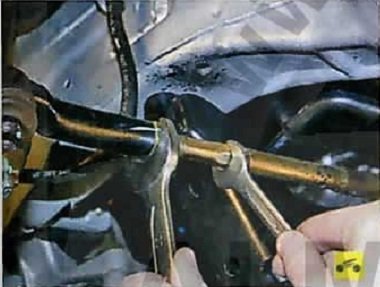
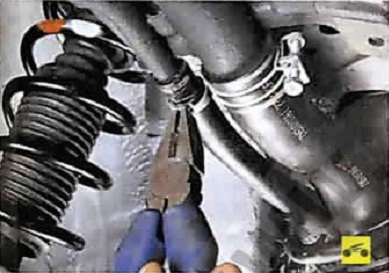
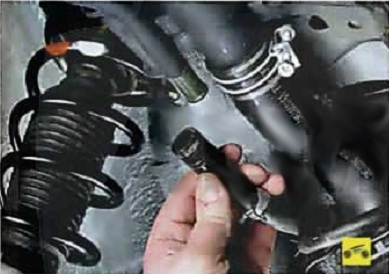
8. Loosen the fuel tank ventilation hose clamp, squeezing its bent ears with pliers, slide the clamp along the hose.
9. Disconnect a hose from a tube of a bulk mouth.
10. Loosen the fastening clamp of the filler hose.
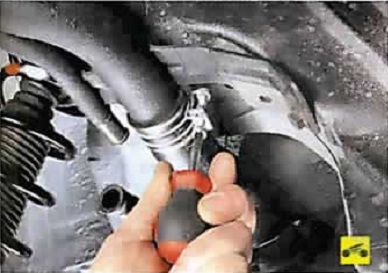
11. Disconnect the hose from the fill pipe.
12. Establish a support under a fuel tank.
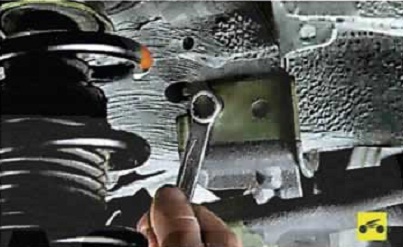
13. Turn out a bolt of the right collar of fastening of a fuel tank.
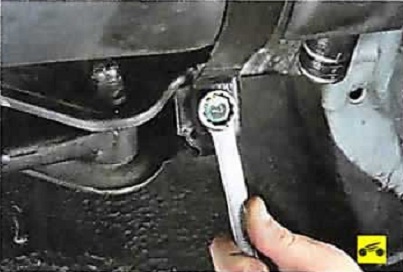
14. Turn out a bolt of the left collar of fastening of a fuel tank.
15. Remove the fuel tank clamps by pulling their pins out of the holes in the body panel.
16. Slightly lower the fuel tank to expose its top surface.
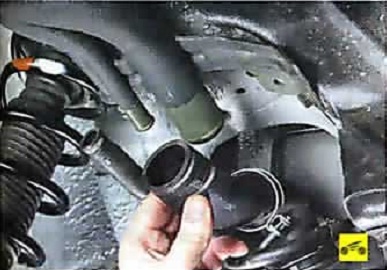
17. Loosen the hose clamp of the fuel vapor recovery system hose, squeezing its bent ears with pliers, slide the clamp along the hose.
18. Disconnect the hose from the steam pipe.
19. Remove the support and remove the fuel tank.
20. Install the fuel tank in the reverse order of removal.
21. After connecting the pipelines and the fuel pump wiring harness, fill the tank with gasoline, start the engine and check the tightness of all pipeline connections.
Removing the fuel tank filler pipe
1. Remove the left rear wheel and place the car on a secure stand (instructions on how to do this are given here ).
2. Disconnect hoses from a tube of ventilation of a fuel tank and from a bulk pipe.
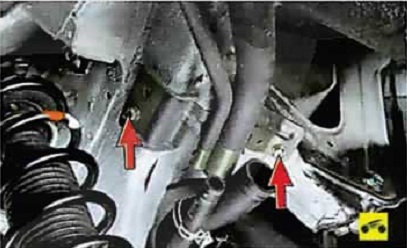
3. Turn out two bolts of fastening of a bulk pipe to a body.
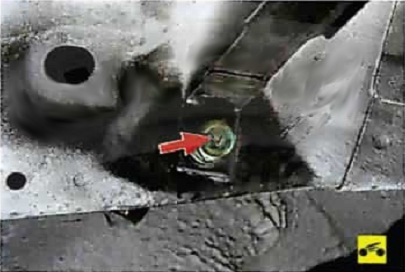
Note:
This is how the fuel tank filler pipe bolts are located.
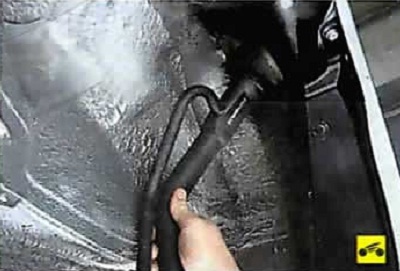
4. Remove the upper end of the filler pipe from the sealing ring of the hatch and remove the filler pipe by leading it through the niche of the left rear wheel.
5. Install the fuel tank filler pipe in the reverse order of removal.
The article is missing:
- High-quality repair photos
- Photo of parts and consumables
Source: http://remont-nissan-almera.net/dvigatel/155-sistema-pitaniya-zamena-toplivnogo-baka-i-ego-nalivnoy-truby.html