![1 generation [2003 - 2009]](/uploads/carpedia.club-mazda-3-BK-2003-2009.png)
![2 generation [2009 - 2013]](/uploads/carpedia.club-mazda-3-bl.jpg)


Tools:
- Ratchet wrench
- socket extension
- socket head 8 mm
- socket head 10 mm
- socket head 12 mm
- Phillips screwdriver large
- pliers
- Small hammer
- Small flat screwdriver
- Fuel pump cover remover
- Electric hair dryer technical
- screw jack
Parts and consumables:
- rags
- Empty container
- Cloth gloves
- wooden block
- Fuel module ring - Mazda BP4L-42-167
- Fuel pump gasket - Mazda BP4K-42-166
- Original fuel module - Mazda ZY08-13-35XH, Mazda ZY08-13-35XG, Mazda ZY08-13-35XF
Mazda 3 Fuel Filter Replacement Frequency
The fuel filter on the Mazda 3 BK cleans gasoline from all sorts of contaminants and ensures the proper operation of the entire fuel system. It refers to consumables that should be changed regularly.
The Mazda 3 fuel filter is replaced every 100 - 120 thousand km. run.
Where is the Mazda 6 fuel filter located?
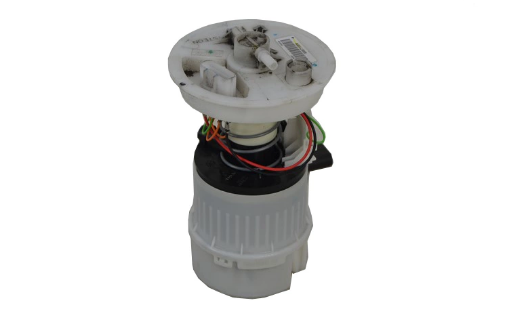
Fine and coarse filters are assembled with a pump. They are built into the fuel module and immersed in the gas tank. The manufacturer does not provide for a separate replacement of the Mazda 3 fuel pump - the filters must be changed as a whole module.
Note:
To avoid possible deformation of the tank, install the module back within half an hour. Be sure to change the O-ring on the module as well.
Replacing the fuel filter Mazda 3. The procedure for performing work:
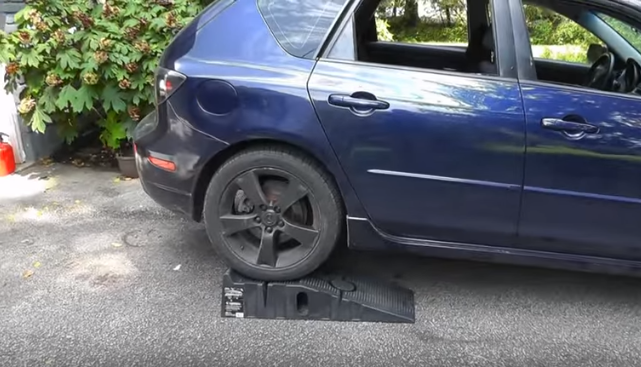
1. Install the car on a pit or overpass. If this is not possible, just hang the rear wheels.
2. Open the hood and relieve pressure in the fuel line: in the fuse box, remove the Mazda 3 F24 / 15A (F / PUMP) fuel pump fuse .
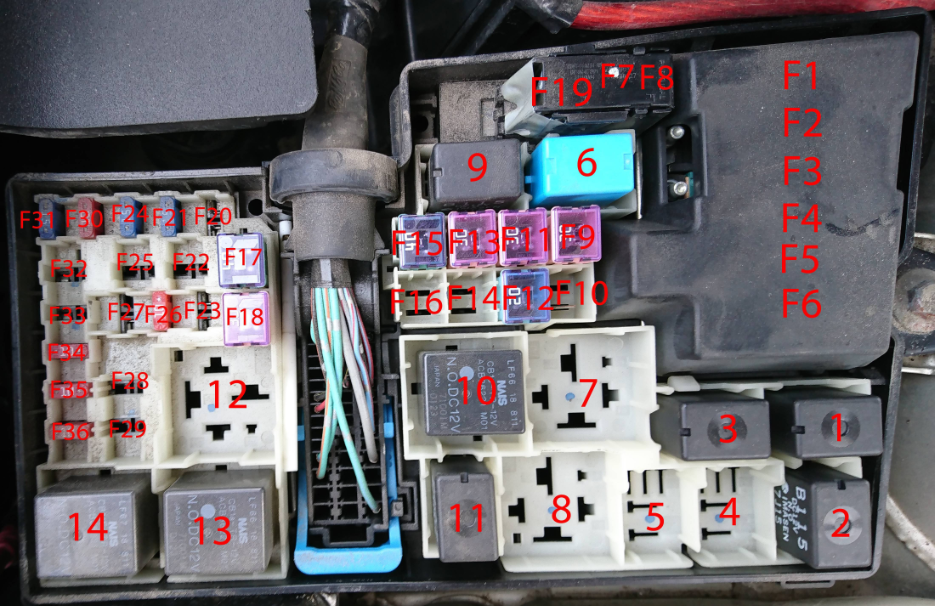
Start the engine, wait until it stops due to engine running out of fuel, and engage the starter for 10 seconds. Install the fuse back.
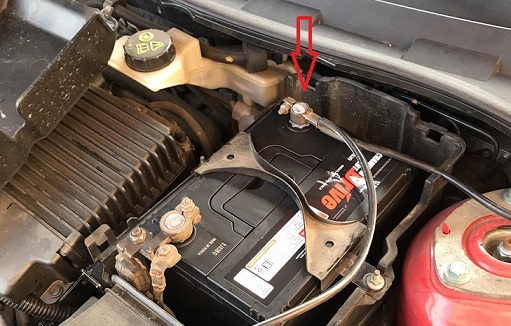
3. Disconnect the negative terminal from the battery.
4. Remove the rear seat cushion by pulling it forward and up. Unfasten 2 clips at the bottom.
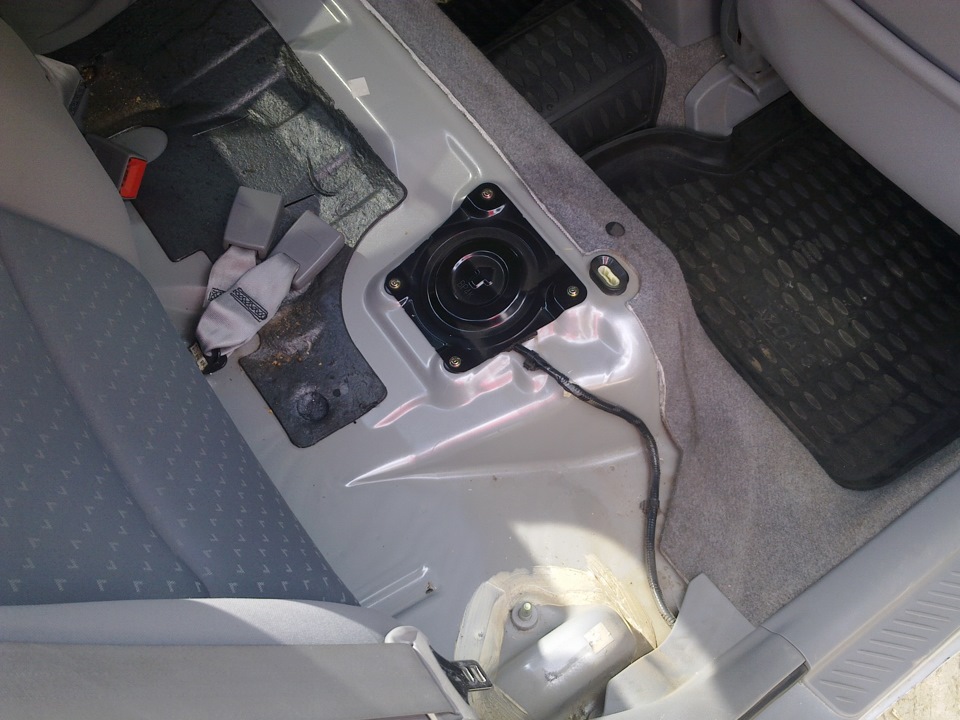
5. Using a Phillips screwdriver, remove the 4 screws securing the sunroof cover.
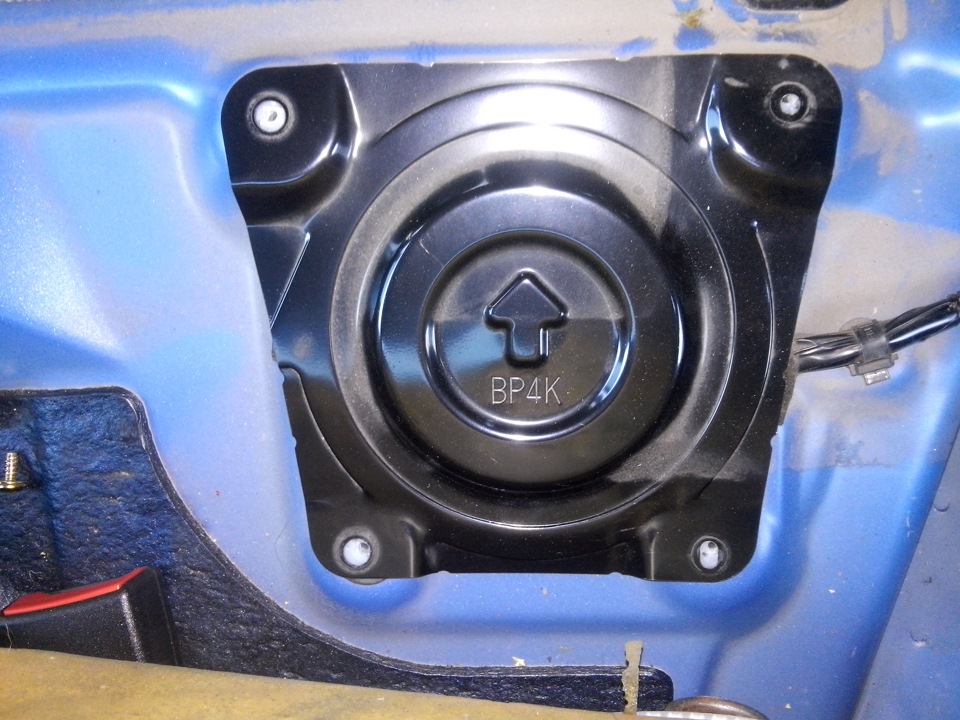
6. Move the cover aside.
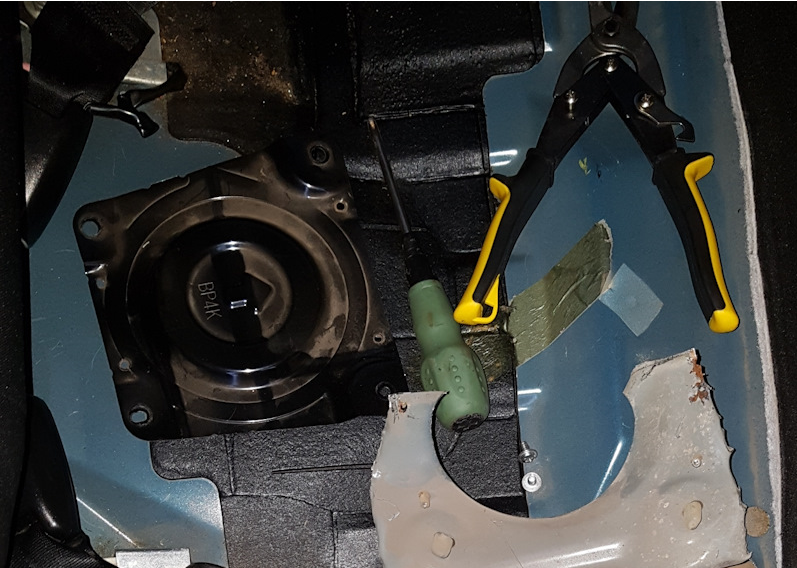
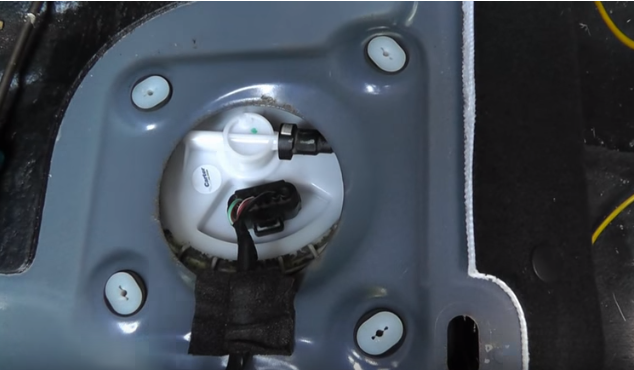
This will open access to the Mazda 3 fuel module.
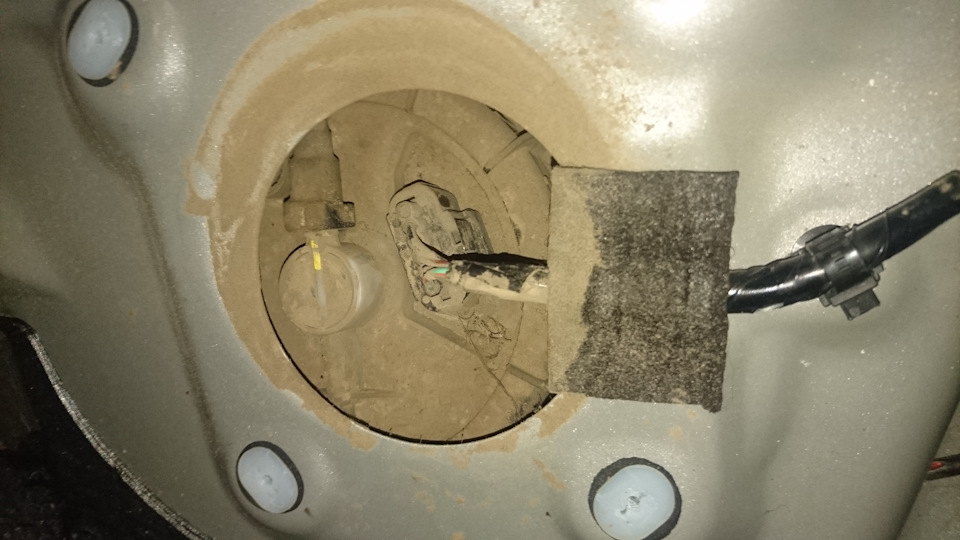
7. Press the latch and disconnect the wiring harness block from the fuel module.
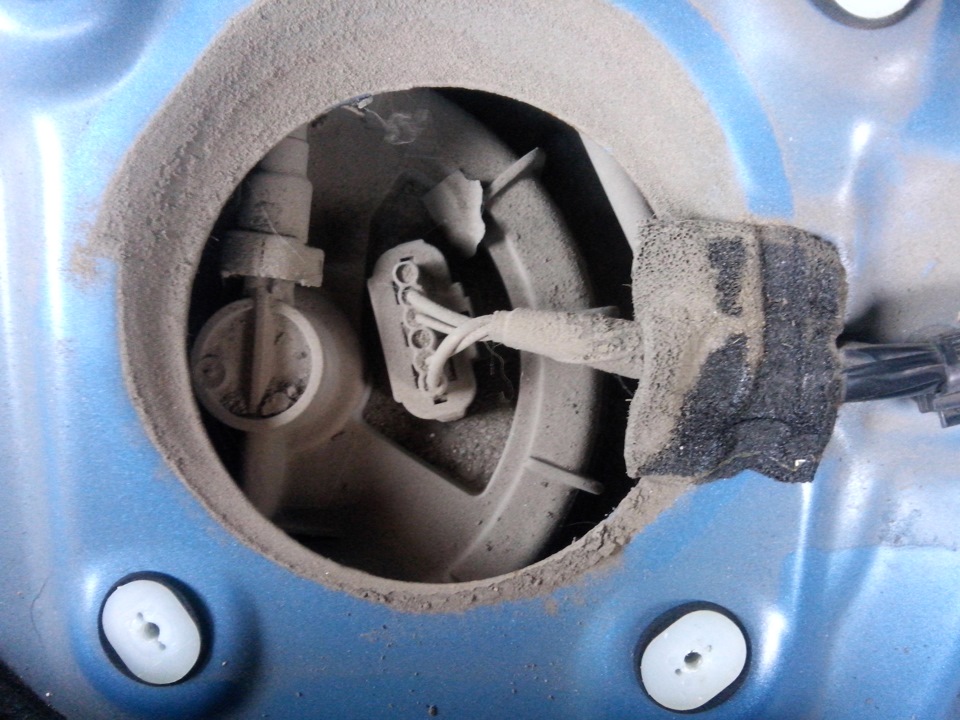
8. Similarly disconnect from the fuel module the pipeline.
9. Get under the car.
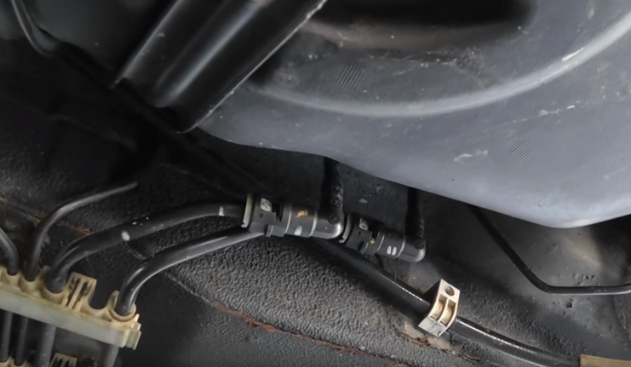
10. Remove 2 Mazda 3 adsorber hoses.

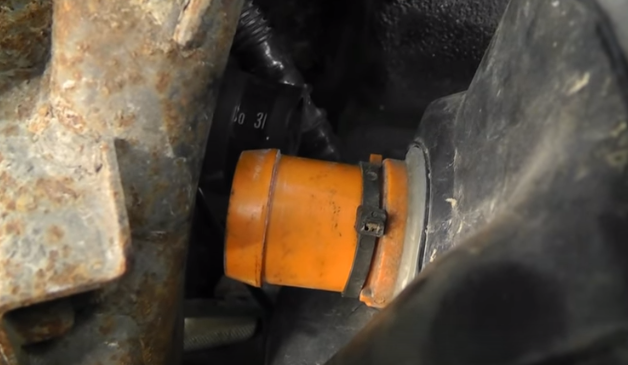
11. Use pliers to squeeze the clamps, and disconnect the fuel pump pipeline and the adsorber pipeline.
12. Loosen the clamp with a 10 socket wrench and disconnect the filler pipe from the gas tank.
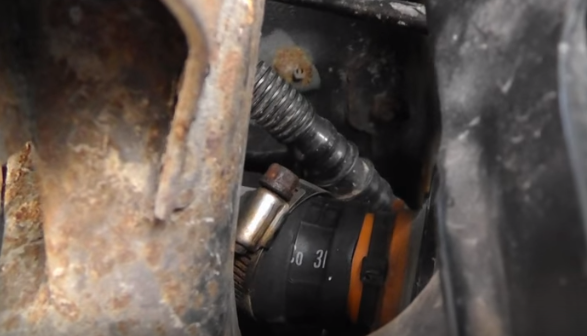
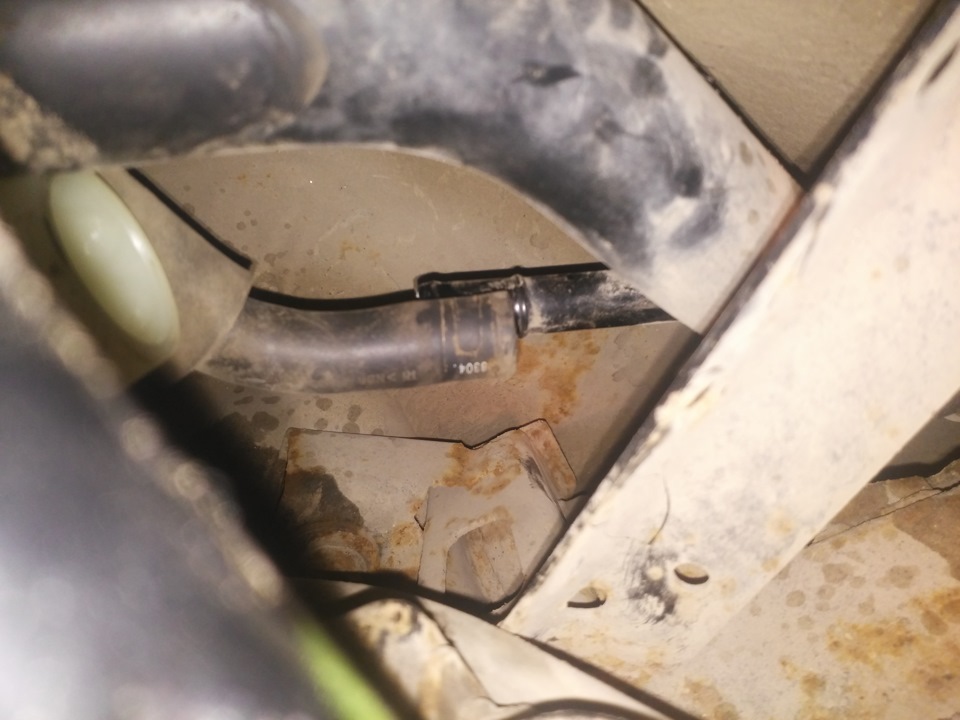
13. Using pliers, loosen the clamp and disconnect the vent hose of the filler neck.
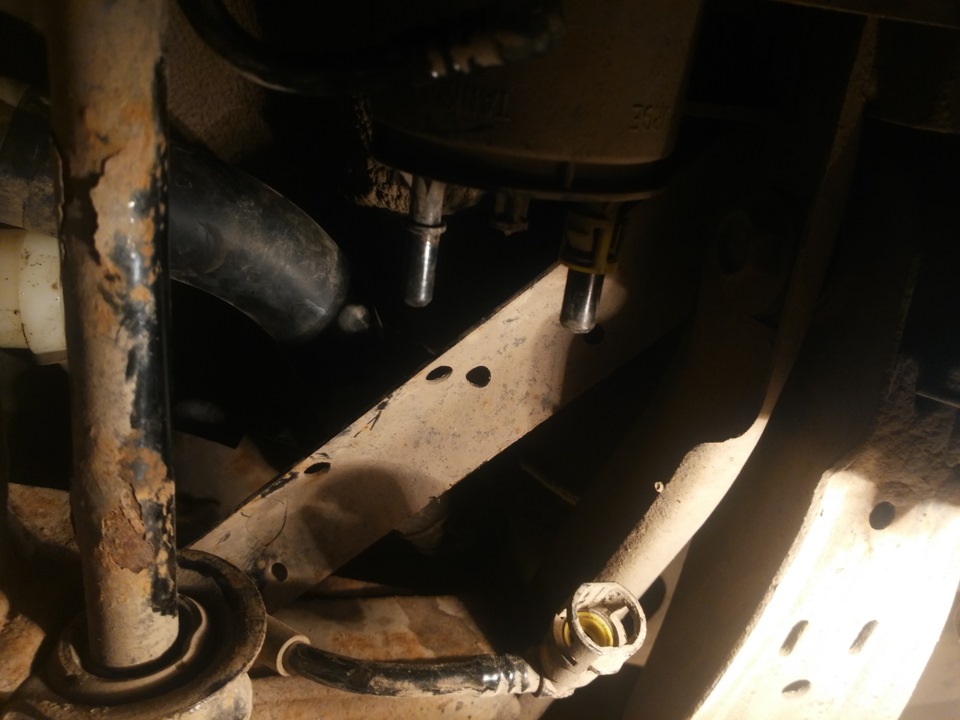
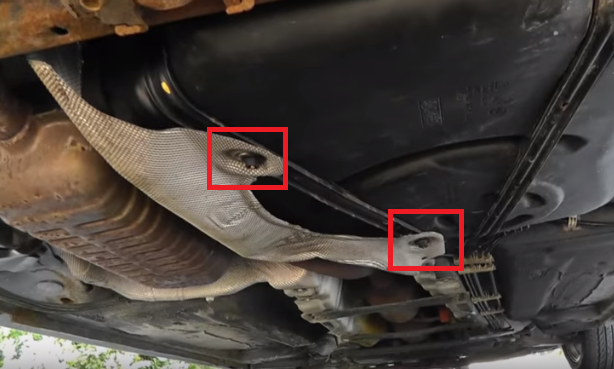
14. Using an 8 wrench, unscrew the 2 plastic bolts securing the thermal screen.
15. Before removing the Mazda 3 fuel tank, install an adjustable stop under it. Raise the rear of the car with two jacks so that the wheels hang off the ground, and place the third under the tank through the bar (to increase the support area).
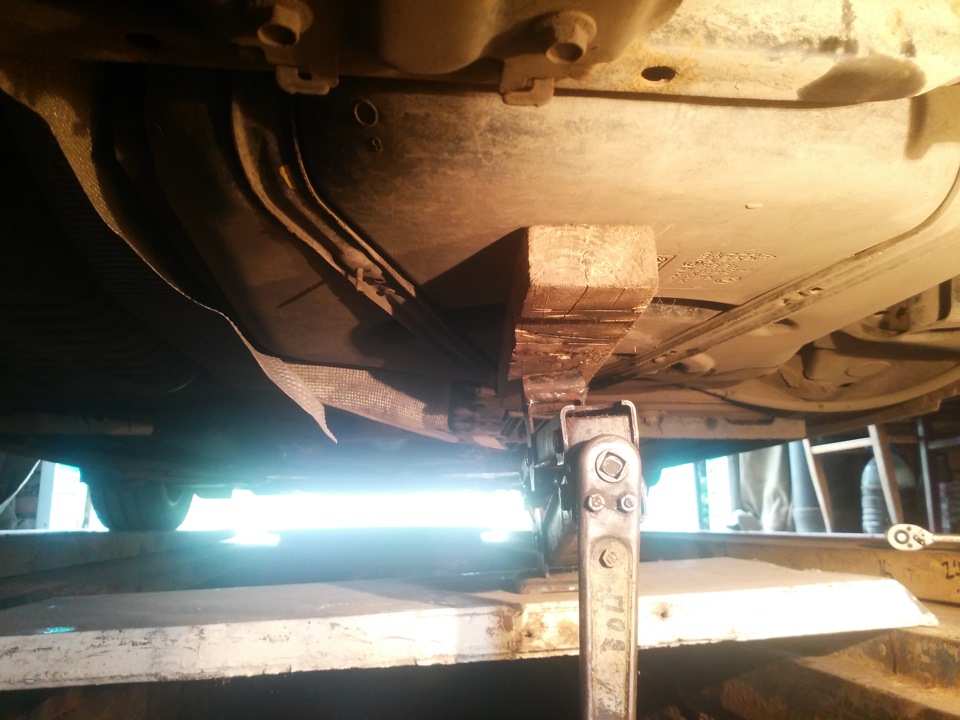
Note:
Further work would be good to do with an assistant.
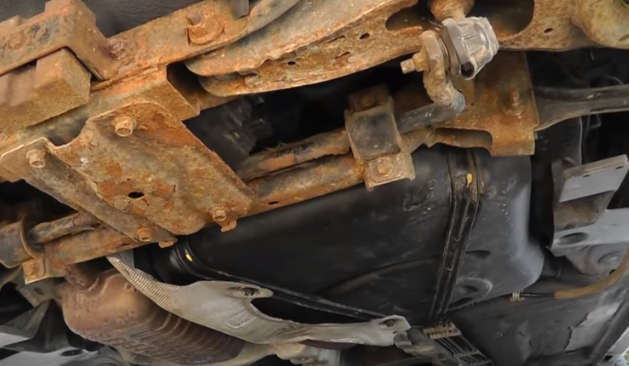
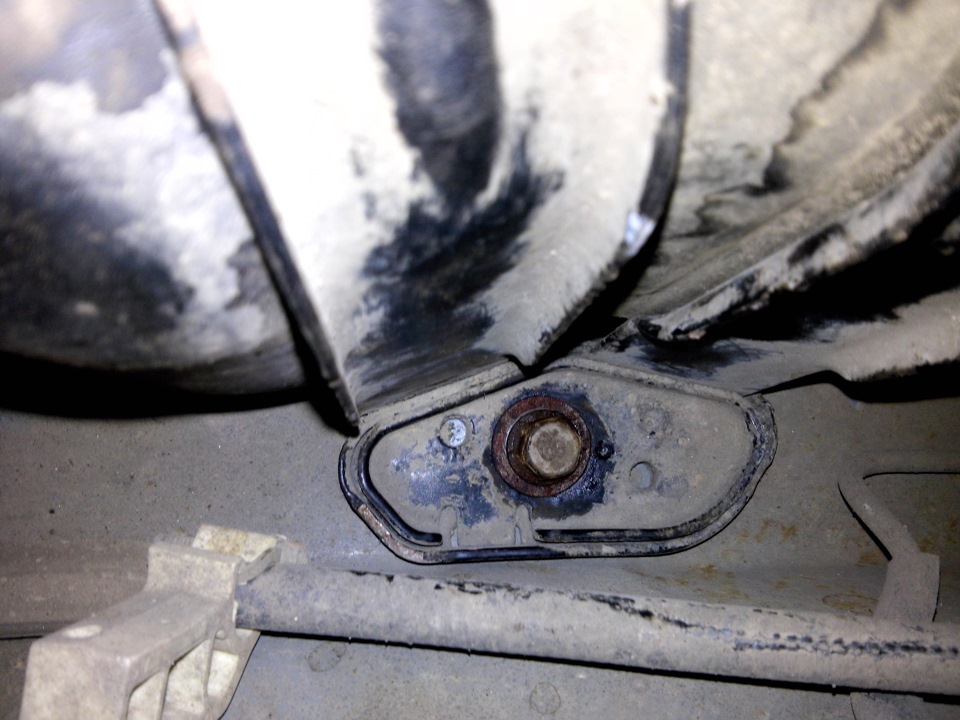
16. Using a 12 mm socket wrench with an extension, unscrew the front tank mounting bolt.
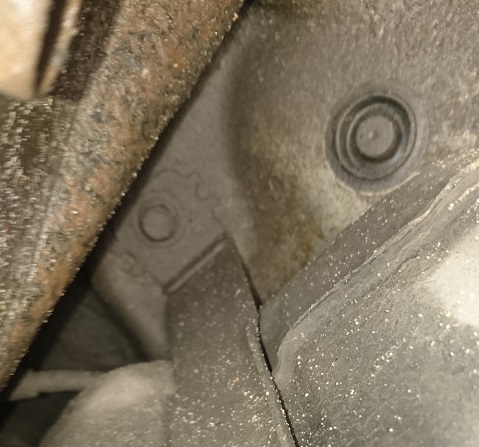
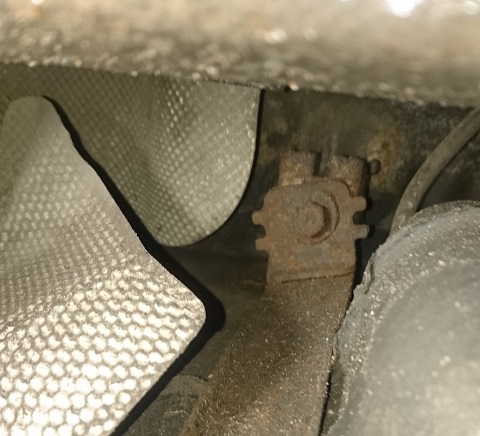
17. Turn away back left and back right bolts of fastening of a fuel tank.
18. Carefully remove the Mazda 3 fuel tank down and pull it out.
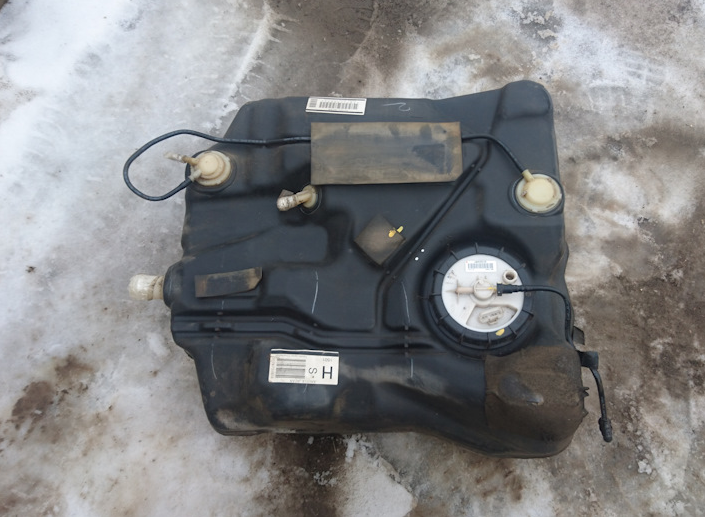
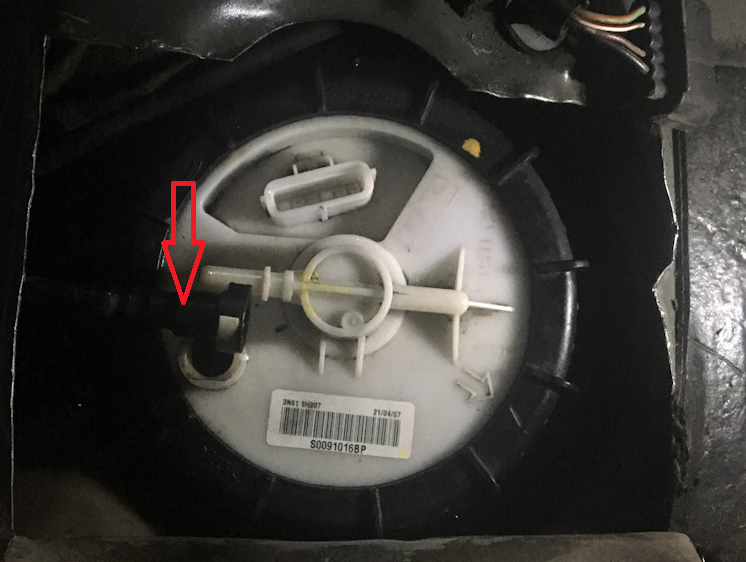
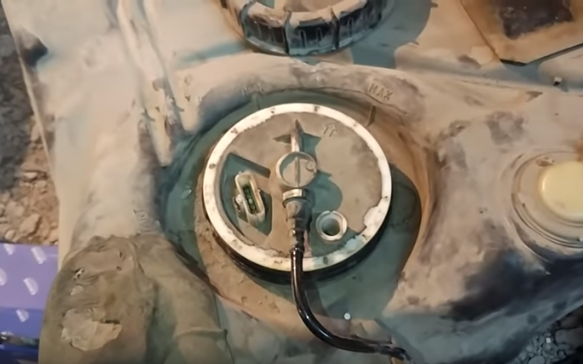
19. Pay attention to the marks on the tank, on the ring and on the module. The arrows are aligned, so when reinstalling, it will be necessary to combine them in exactly the same position.

20. Using a special tool, unscrew the mounting ring of the Mazda 3 fuel pump.
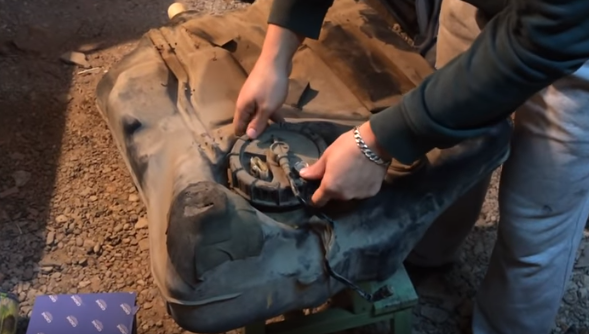
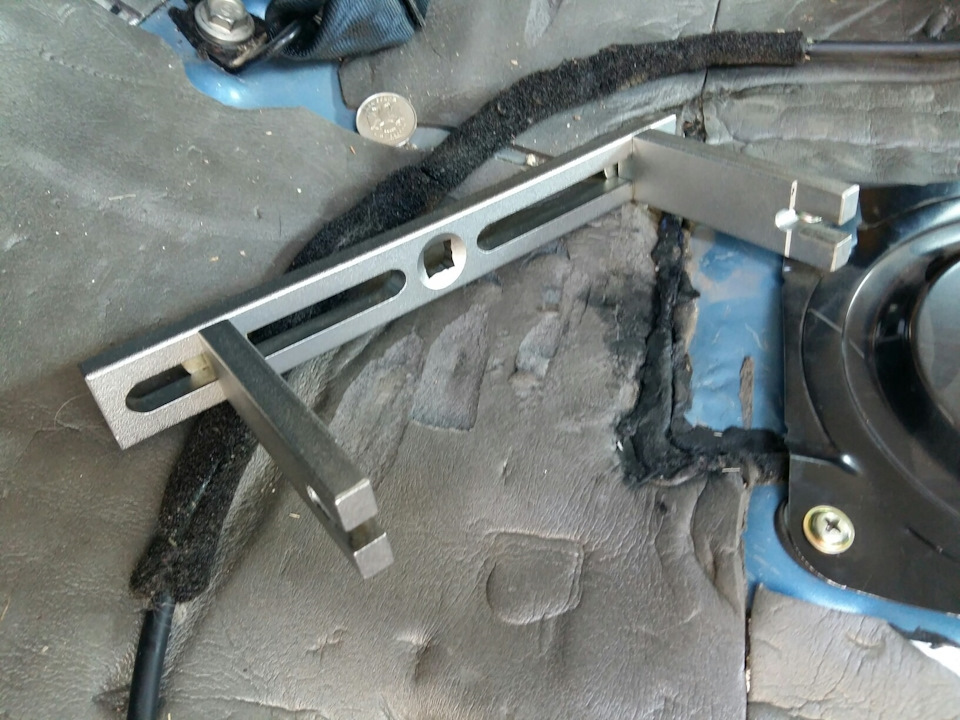
Universal fuel pump cover remover
Note:
Alternatively, you can try to unscrew the module ring with improvised means, for example, using a suspension spring tie, a solid wood drift and a hammer . However, it should be remembered that in this case the probability of damage to the ring and the fuel tank is very high, which will inevitably lead to the need to replace them.
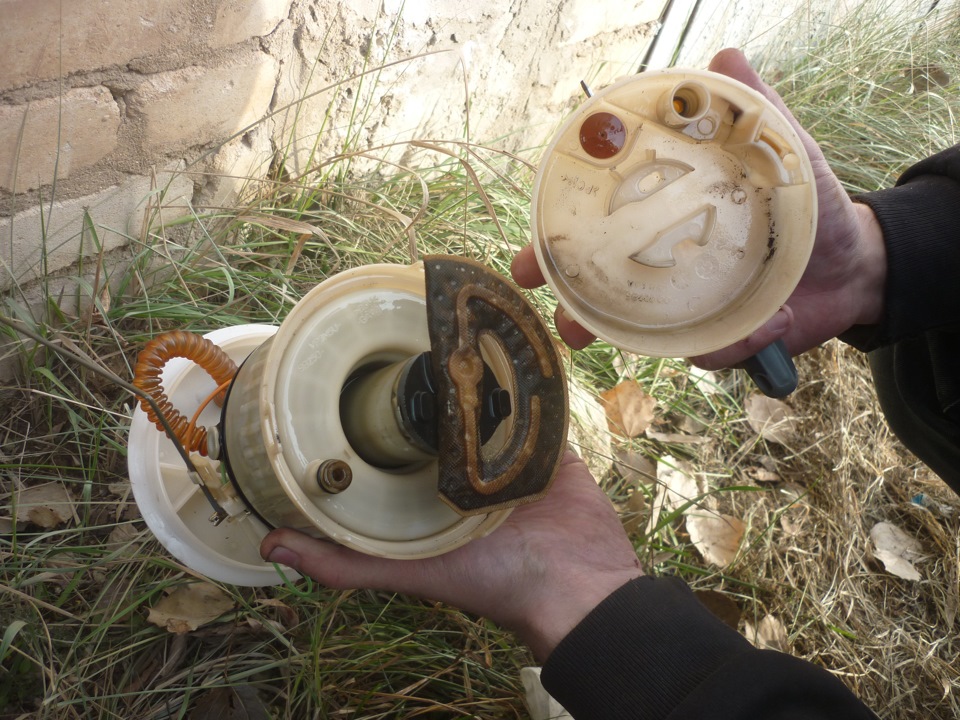
21. Remove the fuel module from the gas tank.
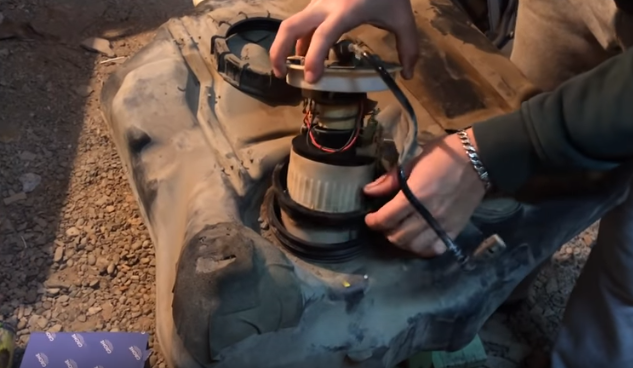
Note:
When removing the pump, be careful not to bend the float (it will show the wrong fuel level).
22. Replace the Mazda 3 fuel filter with a new one.

23. Install the new module back into the fuel tank.
24. Wrap the fixing ring of the module from the position where the arrow on the ring will be opposite the inscription START on the fuel tank. Tighten the ring to a torque of 80-90 Nm. After tightening, the arrow on the ring should be between the MIN and MAX marks on the fuel tank. If this is not the case, the ring must be replaced.
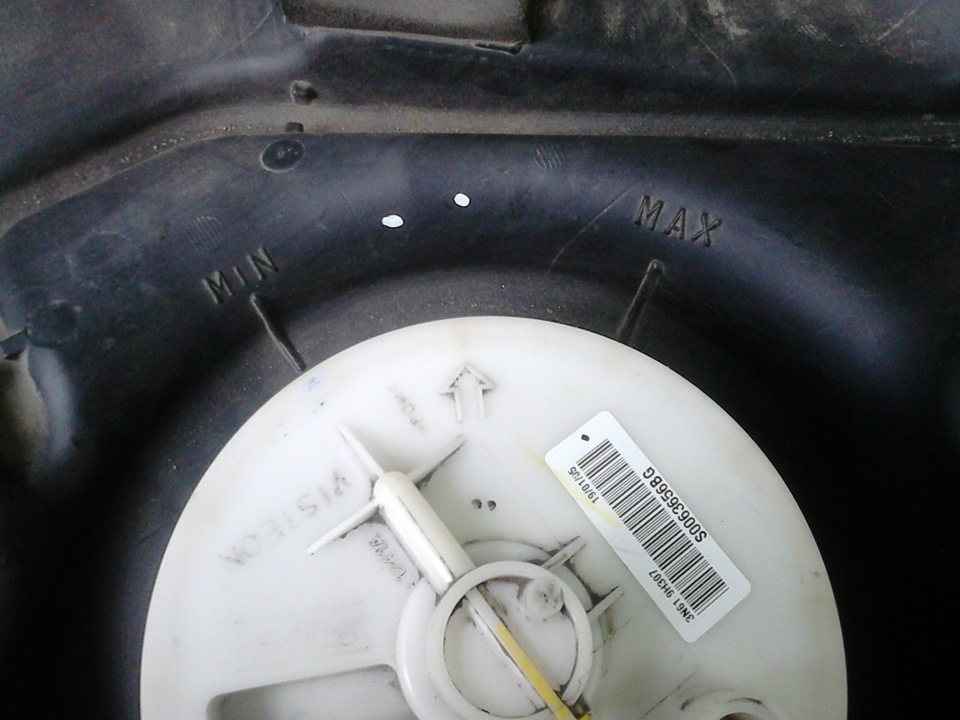
Note:
It is very important to adhere to the tightening torque and the correct location of the marks. Otherwise, the fuel tank may leak.
25. Install the fuel tank and the entire structure in reverse order.
Additional Information:
For optimal performance of the fuel system, Mazda recommends replacing the Mazda 3 fuel pump assembly. But to save money, some drivers still decide to disassemble the fuel module on their own and change the used filters separately.
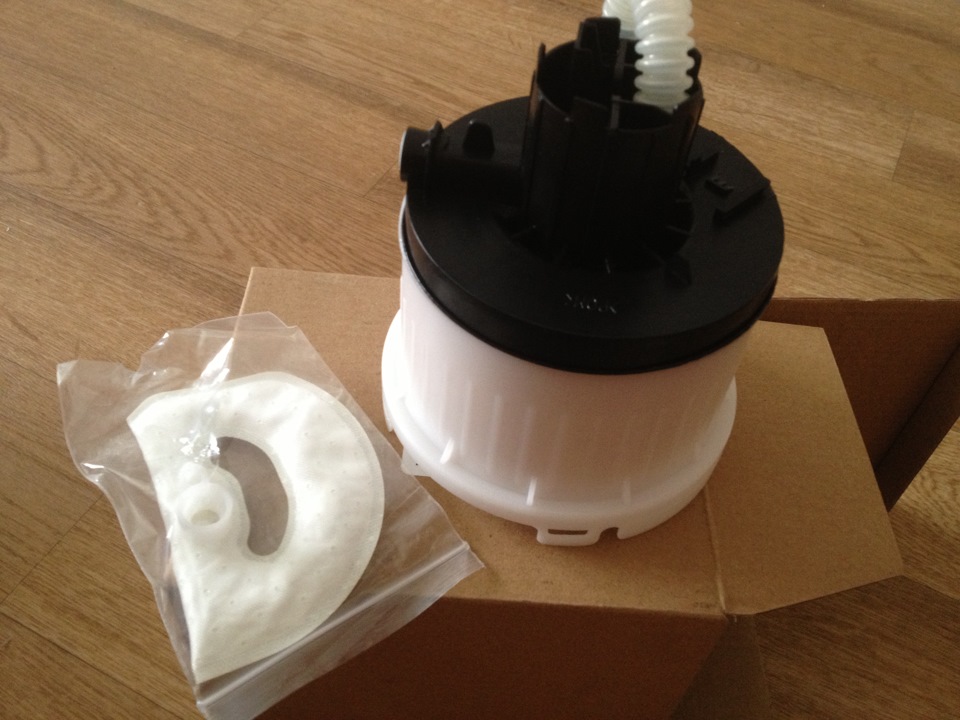
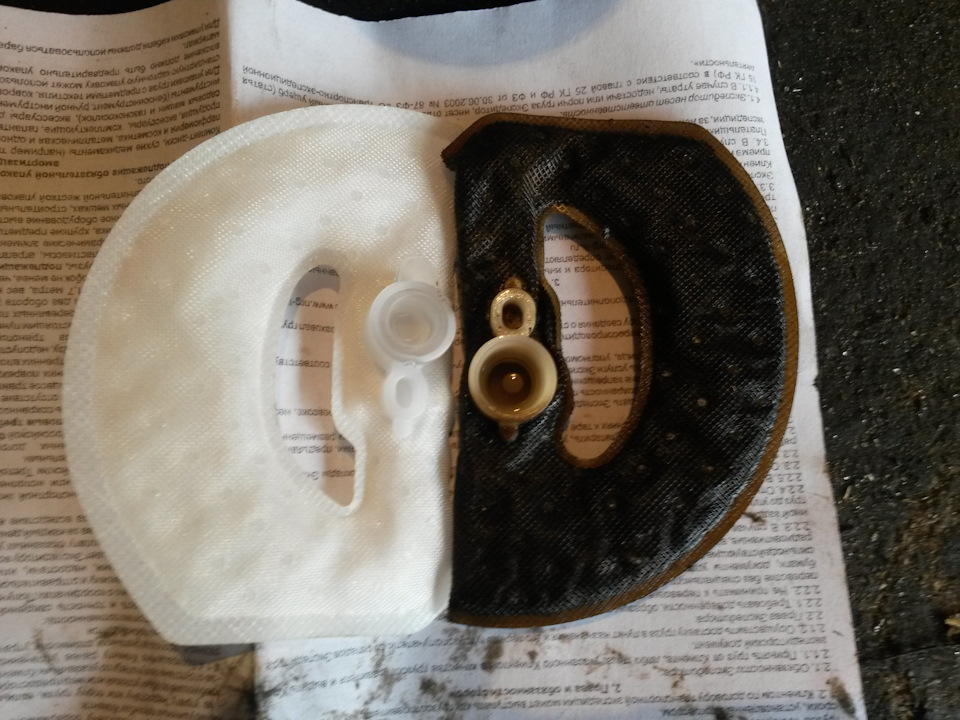
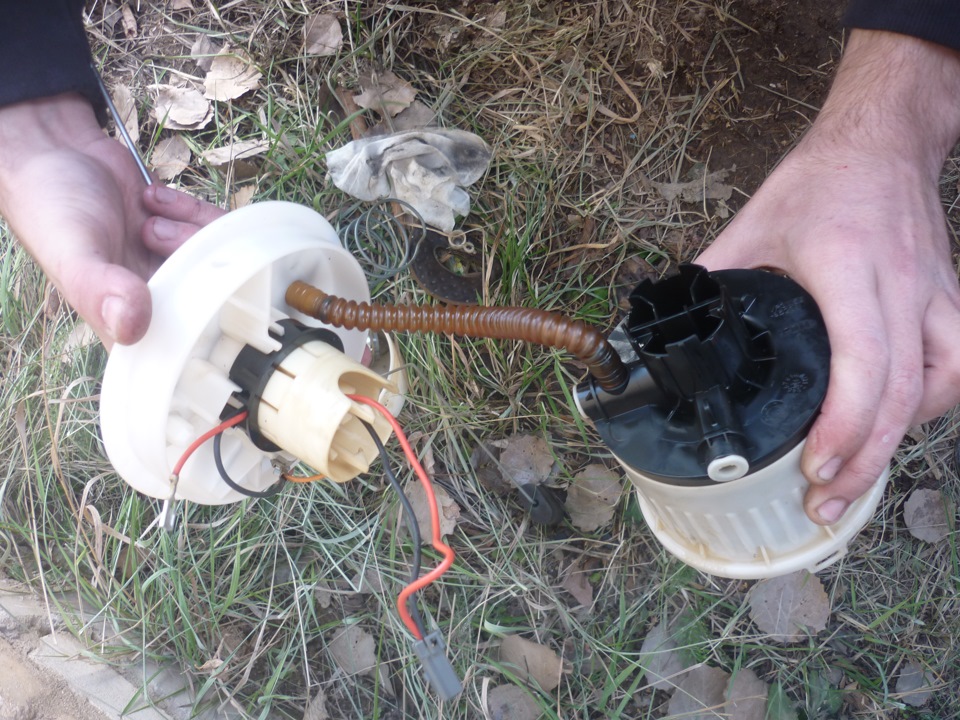
Fine and coarse filters
Self-replacement of Mazda 3 filters. Work procedure:
1. First, remove the Mazda 3 fuel level sensor.
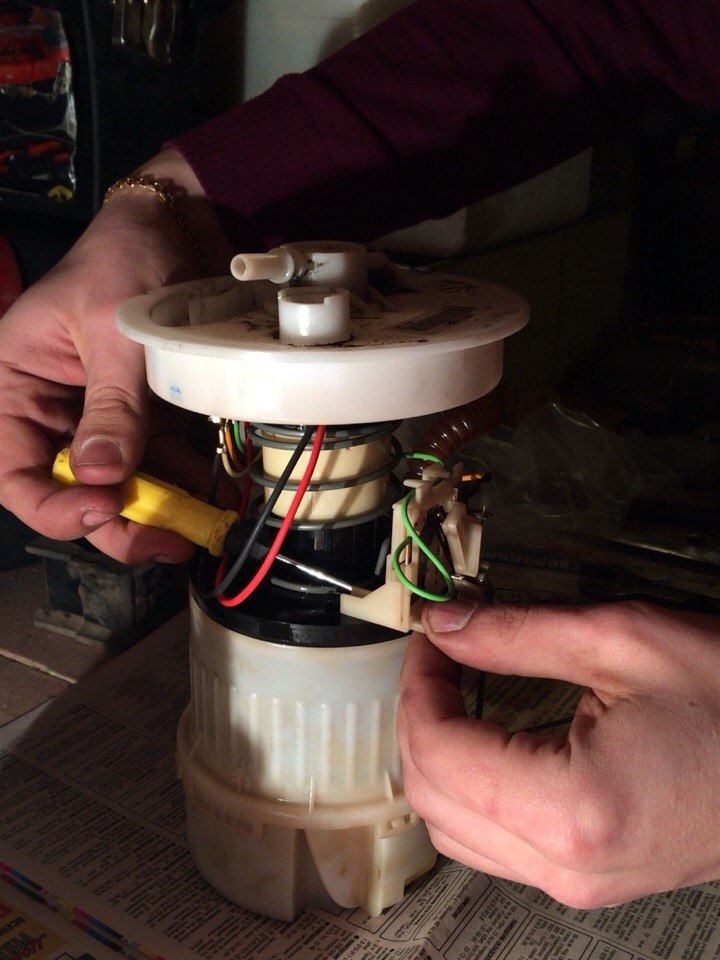
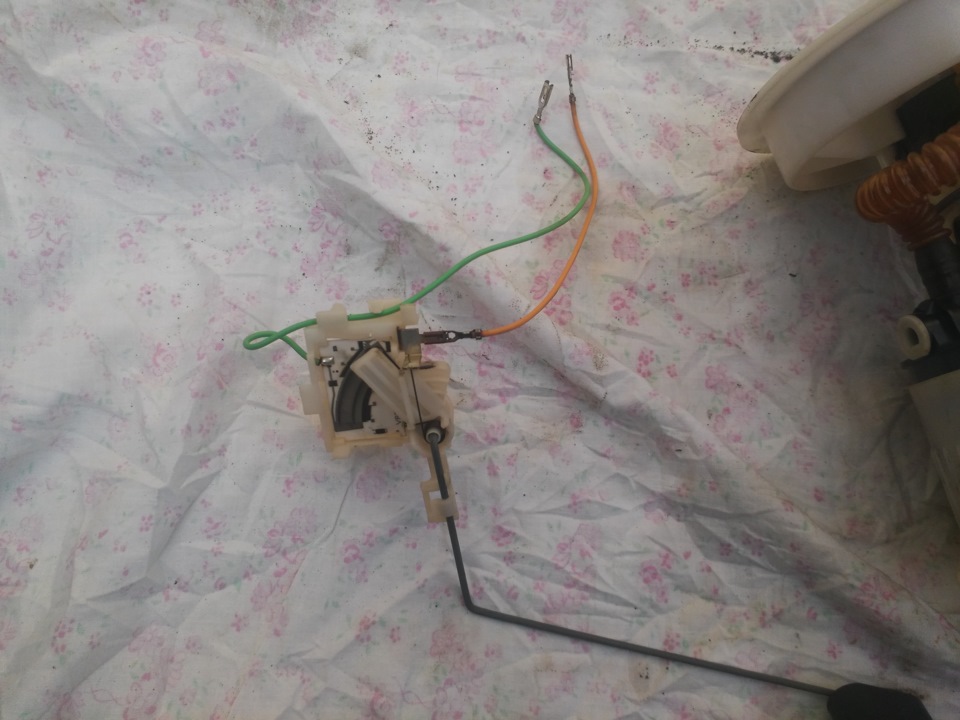
2. Gently snap off the lower part of the Mazda 3 filter housing (4 latches).
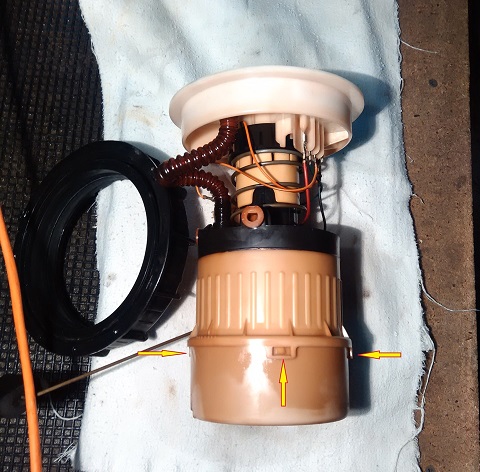
3. Remove the lower case.
4. Remove the Mazda 3 coarse fuel filter.
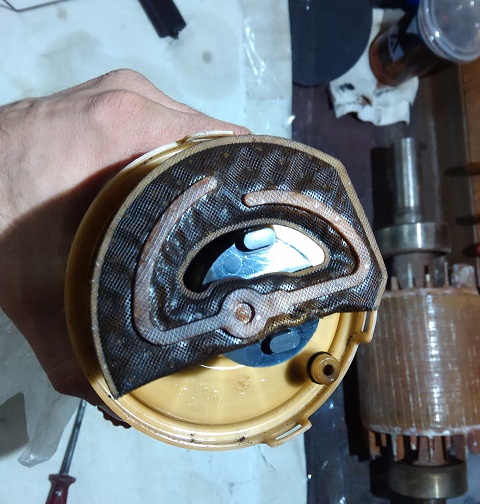
5. Replace it with a new one.
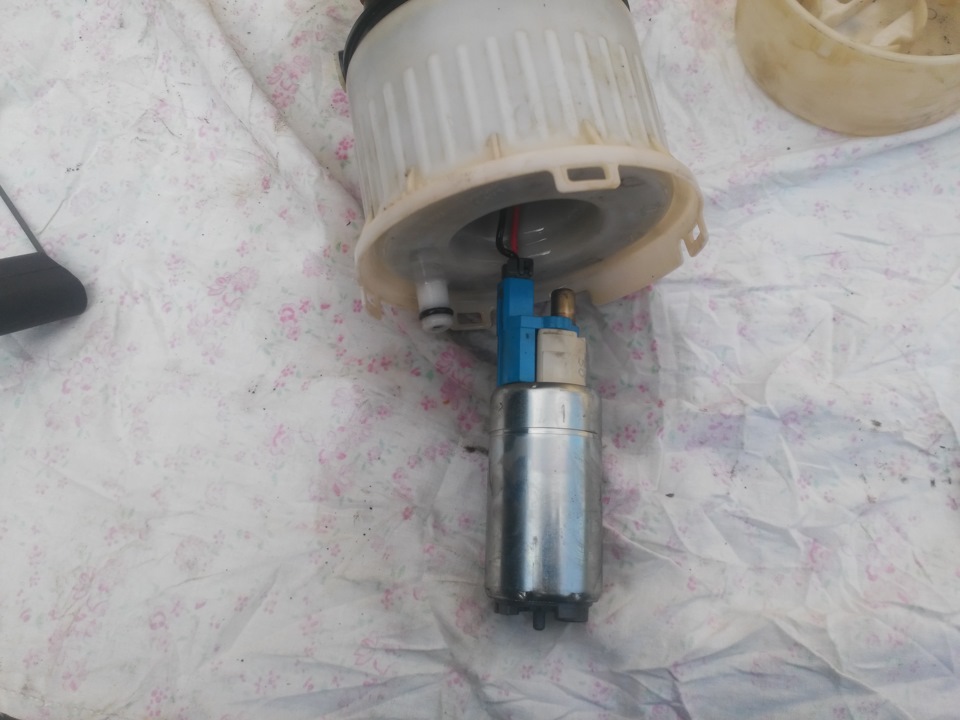
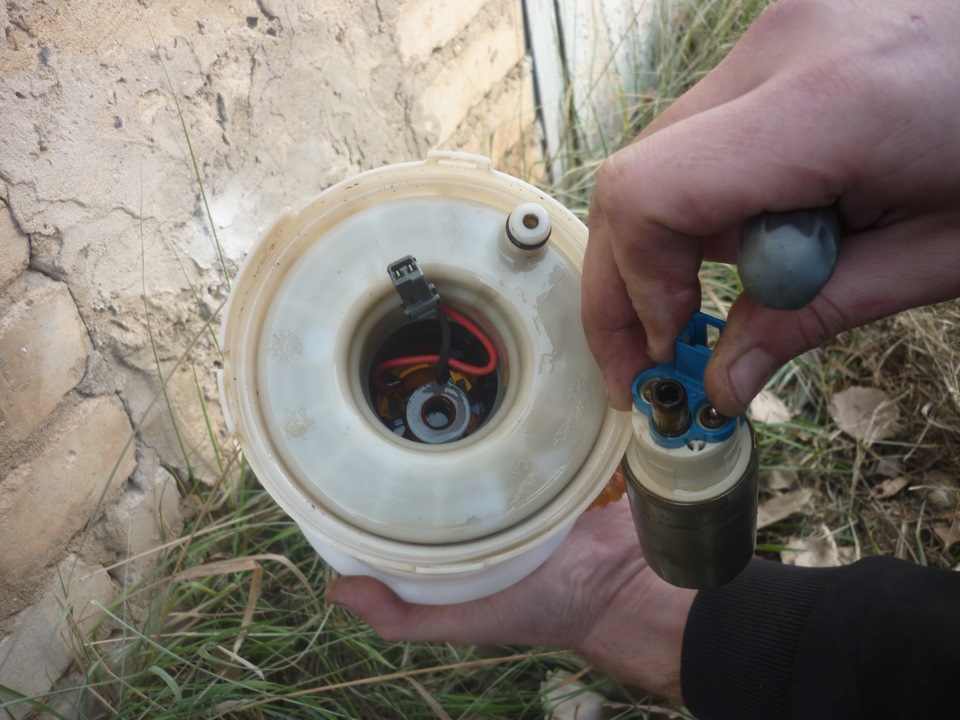
6. To remove the Mazda 3 fine filter, pull out and turn off the fuel pump.
7. To separate the upper part of the housing from the filter, use a screwdriver to press out the 2 latches inside.
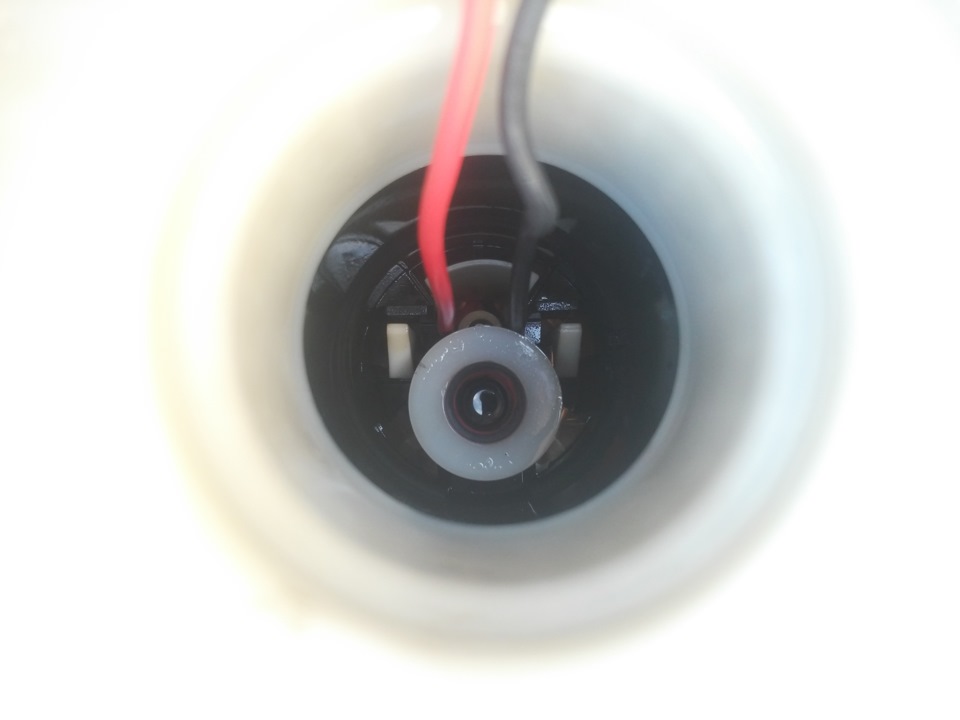
8. Pull out the filter.
9. Cut the fuel hose at the top and remove the filter itself.
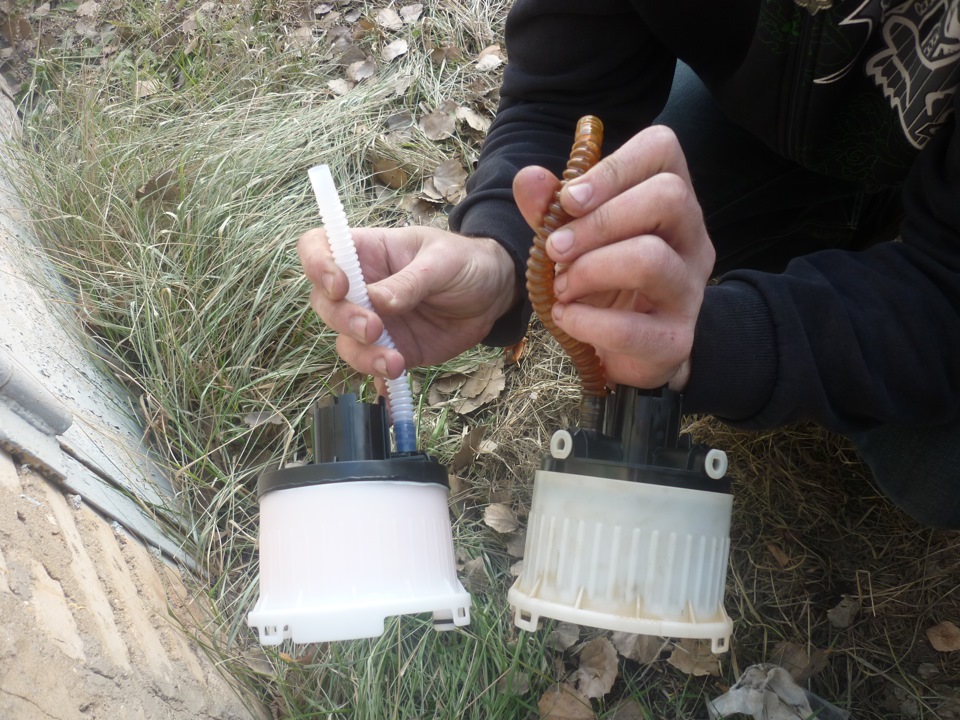
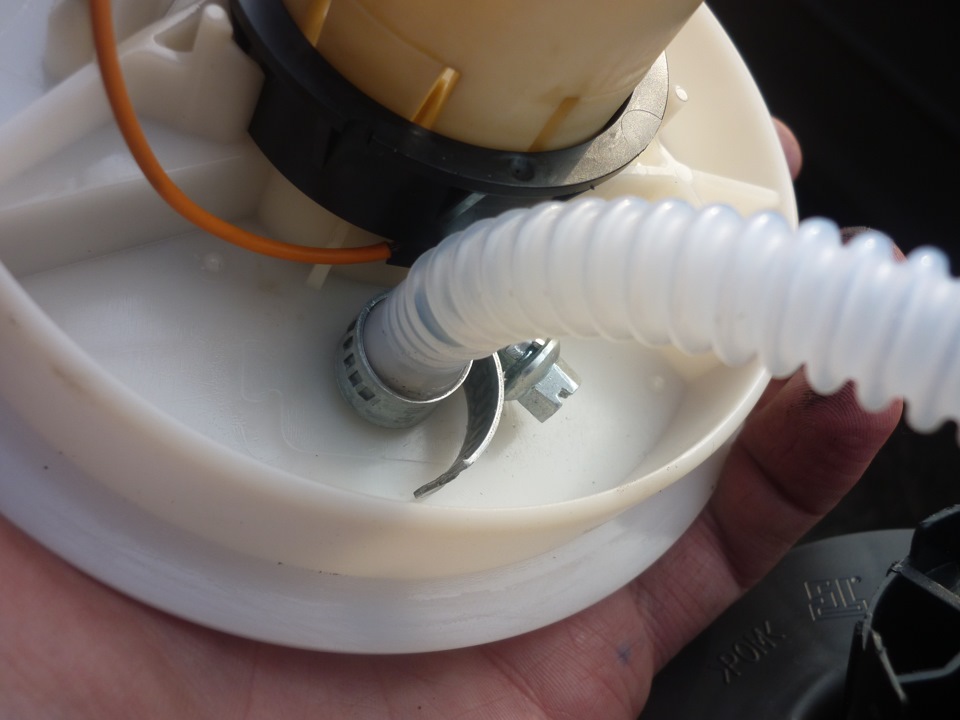
10. Replace the Mazda 3 fine filter and put on the tube, preheating it over a fire so that it becomes soft. Then quickly put it on the pump. For reliability, fix the tube with a clamp.
11. Put on a new Mazda 3 coarse filter and assemble the structure in the reverse order. Install the filter in the fuel tank.

12. Reinstall the fuel tank and assemble everything in reverse order.
Video of self-analysis of the Mazda 3 fuel pump:
https://www.youtube.com/watch?v=xvMoQAVNfyc
Source: carpedia.club