![8 generation [2005 - 2011]](/uploads/Honda_Civic_2011_-_2012.jpg)

Note:
If you do not use the parking brake, dirt and moisture stagnate in the cable sheaths, the cables rust, stop moving in the sheaths and break. Therefore, we recommend using the parking brake in all cases when it is necessary, while not forgetting to adjust its drive from time to time.
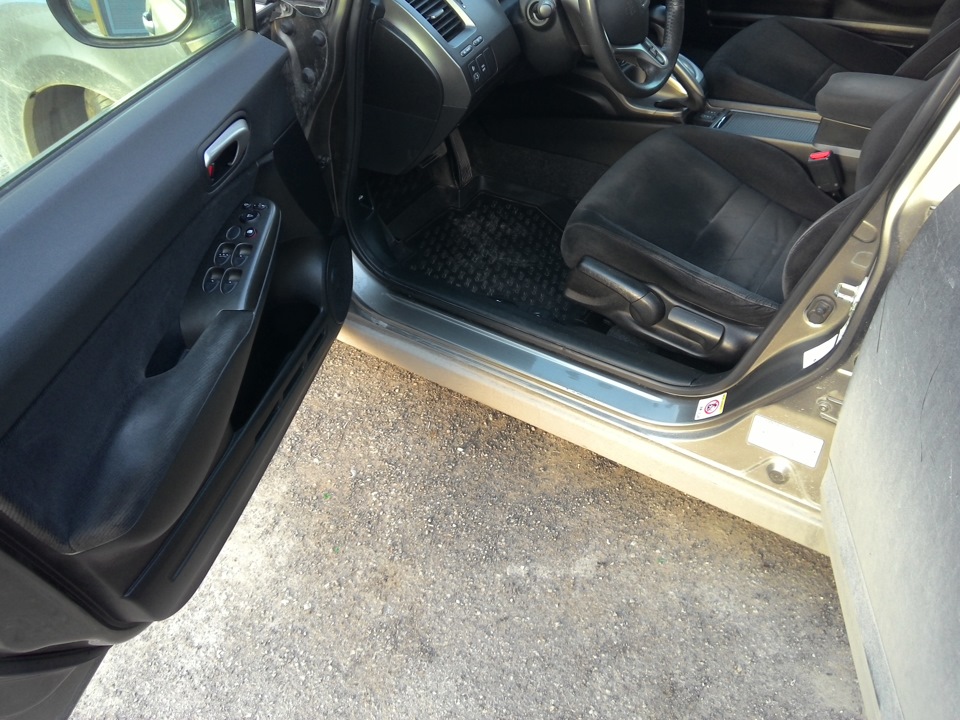
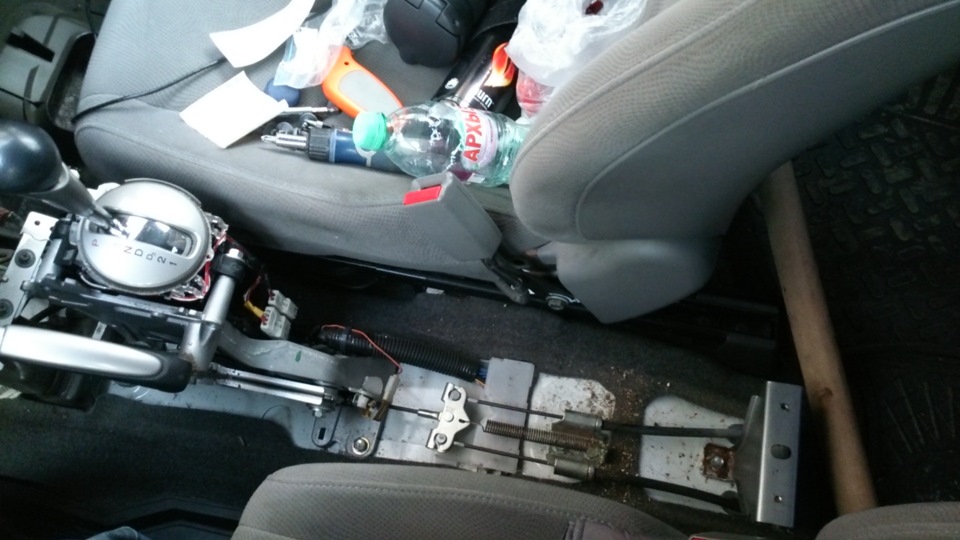
Before changing the handbrake cables on a Honda Civic, you will first need to remove the lining of the floor tunnel.
Removing the Central Tunnel of the Honda Civic Floor
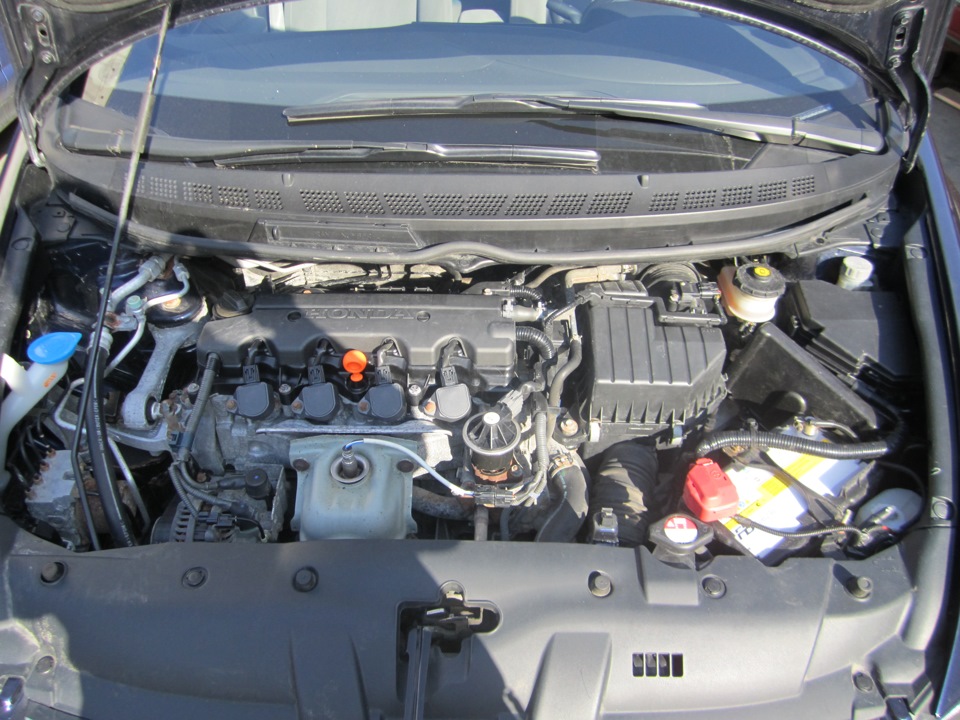
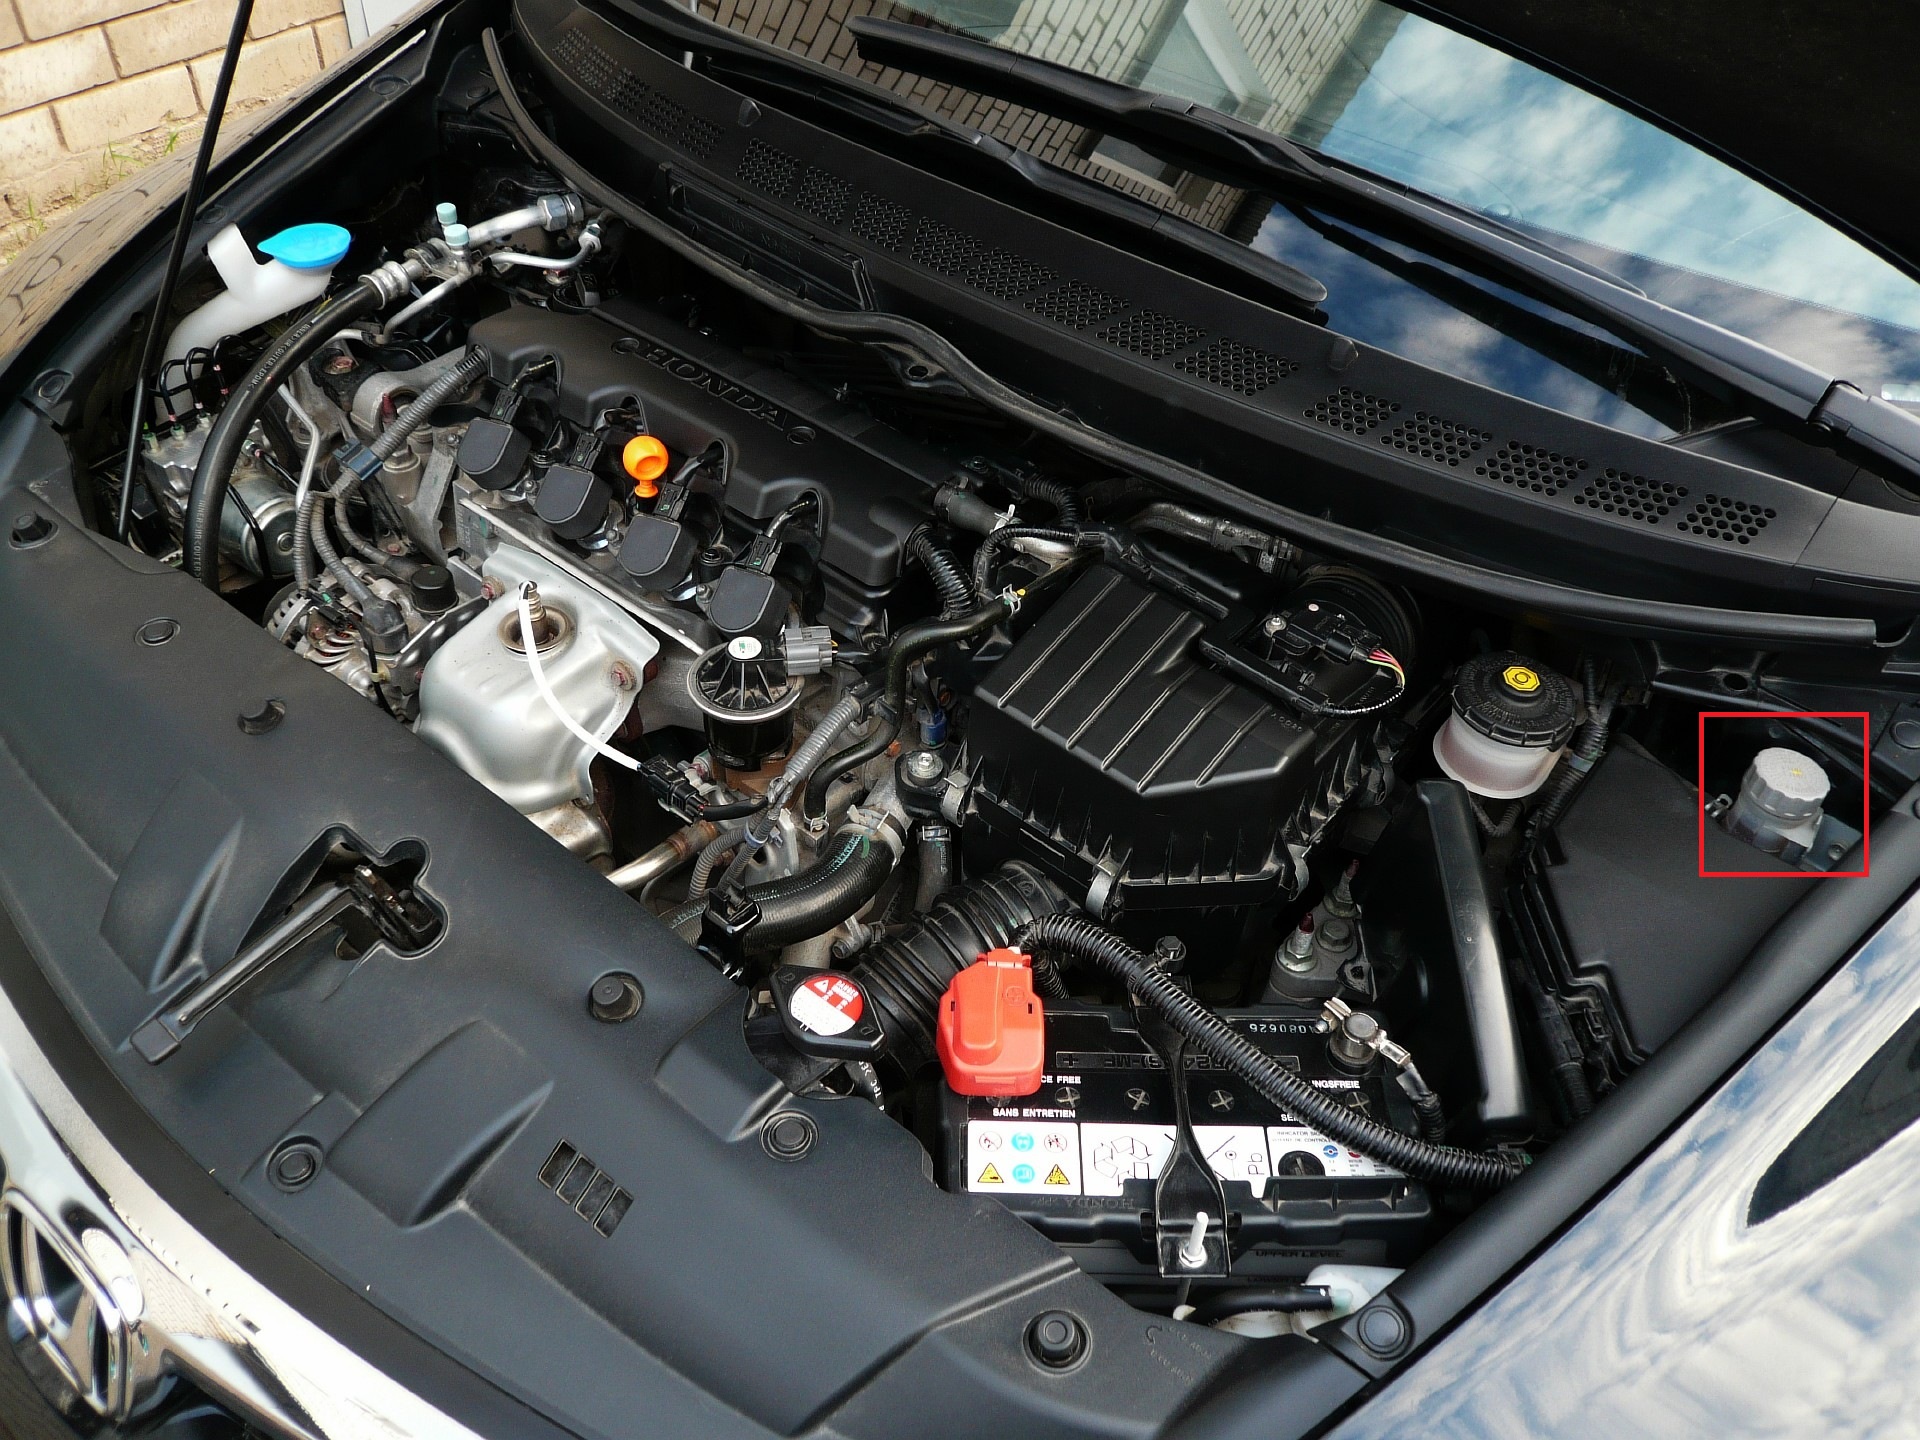
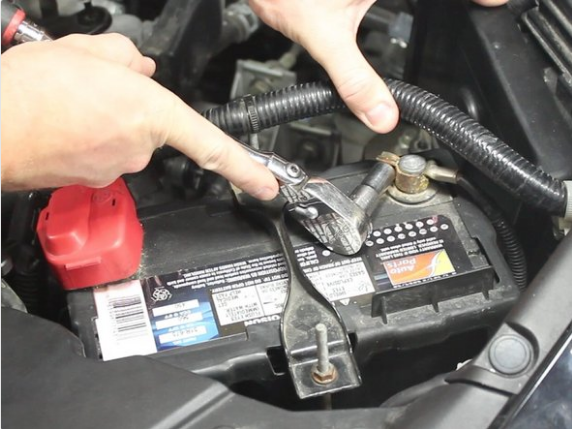
1. Raise the hood cover, and with a 10 mm wrench, loosen the nut of the “negative” battery terminal.
2. Go to the car interior.
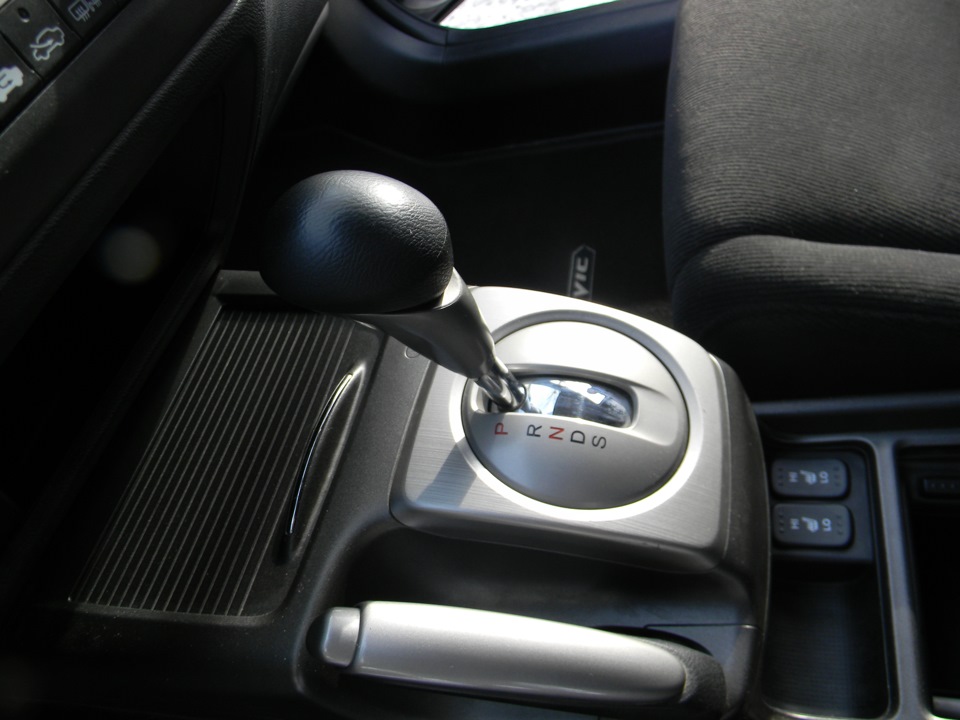
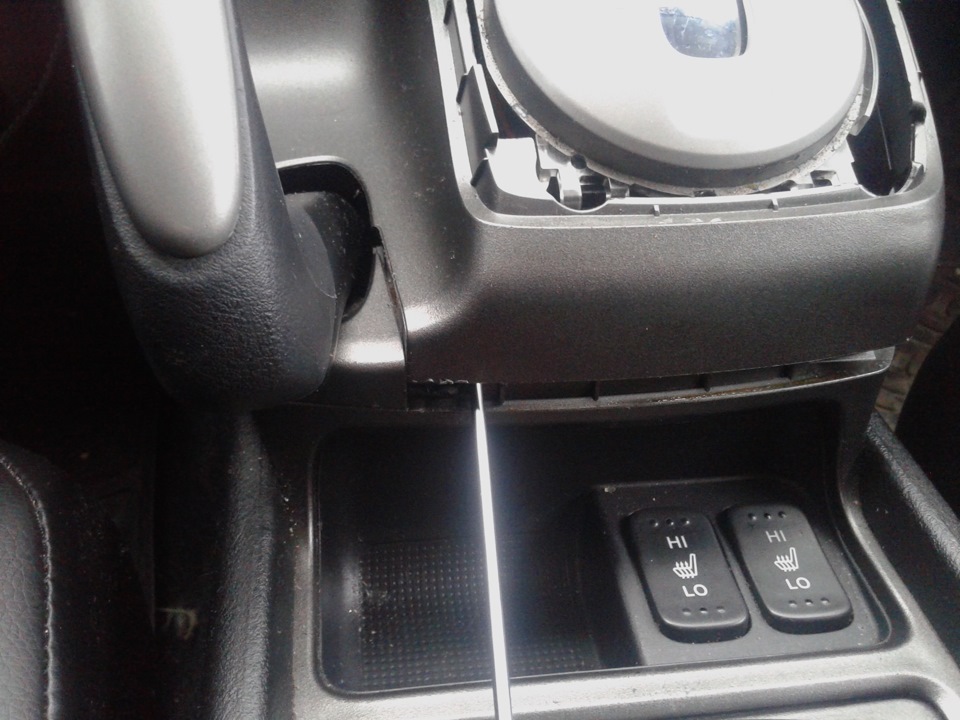
3. Pry with a flat screwdriver or spatula and pull out the plastic cover of the automatic transmission selector from the 4 latches.
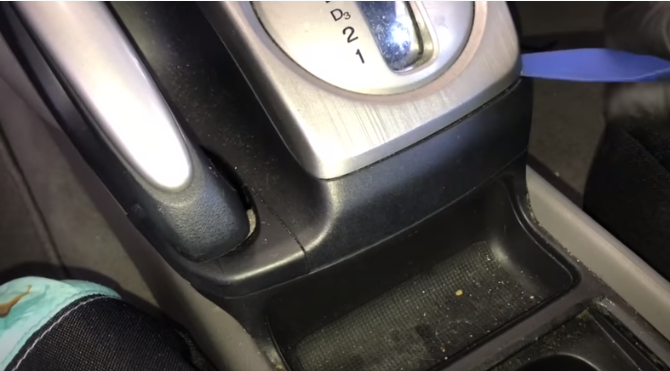
4. Remove the trim by pulling it up.
5. Pry with a flat screwdriver or plastic spatula and remove the upper part of the floor tunnel lining.
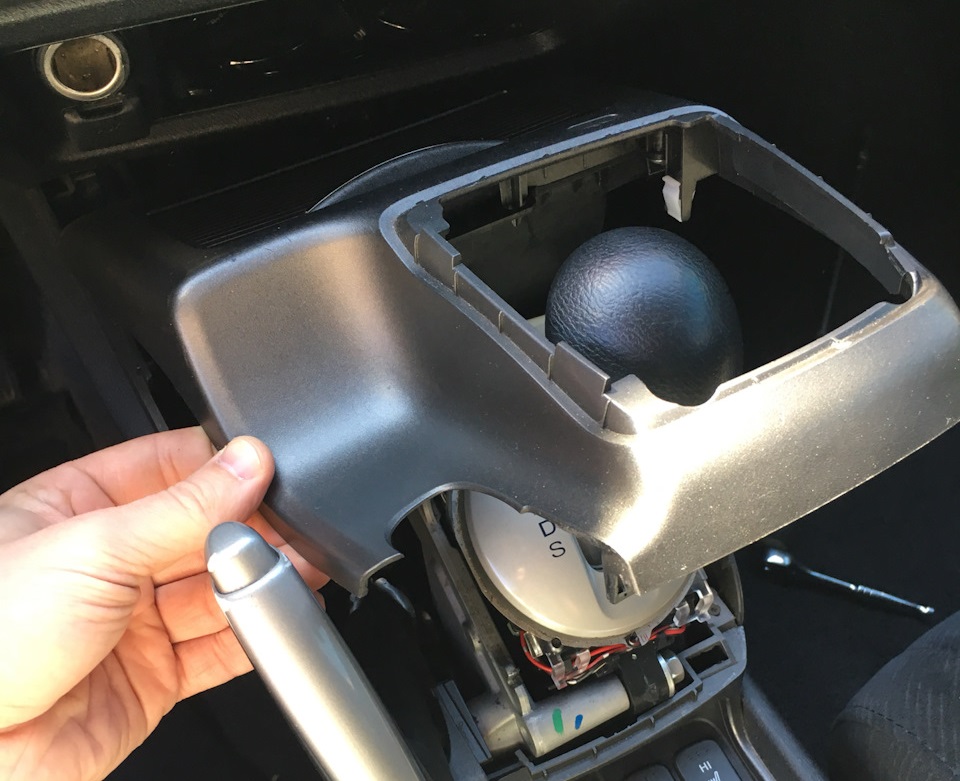
6. Overcoming resistance of clamps, pull on itself and remove the right bottom facing of the panel of devices.
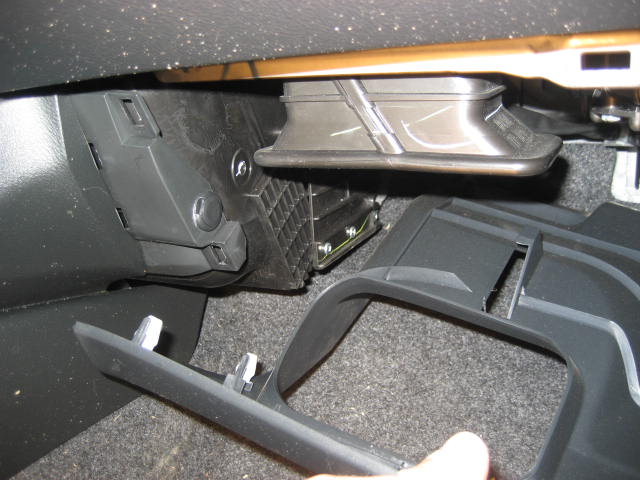
7. Pry with a screwdriver, wring out the core and remove the piston of the front right fastening of the central floor tunnel.
8. Similarly, remove the piston of the front left fastening of the central floor tunnel.

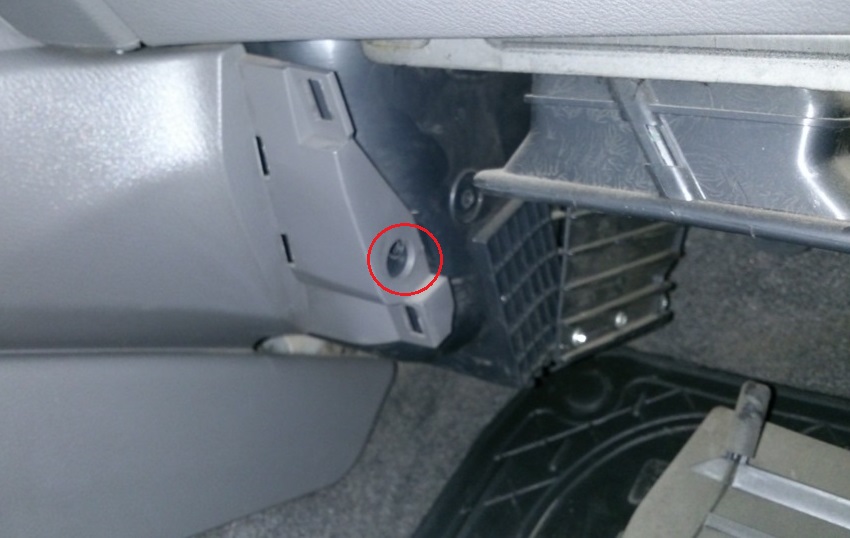
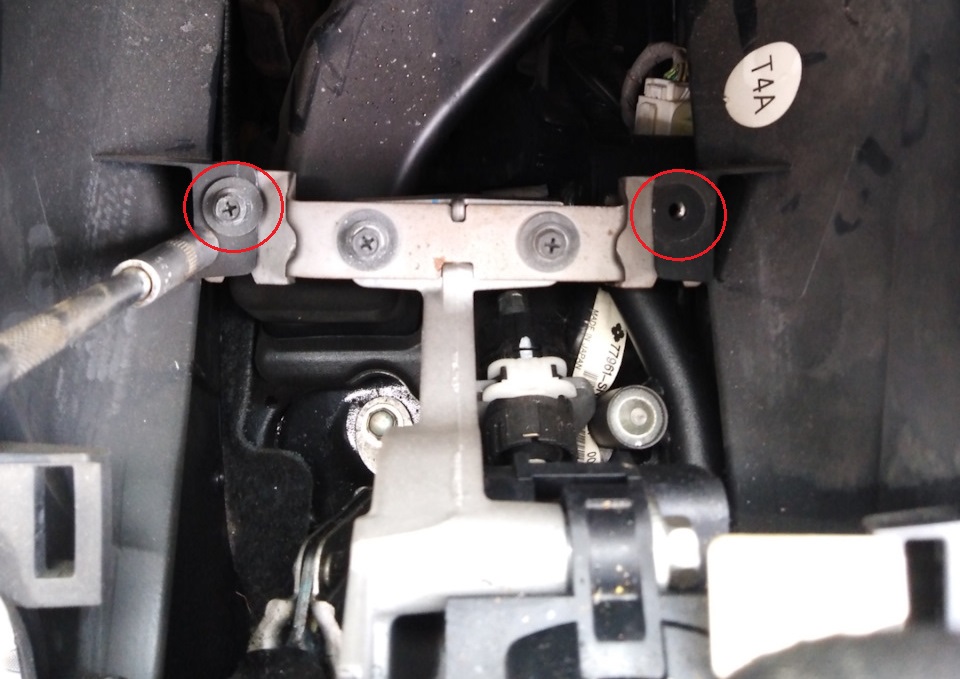
9. Using an 8 mm head, remove the 2 screws securing the central floor tunnel.
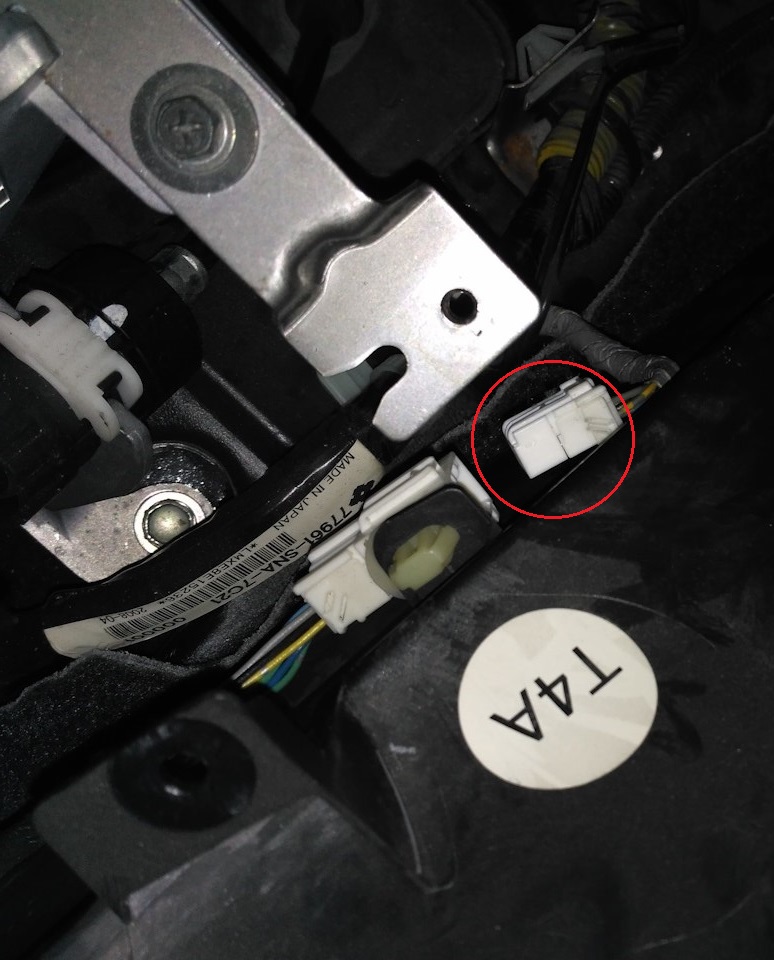
10. Wring out a clamp and disconnect a block of electric heating of seats.
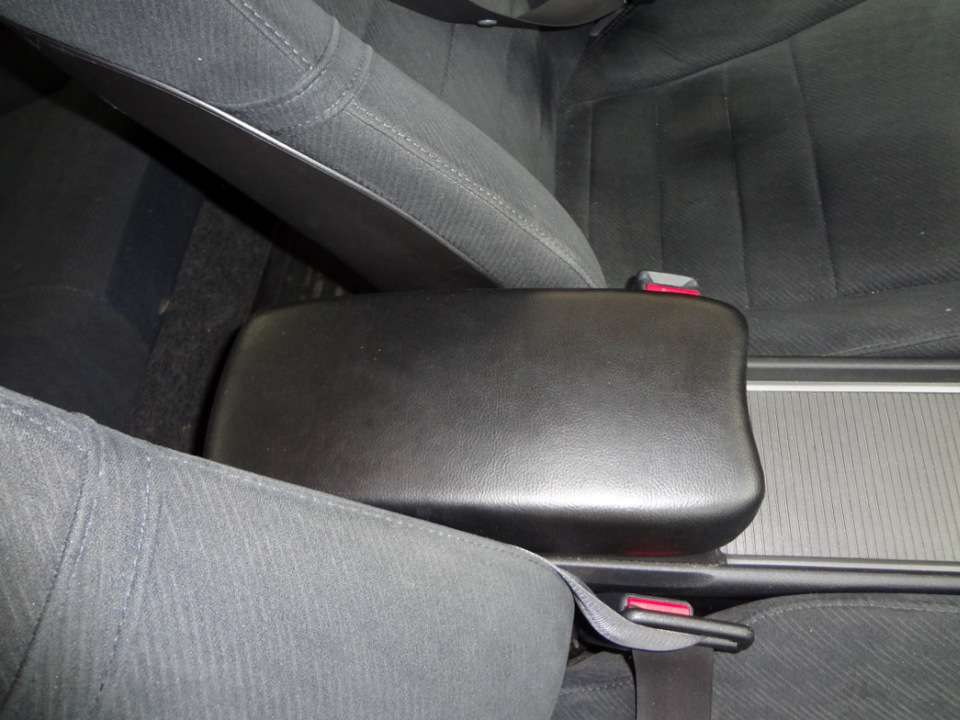
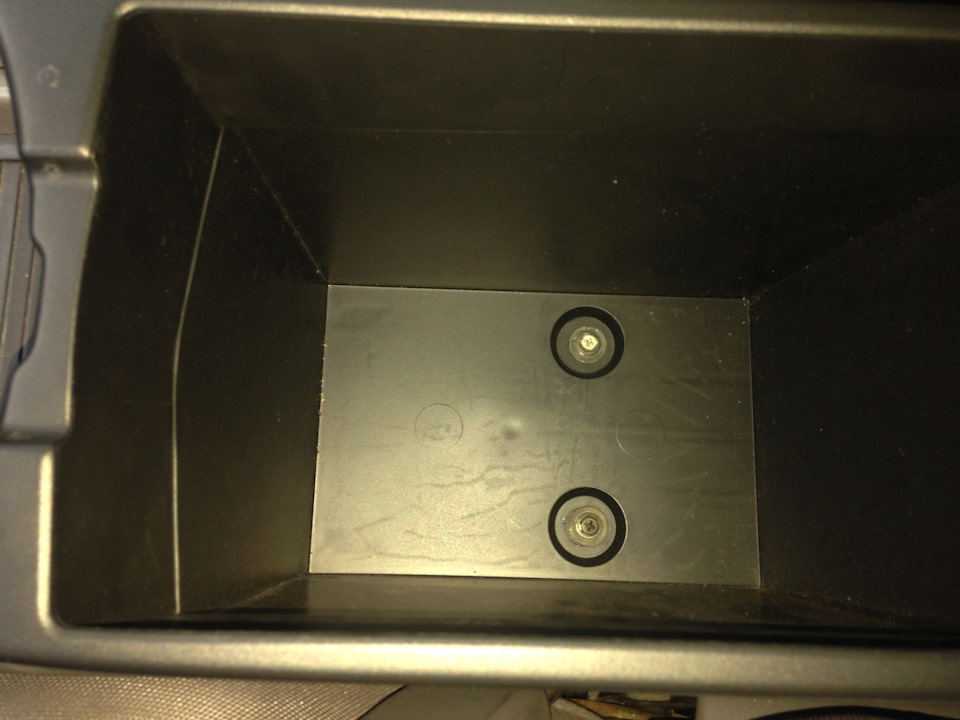
11. Open a cover of the central armrest and take an upholstery of a ware box.
12. Using an 8 mm socket with an extension, remove the 2 screws securing the central
floor tunnel.
13. Slide the floor tunnel lining back, up and off.
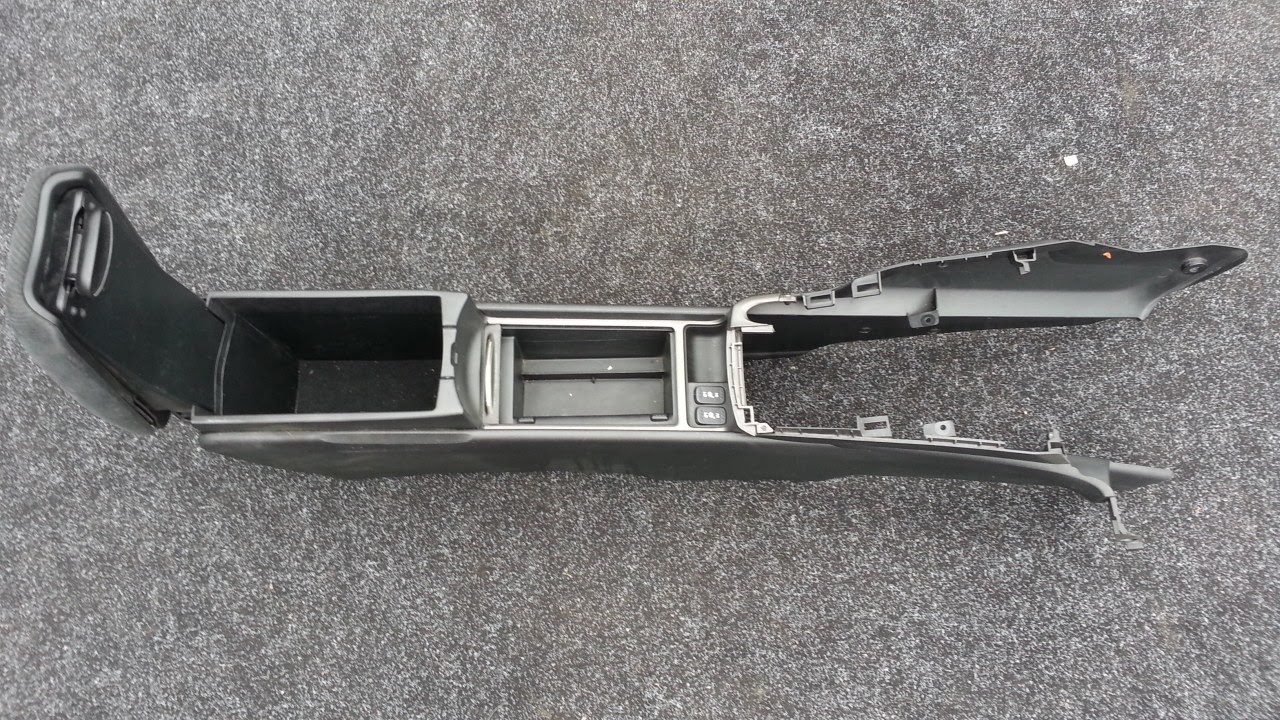
Replacing handbrake cables Honda Civic
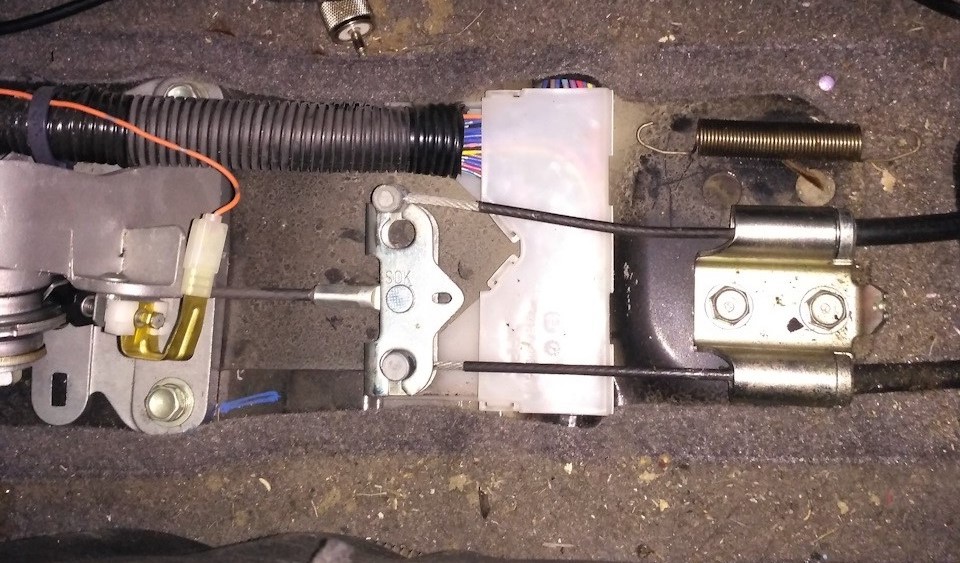
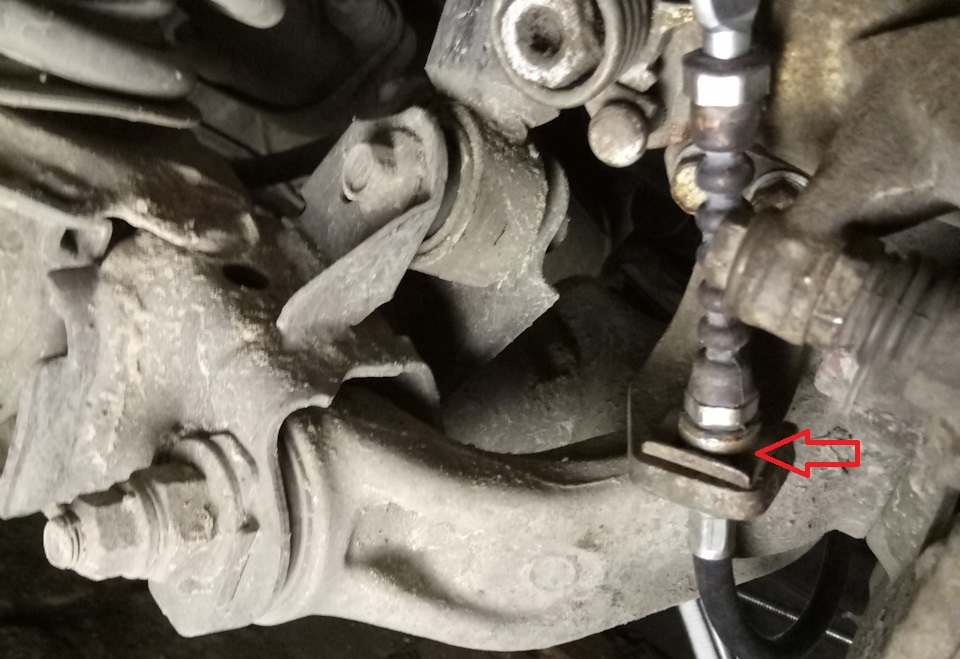
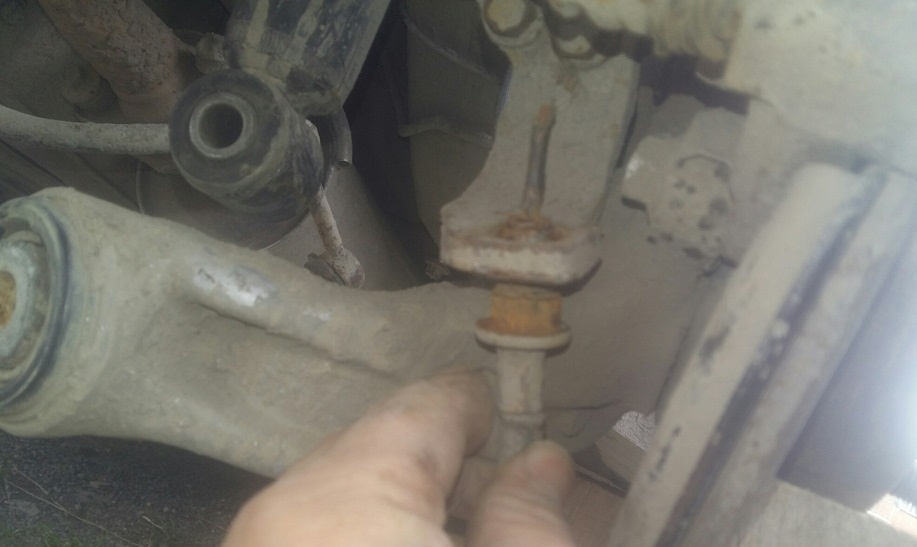
1. Fully release the parking brake lever. With a 10 mm socket with extension, turn and loosen the adjusting nut.
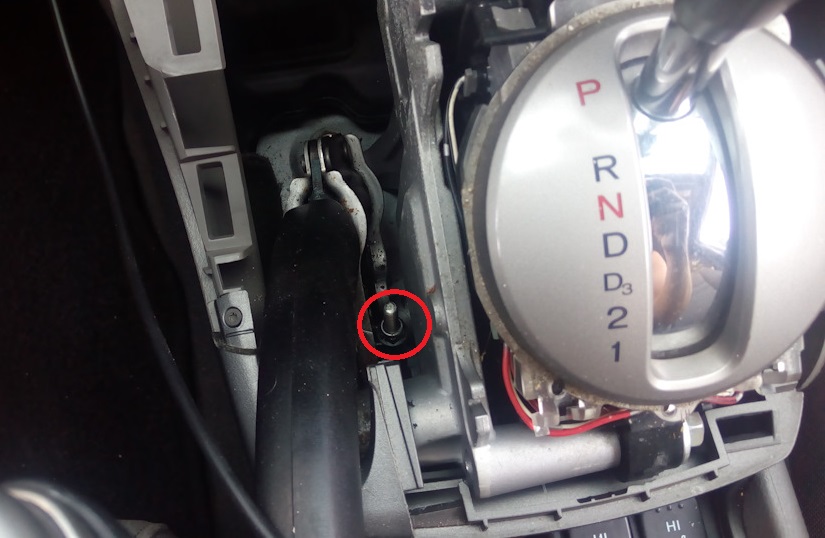
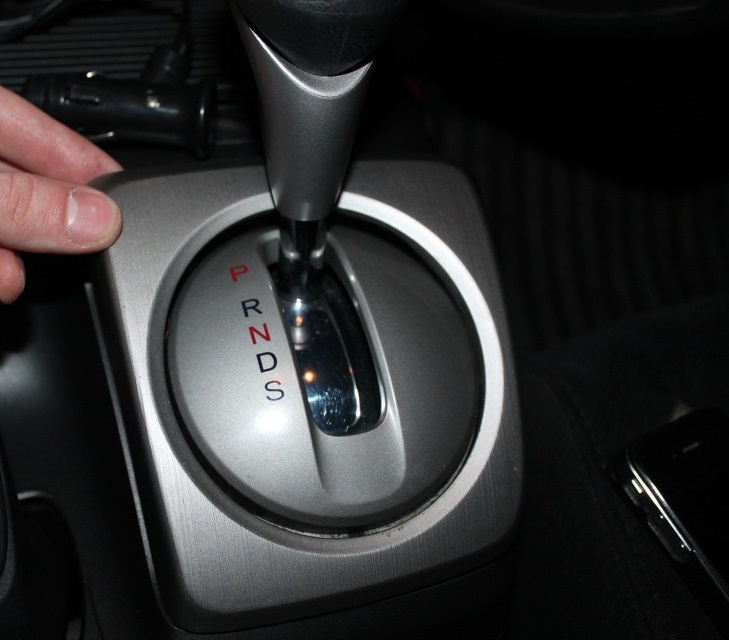
Adjusting nut automatic transmission Honda Civic
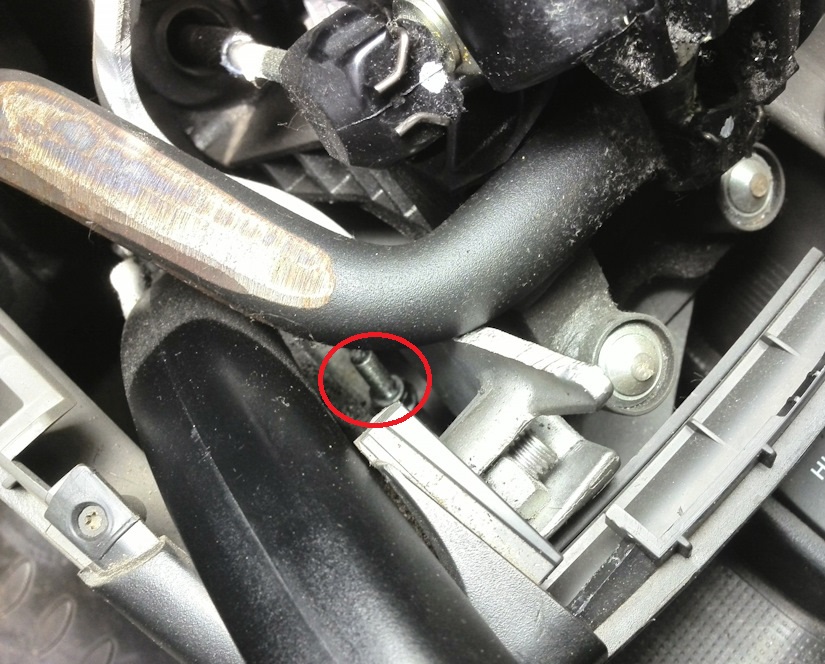
Adjusting nut manual transmission Honda Civic
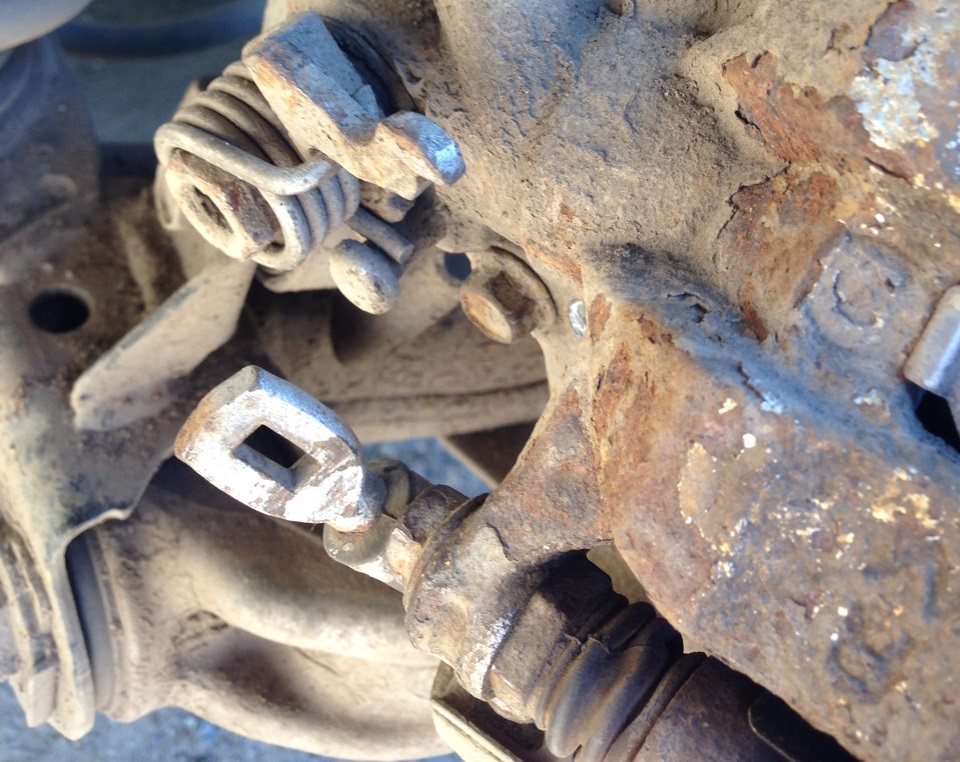
2. Remove the spring from the equalizer.
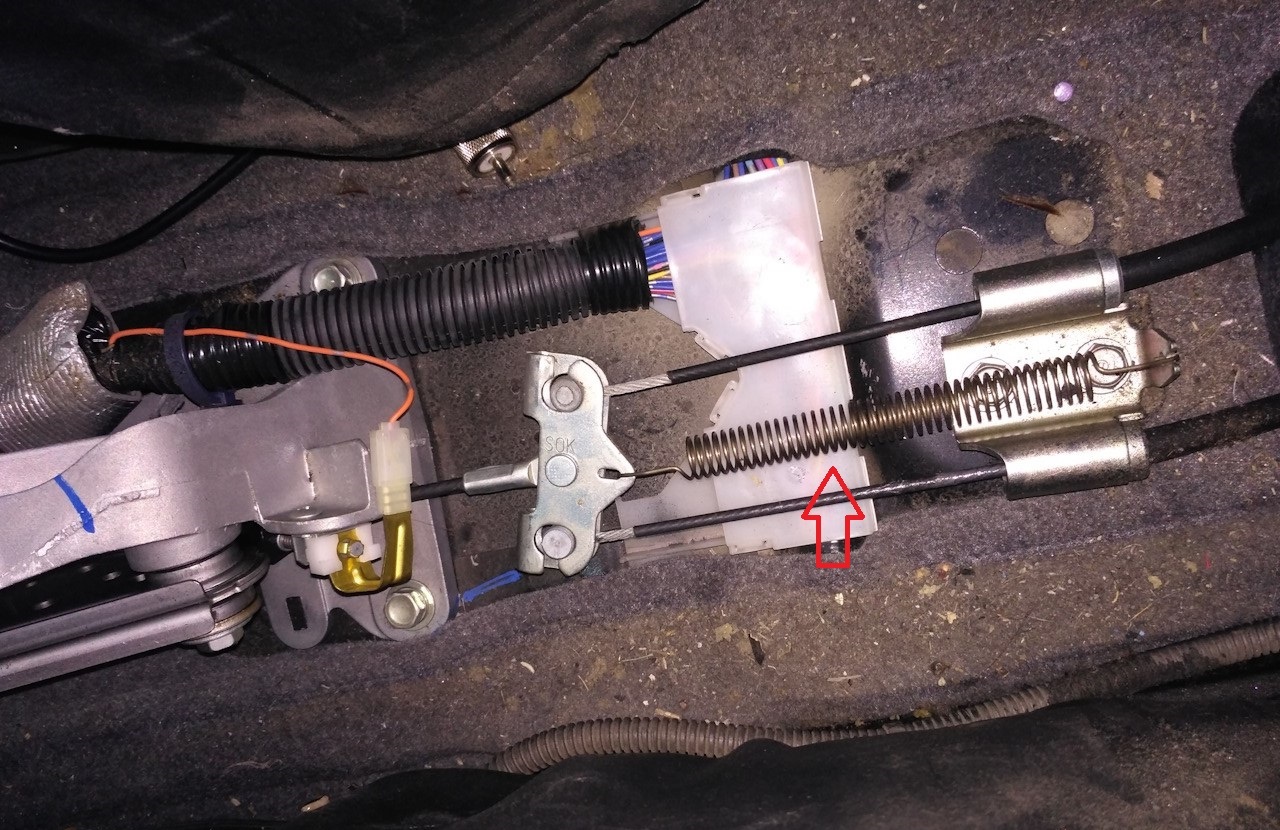
3. Remove the Honda Civic handbrake cable from the slot and disconnect its tip from the equalizer.
4. Engage 1st gear or move the automatic transmission selector to the “P” position.
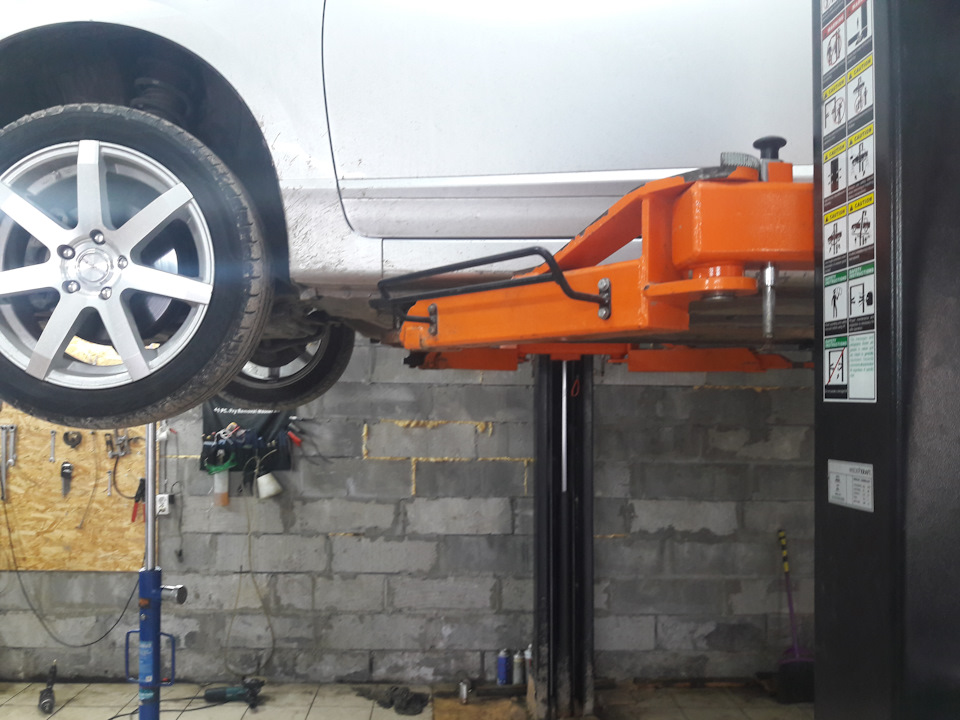
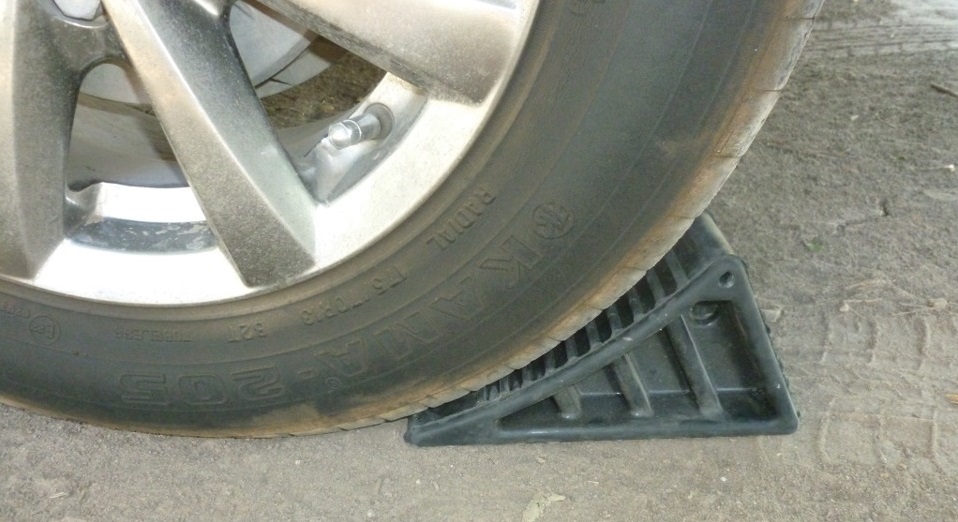
5. Install wheel chocks under the front wheels.
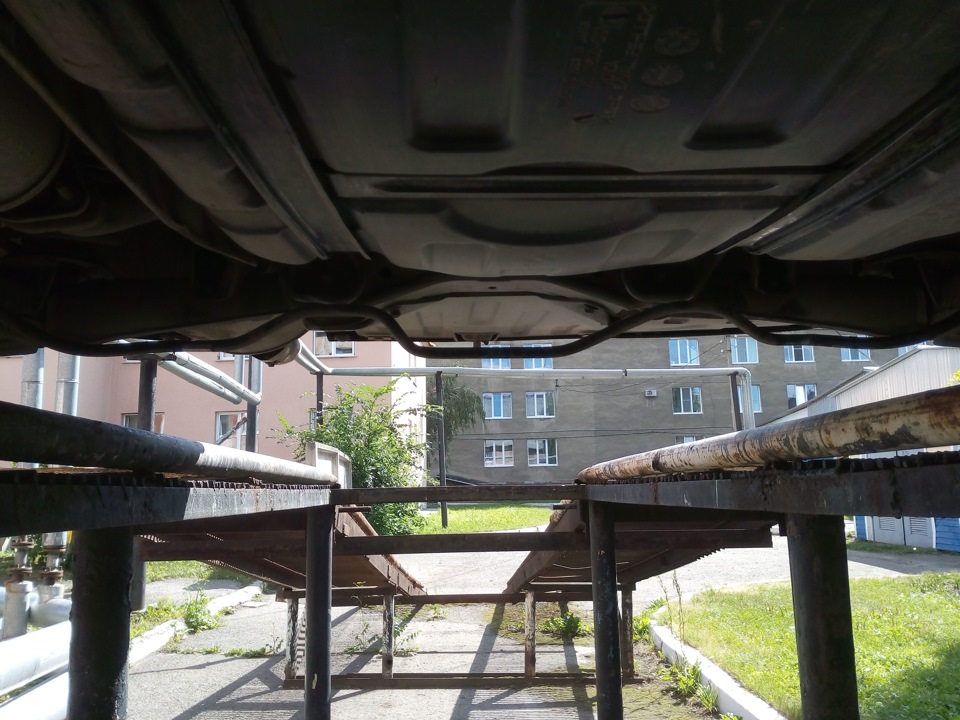
6. Use a wheelbrace to loosen the rear wheel nuts and raise the rear of the vehicle.
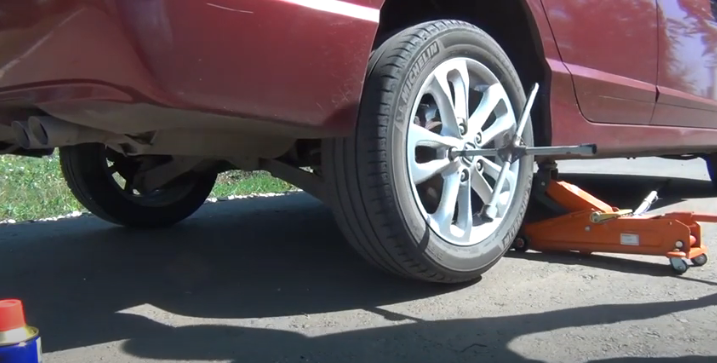
7. Place it on secure supports and remove the rear wheel.
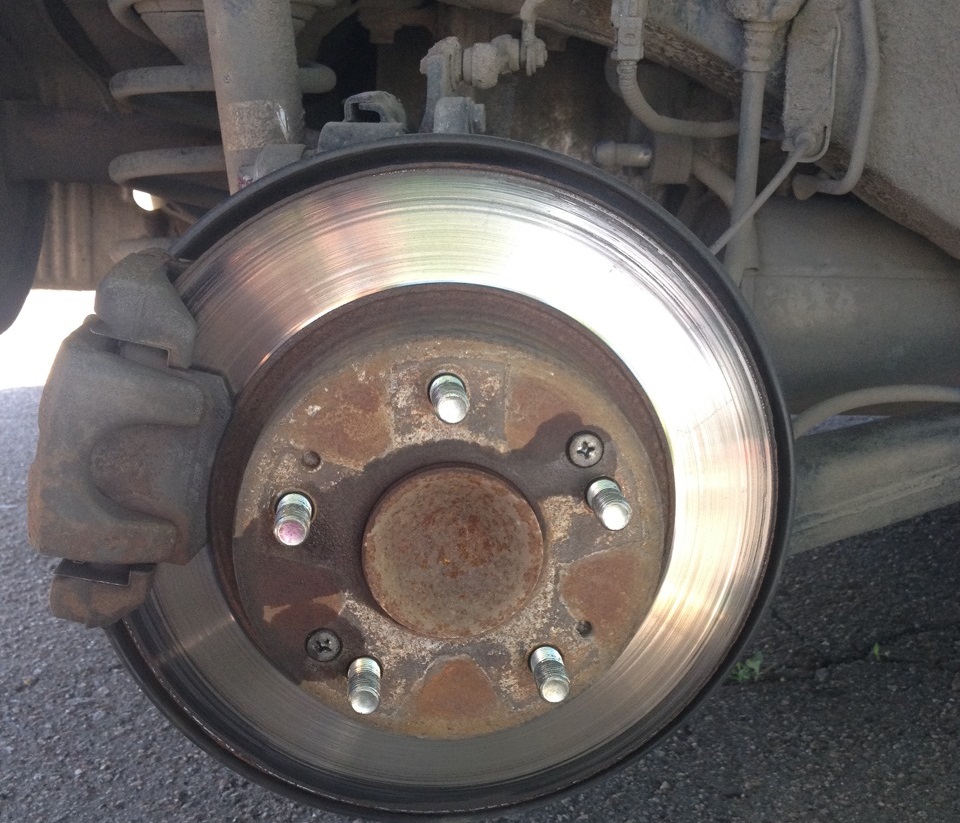
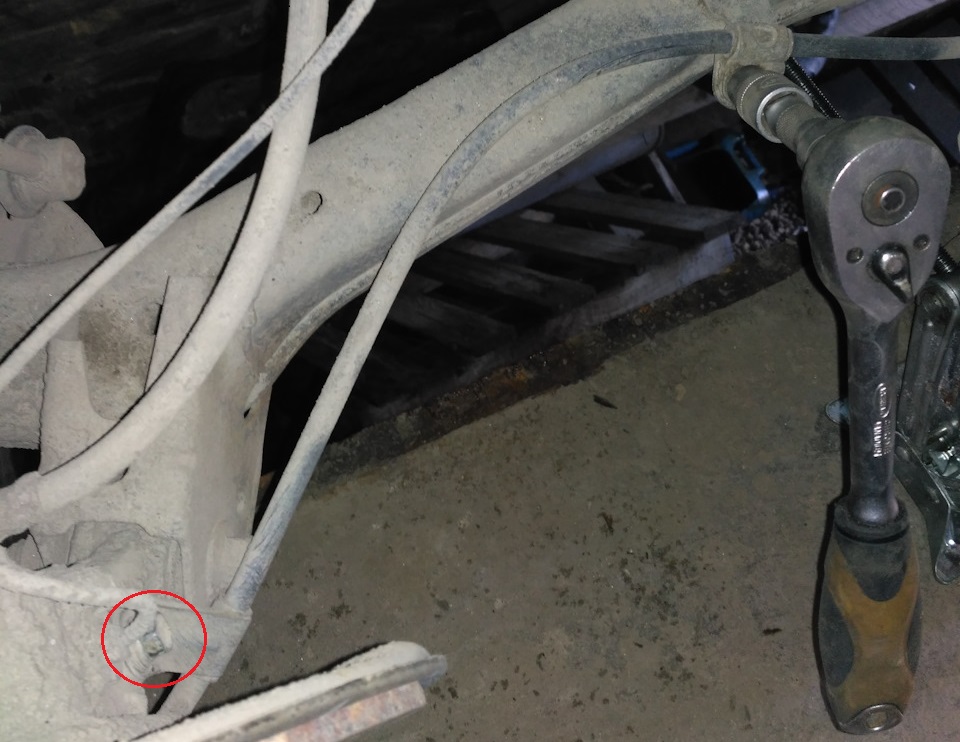
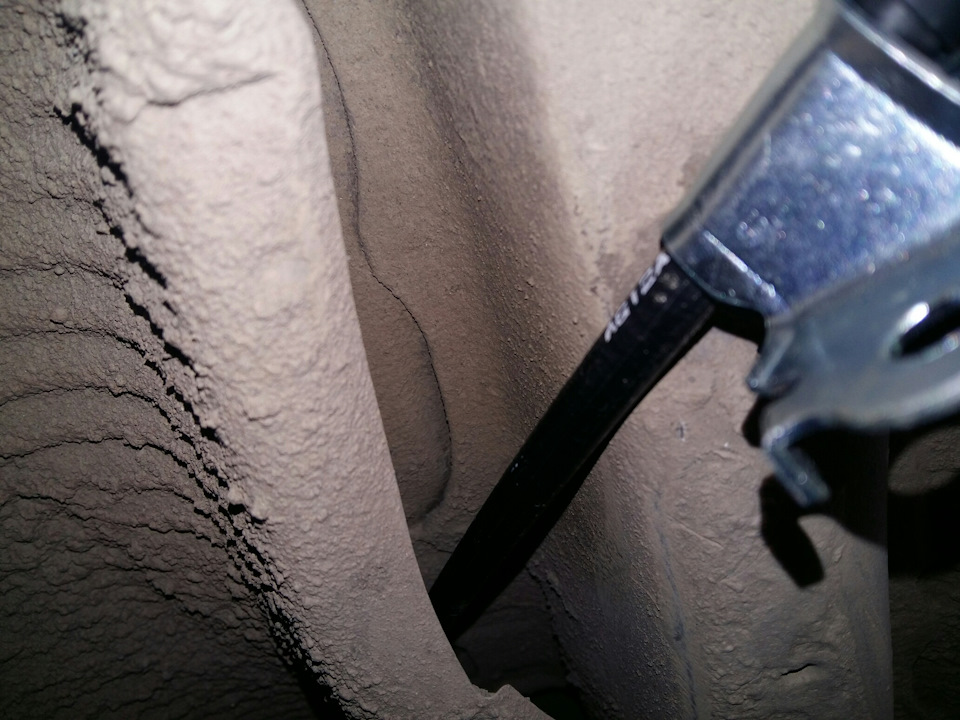
8. Wring out a clamp, and disconnect a cable from the parking brake lever.
9. Remove the cable clamp with pliers.
10. Remove the Honda Civic parking brake cable from the holder.
11. With a 12 mm head, remove the 4 bolts securing the parking brake cable to the body.
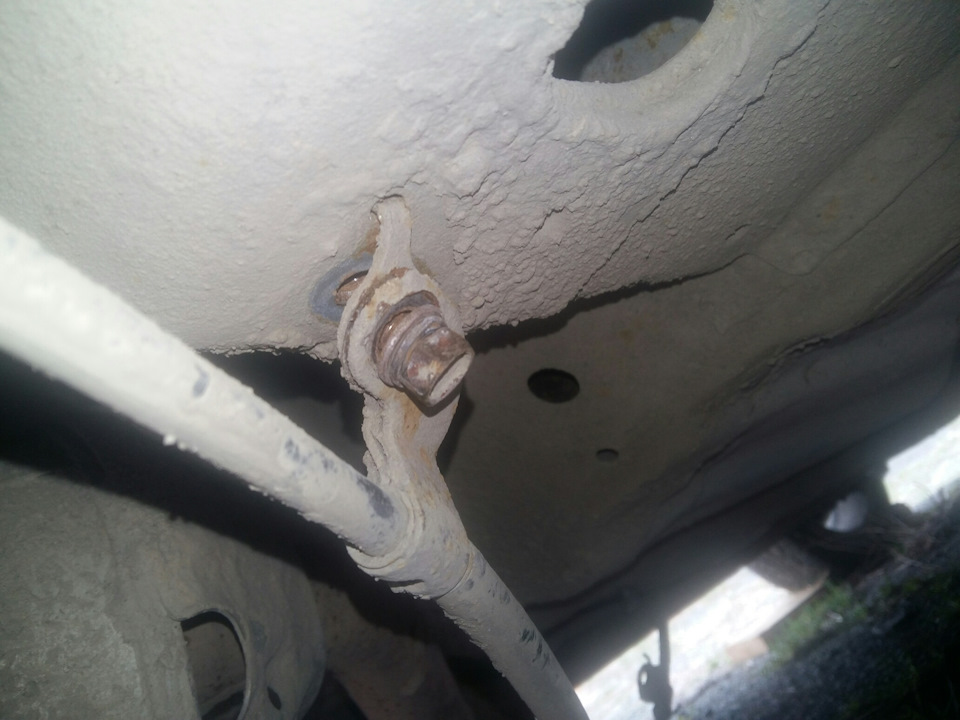
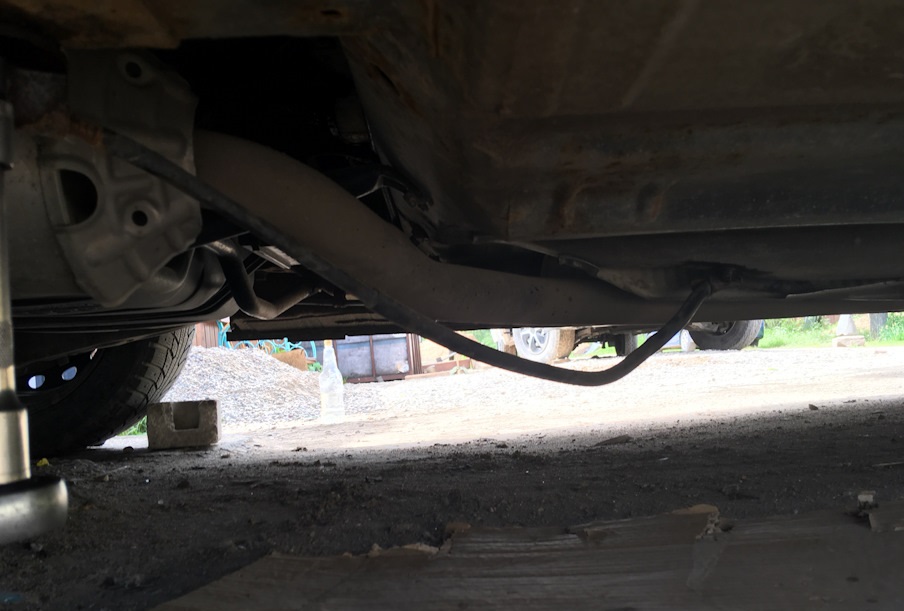
12. Remove the handbrake cable from the hole above the mudguard.
13. If necessary, replace the Honda Civic handbrake cable with a new one.
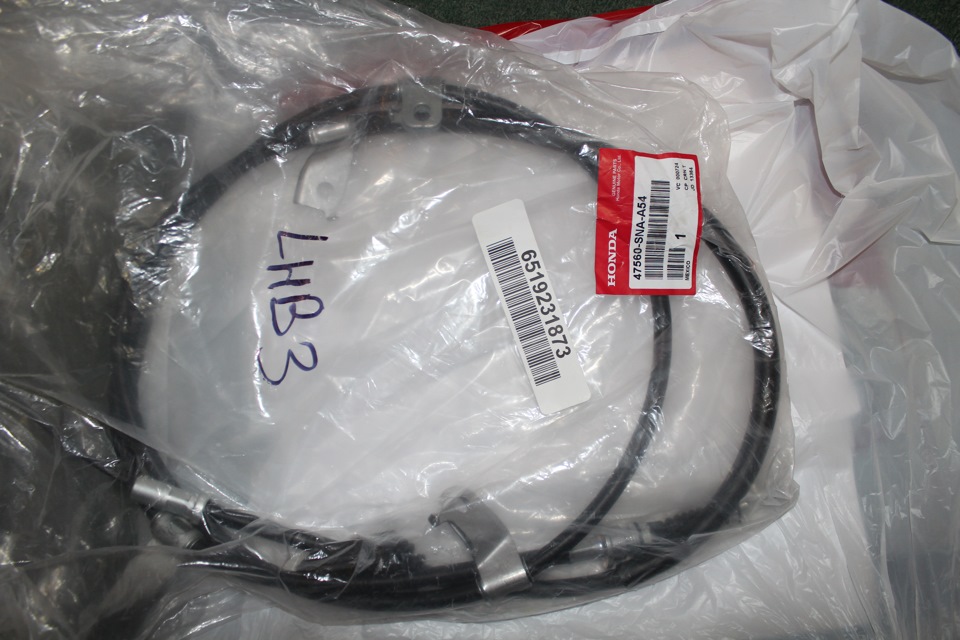
14. Install a new parking brake cable in the reverse order of removal.
Note:
Be careful not to bend or damage the cable.
15. In the same way, remove and replace the second handbrake cable on the Honda Civic.

16. Install the floor tunnel lining and all removed parts in the reverse order of removal.
Source: carpedia.club