![P12 [2001 - 2008]](/uploads/Nissan_Primera_Primera_1.9_DCi_Sedan.jpg)

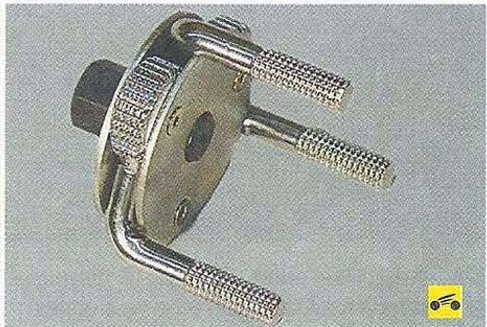
Tool :
- socket set
- Hammer
- pulley puller
- Flat screwdriver
- wire cutters
- Block of wood
- A set of keys
- adjustable wrench
- Jack
- punch
Parts and consumables:
- Timing chain Nissan 13028-4M51A
- Chain tensioner bar Nissan 13091-7J600
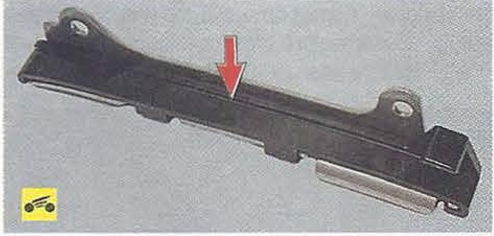
- Timing chain guide Nissan 13085-7J600
- Butter
- Filter
- Generator belt
- O-rings for pump (2 pcs.) and oil pump 15066-5E510 (2 pcs.).
- sealant
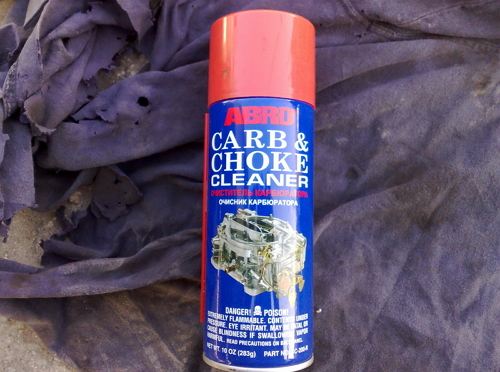
- Carburetor cleaner
- Brake fluid as a rust remover
Note:
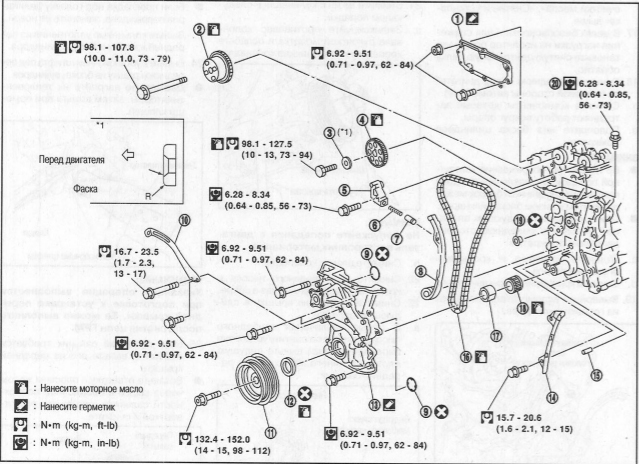
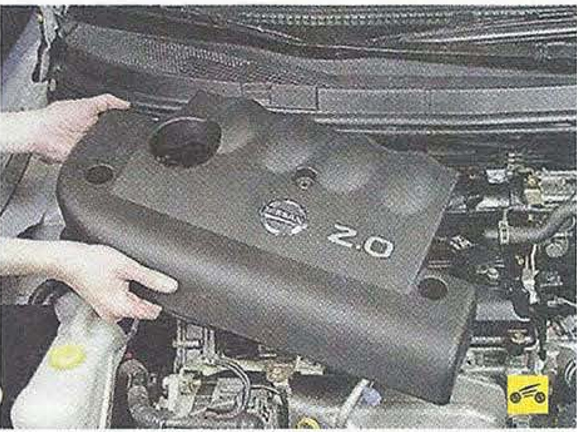
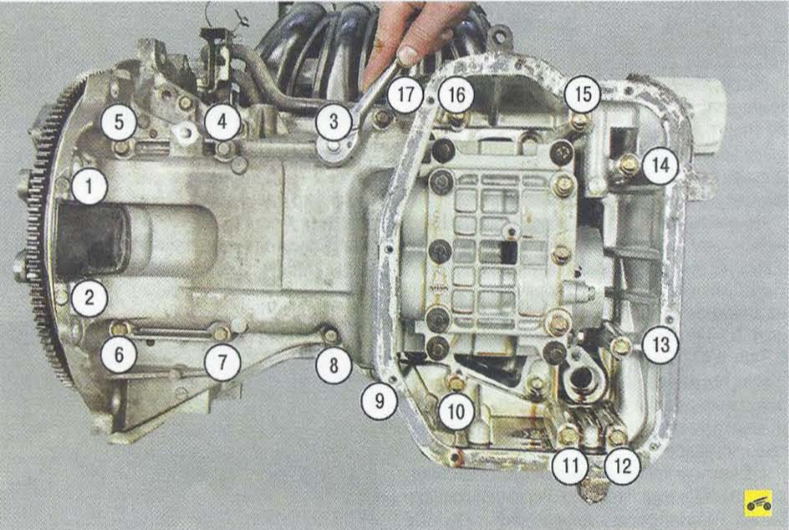
1. Front cylinder head cover
2. Camshaft sprocket (inlet)
3. Washer
4. Camshaft sprocket (exhaust)
5. Chain tensioner
6. Spring
7. Chain tensioner plunger
8. Timing chain guide at the bend
9. O-ring
10. Power steering pump adjustment lever
11. Crankshaft pulley
12. Front oil seal
13. Front cover
14. Timing chain tensioner guide
15. Locating pin
16. Timing chains
17. Oil pump drive bush
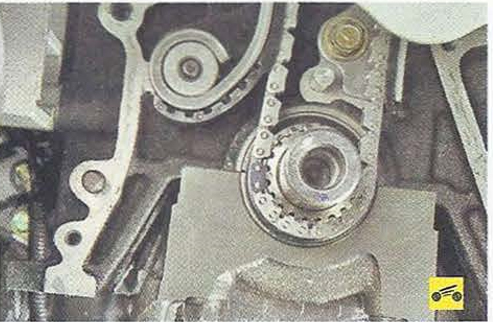
18. Crankshaft sprocket
19. O-ring (with shoulder)
20. Auxiliary cylinder head bolt
Before installing, apply fresh engine oil to the components marked in the illustration.
Withdrawal
1. Roll the car onto the lift.
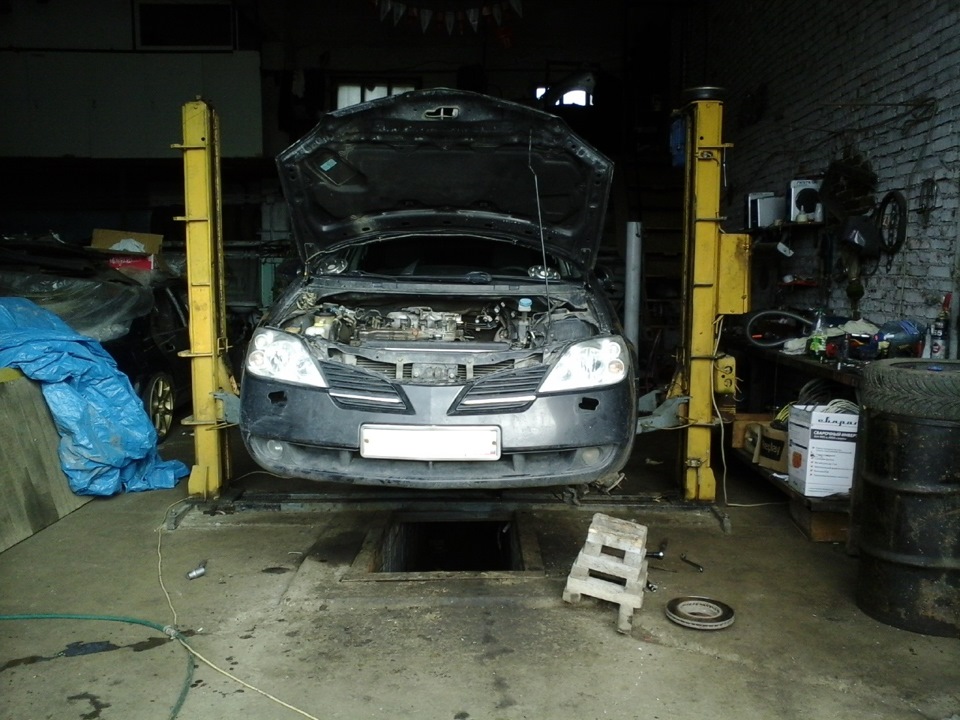
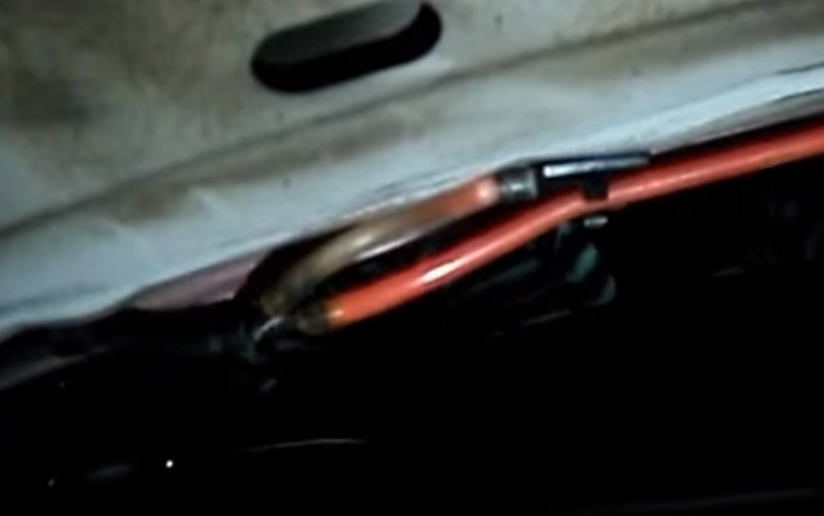
2. Disconnect the ground cable from the battery.
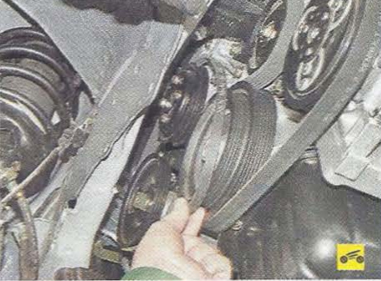
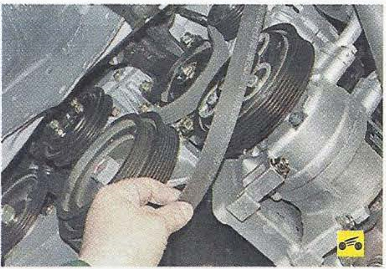
3. Remove the accessory drive belts (air conditioning compressor, alternator and water pump, power steering, more details here .)
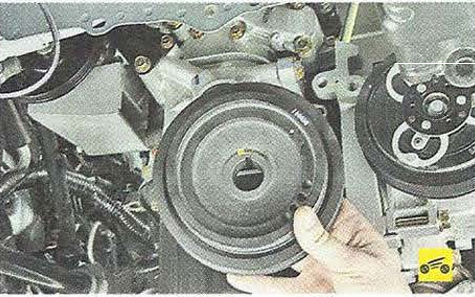
4. Remove the accessory drive pulley from the crankshaft. More details here .
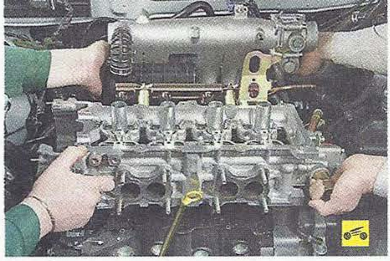
5. Remove the cylinder head. More details here .
6. Remove the water pump.

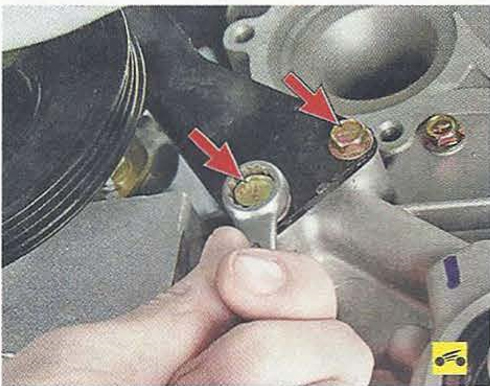
7. Turn out two bolts of fastening of an adjusting arm of the pump of the hydraulic booster of a steering and remove an arm.
8. Remove the oil pan. More details here .
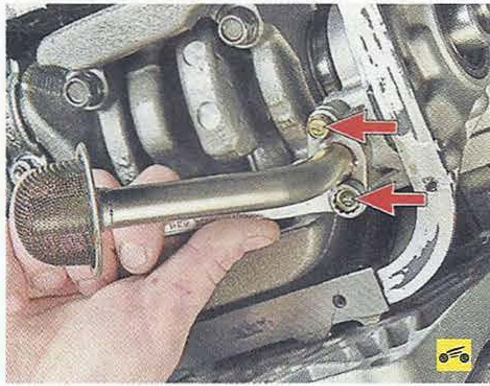
9. Turn out two bolts of fastening of an oil receiver and remove it.
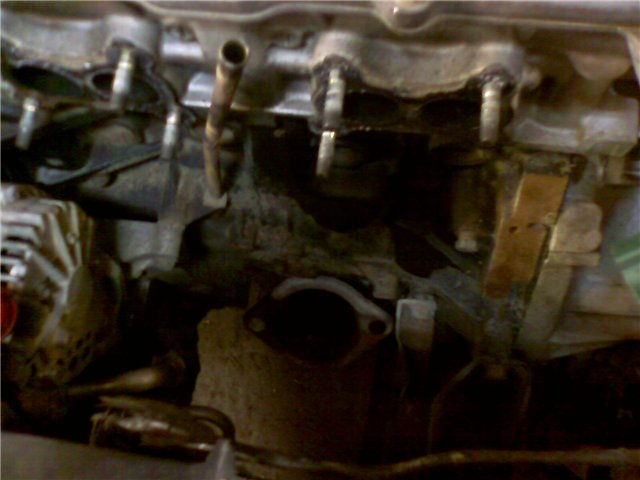
10. Turn out ten bolts of fastening of a cover of a chain of a drive timing mechanism.
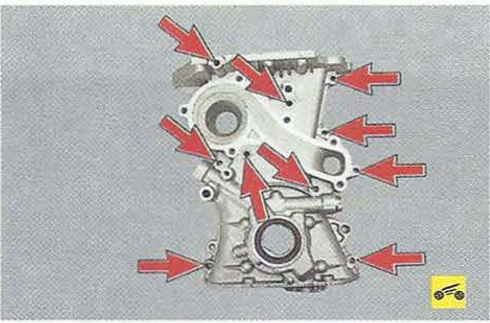
11. Remove the cover.
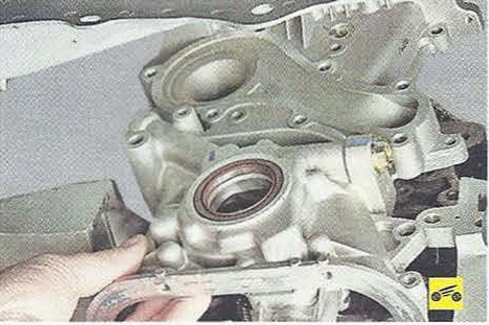
12. Remove the oil pump bushing and remove the chain.
13. Carefully inspect the chain tensioner and guide shoes. If they show signs of wear, replace the shoes by unscrewing their fastening bolts.
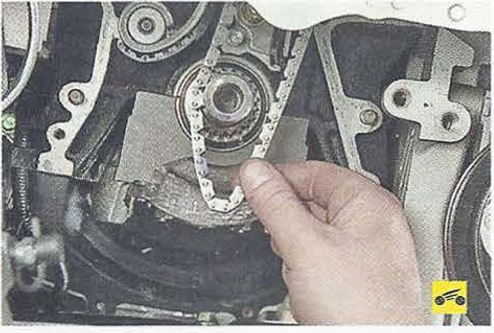
14. Install the timing chain on the crankshaft gear, aligning the blue mark on the chain with the mark on the gear, and carefully place the chain on the tensioner and damper shoes.
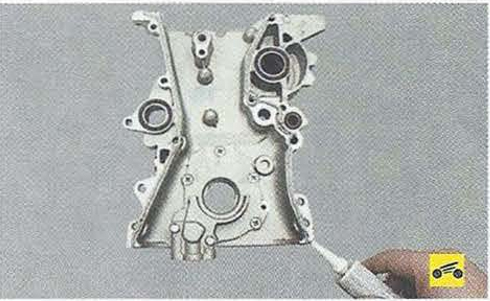
15. Install the timing chain cover in reverse order, having previously cleaned it of the remnants of the old sealant, replacing the o-rings and applying new sealant, as shown in the photo.
16. Install the cylinder head in the reverse order of removal.
17. Reinstall the oil pump bushing.
18. Install the accessory drive pulley on the crankshaft.
19. Install all other previously removed parts in the reverse order of removal.
Check after installation
In order to allow the sealant to cure, test at least 30 minutes after the last operation of placing the components on the sealant. After warming up the engine, check for engine oil leakage from the components.
USEFUL TIPS
Pay attention to the head cover. It is very thin, and has guides inside, which are very undesirable to be damaged during dismantling.
The article is missing:
- High-quality repair photos
- Tool photo
- Photo of parts and consumables
Source: NISSAN PRIMERA. Release models since 2001 with petrol engines. Operation manual, device, maintenance, repair.