Tools:
- Screw jack
- Balloon wrench
- Medium flat screwdriver
- Ratchet wrench
- Extension (with cardan)
- 10 mm head
- 12 mm head
- 14 mm head (for 6B31 engine, manufactured before 06.2008)
- 16 mm straight spanner (for 4B12 / 4B11 engines)
- 17 mm straight spanner (for 6B31 engine)
- Marker
- Hexagonal special key for fixing the tensioner (or pin)
- Knife (for engine 6B31, release from 07.2008)
- End cap (for engine 6B31, produced from 07.2008)
- Wrench attachment 22 mm (for 6B31 engine, production from 07.2008)
- Wheel chock (shoe)
Parts and consumables:
- Accessory Drive Belt (4451A114 - for 4B12 and 4B11 engines or 1340A132 - for 6B31 engine)
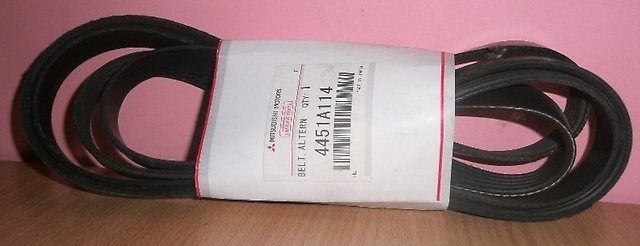
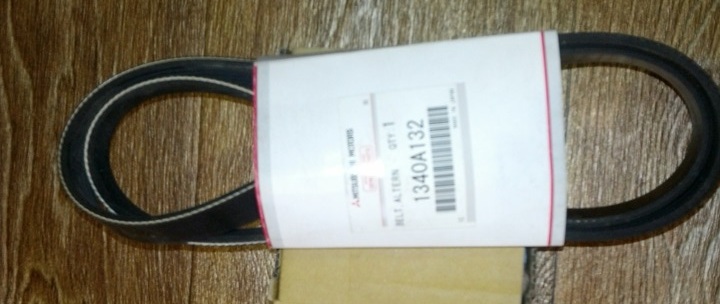
Accessory drive belt tensioner (1345A060 / 1345A079 - for 4B12 and 4B11 engines or 1345A031 - for 6B31 engine)
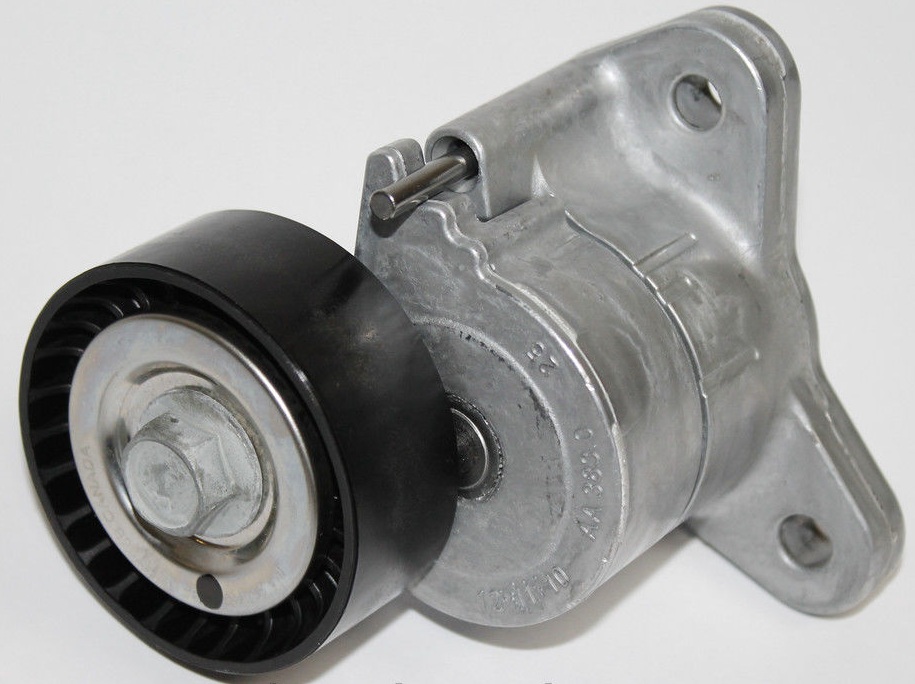
Accessory drive belt idler 1341A005 - 2 pcs. (for engines 4B12 and 4B11, if necessary)
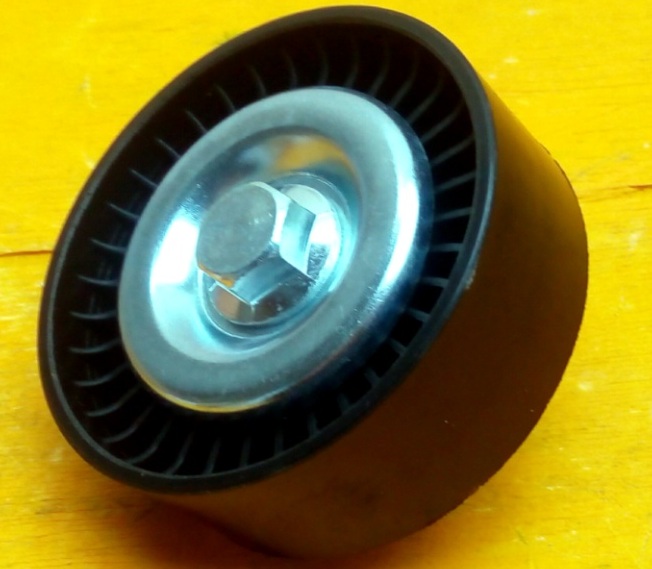
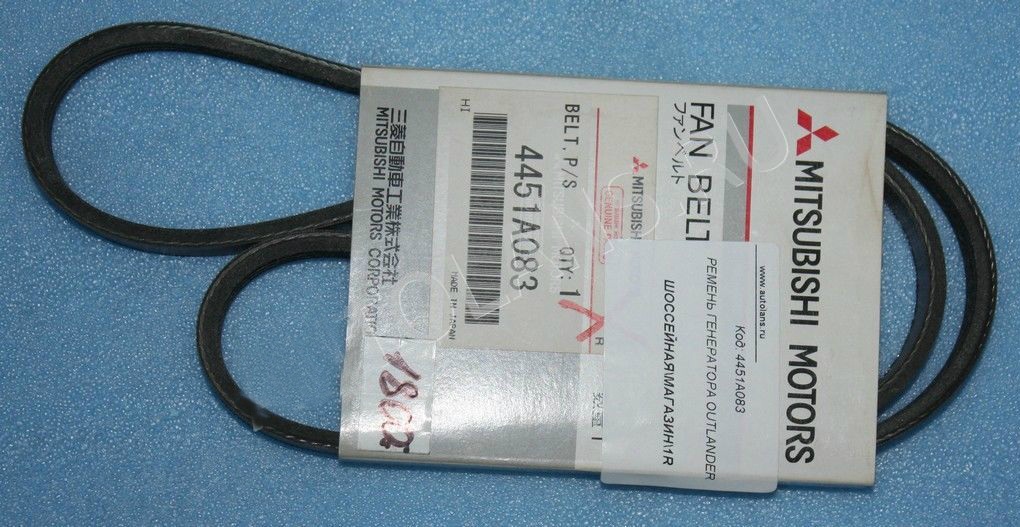
Power steering pump drive belt 4451A083 (for 6B31 engine)
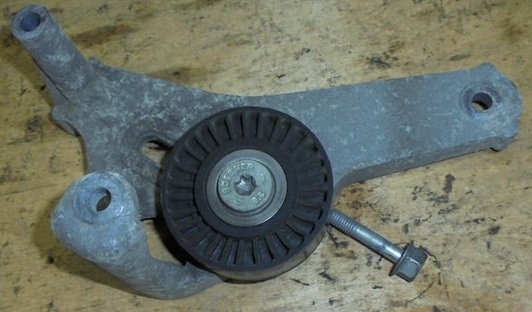
- Power steering pump drive belt tensioner 4450A131 (for 6B31 engine, release before 06.2008, if necessary)
- Power steering pump drive belt tensioner roller 1341A012 (for 6B31 engine, release before 06.2008, if necessary)
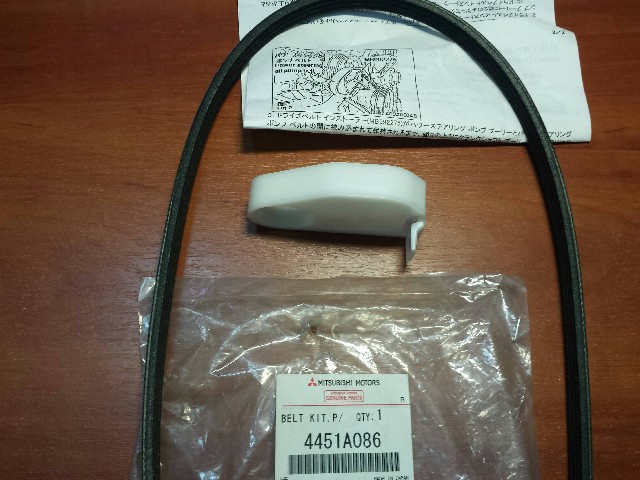
Power steering pump drive belt (4451A083) with belt installer 4451A086 (for 6B31 engine, issued from 07.2008, if necessary)
Notes:
4B11 / 4B12 engines are equipped with attachments that are driven by a single drive belt.
The 6B31 engine is equipped with two accessory drive belts: one belt drives the generator and the air conditioning compressor drive clutch, and the second drives the power steering pump.
The accessory drive belt does not require tension adjustment during its entire service life, since its design includes an automatic tensioner. If, due to excessive wear or stretching of the belt, the tensioner is not able to provide its normal tension, the belt is replaced. According to the manufacturer's recommendation, check the technical condition and belt tension every 15 thousand km of run.
The procedures for checking and replacing the accessory drive belt on gasoline engines are almost the same. If the operation concerns only one / two motors, this will be indicated in the text.
Checking the tension of the accessory drive belt
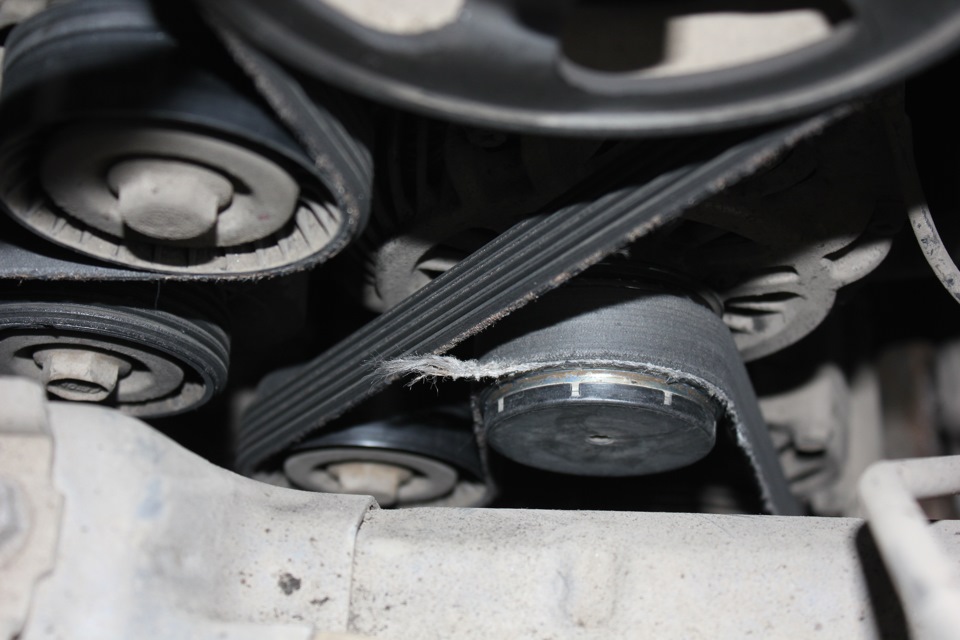
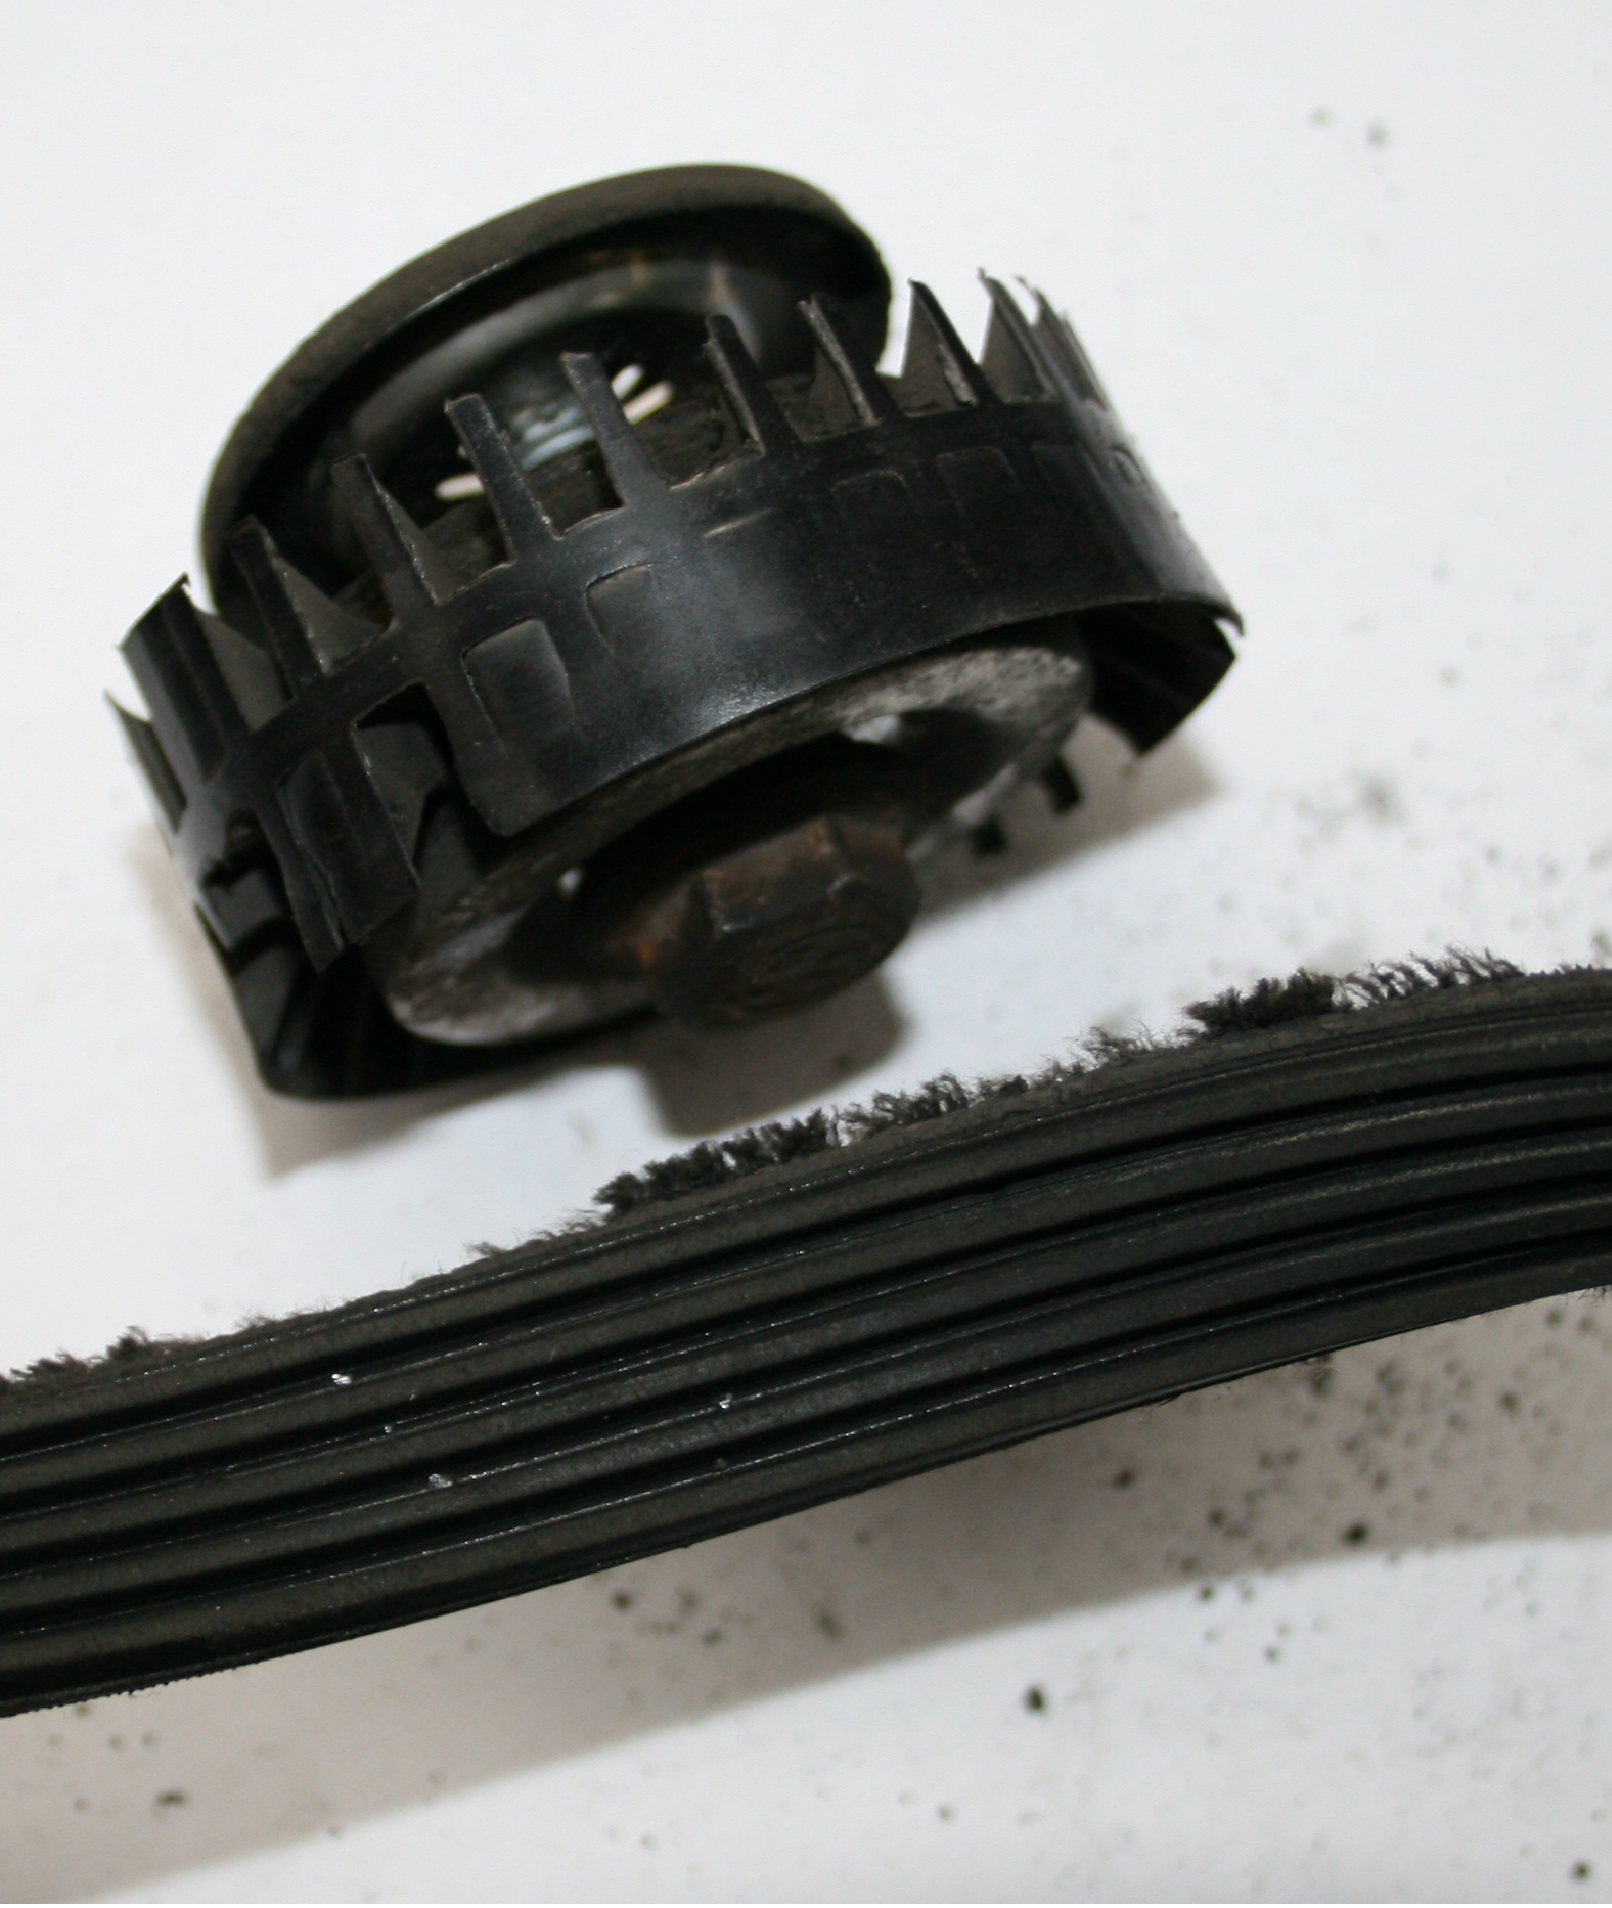
1. Check the condition of the belt by visual inspection. If the belt shows signs of severe wear (the disappearance of two or more adjacent ribs of the grooves in a section longer than 13 mm), longitudinal or transverse cracks, peeling rubber or oiling of the belt, it is necessary to replace the accessory belt.
Note:
An additional sign of the need to replace the accessory drive belt is a characteristic whistle (belt slip).
2. There are marks on the tensioner and bracket. Make sure the ancillary drive belt tensioner mark is within the acceptable range (in the photo below, the range is indicated by the red zone).
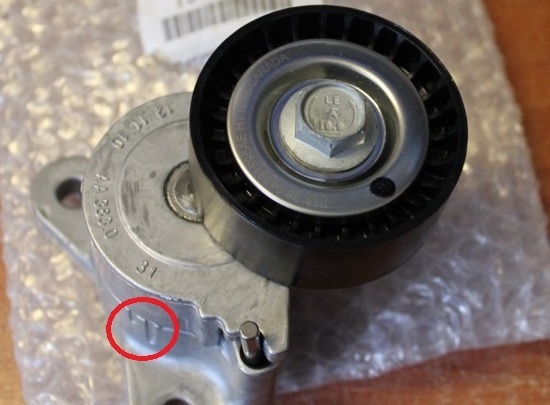
Replacing the accessory drive belt
Note:
If the accessory drive belt is to be reused, use a marker on the back (non-working) side of the belt with an arrow indicating clockwise rotation.
1. Apply the parking brake and place a chock under the left rear wheel. Loosen the right front wheel nuts 1 turn with a wheel wrench, and then use a jack to hang the right front part of the car and completely unscrew the nuts to remove the wheel.
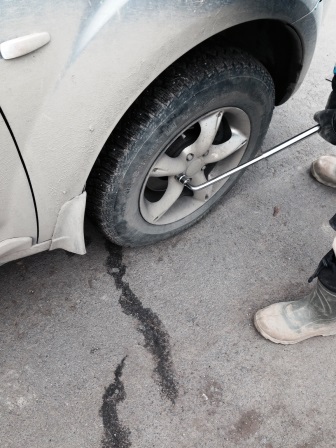
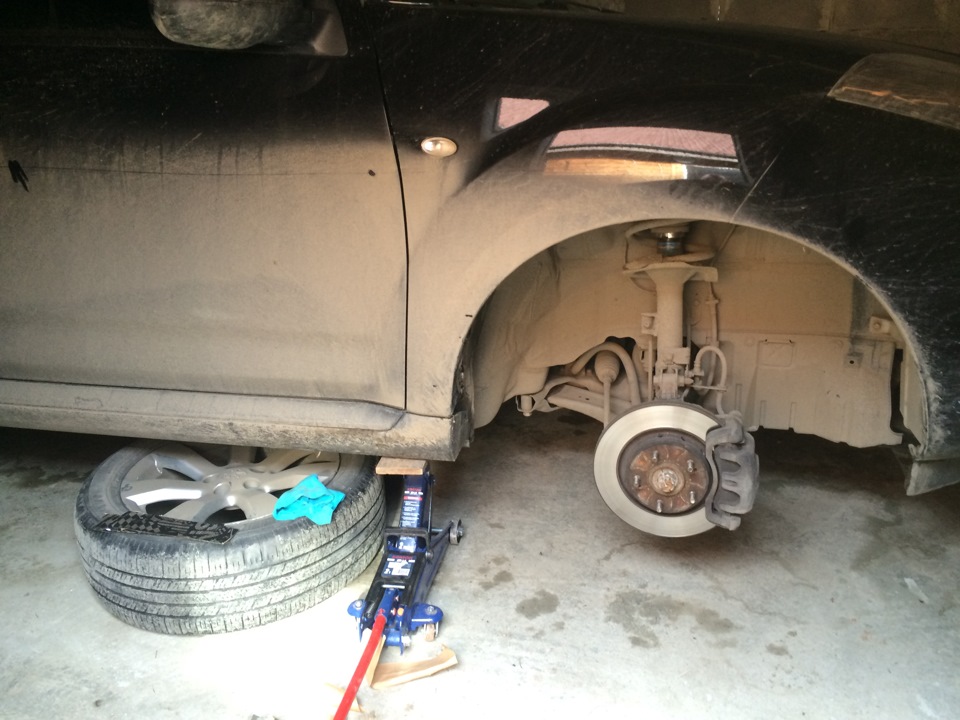
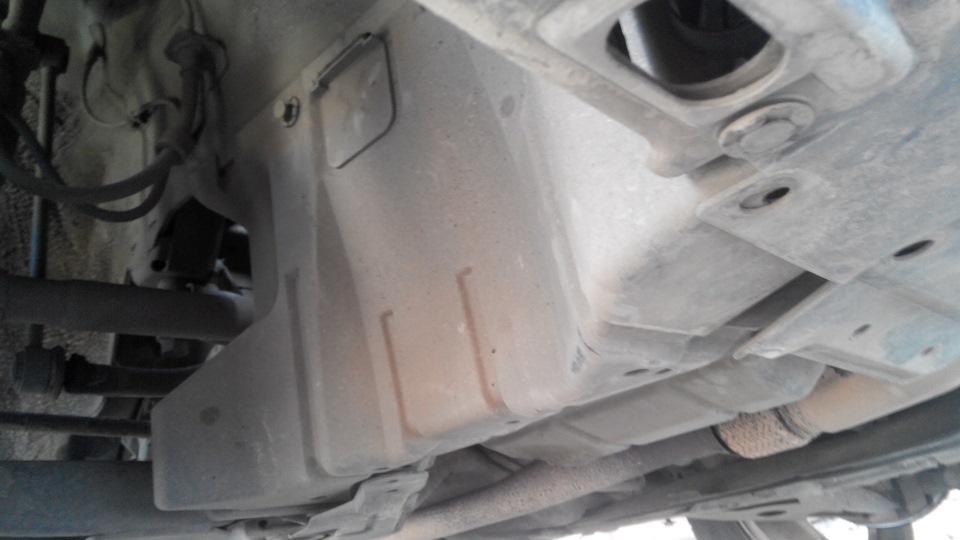
2. Then remove the mudguards (rear, front, bottom and right side) of the engine using a screwdriver and a 10mm socket.
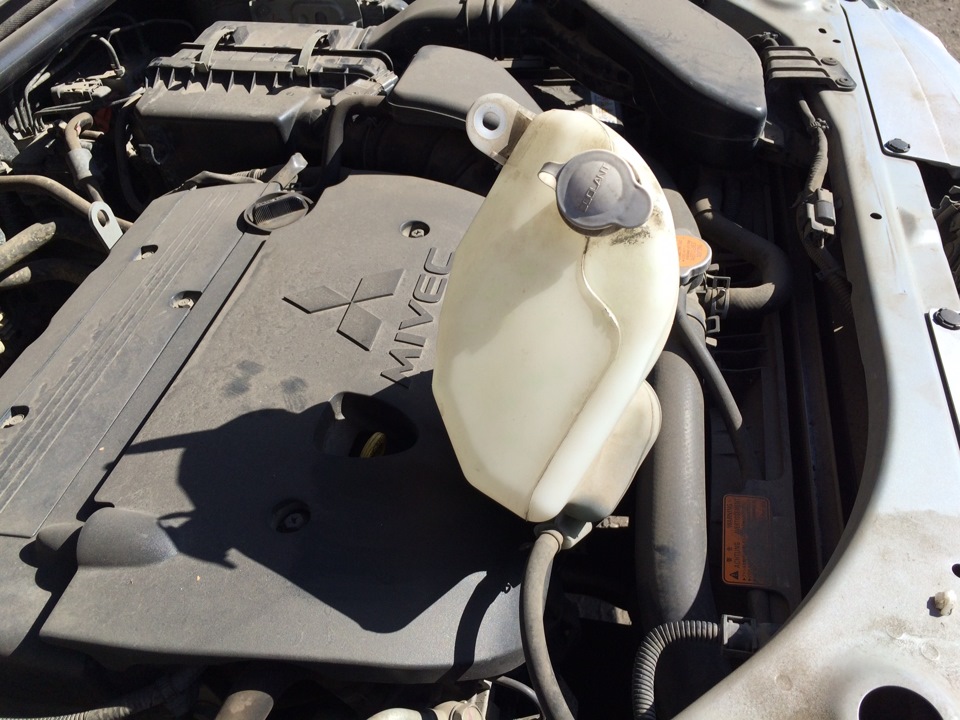
3. Remove the expansion tank of the cooling system with the connected hose in a position where it will not interfere with the removal and installation of the accessory drive belt.
Note:
Removal of the reservoir of the cooling system is carried out without removing the coolant from it and the cooling system.
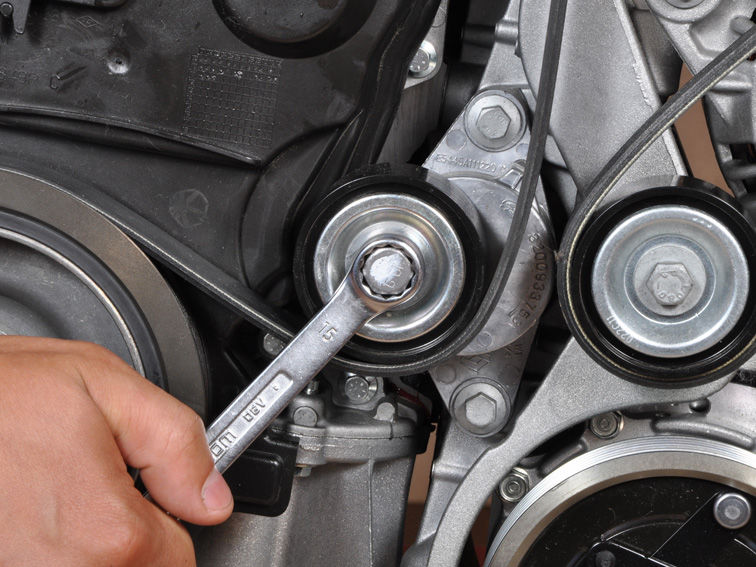
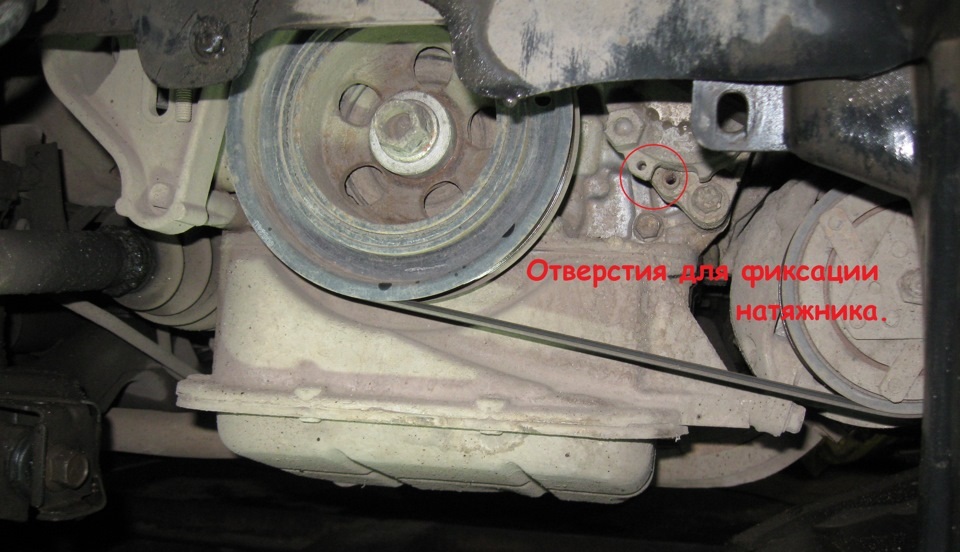
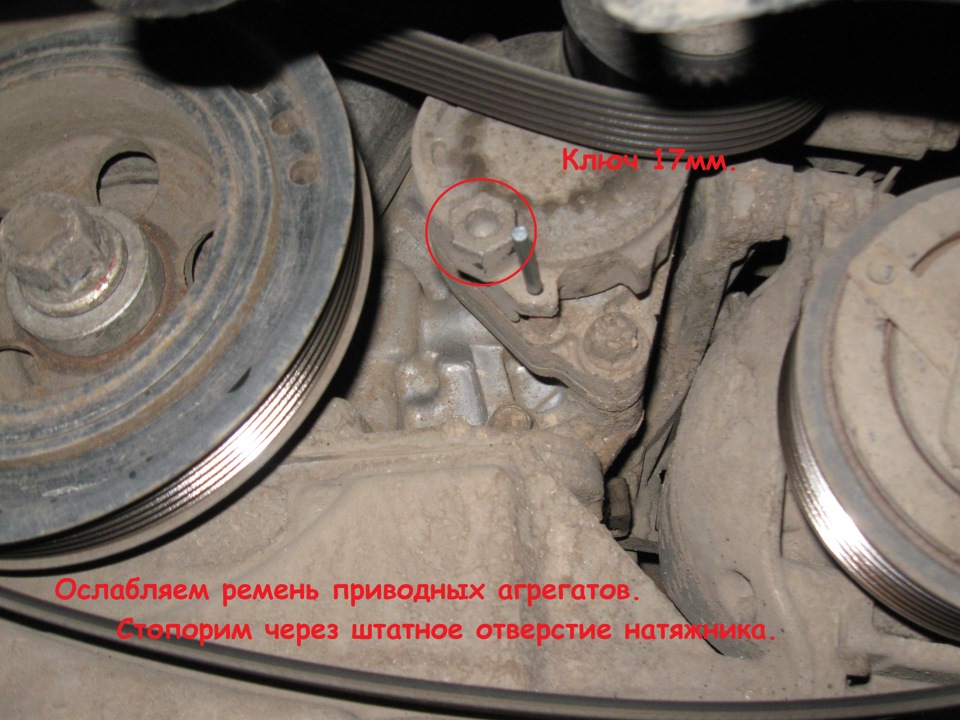
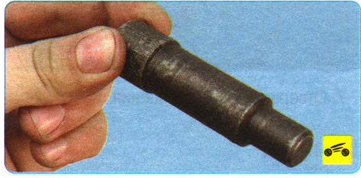
4. Turn the tensioner with a wrench counterclockwise (at an angle of 45 °) until the belt tension is released and the holes on the tensioner match (see the first photo - 4B12 engine and the rest of the photos - 6B31 engine) and fix the device with a pin or special hex key (see. second photo).
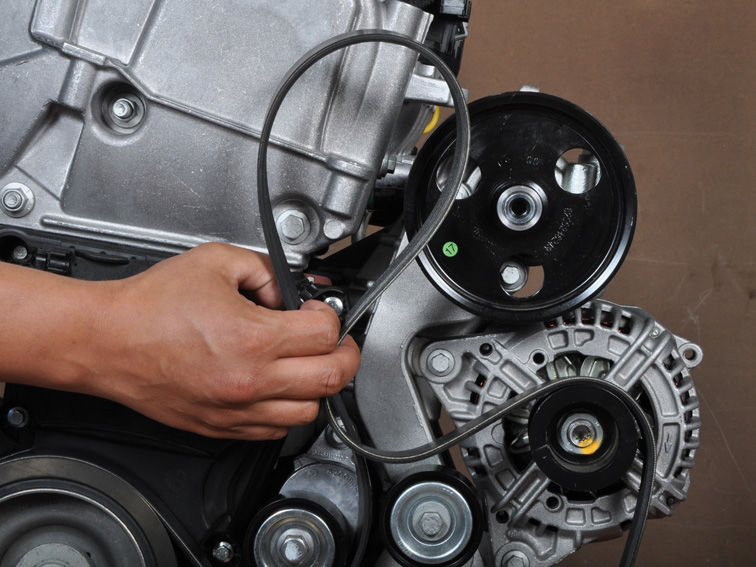
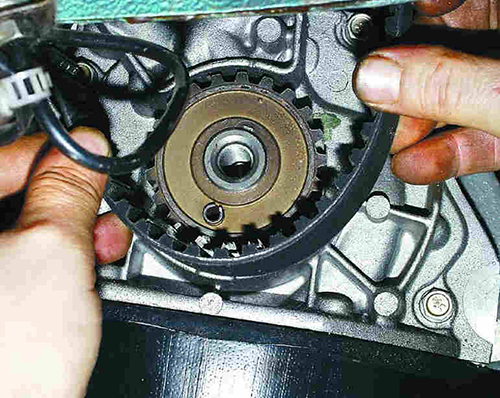
5. Remove the accessory drive belt from the tension roller and completely remove the belt from the engine compartment (see first photo - 4B12 engine, second - 6B31).
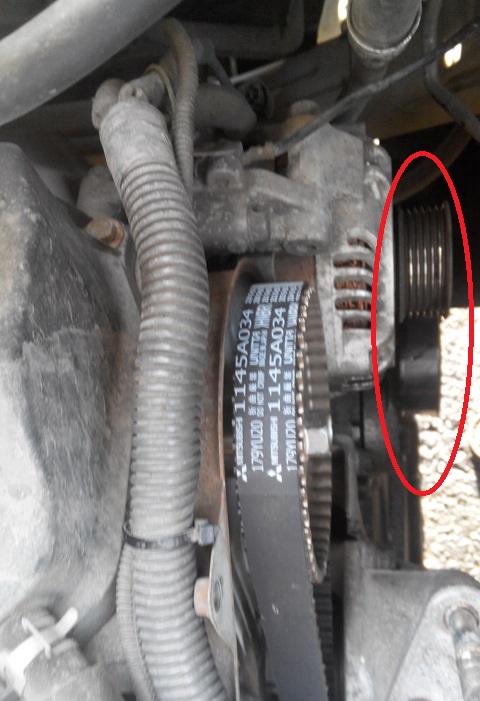
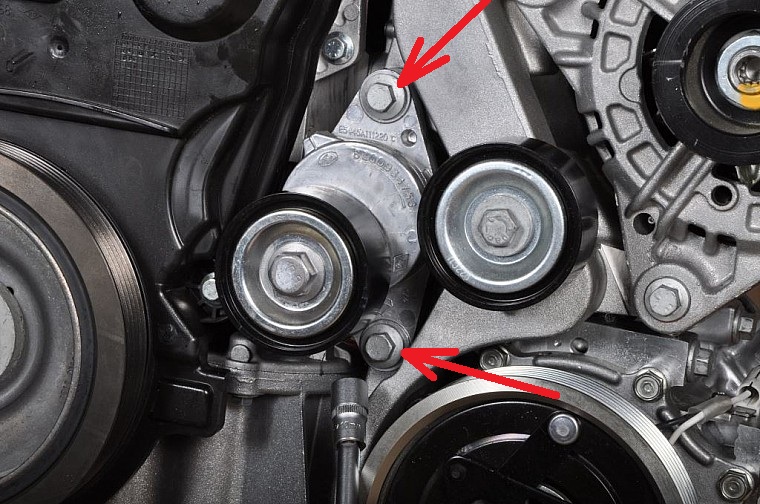
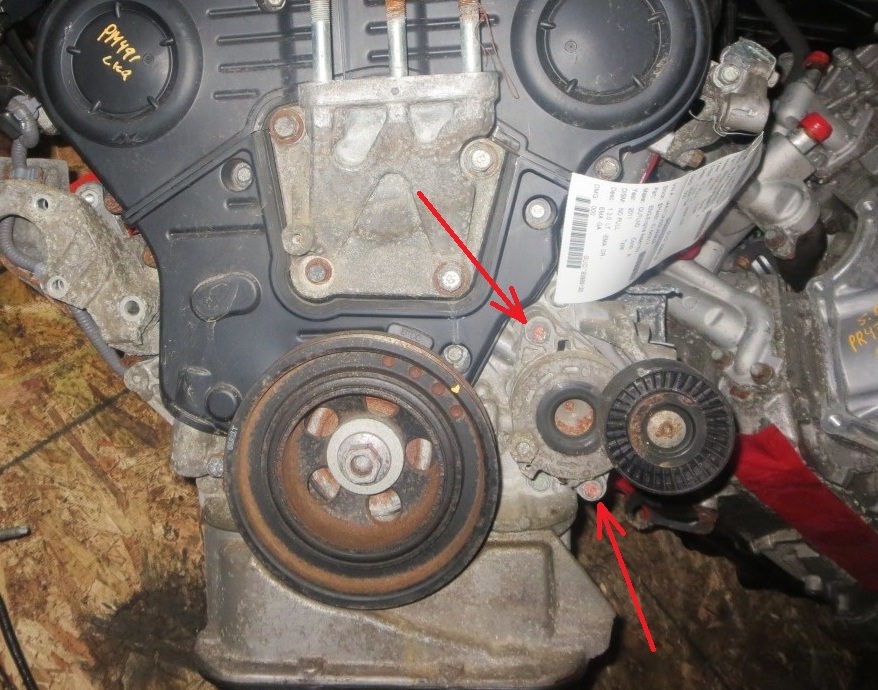
6. Replacing the drive belt tensioner roller is assembled with an automatic tensioner. To remove the tensioning mechanism, unscrew the two mounting bolts and remove it (see the first and second photos - the 4B12 engine, the second - 6B31).
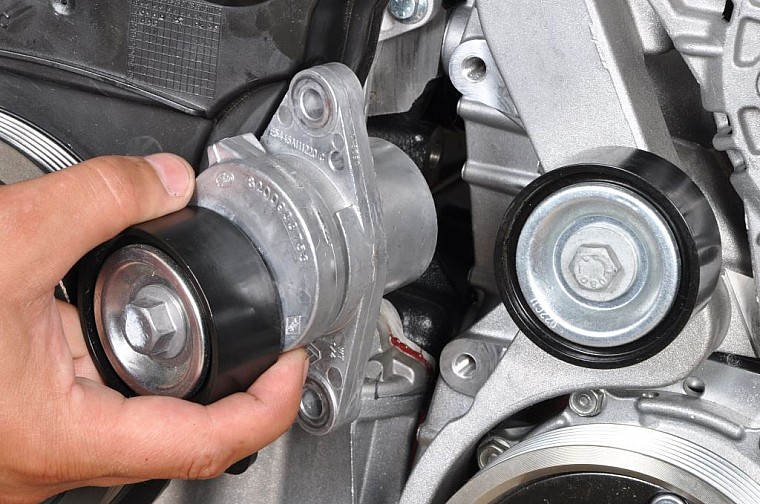
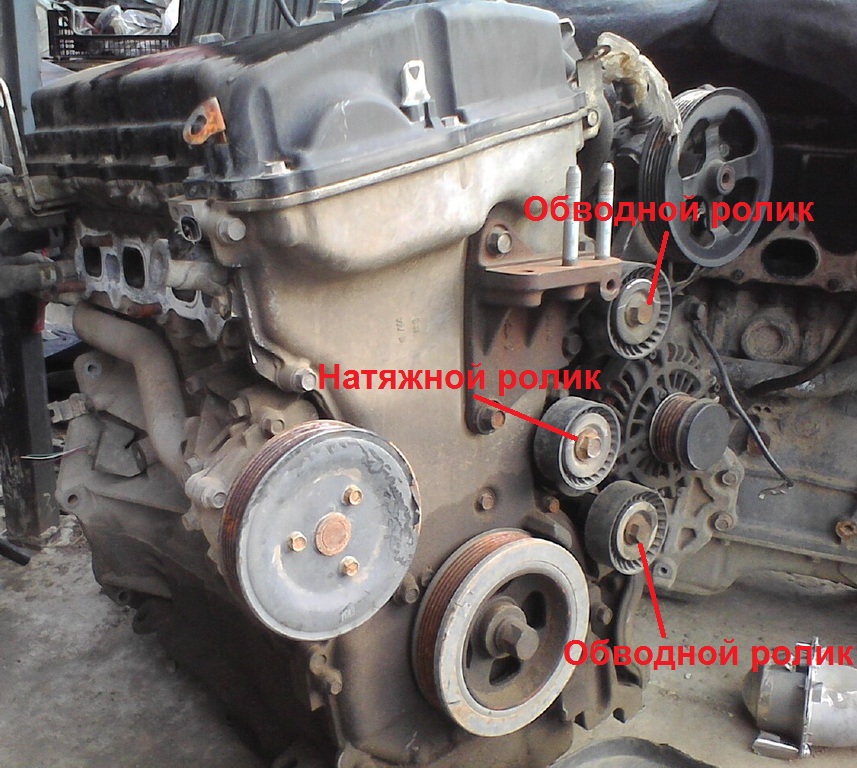
7. (4B12 / 4B11 engines) When the bearings or the running surface are worn, it may be necessary to replace the idler pulley of the accessory drive belt. Replace them as a set (2 pieces) by unscrewing the mounting bolts (for clarity, the location of the rollers is shown on the removed engine).
8. Install a new accessory drive belt and all removed parts in the reverse order of removal.
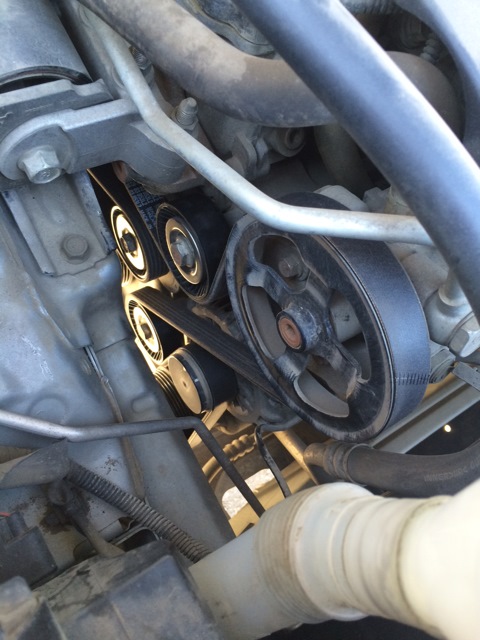
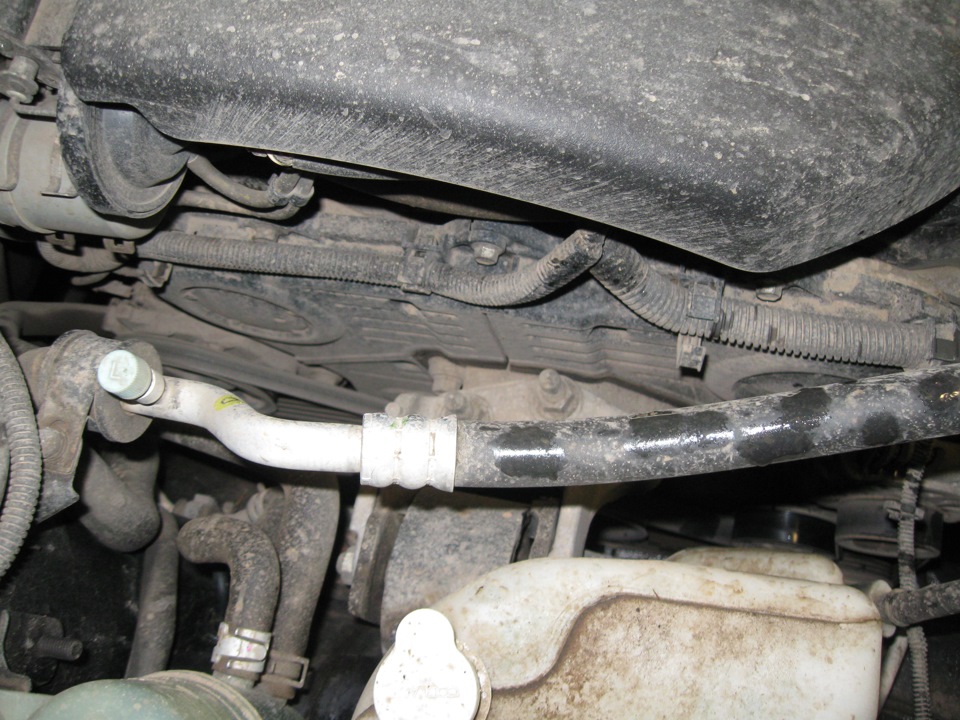
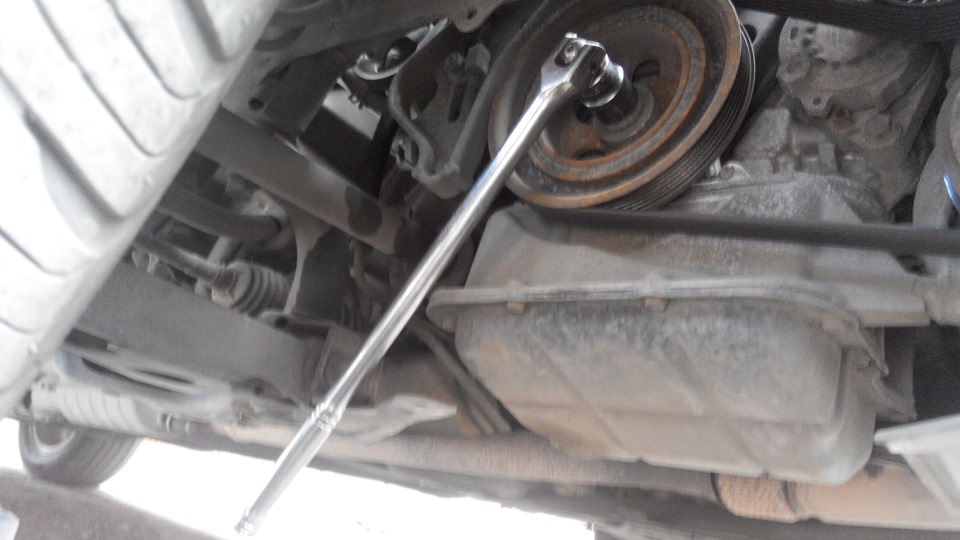
9. Turn the crankshaft three full turns per wheel (engaging 5th gear) so that the Outlander XL alternator belt takes the correct position on the pulleys.
Checking the tension of the power steering drive belt (6B31 engine, produced before 06.2008)
Note:
Since 07.2008, the manufacturing plant began to produce power steering pump drives without a tensioning mechanism (bracket and roller). To install the belt in such engines, use the device that comes with the belt.
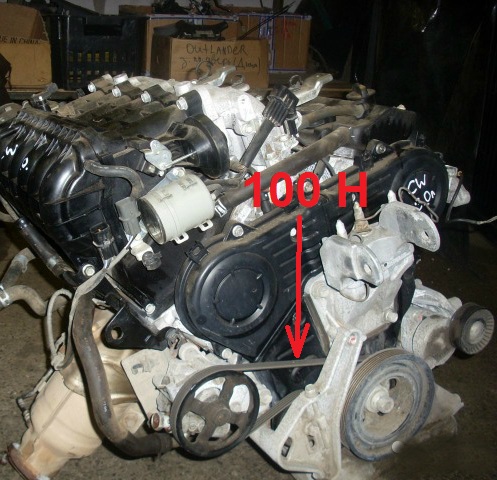
1. Check the tension of the power steering pump drive belt by pressing on it with your thumb. The deflection should be 5-8 mm with a force of 100 N (10 kgf). If the belt is loose (stretched during operation), adjust its tension.
Note:
If the belt tension is insufficient, then during engine operation it will slip with a characteristic whistle.
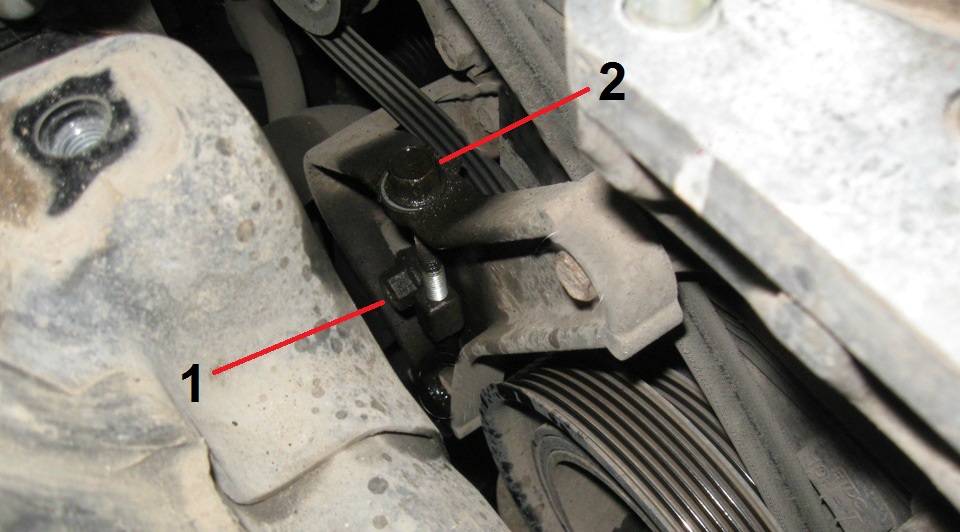
2. Loosen the nut of the adjusting bracket 1 and turn the adjusting bolt 2 to achieve the required belt tension.
3. Tighten the adjusting bracket mounting bolt. Check the condition of the belt by visual inspection. If the belt shows signs of severe wear or is oiled, it must be replaced.
Replacing the power steering drive belt (6B31 engine, manufactured before 06.2008)
1. Remove the accessory drive belt (see the appropriate subsection above).
2. Turning the adjusting bolt, loosen the belt tension (see photo item 2 above).
3. Remove the power steering pump drive belt.
4. To replace the tensioner, unscrew the three mounting bolts and remove it.
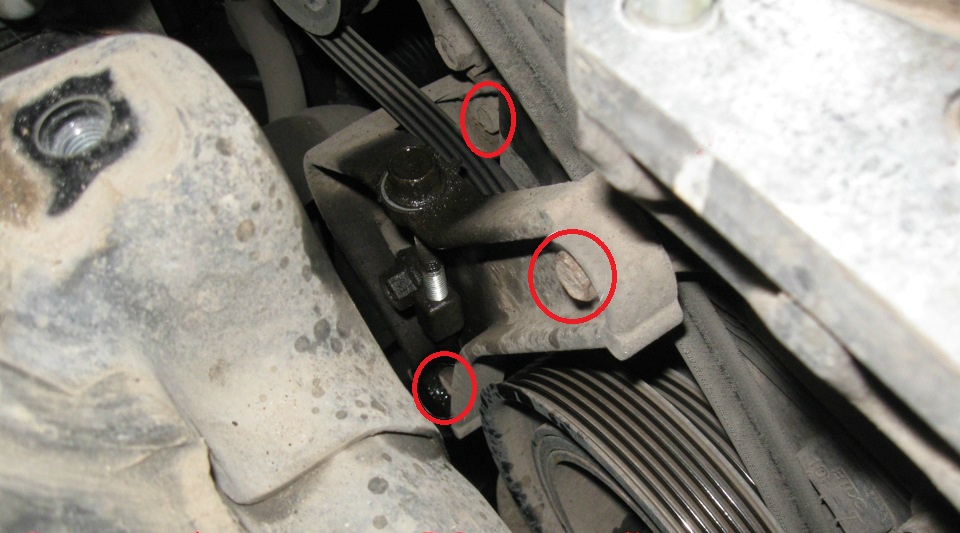
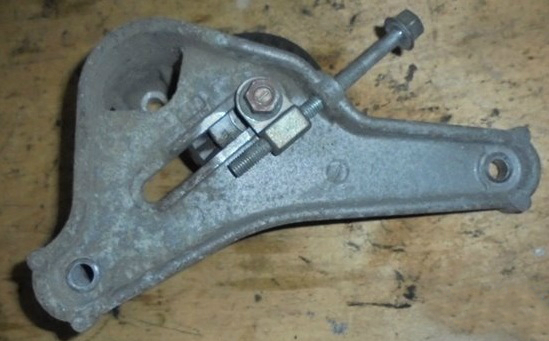
5. Install the removed parts in the reverse order of removal, and adjust the belt tension as described above.
Checking the tension and replacing the power steering drive belt (6B31 engine, produced from 07.2008)
1. Checking the tension is carried out similarly to earlier versions of the release (see item 1 above).
2. To remove the power steering pump drive belt, cut it with a knife.
3. Install the belt using the special tool that comes with the belt (4451A086). Install the fixture with the screw into the pump shaft hole.
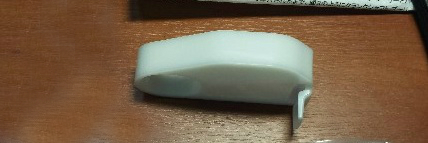
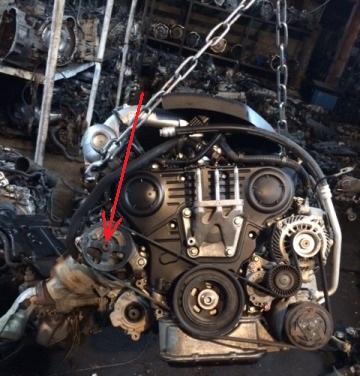
4. Rotating the crankshaft, install the belt on the pulleys and remove the tool.
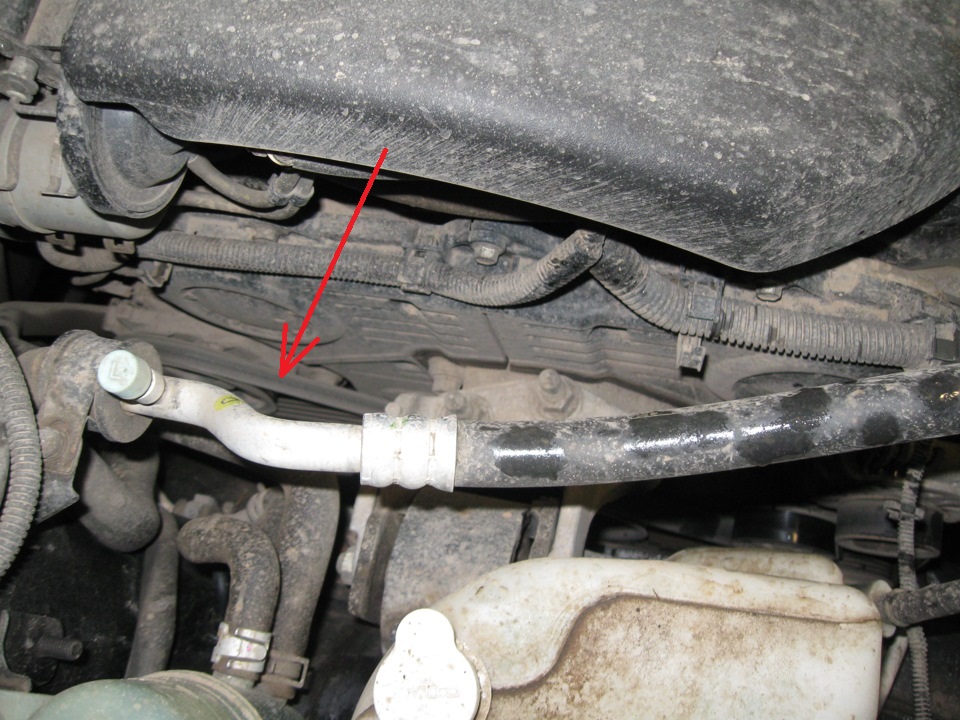
The article is missing:
- Tool photo
Source: carpedia.club
![1 generation [2003 - 2007]](/uploads/Mitsubishi_Outlander_I_2003_-_2008_.jpg)
![3 generation [2012 - 2014]](/uploads/3.png)
![XL [2005 - 2012]](/uploads/4d137205da66f_.jpg)