![2 generation [2005 - 2009]](/uploads/Kia_Rio_2005_-_2011.png)
![3 generation [2011 - 2015]](/uploads/9b0bb8ba0203729f482ae8eb3b95c4f1.jpg)

Tools:
- Pliers
Parts and consumables:
- Reinforced adhesive tape
- Hose clamps
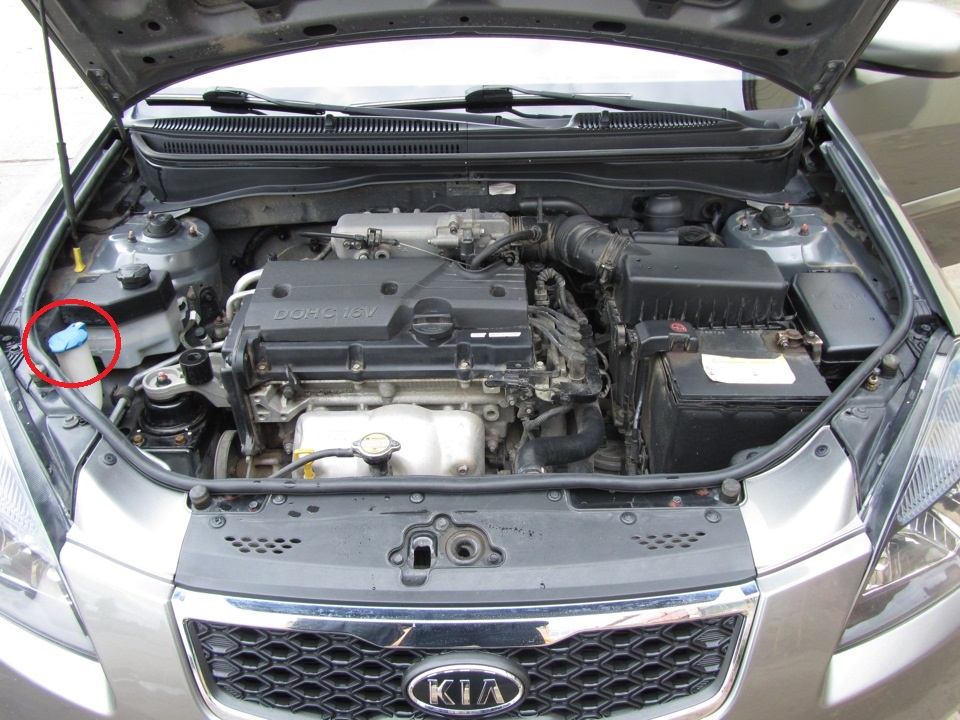
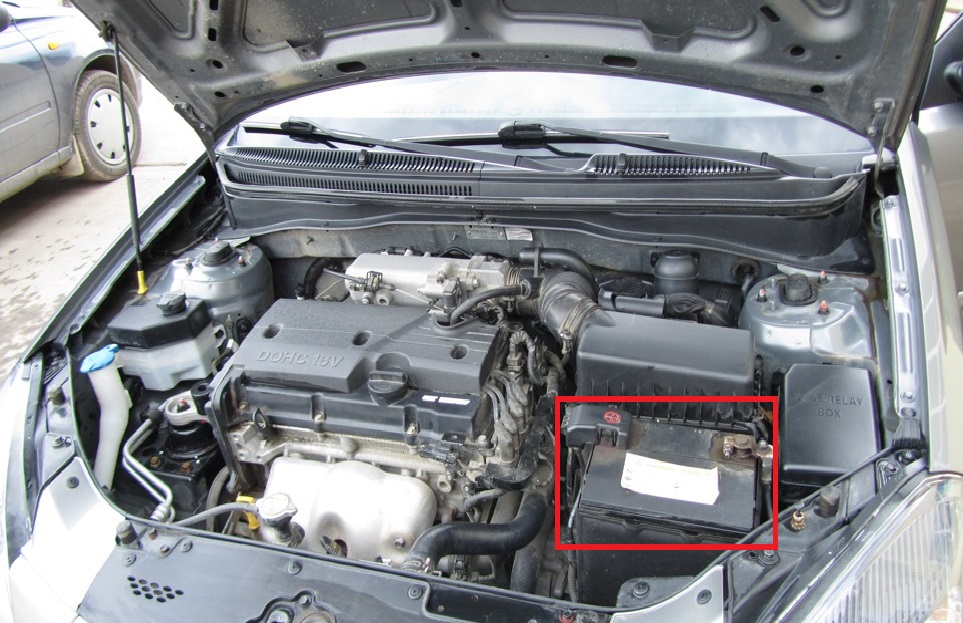
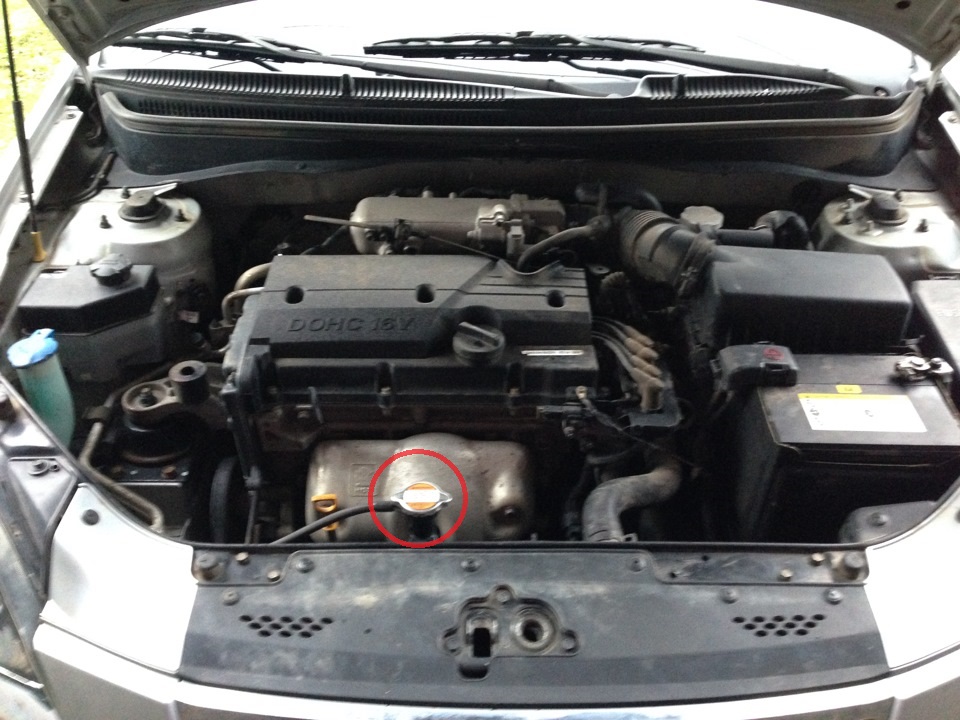
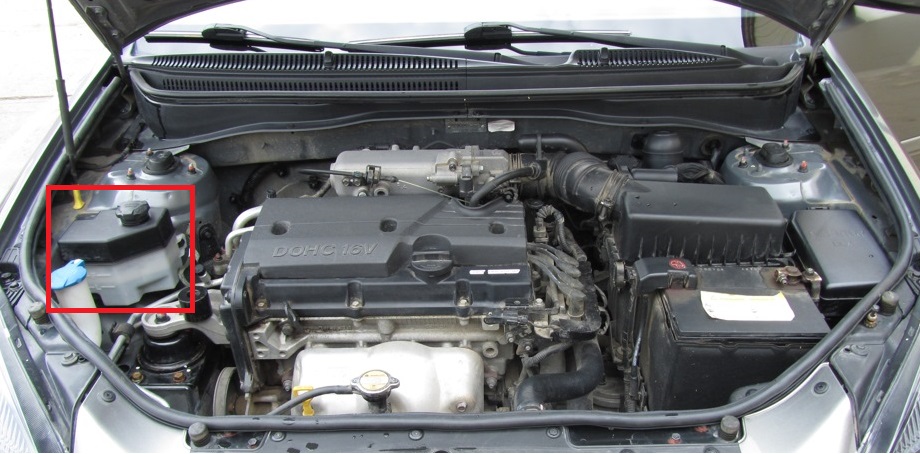
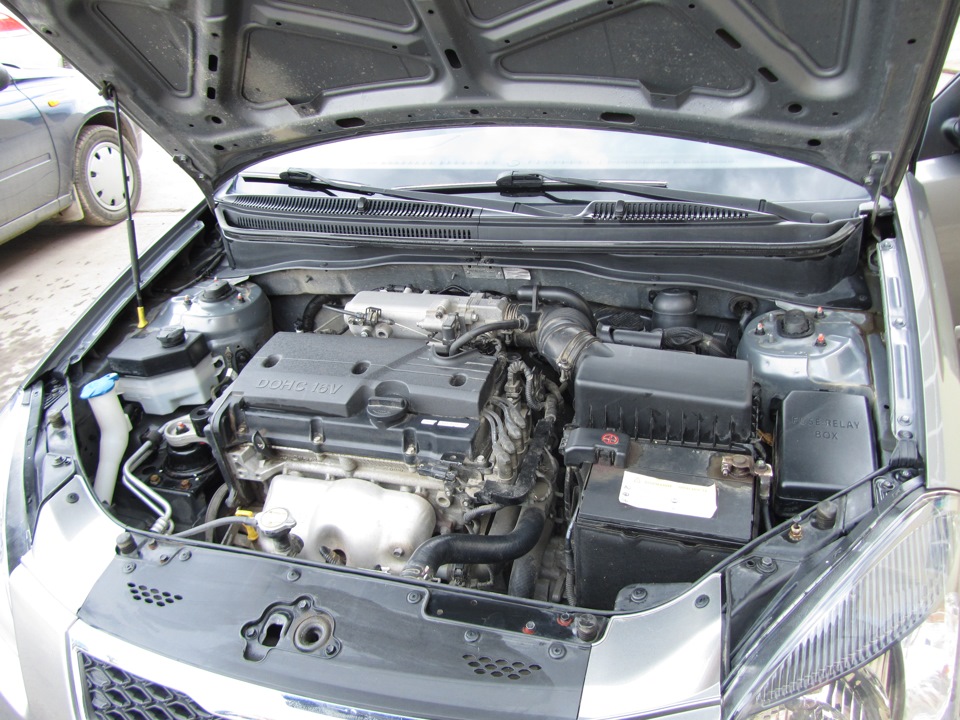
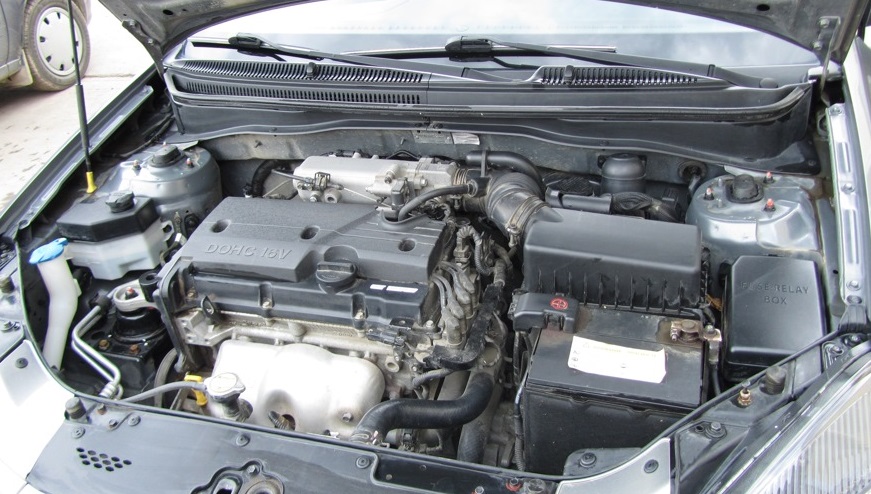
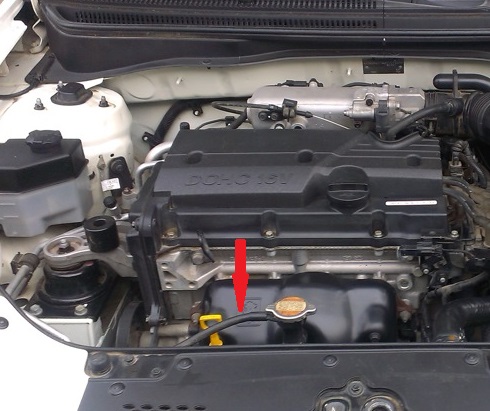
1. Open the hood and inspect the engine compartment. When inspecting the engine, pay attention to the presence of coolant in the expansion tank, to the integrity of the rubber hoses. You should also check the connections of the hoses with the pipes of the radiator, thermostat, expansion tank.
Helpful advice:
A broken hose can be temporarily repaired with adhesive tape. Reinforced adhesive tape (for example, silver in color), which can be purchased at car dealers, is especially suitable for this purpose.
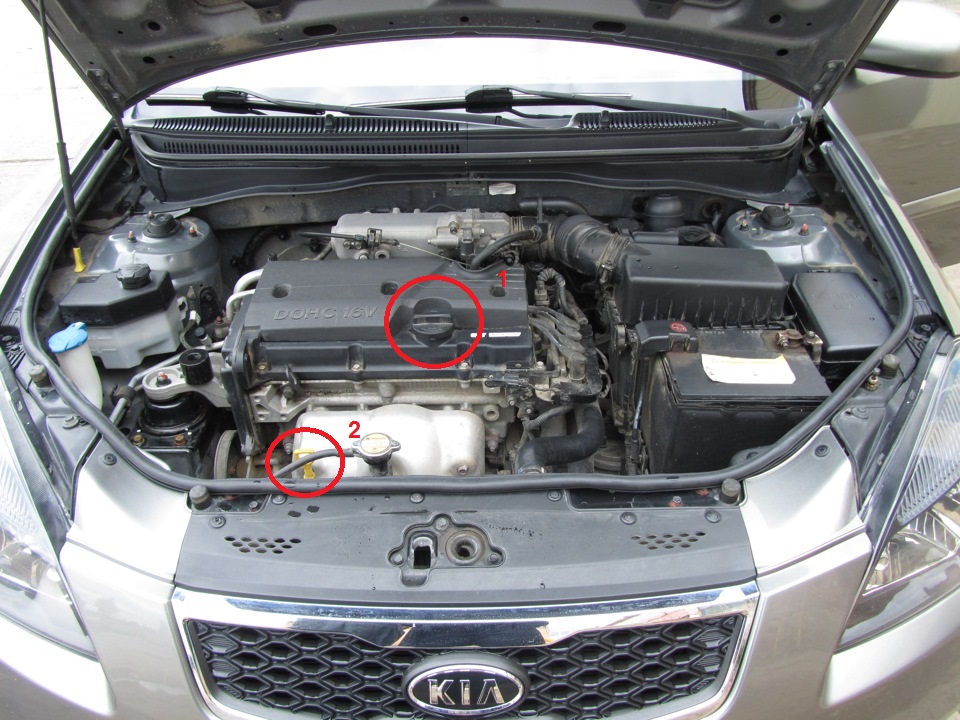
2. Inspect the connection of the inlet hose to the cooling system connector and to the radiator pipe.
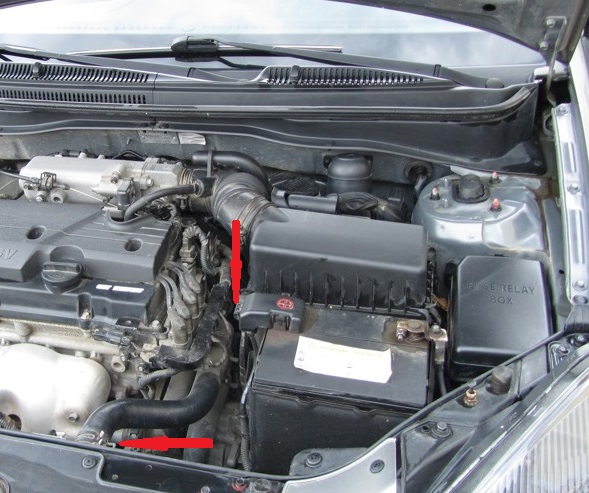
3. Examine the connection of the discharge hose to the radiator branch pipe.
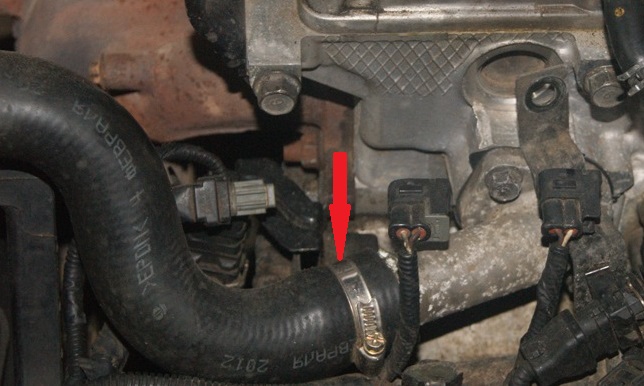
4. Inspect the hose connection to the thermostat. Crimp (or replace with new) clamps if necessary.
5. Examine connections of hoses of system of cooling with branch pipes of a radiator of a heater.
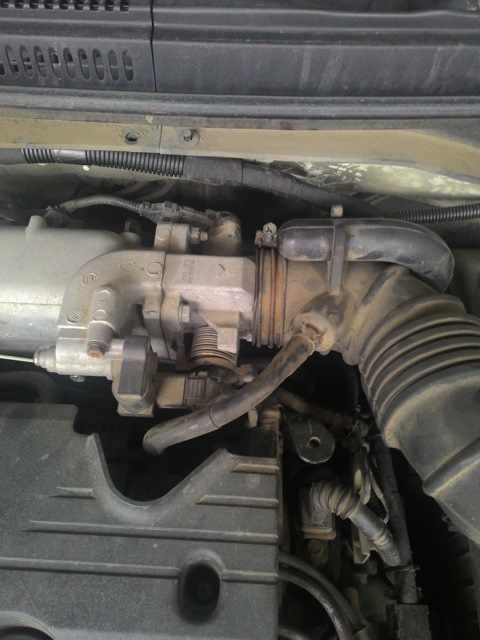
6. Examine connections of hoses with branch pipes of throttle knot. Crimp or replace clamps if necessary.
7. Check the connections of the steam outlet hose to the pipes of the radiator and expansion tank.
Helpful Hints:
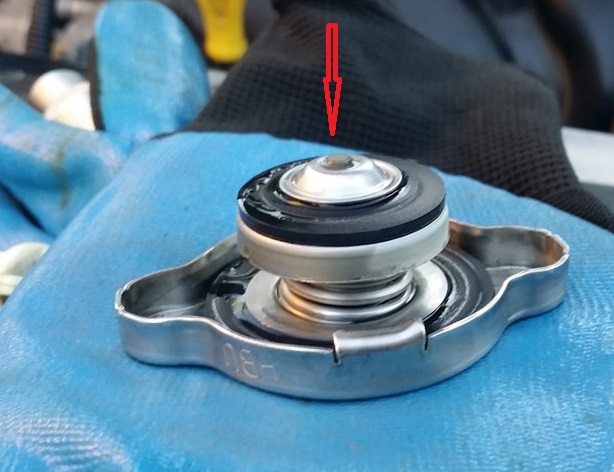
There are two valves in the radiator cap: inlet and outlet. The exhaust valve plays a big role in ensuring optimum engine temperature. It maintains an excess pressure of at least 0.11 MPa (1.1 kgf / cm 2 ) in the system, providing an increase in the temperature at which the coolant begins to boil and preventing intense vaporization.
Unfortunately, when the valve is jammed in the closed position during overheating, a significant excess of overpressure occurs - more than 0.2 MPa (2 kgf / cm 2 ), which can lead to a rupture of one of the hoses or a coolant leak in the connections with pipes. In turn, the jamming of the valve in the open position leads to premature boiling of the coolant. Therefore, once a year, flush the radiator cap with running water, and check the valve for sticking by pressing with a thin screwdriver. If in doubt, replace the plug.
The article is missing:
- High-quality repair photos
Source: carpedia.club