![T31 [2007 - 2011]](/uploads/-_2009.jpg)

Note:
Sound signals play an important role in road safety. Therefore, any malfunction in their work must be detected and eliminated as soon as possible. First of all, it will be necessary to check if the fuse or the relay itself has failed.
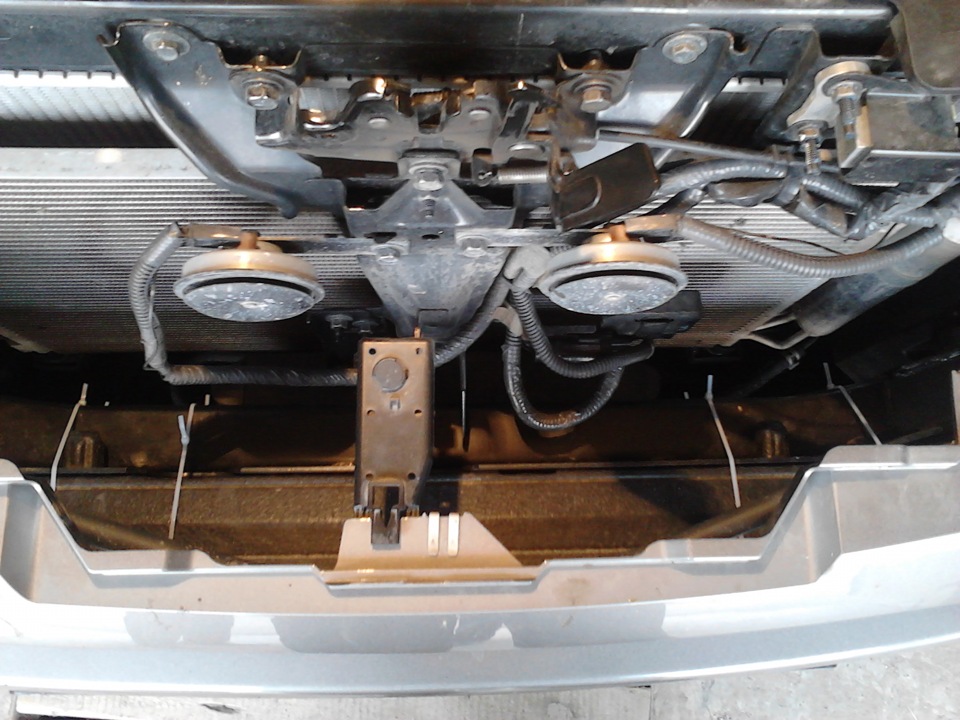
Where are the horns on the Nissan X-Trail
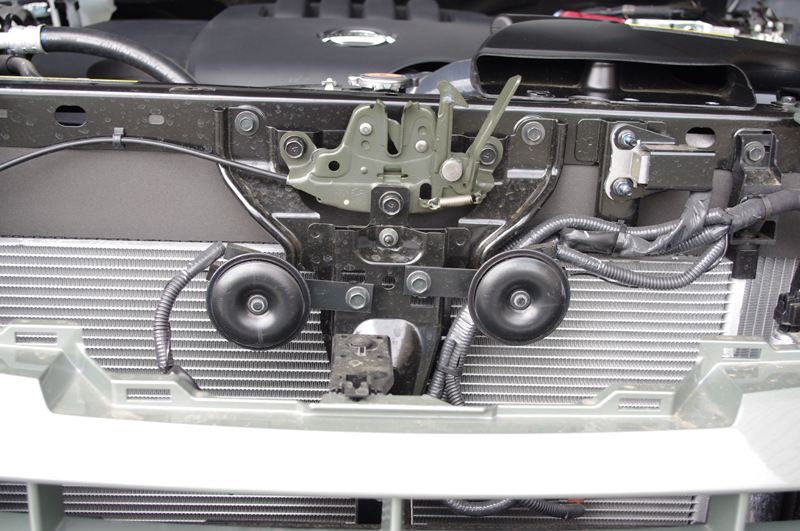
The car has 2 horns: high and low tone. They are located behind the grille. Therefore, before checking the horns on the Nissan X-Trail, you will first need to remove the grille.
Possible causes of a Nissan X-Trail audio signal malfunction:
- Blown fuse located in a special block. It may be enough to replace the fuse.
- Burnt relay. Since the sound signal is powered through a fuse and a relay, the latter is also necessarily checked in the mounting block, and, in the event of a malfunction, is replaced with a new one.
- Klaxon breakdown. To check, you can take the element and directly apply power through the battery. If the sound signal is correct, a signal will appear.
- Short circuit. Start your search from the safety nest, and then move along the chain.
- Wear of the contact ring on the steering wheel. If necessary, it must be replaced with a working one.
- Breakage of the loop on the steering wheel, where there is an airbag.
- Wear of clamping contacts on the column.
- Contact oxidation. Check the contact group for rust or oxidation.
- The winding on the horn burned out. The problem is solved by replacing.
- Electrical failure.
Checking the fuse and horn relay Nissan X-Trail
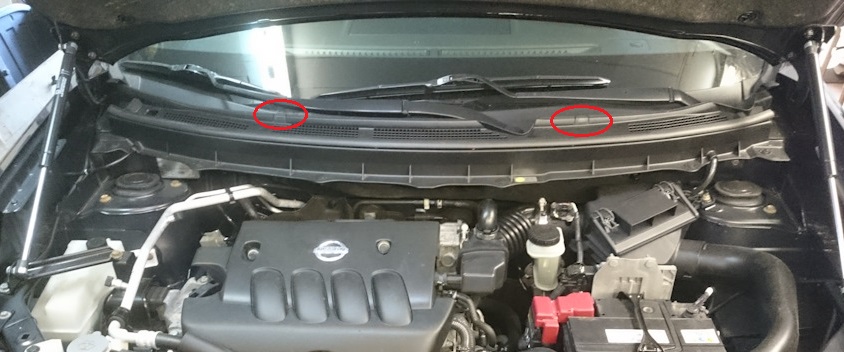
1. Raise the hood cover and fix it with a stop.
2. In the engine compartment, check the fuse Ef34 (10A) and relay Er1 in the fuse and relay box.
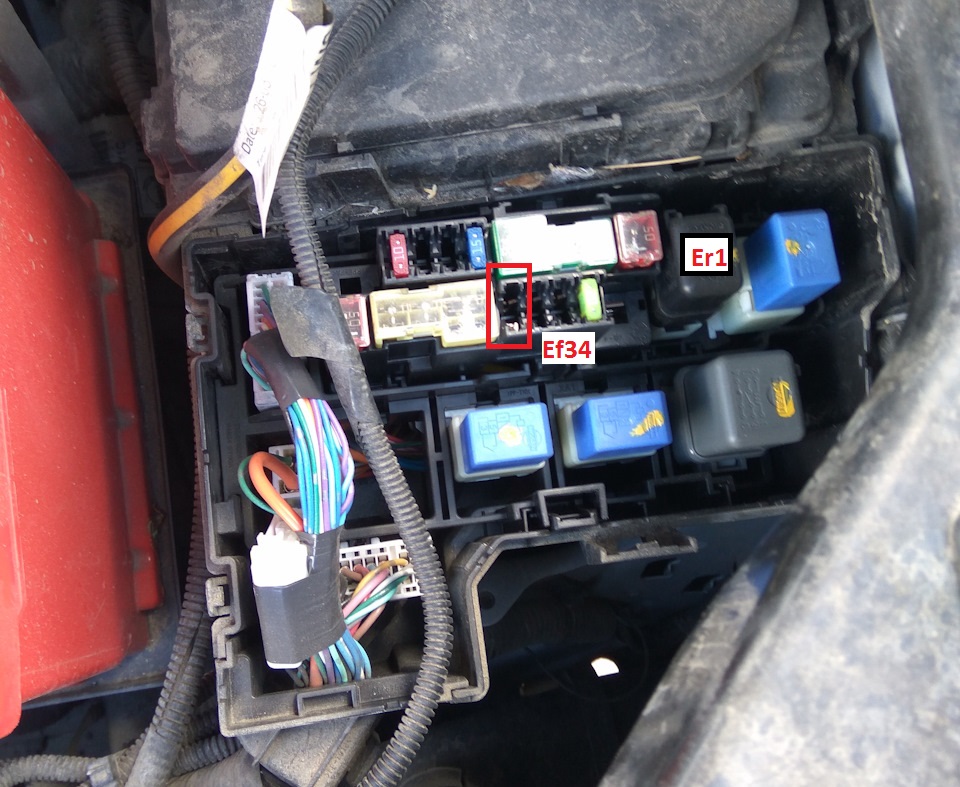
3. If the fuse and relay are defective, replace them with new ones. If the fuse blows again, look for a short in the electrical circuit.
Nissan X-Trail Horn Test
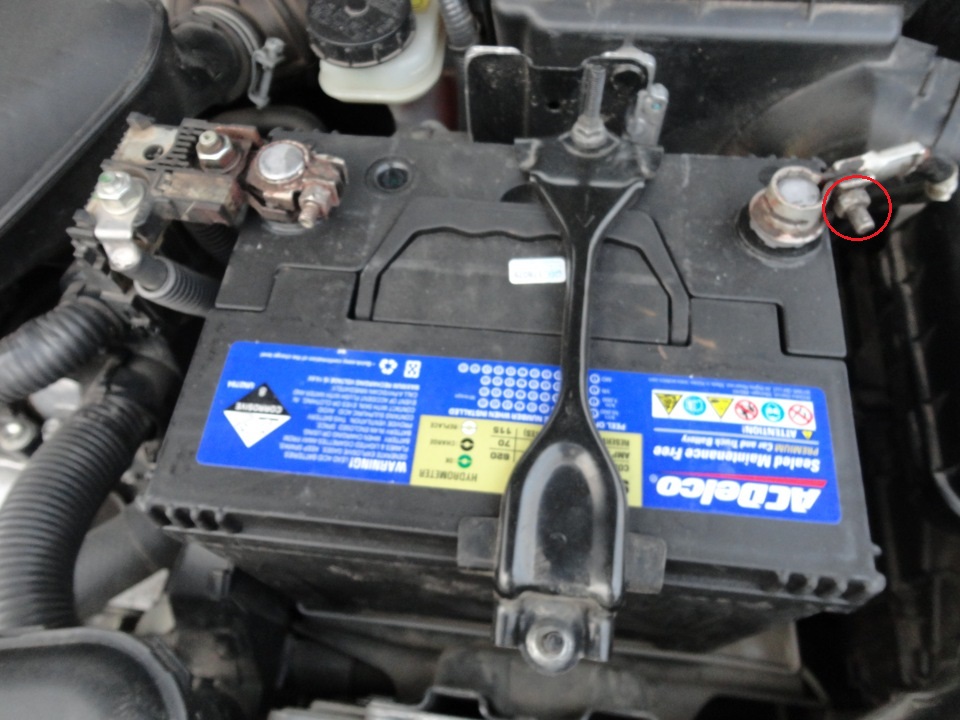
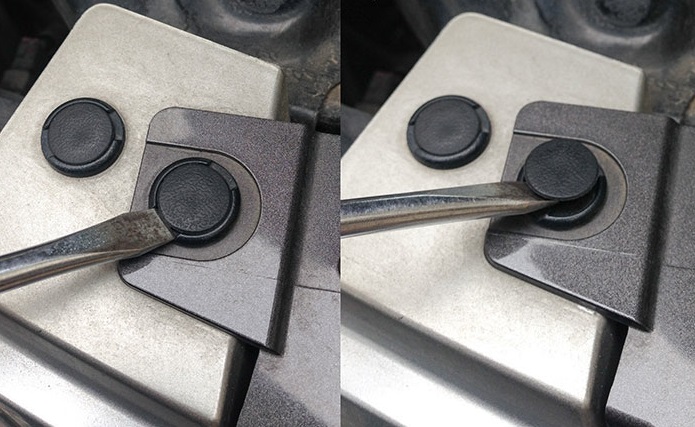
1. Using a 10 mm wrench, remove the “negative” terminal from the battery.
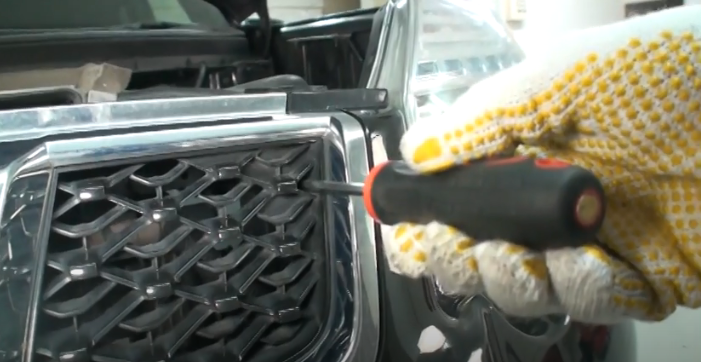
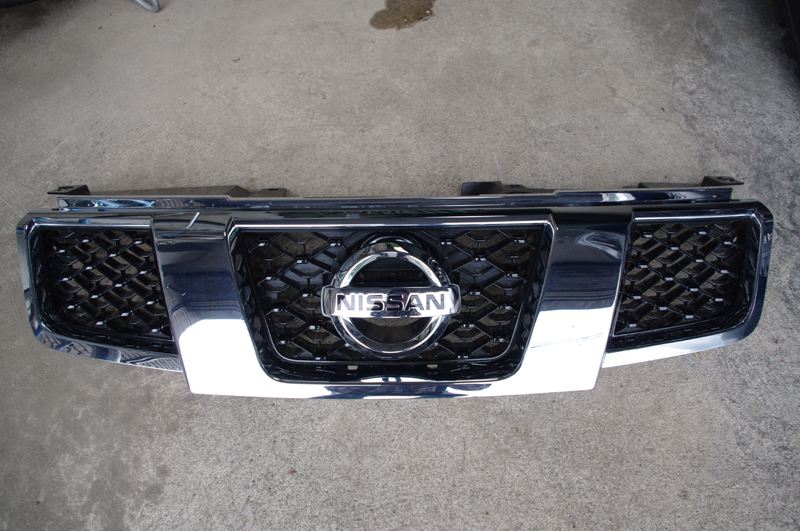
2. Use a flathead screwdriver to push out the tabs and pull out the 4 grille tabs.
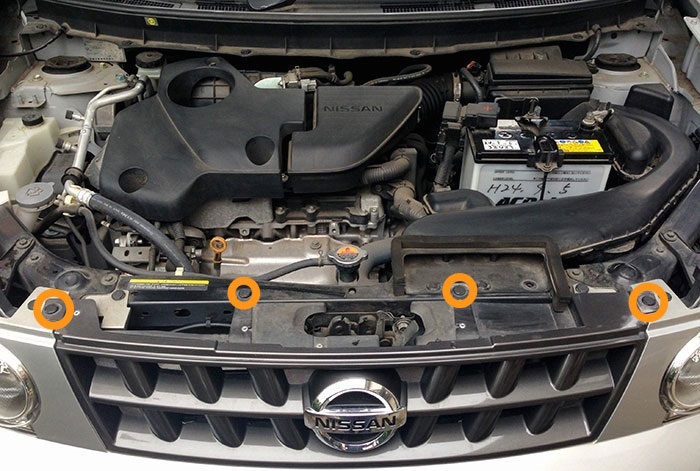
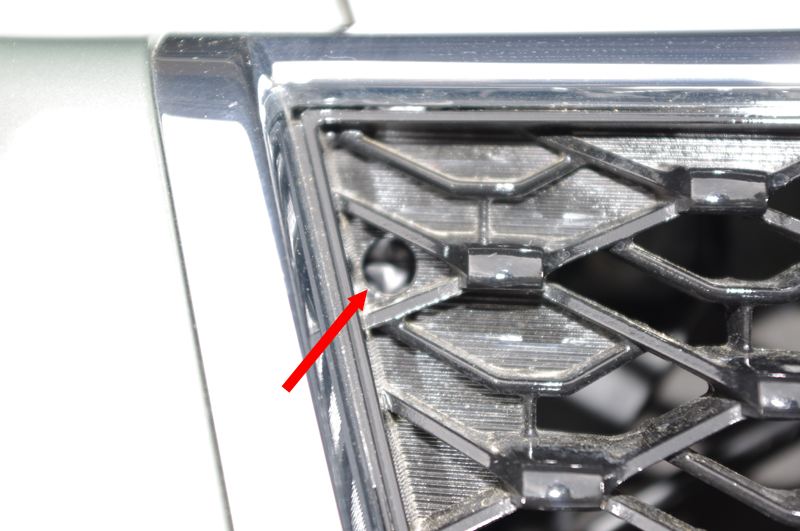
3. At the corners of the grille, using a flat screwdriver, through the holes, turn the plastic clips clockwise 90 degrees and pull them out towards you.
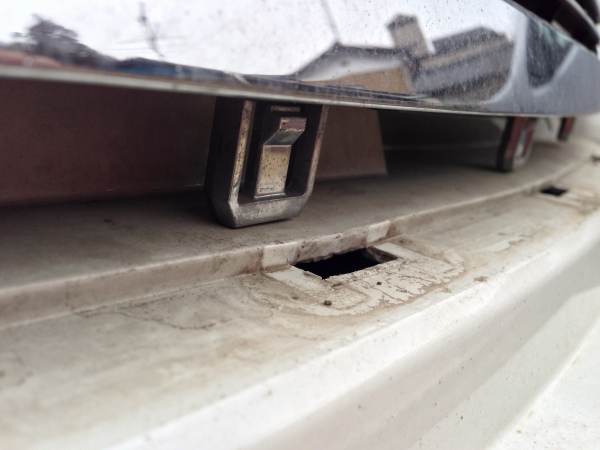
4. Disengage the 4 latches securing the grille from the bumper.
5. Remove the grille. This will open access to sound signals.
6. Press the latch and disconnect the block from the Nissan X-Trail audio signal output.
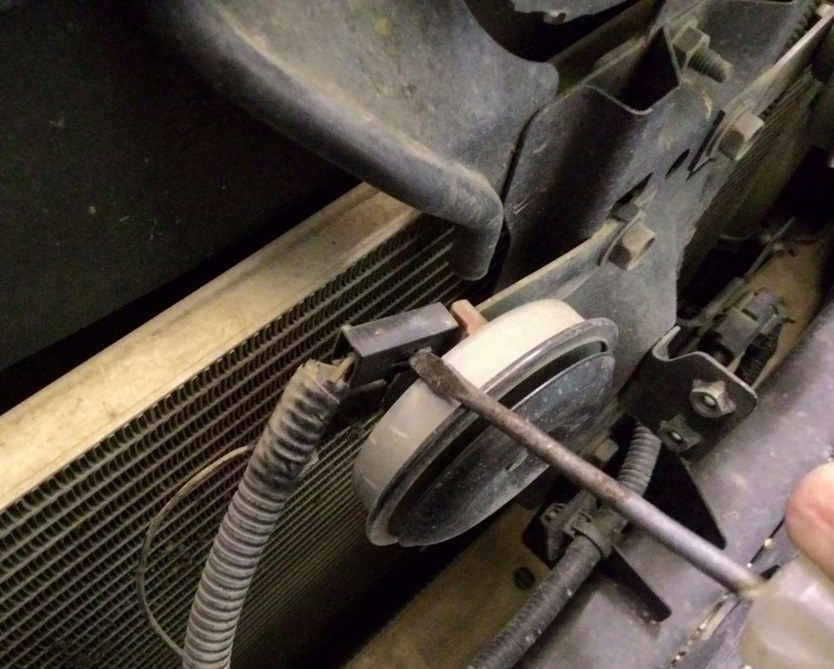
7. Check the signal connector for oxides and dirt. If necessary, clean it with a special electrical contact cleaner.

8. Connect the positive probe of the multimeter, switched on in the voltage measurement mode, to the Nissan X-Trail audio signal block.

Connect the negative probe to ground and measure the voltage with the horn switch pressed. The multimeter should show battery voltage. If there is no voltage, it means that the horn power supply circuit is faulty.
9. To check the Nissan X-Trail audio signal for a short circuit, with a piece of wire with a 10 A fuse embedded in it, briefly connect the output of the audio signal to the positive battery terminal. If the fuse blows, the horn has a short circuit and will need to be replaced with a new one.
10. After checking the Nissan X-Trail sound signal, reconnect the pads and install the radiator grille in the reverse order of removal.
Similar articles:
Replacing the sound signal on the Nissan X-Trail
Nissan X-Trail Horn Wiring Diagram
Source: carpedia.club