Tool:
- Jack
- Support legs
- steel ruler
- air gun
- Small flat screwdriver
- torque wrench
Parts and consumables:
- rags
- Cylinder head gasket
- Bolts of fastening of a head of cylinders
- Motor oil
- Angle washer
- Turbocharger gaskets
- Coolant
Since this job requires a certain amount of experience, only the basics necessary for an experienced mechanic are described. The description refers to a diesel engine. Gasoline engine notes are at the end of the section .
Withdrawal
The cabin air filter box must first be removed.
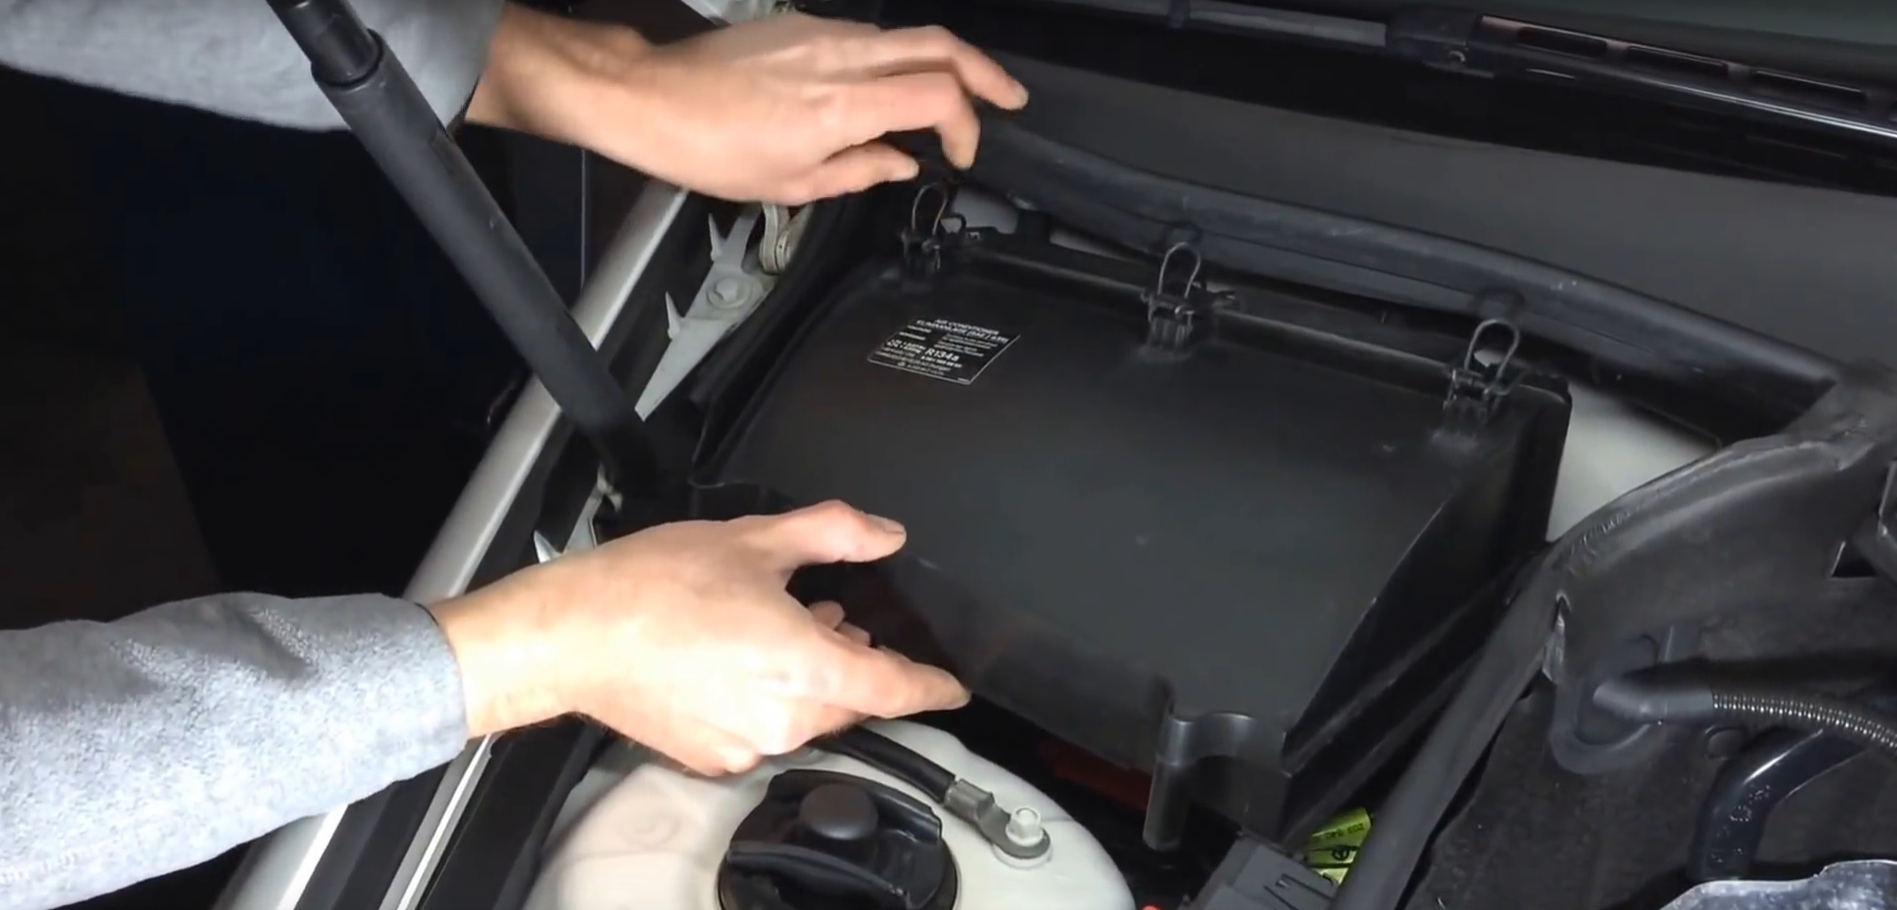
1. Disconnect the negative (-) battery cable with the ignition off.
Note:
Before disconnecting the cable, find out the security code of the radio, if any.
The operation of lifting and placing the vehicle on stands is dangerous!
2. Raise and place the vehicle on stands.
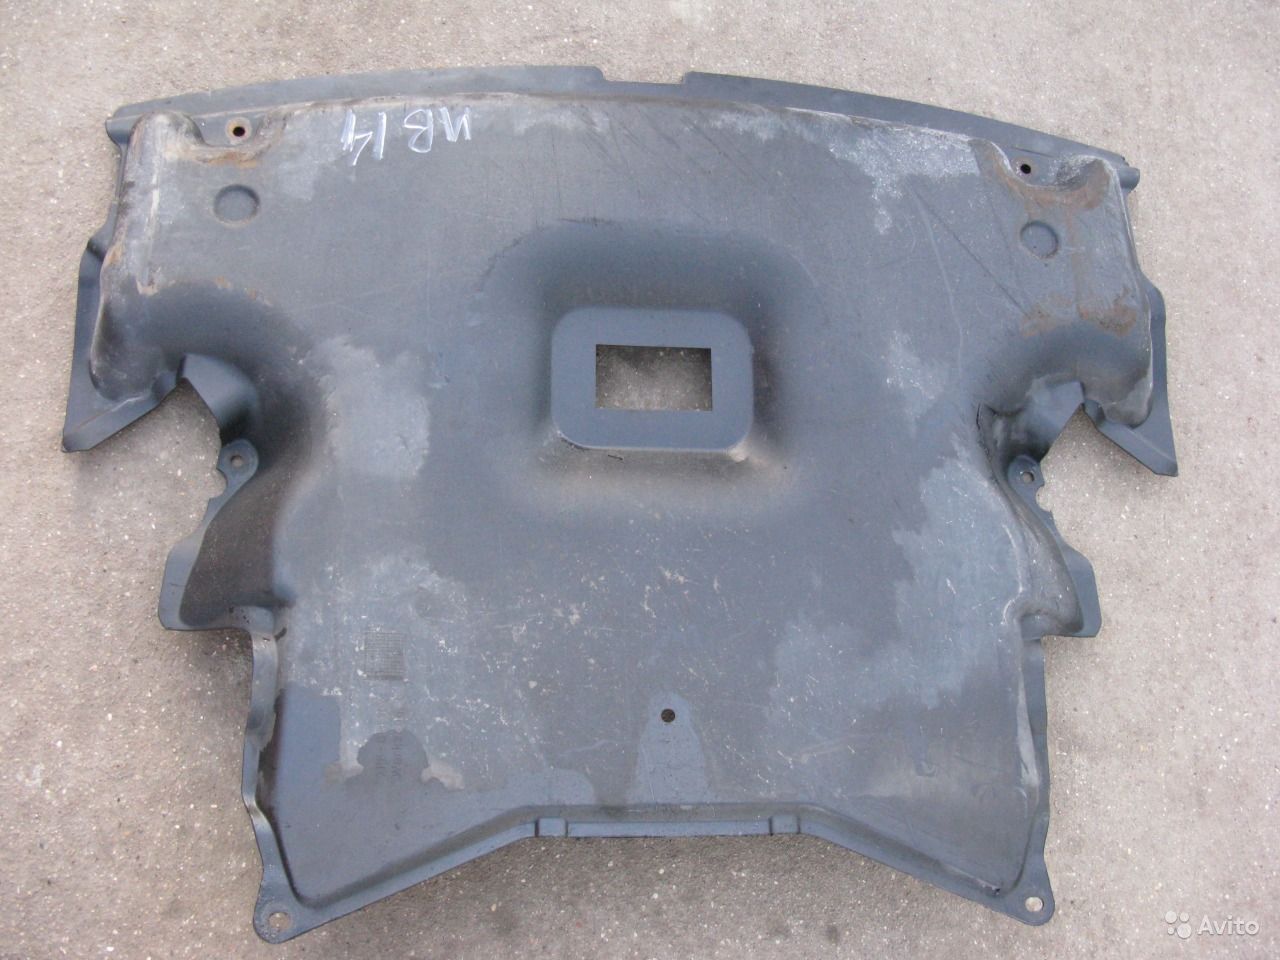
3. Remove the bottom cover of an impellent compartment.
4. Drain the coolant.
5. Disconnect the generator connector.

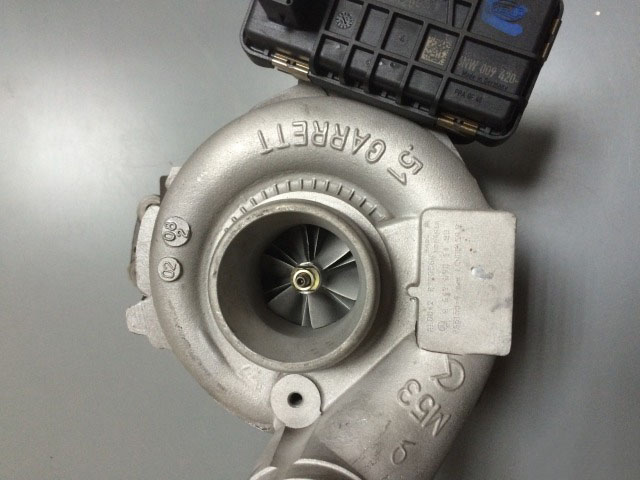
6. Disconnect the turbocharger from the lower holder.
7. Disconnect the oil sensor connector.
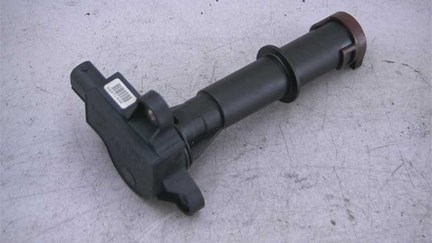
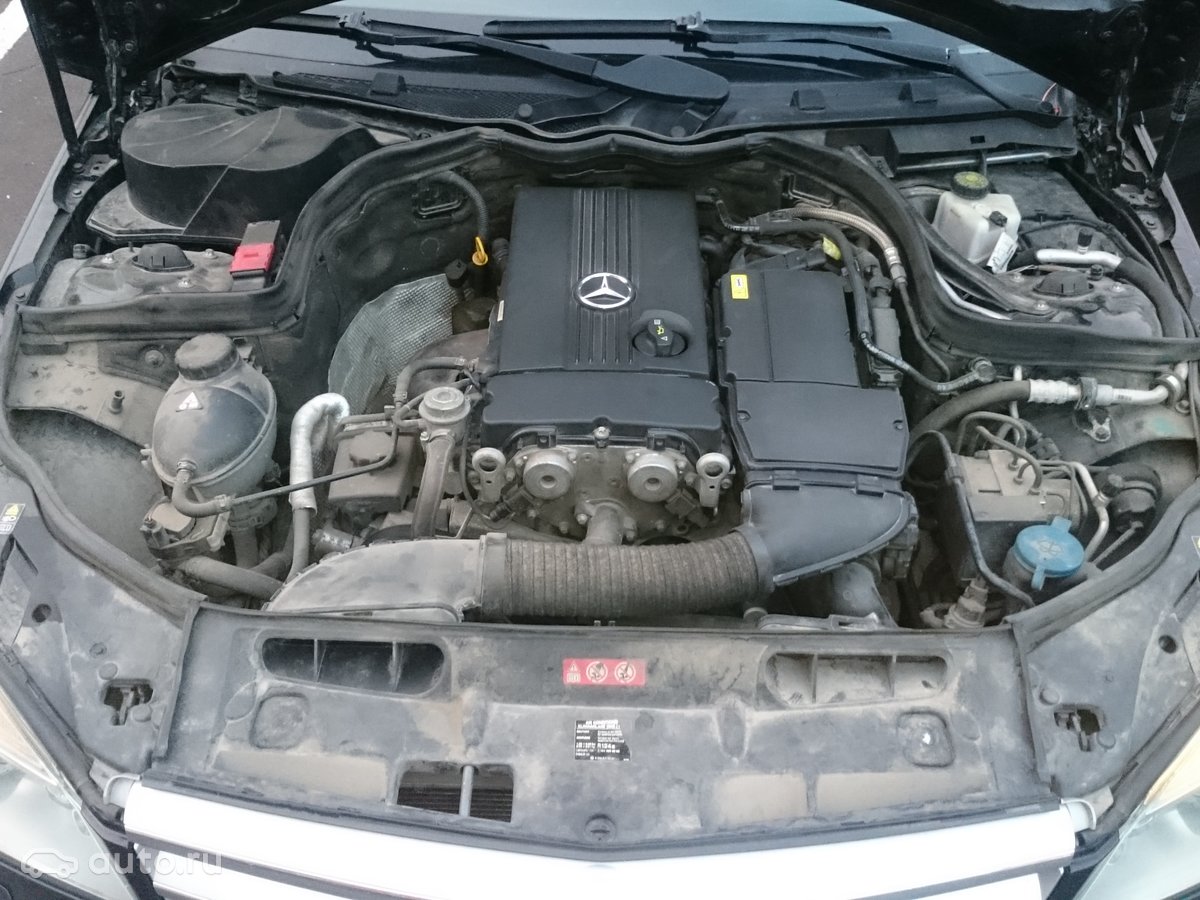
8. Remove the engine top covers.

9. Remove the air filter.
10. Disconnect the oil level gauge guide tube holder at the rear right of the cylinder head.
11. Disconnect the connectors for the glow plugs, coolant temperature sensor, fuel pressure sensor, and pressure control valve at the cylinder head.
12. Disconnect a wire of weight near the valve of shutdown with electromanagement at a head of cylinders.
13. Disconnect the cable holder near the pressure control valve at the cylinder head.
14. Remove the thermostat housing.
15. Remove nozzles.
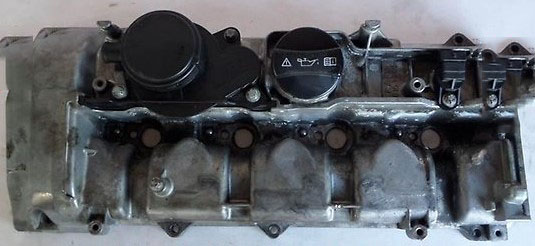
16. Remove the cylinder head cover.
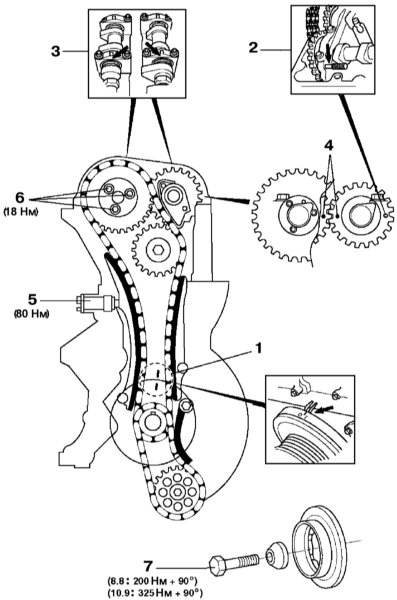
17. Remove the chain tensioner.
18. Set the piston of the first cylinder to the TDC position.
Note:
Do not rotate the motor in the reverse direction. Never rotate the engine using the camshaft sprocket bolt.
19. Remove the front cover from the cylinder head.
20. Remove the top rail.
21. Remove camshafts.
22. Remove the camshaft cover.
23. Remove the injection pump.
24. Remove the intermediate sprocket.
25. Remove the distributor of forced air.
26. Remove the pipeline for supplying oil to the turbocharger.
27. Remove the coolant hose to the generator.
28. Disconnect the pre-catalytic converter from the cylinder block.
29. Disconnect the turbocharger from the exhaust manifold.
Note:
The exhaust manifold remains attached to the cylinder head.
30. Turn out bolts of fastening of a head of cylinders to a cover of the case of the gas distribution mechanism.
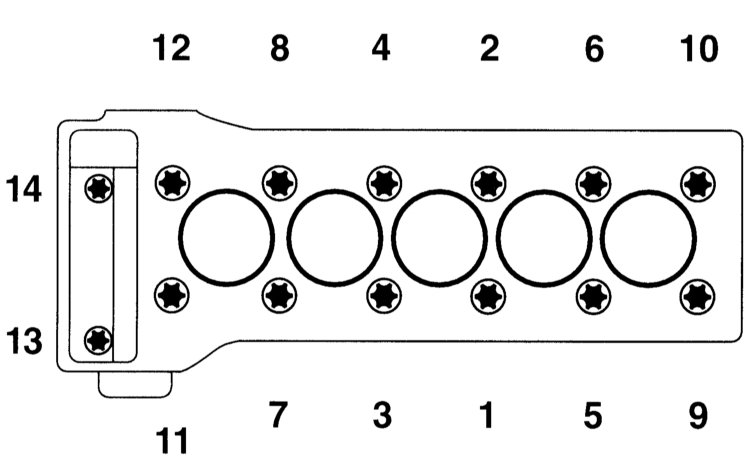
31. Turn out bolts of fastening of a head of cylinders in sequence, reverse numbering, ie. 12 to 1
(4-cylinder engine) or 14 to 1 (5-cylinder engine). In this case, first unscrew all the bolts by ½ turn and then unscrew the bolts.
32. With the help of an assistant, lift the cylinder head. At the service station, the head is lifted using an electric hoist or a workshop crane. To do this, grab the cables by the two lugs on the exhaust manifold.
Installation
Before installing the head and cylinder block, use a scraper to remove any remaining sealant from the mating surfaces. Make sure no sealant residue gets into the holes. Cover the holes with rags. After cleaning, remove the rags.
1. Check the flatness of the surfaces of the block and cylinder head in the longitudinal and transverse directions with a steel ruler, if necessary, process the planes (STO work).
2. Check up a head of cylinders on existence of cracks, and working surfaces of cylinders on existence of grooves.
3. Thoroughly clean the holes for the cylinder head bolts from oil and other products. Blow out the holes with compressed air or remove the oil with a screwdriver wrapped in a rag.
Note:
The cylinder head bolt holes must be free of oil and coolant residues. Otherwise, when you screw in new bolts, pressure will build up, which can lead to the destruction of the cylinder block or to an incorrect estimate of the tightening torque.
4. Necessarily replace a sealing lining of a head of cylinders.
5. Install a new gasket without sealant so as not to block any openings.
6. With the help of an assistant, replace the cylinder head. Make sure that the cylinder head does not warp during installation.
Note:
The cylinder head is centered on the cylinder block by guide bushings.
7. Measure the length of the cylinder head bolts. The length of the new bolts is 102 mm. Bolts lengthen with each tightening. When reaching a length of 104 mm or more, the bolts must be replaced.

8. Lubricate the threads and bearing surface of the bolt head with oil and screw in by hand until it touches the head.
Note:
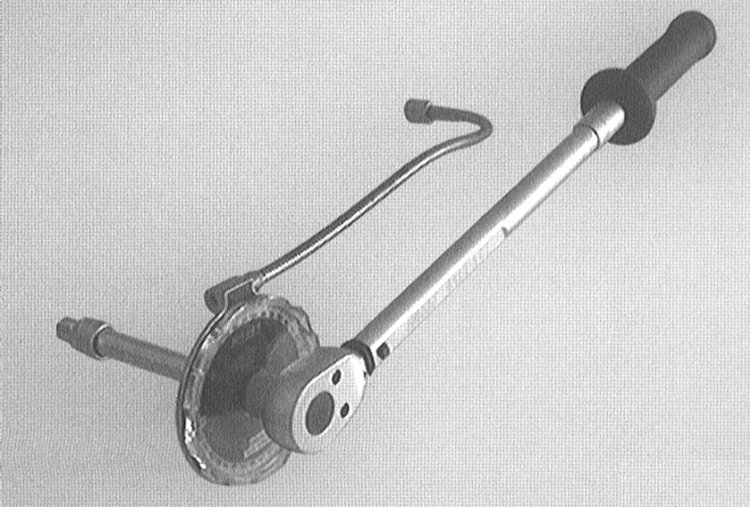
The cylinder head bolts must be tightened with particular care. Before tightening, the torque wrench must be checked for accuracy. Tightening the bolts to the specified angle must be done using an angle washer, for example, HAZET 6690. In order not to overload the torque wrench with high torque, use an angle washer with a regular wrench.
If an angle washer is not available, you can estimate the angle differently. To do this, place a hard key so that the key handle is located along the engine and turn the key in one step so that the handle takes a position across the engine.
9. Tighten the cylinder head bolts in three steps, in the sequence established by the Specifications from 1 to 10.
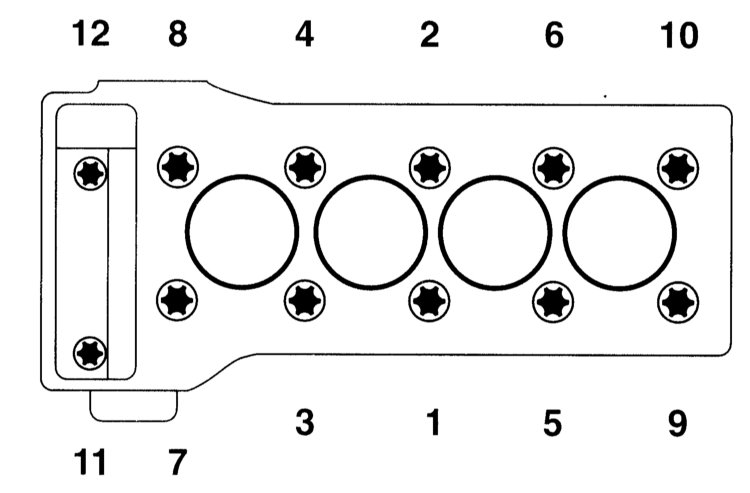
11 - Torx screws;
12 - Torx screws.
10. Tighten the Torx screws securing the cylinder head to the cover of the timing mechanism housing with a torque of 20 Nm.
11. Tighten the cylinder head bolts in five steps, in the sequence established by the Specifications.
12. Fasten the turbocharger to the exhaust manifold with a torque of 30Nm.
13. Fix the preliminary catalytic converter on the block of cylinders.
14. Install the coolant line to the generator.
15. Fix the oil supply pipeline with new gaskets on the turbocharger with a torque of 30Nm and on the cylinder head with a torque of 22Nm.
16. Install the blower air distributor.
17. Install intermediate sprocket.
18. Install the injection pump. Fasten the high pressure pipeline at the injection pump and the line with a torque of 22 Nm.
19. Install the camshaft housing.
20. Install the camshafts.
21. Install the top rail.
22. Install the front cover on the cylinder head.
23. Install the chain tensioner with a new O-ring.
24. Install the cylinder head cover.
25. Install nozzles.
26. Install the thermostat housing.
27. Fix the cable holder near the pressure control valve on the cylinder head.
28. Attach the earth wire near the electrically operated shut-off valve on the cylinder head.
29. Connect the connectors of the glow plugs, coolant temperature sensor, fuel line pressure sensor and pressure control valve on the cylinder head.
30. Fix the holder of a directing pipe of the gauge of oil level of a transmission at the back on the right at a head of cylinders.
31. Install the air filter.
32. Install the engine top covers.
33. Dock the oil sensor connector.
34. Fasten the lower bracket to the turbocharger with a torque of 30Nm.
35. Dock the generator connector.
36. Install the bottom cover of the engine compartment.
37. Lower the car on wheels.
38. Check the engine oil level.
39. Fill the system with coolant.
40. Connect the negative cable (-) to the battery with the ignition off. Install the cabin air filter box. Enter the radio code and set the time on the clock.
41. Check the engine for oil and coolant leaks. At the same time, check the cooling system for leaks when the engine reaches operating temperature.
Note:
The cylinder head gasket only seals when the engine is warmed up to operating temperature and the gasket swells accordingly .
The article is missing:
- High-quality repair photos
- Tool photo
- Photo of parts and consumables
Source: http://auto-knigi.com/model/mb_c/4_6_4/

![W203/S203/CL203 [2000 - 2004]](/uploads/mercedes-c-klass-w203.jpg)
