![1 generation [2001 - 2005]](/uploads/Hyundai_Matrix_2002-2006_.jpg)

Tools:
- Screwdriver flat medium
- Phillips screwdriver, medium
Order of execution
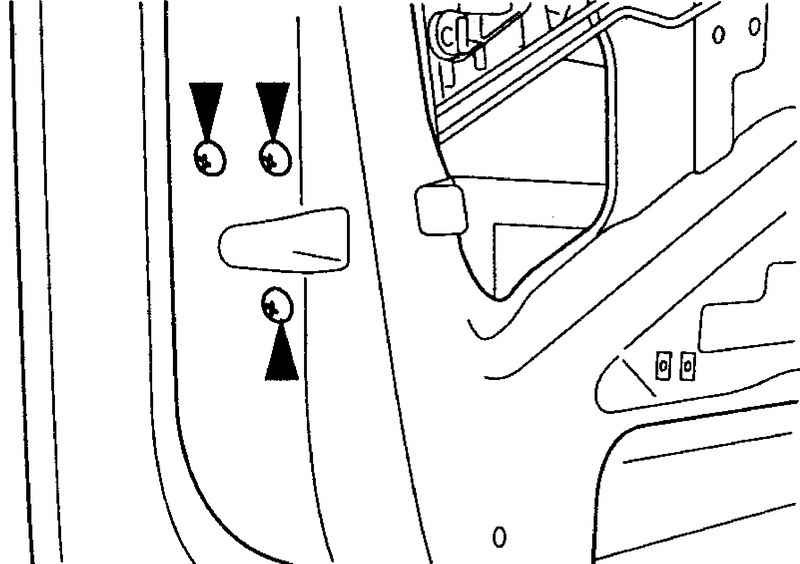
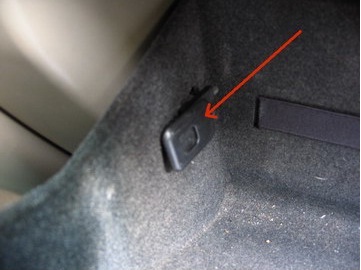
1. Remove the side plugs by prying them with a flat screwdriver, under them there are 4 x 10 mm screws that secure the dashboard.
Notes:
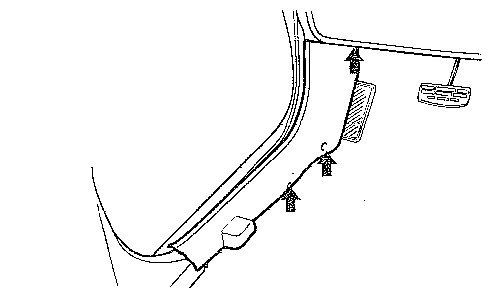
Be sure to remove the plastic thresholds. There are one screws that need to be removed.
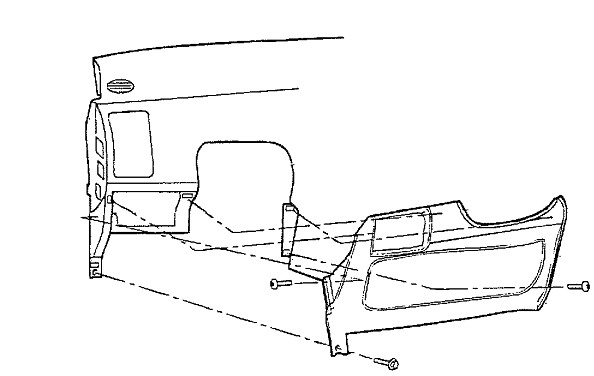
2. Remove the shelf under the steering wheel. It is fastened with two screws (on the right under the plug and on the left) and a bolt that covers the nut.
3. Remove the gearbox console.
Notes:
It is necessary to remove the entire black lining, which includes the gear knob cover.
4. Behind the panel, two screws screwed in "obliquely" will open. It is necessary to unscrew them, then find three self-tapping screws on each side from the outside, and one self-tapping screw from the plastic shield, which, as it were, continues the console (right next to the pedals). These shields are attached to the console with three latches, with the "father" on the shield, and the "mother" on the console.
4. Then remove the console by pulling it towards you.
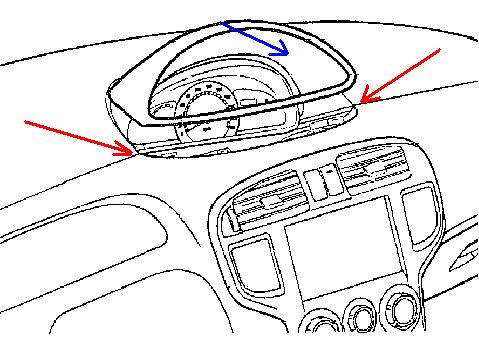
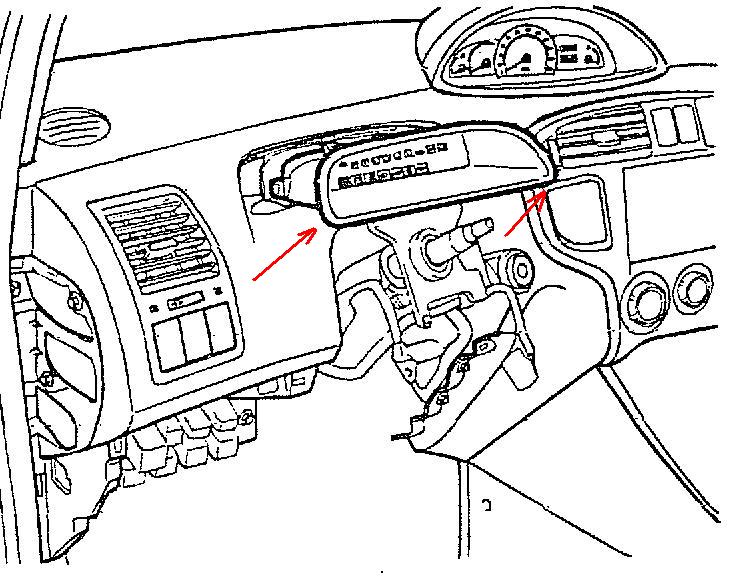
5. Next, you need to remove the visor above the instrument panel (where the speedometer is). First pry off the panel with the time and odometer adjustment buttons with a flat screwdriver. It will not come out right away, because there is a very strong iron clip on the back of this panel. Gently crawl the screwdriver to the back of this panel (from the side of the speedometer) and start lifting the screwdriver. The effort is big enough. Under this panel, a screw will open that holds the visor itself. However, not all so simple. The visor is removed "on itself" (blue arrow), and to make it more convenient to do this, a flat screwdriver should be slipped in the place where the gray plastic is covered with black (red arrows) and lead the screwdriver towards the windshield.
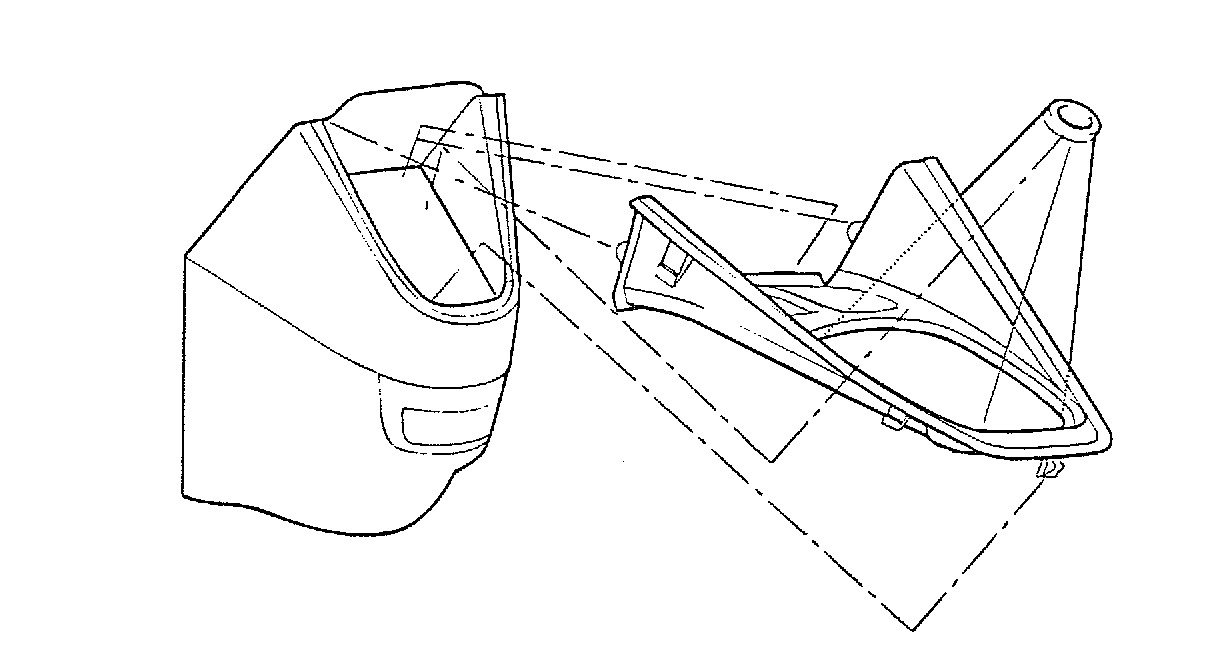
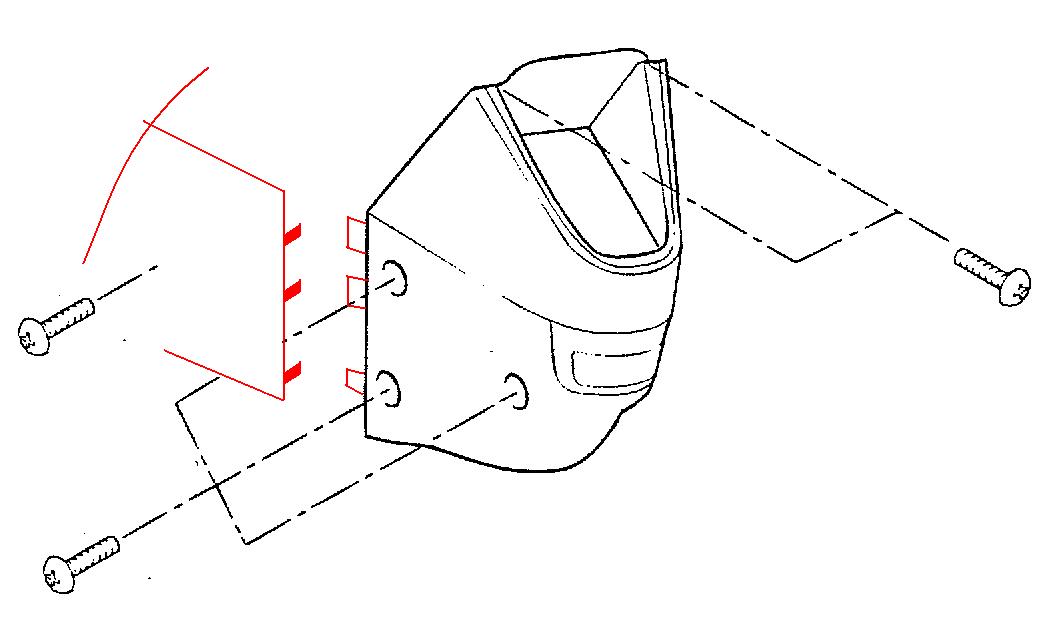
6. Remove the visor of the panel with bulbs.
Notes:
The visor of the panel with light bulbs is the most inconvenient design element. He, too, is taken out "on himself."
7. After removing the visor, gently pull the light box itself towards you. It will come out of the grooves and then it can be bent up to get to the bolt securing the instrument panel.
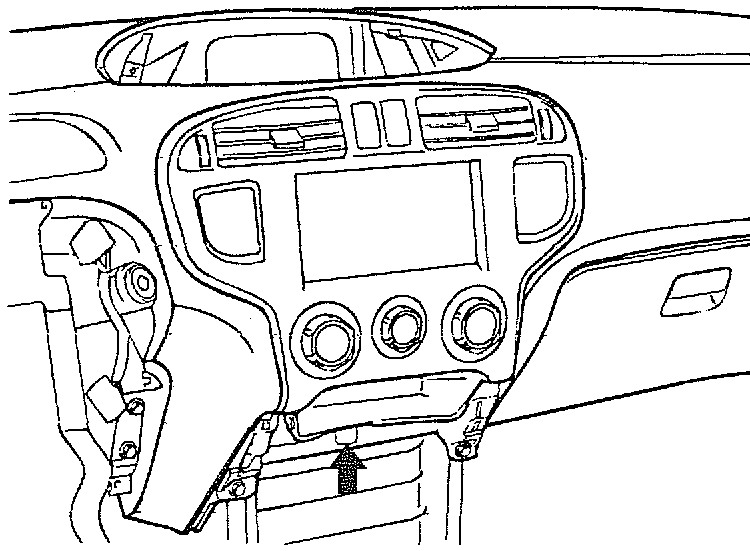
8. Remove the console of the air conditioner: unscrew the screw, and carefully pry it with a screwdriver, pulling it towards you. There are many latches, and they are placed around the entire perimeter.
9. On the passenger side, remove the glove compartment. It rests on two plastic studs that act as axles.
10. Disconnect the yellow cushion wire, and unscrew the two bolts securing the cushion to the iron pipe. Remove the dash.
11. Remove all other bolts. Disconnecting plugs is also not a problem.
12. Remove two trims from the steering wheel.
13. Install the parts in the reverse order of removal.
Note:
It is desirable to remove panel devices with a partner. It is also desirable to remove the front seats for the convenience of work.
The article is missing:
- Tool photo
- Quality photo repair
Source: http://forum.matrix-club.ru/lofiversion/index.php/t4081.html