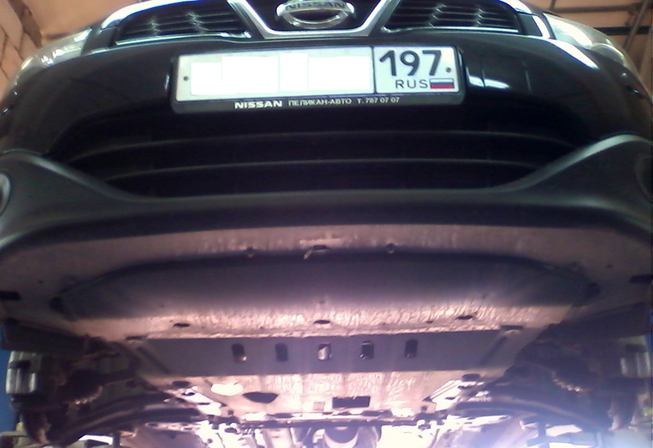
![1 generation [2007 - 2010]](/uploads/Nissan_Qashqai_2007-2010_.jpg)

Tools:
- Open-end wrench 14 mm
- Open-end wrench 17 mm
- Collar for end nozzle
- Nozzle for crank 19 mm
- Nozzle for crank 22 mm
- Special wrench for pipeline nuts
- Special wrench for wheel nuts
- Screwdriver flat medium
- pliers
- Hydraulic stand or secure support
- screw jack
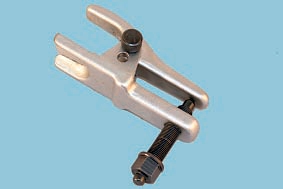
- Ball joint puller
- Hammer
Parts and consumables:
- Front suspension subframe
- Easily penetrating lubricant
Note:
The work of removing and installing the front suspension subframe is best done on a lift.
1. Place the vehicle on a pit or lift.
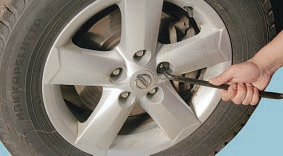
2. Loosen the front wheel bolts.
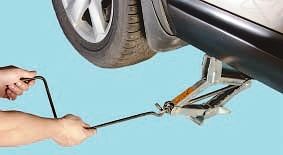
3. Jack up and support the front of the vehicle.
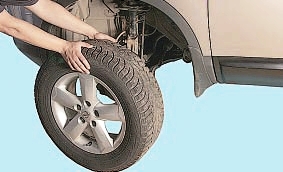
4. Remove the front wheels.
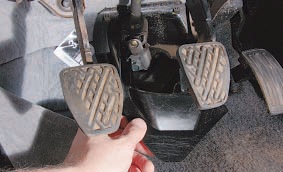
5. Set the steering wheel to the straight ahead position.
6. Remove the decorative casing of the cardan joint of the intermediate shaft.
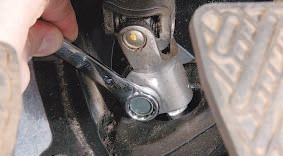
7. Turn out a bolt of terminal connection of the cardan hinge of an intermediate shaft of a steering column and a shaft gear wheel of the steering mechanism.
8. Use a screwdriver to open the terminal connection.
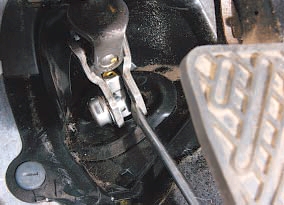
9. Remove the terminal connection of the cardan joint of the intermediate shaft of the steering column from the steering gear shaft.
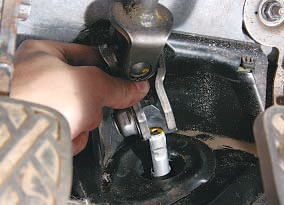
10. Remove a protective cap from a nut of fastening of a rack of the stabilizer.
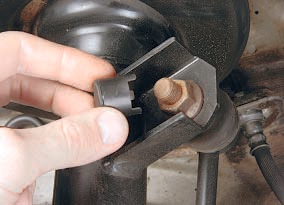
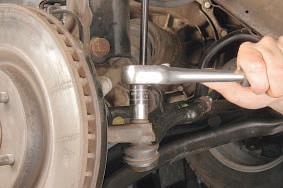
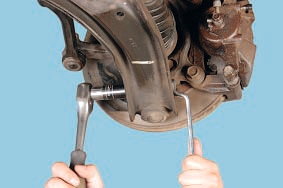
11. While holding the hinge pin from turning, unscrew the nut securing the hinge to the front suspension strut bracket and remove the nut.
12. Remove the pin of the upper hinge from the bracket on the shock absorber.
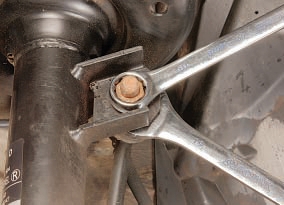
13. Clear a nut of fastening of the hinge of a steering tip from pollution.
14. Turn away a nut of fastening of a finger of the hinge of an external tip of steering draught.
Useful advice:
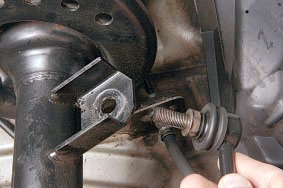
In order not to damage the pin of the ball joint of the steering tip during the pressing, screw the nut onto it.
15. Establish a puller of spherical hinges and press out a finger from the lever of a rotary fist.
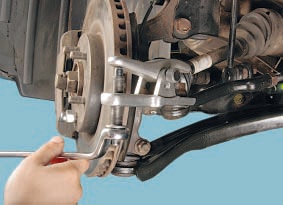
Useful advice:
In the absence of a puller, the ball joint pin can be knocked out with sharp hammer blows on the end face of the boss of the steering knuckle lever, striking along the lever.
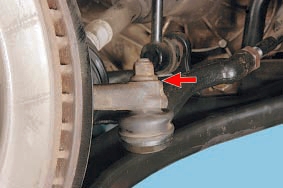
16. Move the tie rod end to the side.
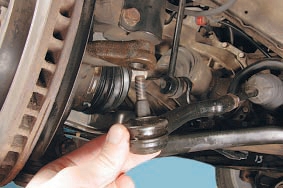
17. Clean the ball joint nut and ball joint pin from contamination and moisten it with easily penetrating grease.
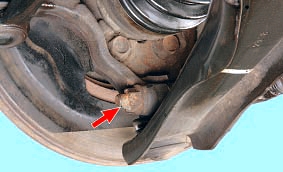
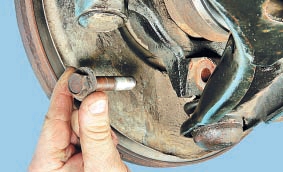
18. Turn away a nut of fastening of a spherical support.
19. Remove the ball joint bolt.
20. Turn out three bolts of fastening of an arm.
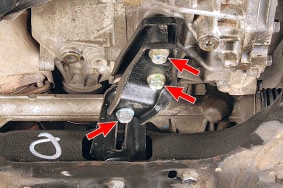
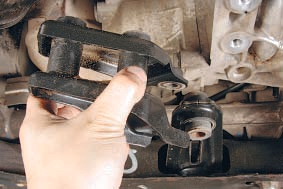
21. Remove the bracket.
22. Turn out a bolt of fastening of a back support of the engine.
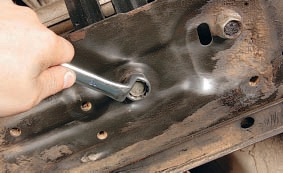
23. Remove the rear powertrain mount.
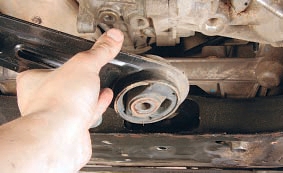
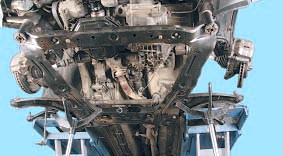
24. Place a secure support (such as a hydraulic strut or jack) under the front suspension subframe.
25. Turn out bolts of fastening of the back amplifier of a subframe of a forward suspension bracket.
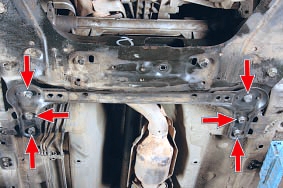
26. Remove the front suspension subframe reinforcement.
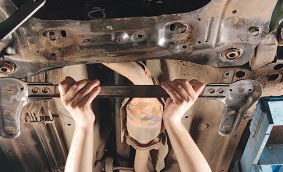
27. Turn out two forward bolts of fastening of a stretcher.
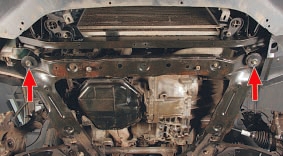
28. Lower the front suspension subframe assembly with the lower arms, steering gear and stabilizer bar down. If necessary, also remove the stabilizer bar, steering gear and lever.
29. Install the parts in the reverse order of removal. Torque tighten the bolts.
30. Check and, if necessary, adjust the wheel alignment in a workshop with special equipment.
The article is missing:
- High-quality repair photos
- Tool photo
Source: http://nissan-qashqai.dv13.ru/perednyaya-podveska/snyatie-i-ustanovka-podramnika-perednej-podveski/