![2 generation [2004 - 2008]](/uploads/Ford_Focus_2_2004_-_2008_.jpg)
![3 generation [2011 - 2017]](/uploads/Ford_Focus_3_2011-2015_.jpg)

Tools:
- Key with Torx tip (asterisk) Т25
- Key with Torx tip (asterisk) Т30
- Jack
- Screwdriver flat medium
- Phillips screwdriver, medium
Notes:
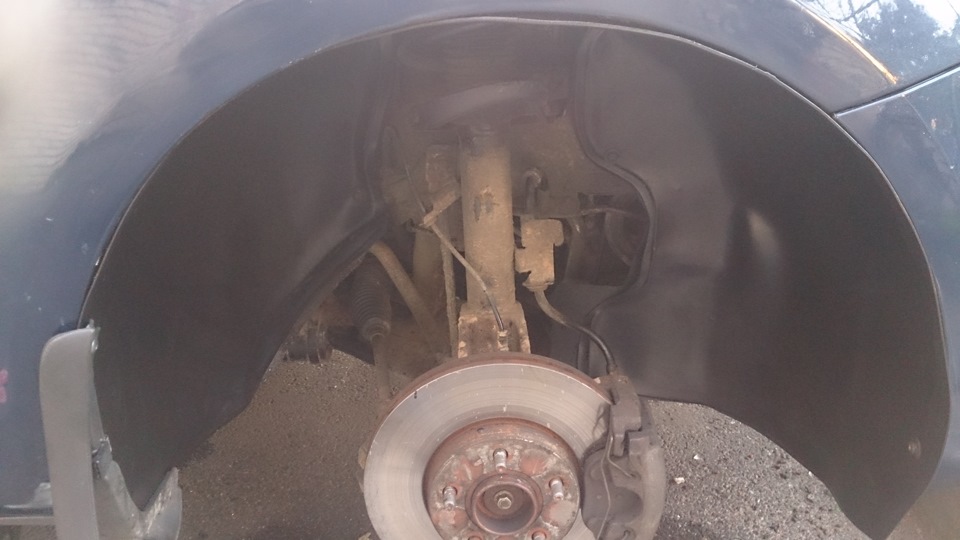
In the arches of the front and rear wheels, plastic fenders are installed that protect the body from the abrasive effects of sand and stones thrown by the wheels.
We remove the fender liner for replacement and anti-corrosion treatment of the body and access to the nodes located behind them.
The fenders of the right and left front wheels are removed in the same way.
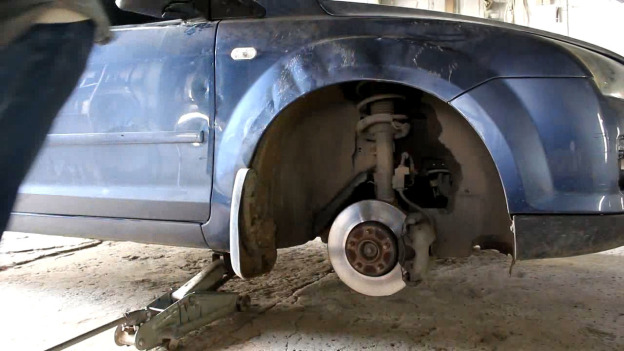
1. For the convenience of performing work, we jack up the car and remove the front wheel.
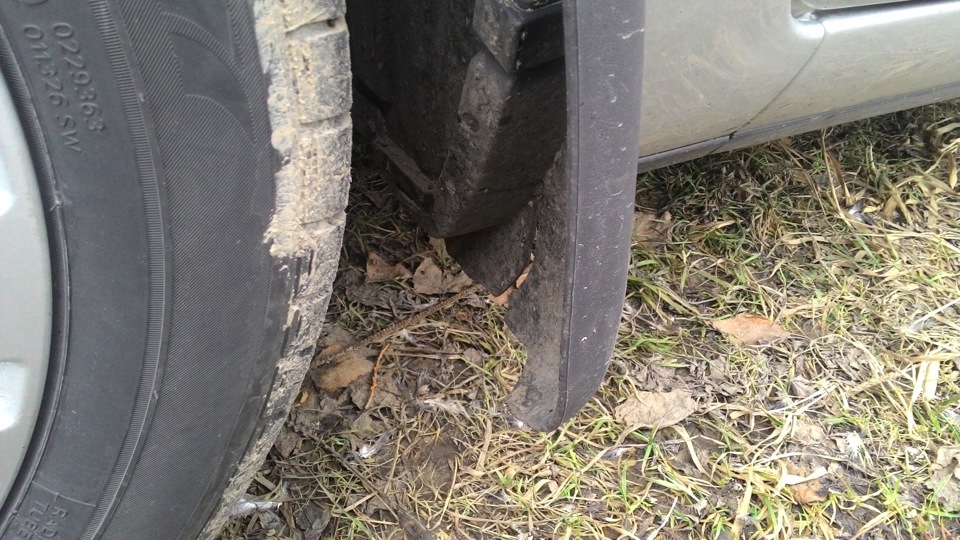
2. Remove the front wheel mudguard as described here.
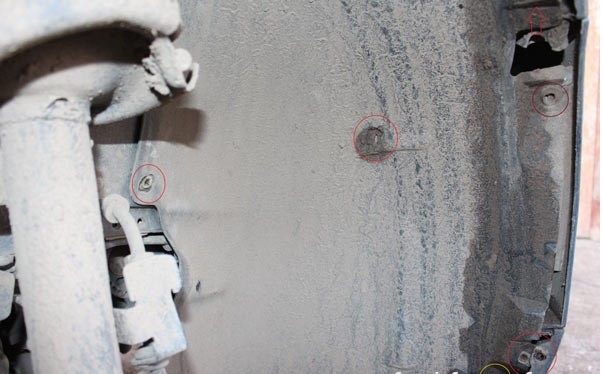
3. Using the “Torx T25” key, we unscrew six self-tapping screws (indicated in red) fastening the fender liner in the front wheel arch and one self-tapping screw behind the mudguard.
Note:
Be careful not to lose the metal clip at the very bottom of the bumper mount.
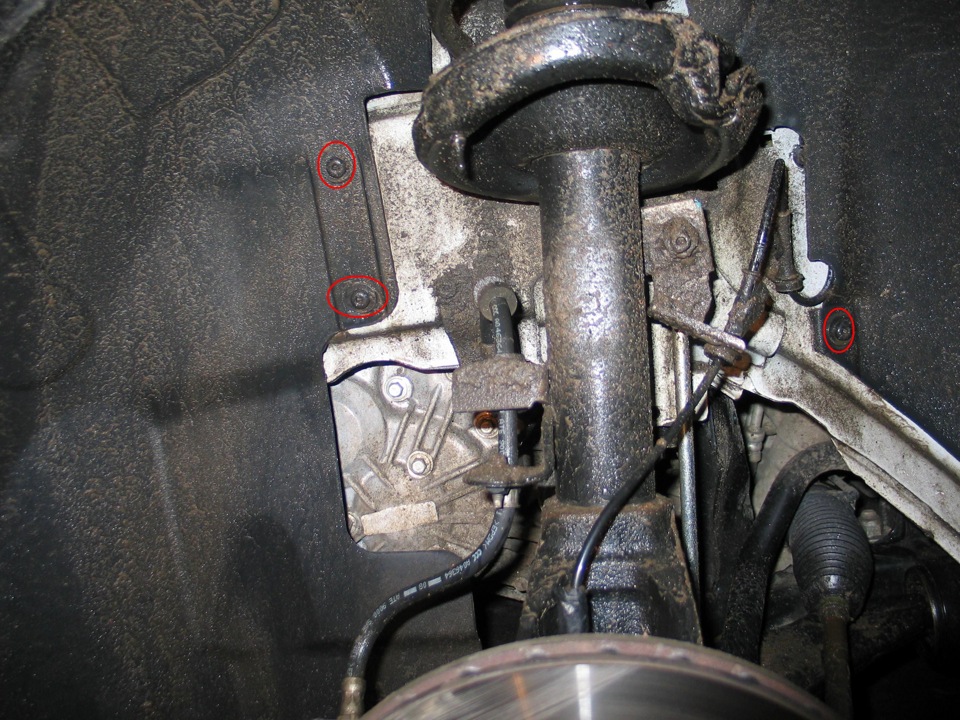
4. In the middle, the fender liner is screwed onto three self-tapping screws (they are circled). Although there is a hole for the fourth screw to the right of the shock absorber at the top. We also unscrew them.
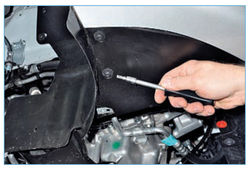
5. Unscrew the two screws securing the fender liner to the radiator shield.
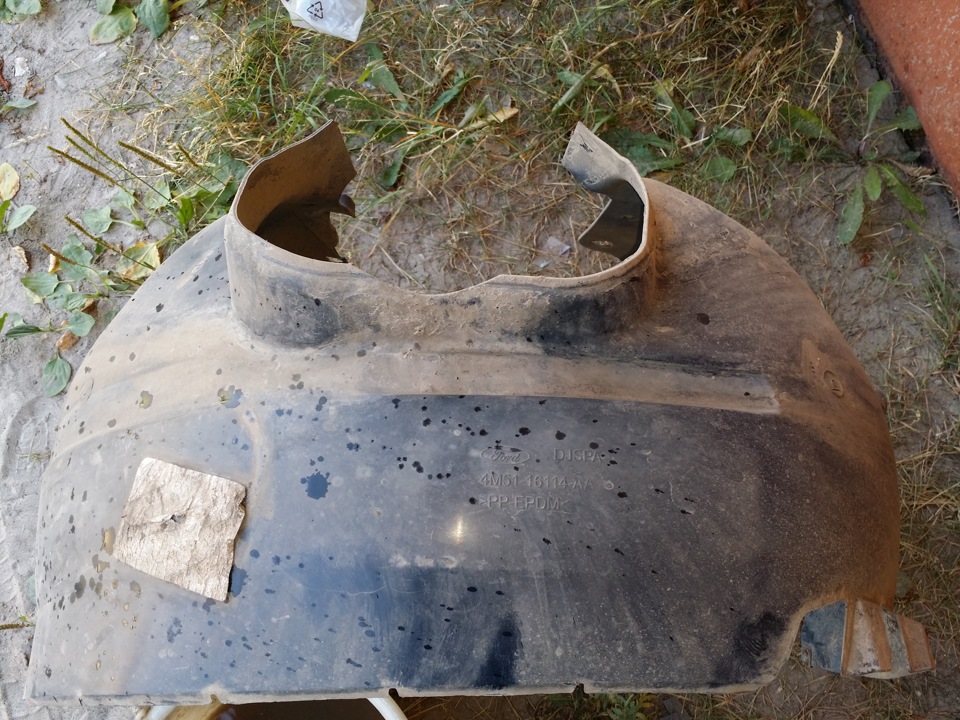
6. Remove the fender liner.
7. Install the fender liner in reverse order.
Note:
Do not overtighten the self-tapping screw while tightening - you will tear off the plastic clip, as a result of which you will either have to change the clip or change the self-tapping screw to a larger diameter.
Make sure that the fender liner is attached at all fastener points. It may fall off at high speed or when ice builds up and winds up with dirt.
The article is missing:
- Tool photo
- High-quality repair photos
- Repair Descriptions
Source: carpedia.club