![1 generation [2010 - 2015]](/uploads/Renault_Duster_2010-2015_.jpg)

We remove the fuel rail to check the injectors and replace them, as well as when dismantling the intake manifold.
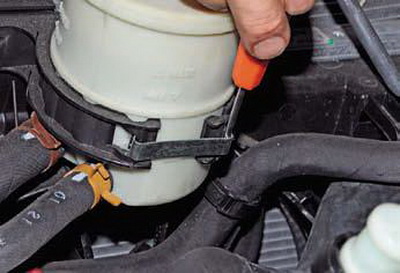
Relieve pressure in the supply system.
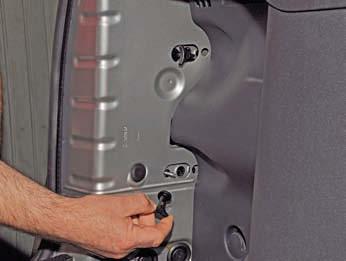
Disconnect the wire from the "negative" terminal of the battery.
Remove the fuel rail cover.
On 2.0 engine
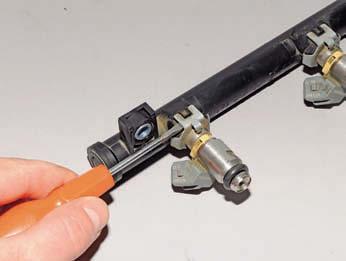
By pressing the latch of the tip of the fuel supply pipe to the rail ...
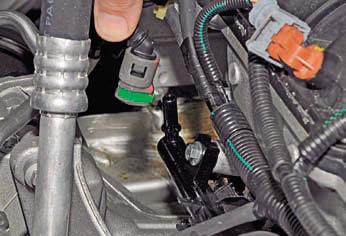
... remove the tip of the tube from the fitting of the fuel rail.
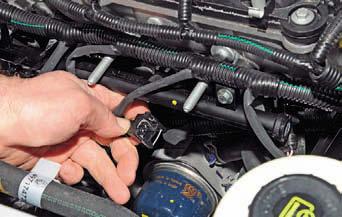
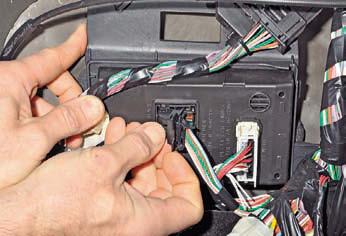
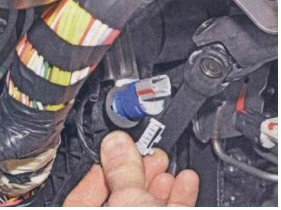
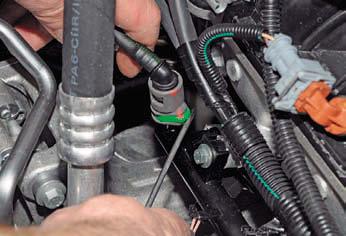
By pressing the spring clip of the wire block, disconnect the wire block from the nozzle connector.
Similarly, disconnect the wire blocks from the connectors of the remaining injectors.

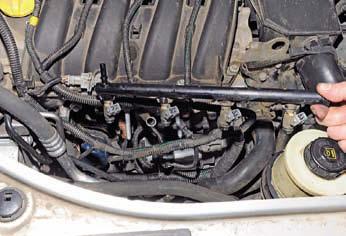
Using the “8” head, unscrew the two bolts securing the fuel rail to the intake manifold.
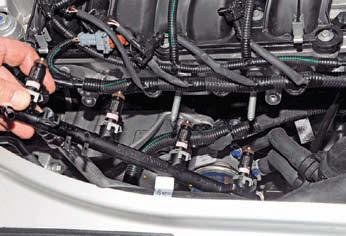
By pulling the ramp along the axes of the injectors, we overcome the resistance of their rubber sealing rings and remove all four injectors from the holes in the intake manifold.

Holes for injectors in the intake manifold.
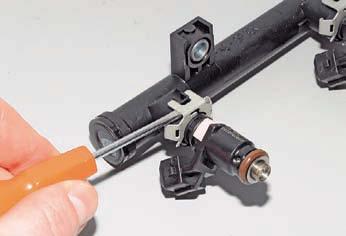
Prying with a screwdriver...
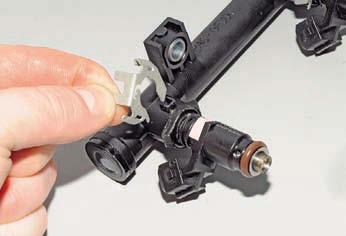
... remove the nozzle locking bracket.
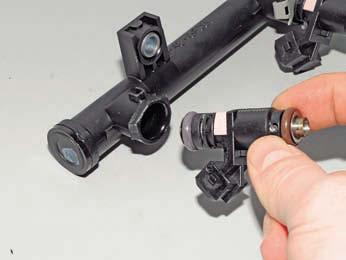
Overcoming the resistance of the sealing ring, we remove the nozzle from the fuel rail socket. Prying with a thin flat screwdriver ...
... remove the nozzle o-rings.
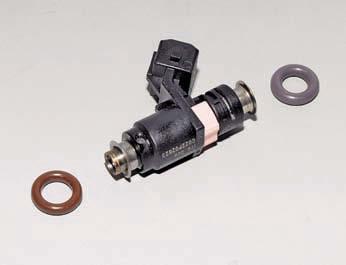
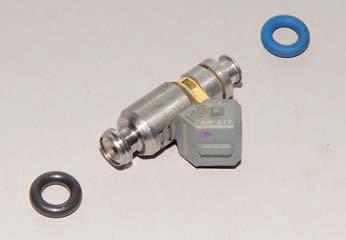
The nozzle is sealed with two rubber rings: gray in the fuel rail, brown in the intake manifold.
Remove the rest of the injectors in the same way.
On the 1.6 engine The
operations for dismantling the fuel rail with injectors on the 1.6 engine are similar to the corresponding operations on the 2.0 engine.
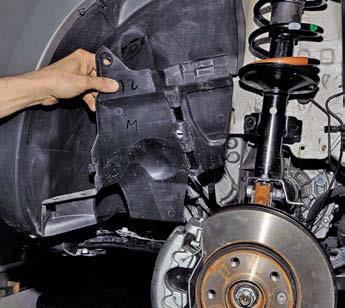
Remove the fuel rail with injectors.
Prying with a screwdriver...
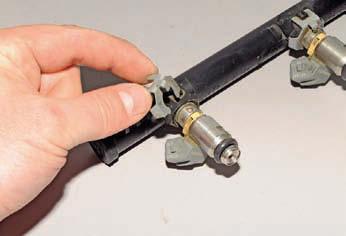
... remove the nozzle locking bracket.
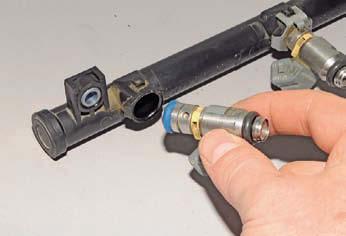
Overcoming the resistance of the sealing ring, we remove the nozzle from the fuel rail socket.
Prying with a thin flat screwdriver ...
... remove the nozzle o-rings.
The nozzle is sealed with two rubber rings: blue in the fuel rail, black in the intake manifold.
Remove the rest of the injectors in the same way.
We assemble and install the fuel rail with injectors in the reverse order.
We replace the sealing rings of the injectors with new ones.
Before mounting the injectors, apply a thin layer of engine oil to their o-rings.
After installing the locking bracket, we check for each nozzle the reliability of its fixation in the ramp socket.
Source: http://www.renault-duster.dv13.ru/sistema-pitaniya/snyatie-toplivnoj-rampy-i-forsunok/