![T31 [2007 - 2011]](/uploads/-_2009.jpg)

Note:
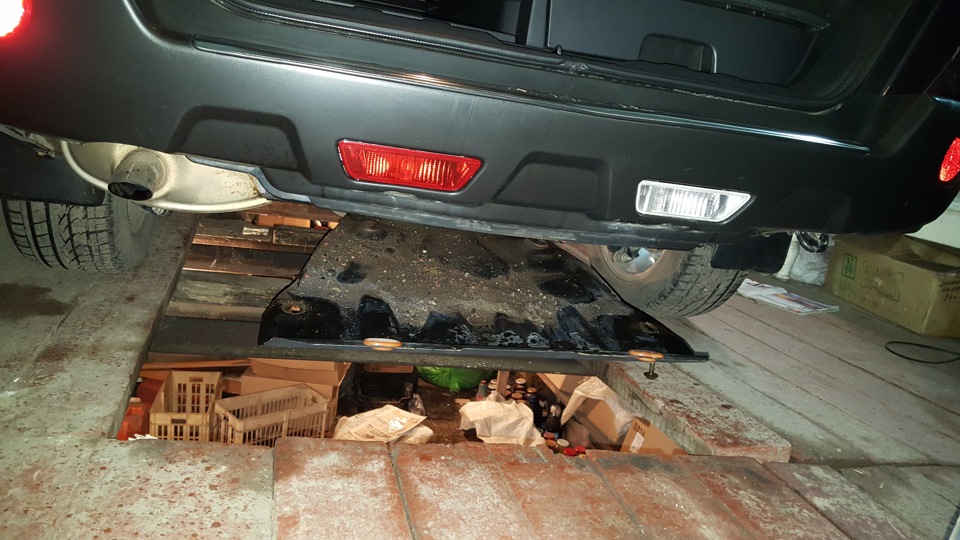
The rear bumper on the Nissan X-Trail consists of a decorative plastic trim and an amplifier.
An assistant is needed to complete the work .
Removing the rear bumper on the Nissan X-Trail
1. Place the car on a level surface and turn off the ignition.
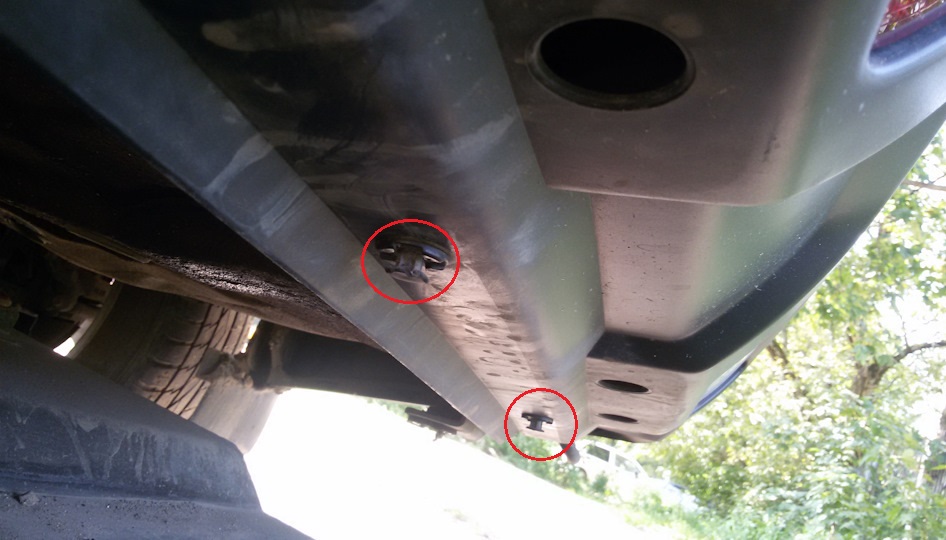
2. Remove the bolts and lower the guard down.
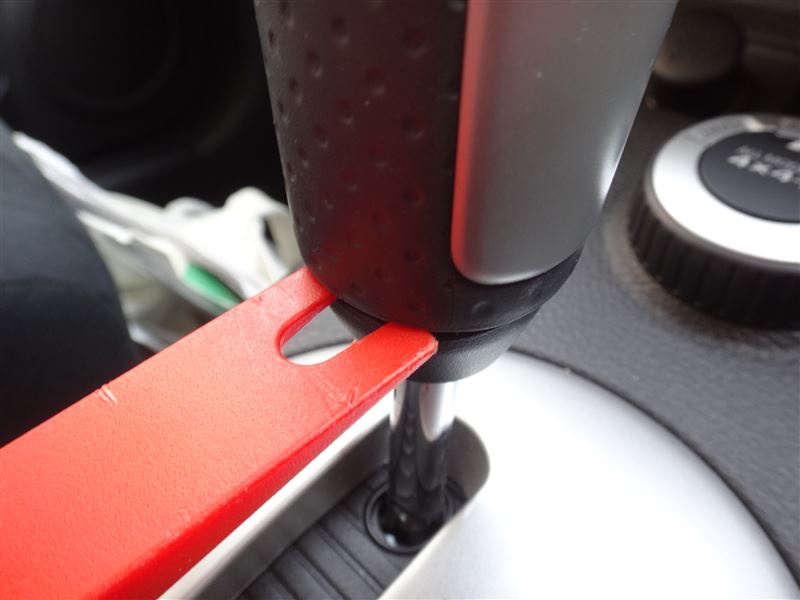
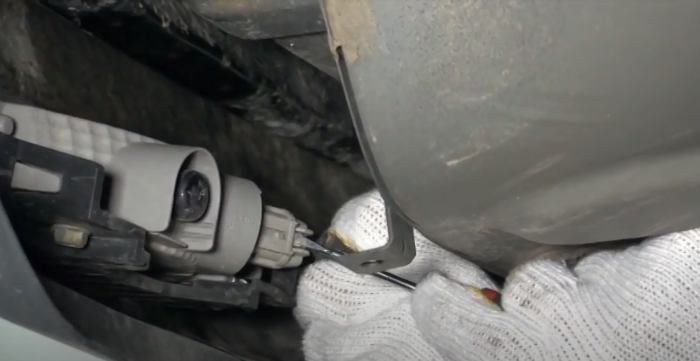
3. Use a flat screwdriver to pry the clips and pull out the 2 holders.
4. Disconnect the pads from the taillight bulb holders from inside the rear bumper of the Nissan X-Trail.
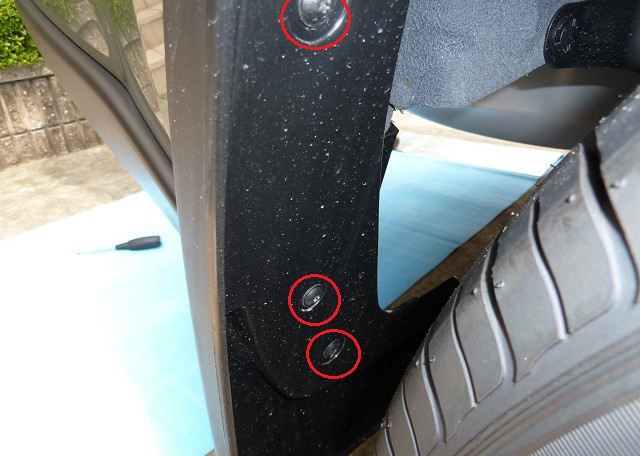
5. Using a Torx T20 wrench, remove the 3 mudguard mounting bolts.
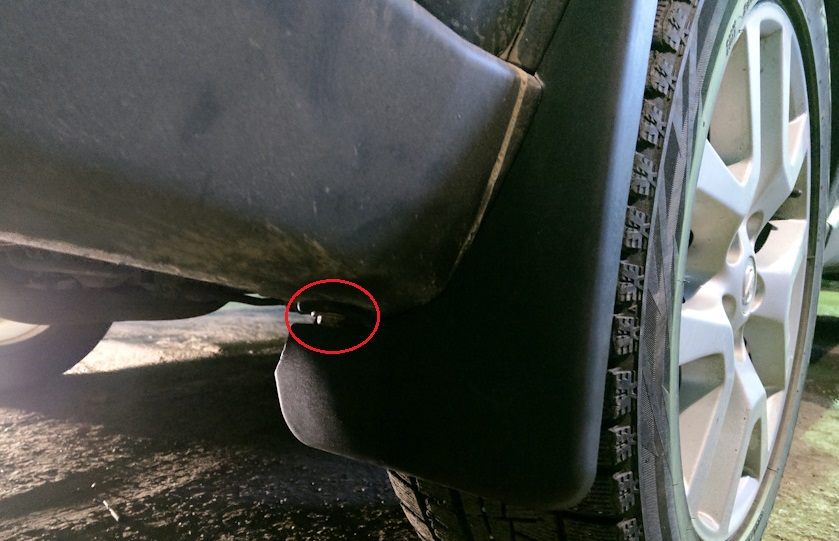
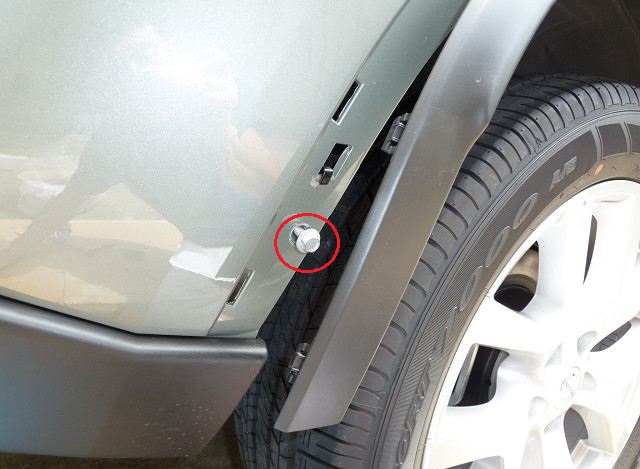
6. Using a 10 mm head, unscrew the bolt securing the mudguard to the body.
7. Remove the splash shield.
8. Use a flat screwdriver to remove the wheel arch liner holder.
9. Release the 3 holders and disconnect the trim from the rear bumper Nissan X-Trail.

10. Using a 10 mm head, remove the bolt in the wheel well.
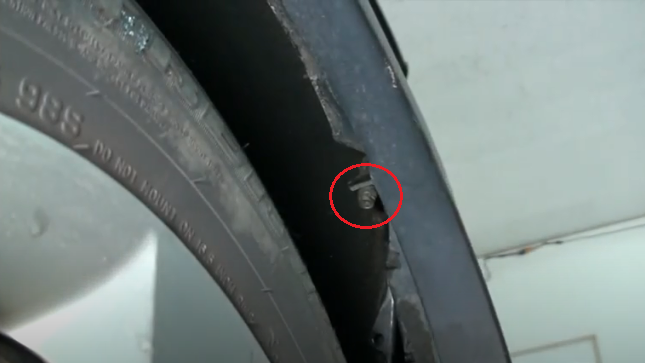
11. Using a 10 mm head, unscrew the bolt under the wheel pad.
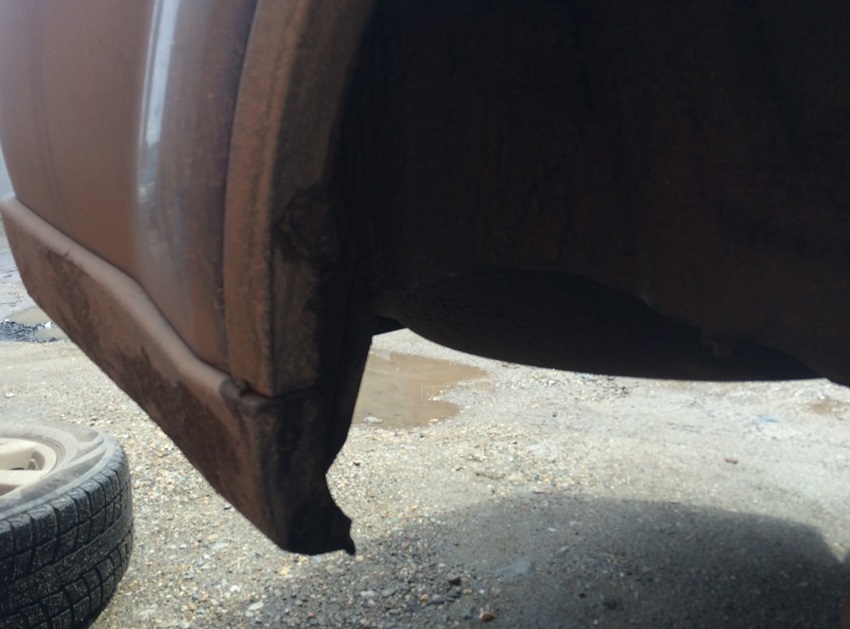
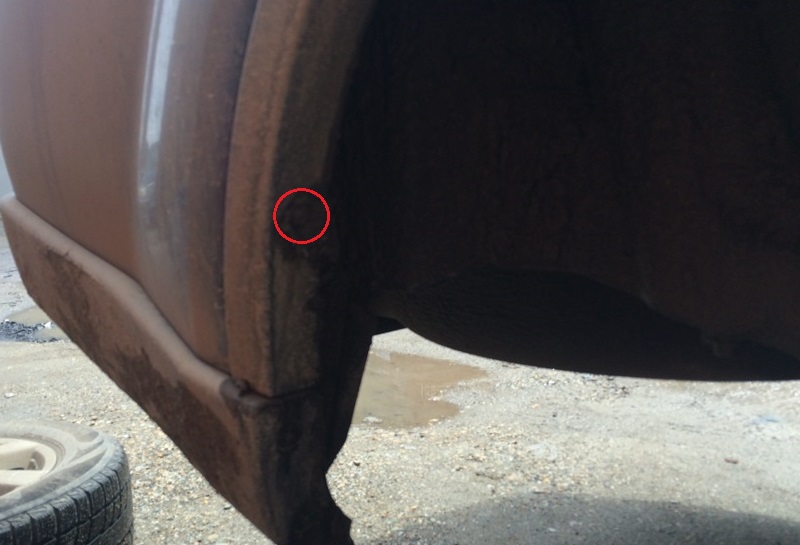
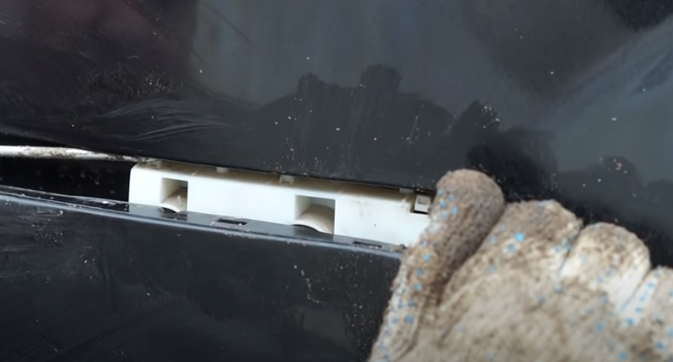
12. Disconnect the edge of the rear bumper trim Nissan X-Trail from the stop.

13. Lift, fold back the edge and remove the bumper trim from the two side brackets.
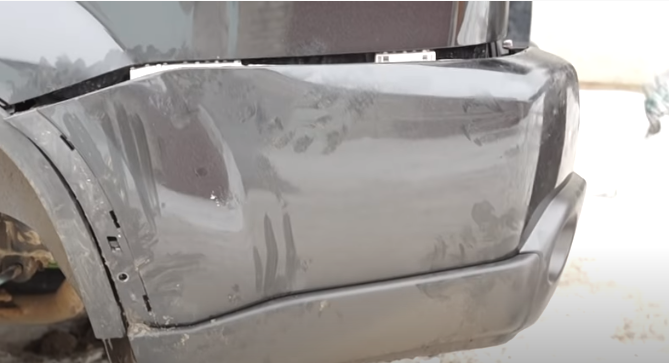
14. In this way, disconnect from the body the opposite side of the rear bumper trim Nissan X-Trail.

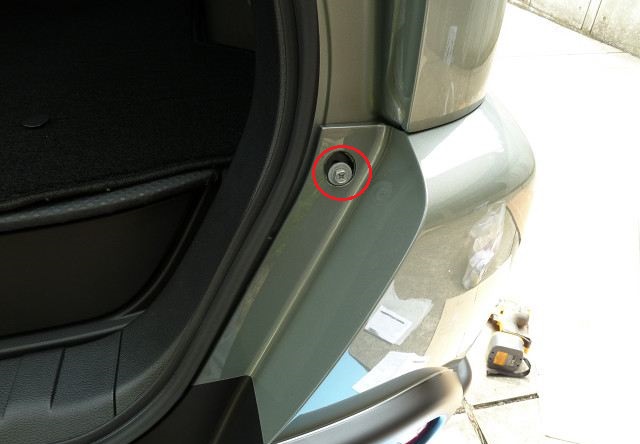
15. Pry with a flat screwdriver and remove the left and right plugs.
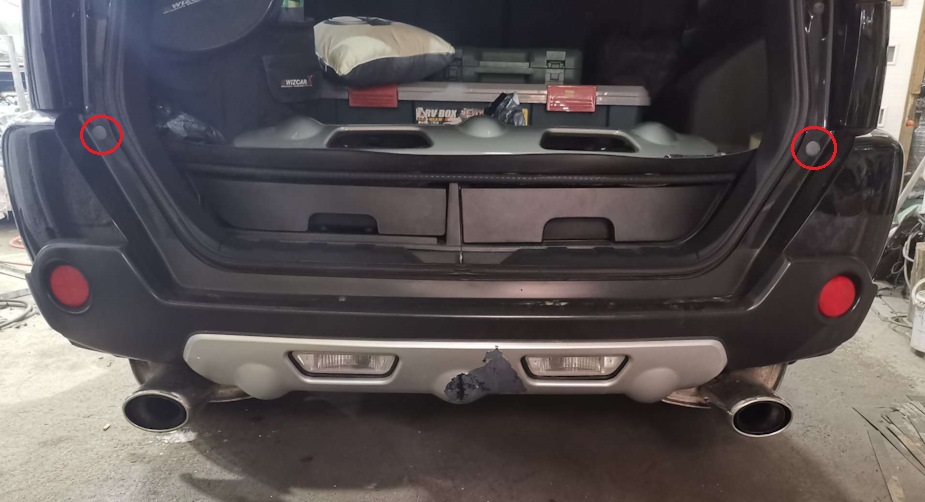
16. Remove the 2 bolts with a 10 mm socket head.
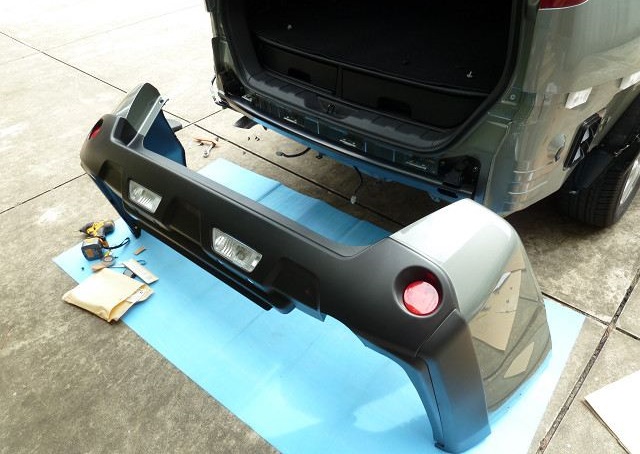
17. Together with the assistant, move the rear bumper of the Nissan X-Trail from the body and remove it from the 4 brackets.
Note:
If you have a parking radar, release the clips and disconnect the wire pads from the 4 sensors.
18. Remove the rear bumper.

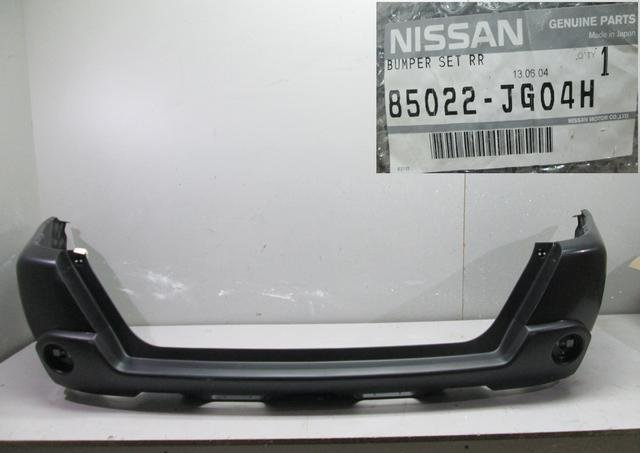
19. If necessary, replace the rear bumper with a new one.
20. Install the rear bumper on the Nissan X-Trail and all parts in the reverse order of removal.

Source: carpedia.club