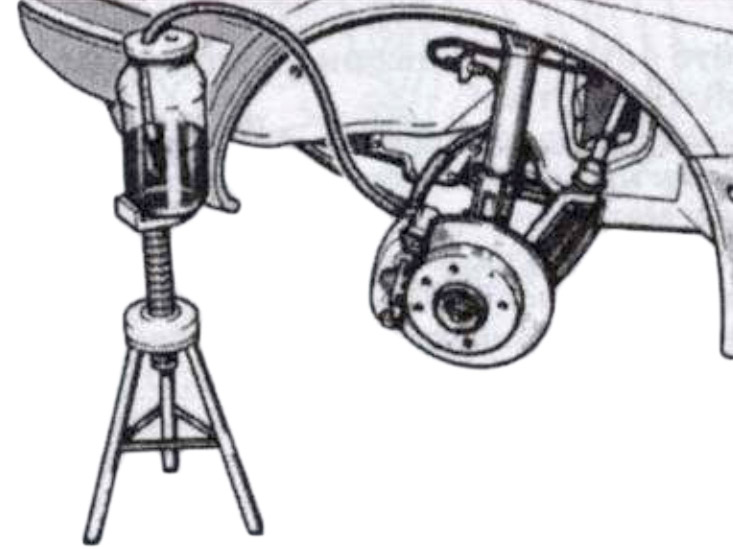
![B6 [2000 - 2005]](/uploads/Audi_A4_2000-2005_B6_.jpg)

Tools:
- Plastic hose of suitable diameter
- Container for collecting brake fluid
- Straight ring wrench
Parts and consumables:
- Brake fluid
Notes:
After the repair of the brake system, during which it was opened, air may enter the system. In this case, the air must be removed from the system. A sign of the presence of air in the pipelines of the system is the compliance of the brake pedal when pressed. In this case, it is necessary to eliminate the leak and remove air from the system.
At service stations, the brake system is usually filled with liquid, and the air is removed from it using a special device.
Warning:
When using the specified device, the filling pressure of the system should not exceed 1 atm. This operation can also be carried out without the indicated device. In this case, the air from the brake system is removed by a series of pressing the brake pedal, which requires the help of an assistant.
If air has entered any individual brake cylinder, the entire brake system and thus each wheel cylinder must be bled. If only one caliper is replaced or repaired, it is usually sufficient to bleed the corresponding brake cylinder.
Safety note
If one of the chambers of the brake fluid reservoir is completely emptied (for example, if there is a leak in the brake system or if you forgot to add fluid to the reservoir when bleeding air), air is drawn into the system and enters the ABS pump. In this case, the air from the brake system must be removed at the service station using a special device.
Order of execution
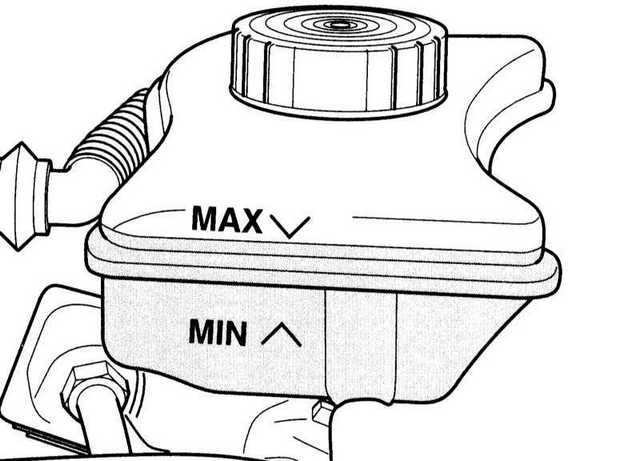
1. Fill the expansion tank (1) with fresh brake fluid and during pumping, constantly monitor (!) Timely addition of fluid before its level drops. Otherwise, the air will be sucked in again.
Note:
The sequence of actions to remove air: rear right brake cylinder; rear left brake cylinder; front right brake cylinder; front left brake cylinder.
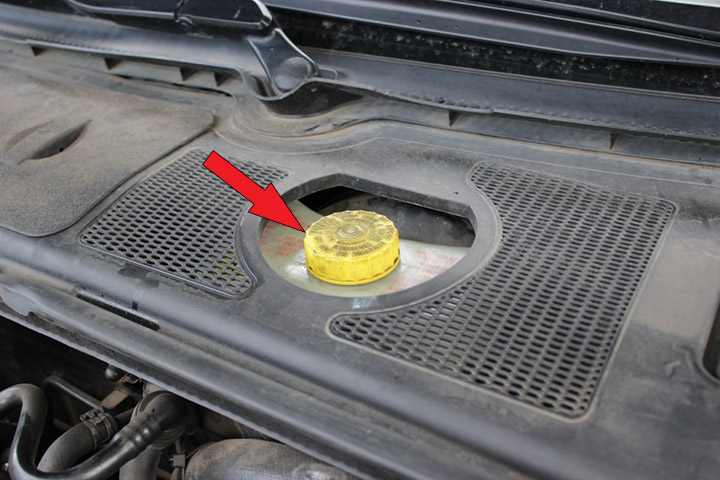
2. Remove the dust cap from the bleed valve, clean the valve.
3. Place a plastic hose over the valve and dip the other end of the hose into a container to collect fluid. The container must be partially filled with brake fluid.
4. Use the ring wrench to loosen the valve no more than one turn.
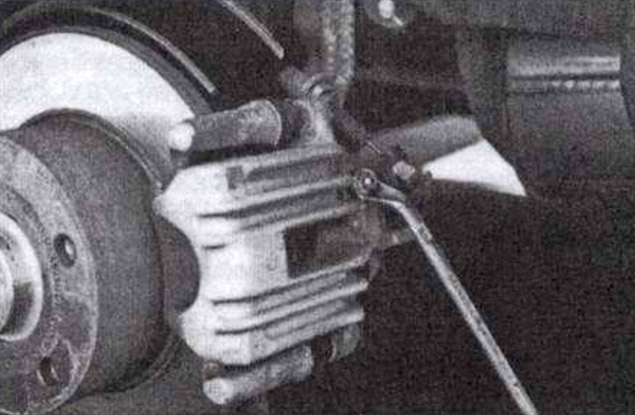
5. At this time, the assistant should slowly press the brake pedal to the floor so that the brake fluid and the air contained in it are pumped out. At the same time, watch the hose and tank - you should see air bubbles. Have an assistant hold the pedal to the floor. Repeat this process until no more bubbles appear.
6. Close the air valve. Only then can you release the pedal.
7. Keep an eye on the fluid level in the reservoir. If necessary, add liquid, but only so much that the original level is not exceeded.
8. Wait approximately three seconds for the master cylinder to refill with brake fluid before performing the next bleeding.
9. After the last pumping, have an assistant hold the pedal to the floor until the air valve is completely closed.
10. Repeat all described procedures on other air valves.
11. If it was not possible to completely remove the air using the described method, close all air valves, start the engine and apply the brake several times. Then repeat the bleed process.
12. In conclusion, once again check the pipelines for tightening, the level of brake fluid in the reservoir and the operation of the brakes during a test drive. Brake once so that the anti-lock control works.
The article is missing:
- Tool photo
- Photo of parts and consumables
- High-quality repair photos
Source: http://carpedia.club