![1 generation [2011 - 2017]](/uploads/Lada_Granta_2011_-_2015.jpg)

Tools:
- Stationery knife
- electric drill
- Drill bit 60 mm
- Drill bit 5 mm
- Phillips screwdriver, medium
Parts and consumables:
- Fog lamp kit (Lada Kalina)
- Mounting kit for PTF installation
- Insulating tape
- Set of fasteners for wiring
- Self-tapping screws for fastening the PTF to the bumper (6 pcs.)
- sealant
Notes:
This article briefly describes the possibility of retrofitting a Lada Granta car with fog lights from a Lada Kalina car.
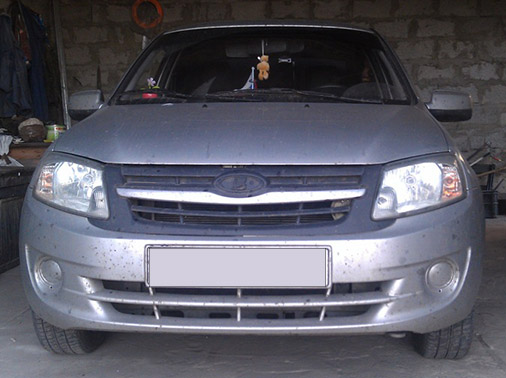
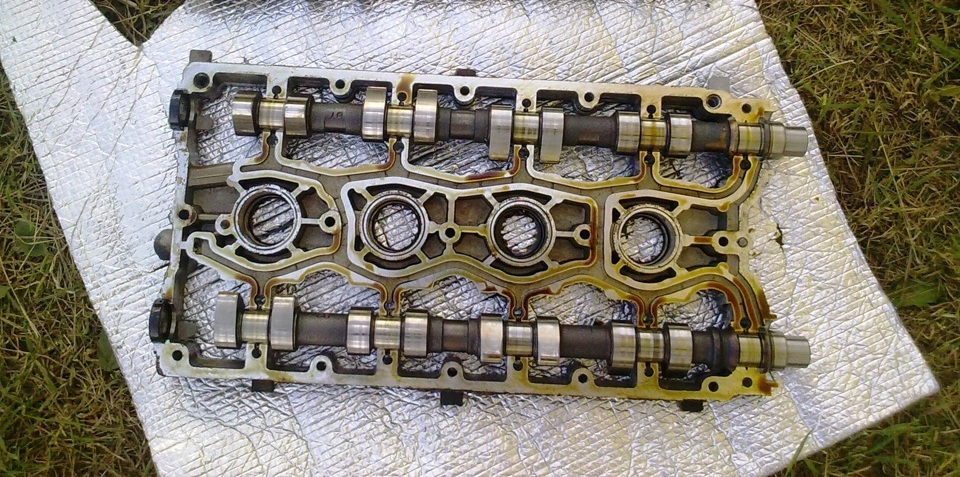
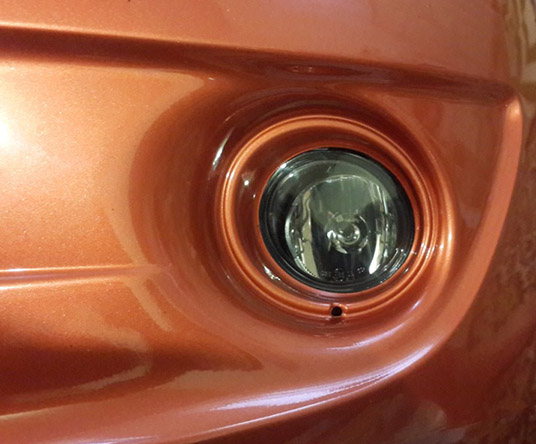
Car before fog lights
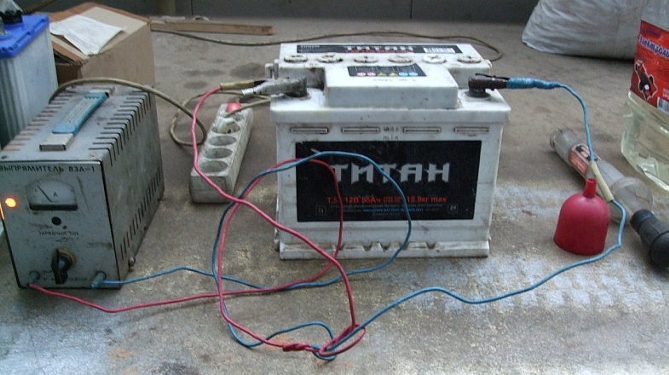
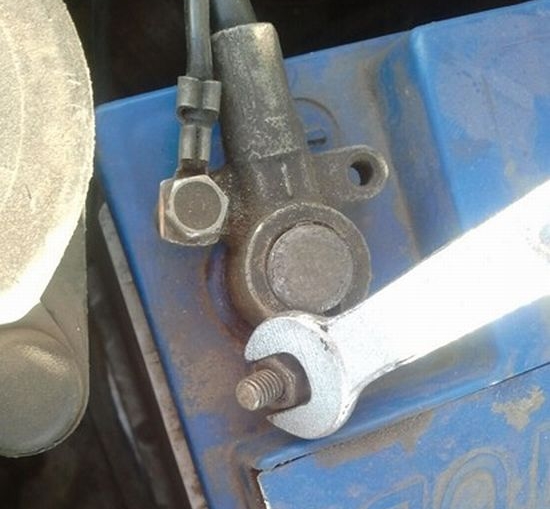
1. Disconnect the "minus" terminal from the battery.
2. Remove the front fender liner (if native fender liner is installed, only the left side can be removed). The process of removing the fender liner is described in detail in this article.
3. Remove the front bumper as described in this article.

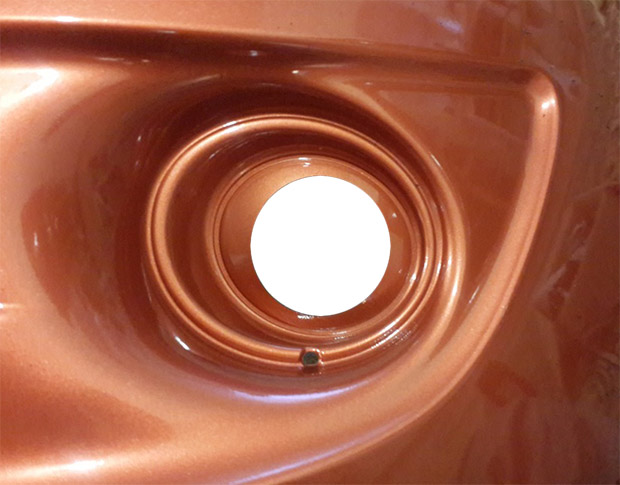
4. In the bumper, in places prepared for the installation of a fog lamp, it is necessary to carefully cut holes for the fog lights. Drill a hole with a drill, and then cut a hole of 60 mm with a crown. Next, everything else needs to be cut with a clerical knife.
Warning:
With a knife, you need to cut exactly along the inner edge of the oval (smaller diameter). The hole will turn out to be cut in a draft version, ready for further processing.
This whole procedure can be done with a clerical knife, but this may come out less accurately. In the end, the edges can be processed with a drill with a countersink, or sanded with sandpaper.
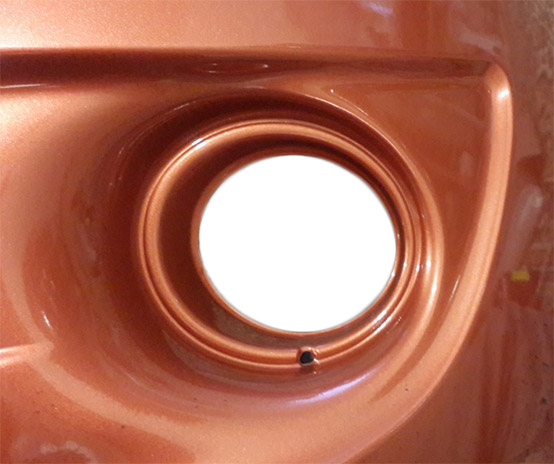
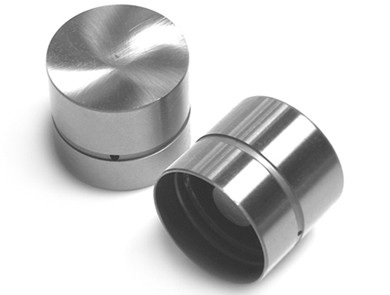
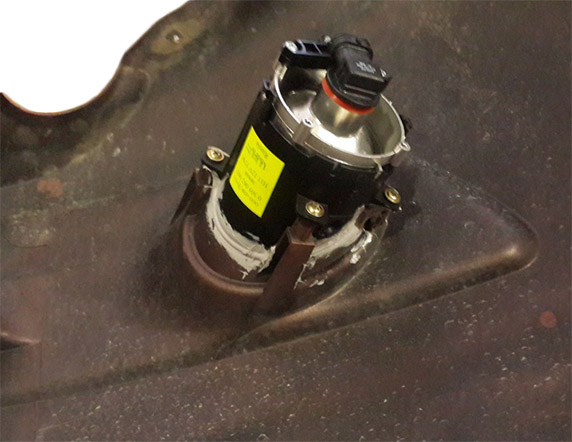
Finished and machined hole
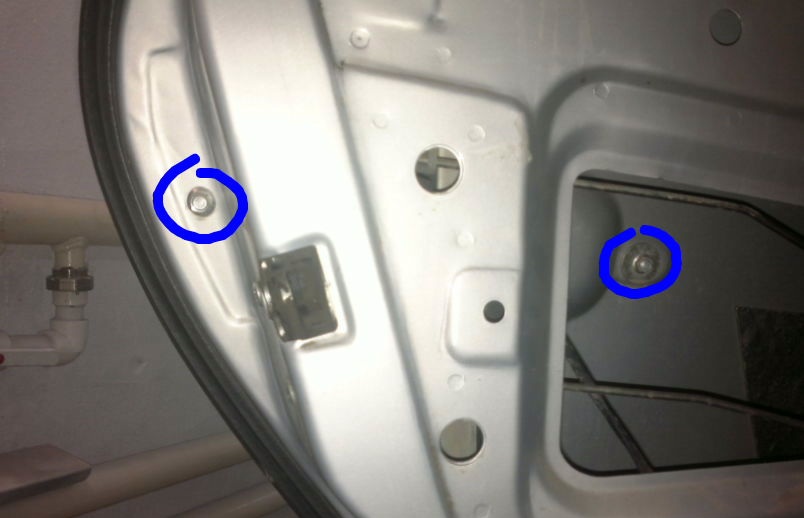
6. Install the headlight in the hole and secure it with self-tapping screws.
7. For better sealing of joints, it is recommended to lubricate them with sealant.
8. Lay the wiring from the headlights to the power button. The power button can be taken from the parking lights, or from the ignition. The relay is powered by the battery. After the relay, fuse sockets cut into the power wires on the PTF.

Possible scheme for connecting PTF through a separate button.
9. Assemble all parts in reverse order.
8. Connect the battery, check the headlights and adjust them.
The article is missing:
- Tool photo
- Photo of parts and consumables
- High-quality repair photos
- Repair Descriptions
Source: carpedia.club