Note:
The car has a three-phase alternator with built-in rectifier unit and electronic voltage regulator.
Before you remove the alternator on a Honda Civic, you will first need to remove the drive belt.
Removing the drive belt Honda Civic
1. Raise the hood and secure it with the stop.
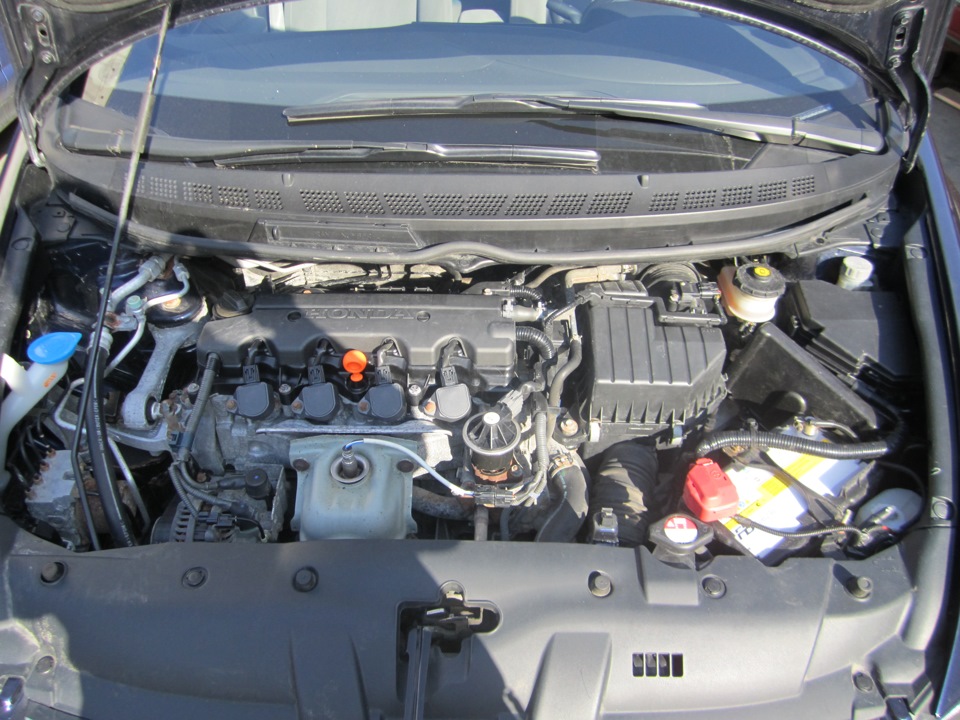
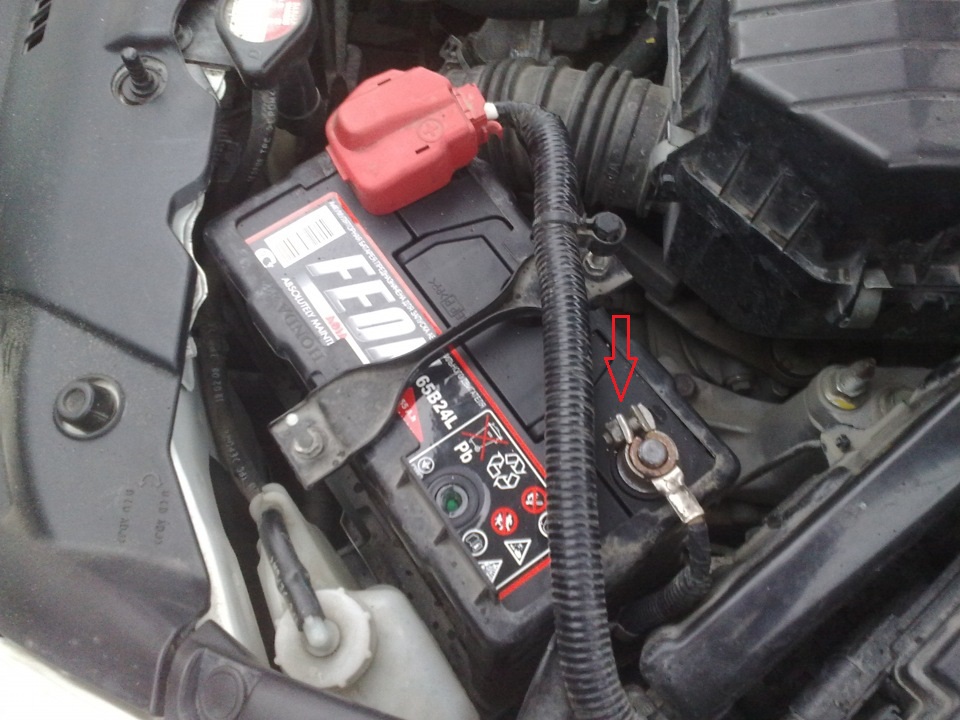
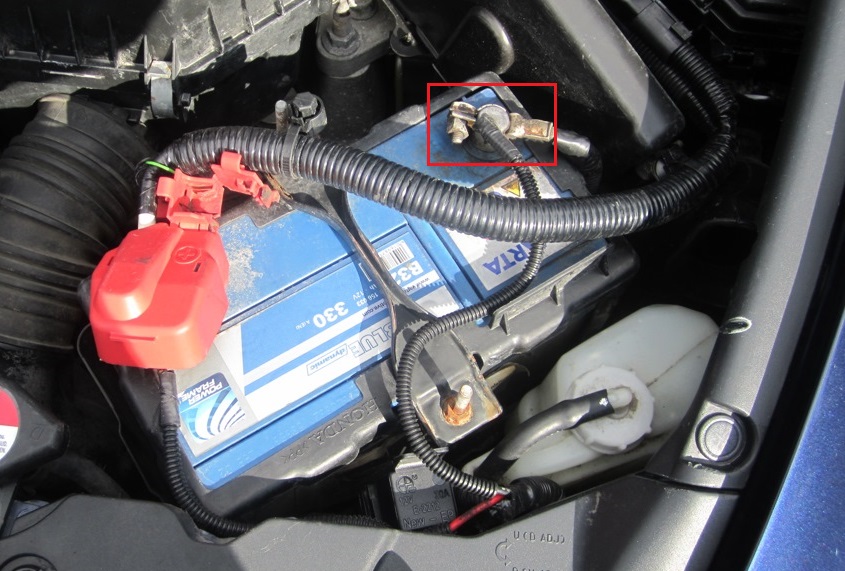
2. Using a 10 mm socket, disconnect the wire from the negative terminal of the battery.
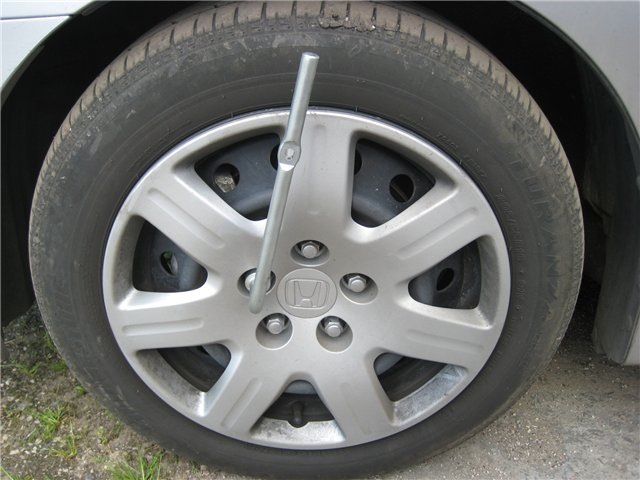
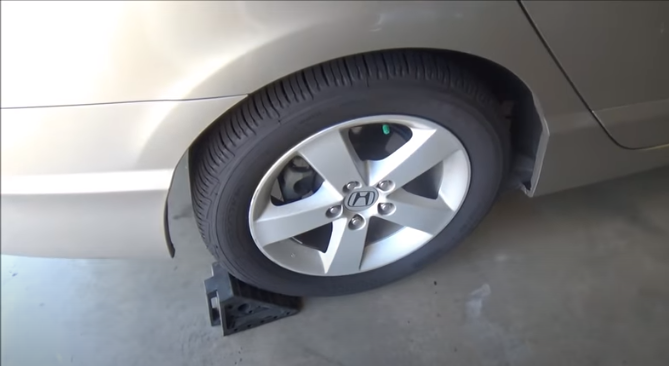
3. Use a wheelbrace to loosen the right front wheel nuts.
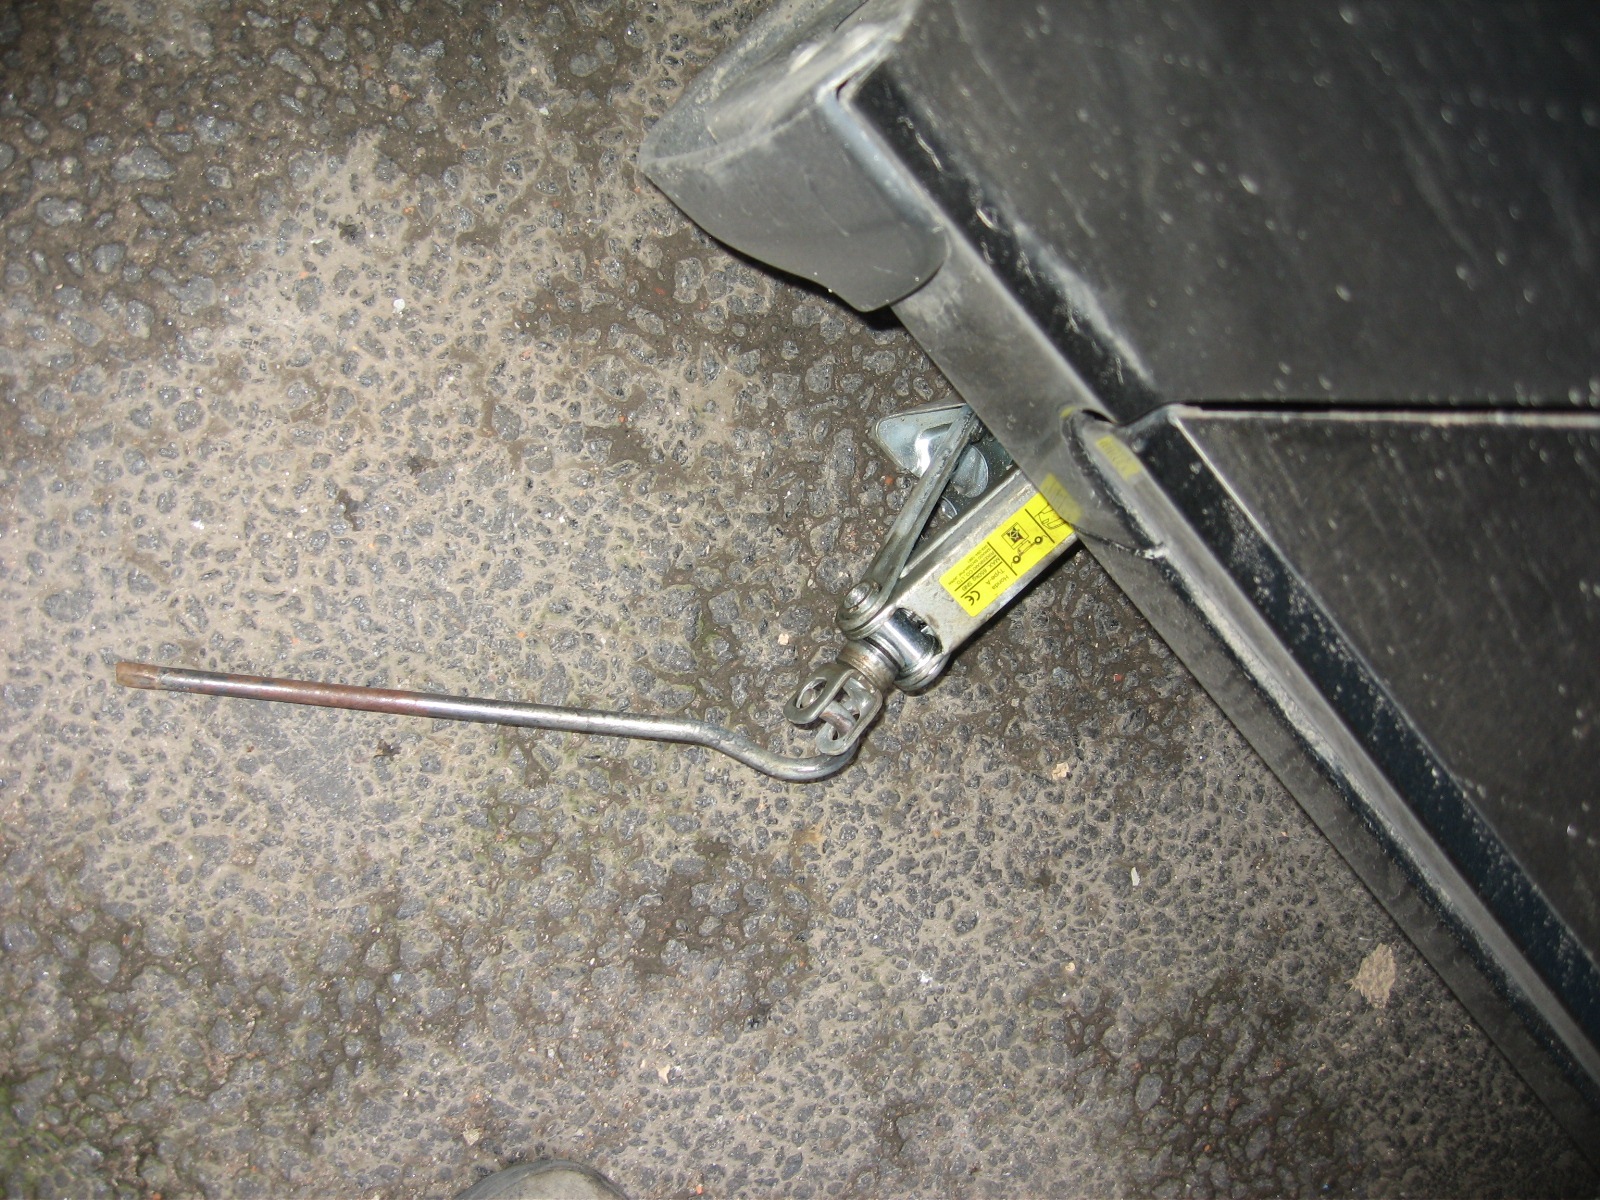
4. Raise the front of the vehicle with a jack and place it on secure supports.
5. Turn out nuts, and remove a wheel. Pry with a screwdriver and pull out the 2 clips of the plastic protection.
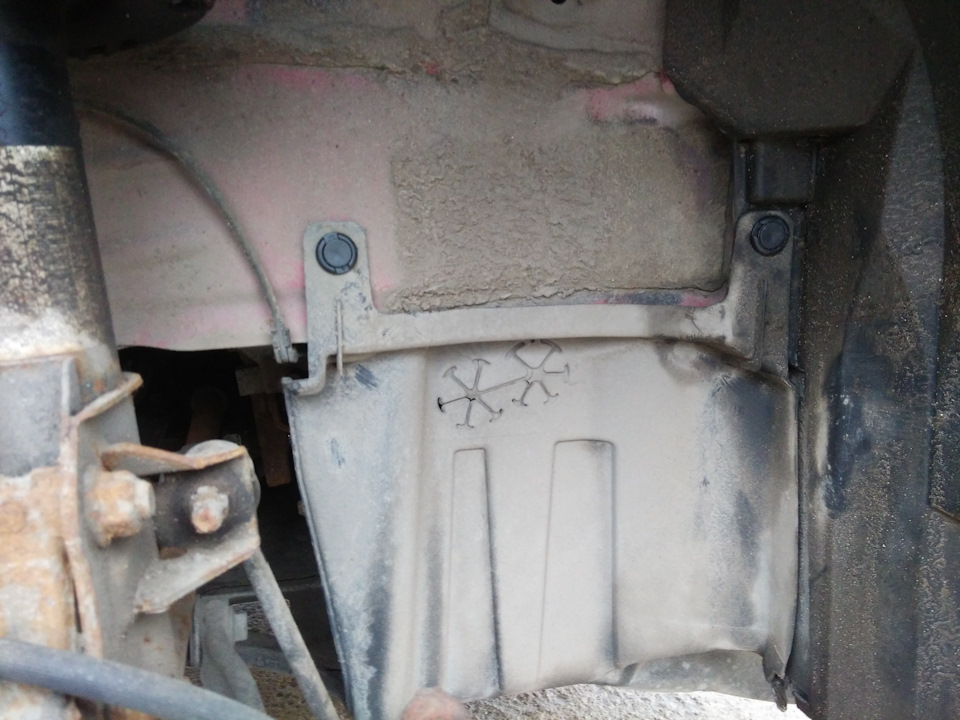
6. Bend the guard down.
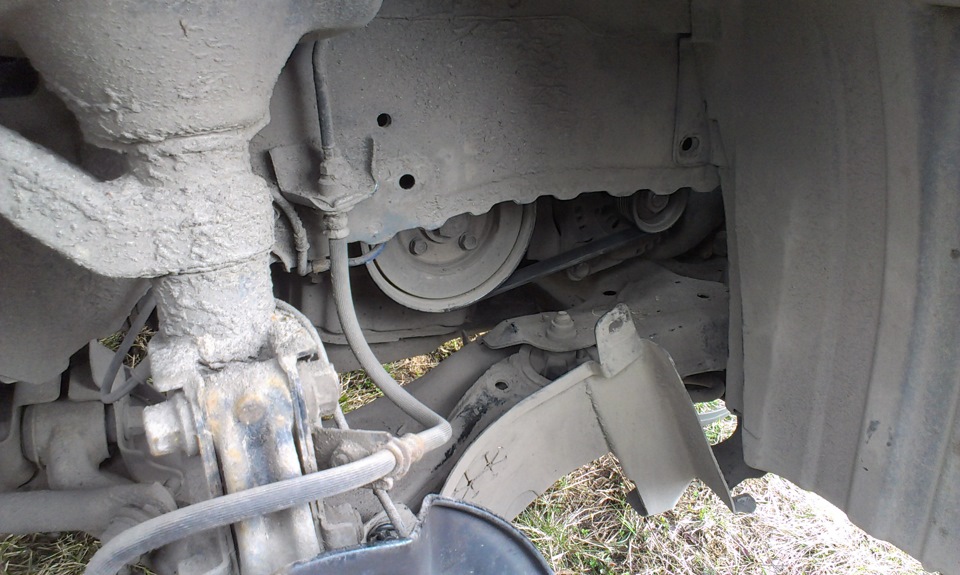
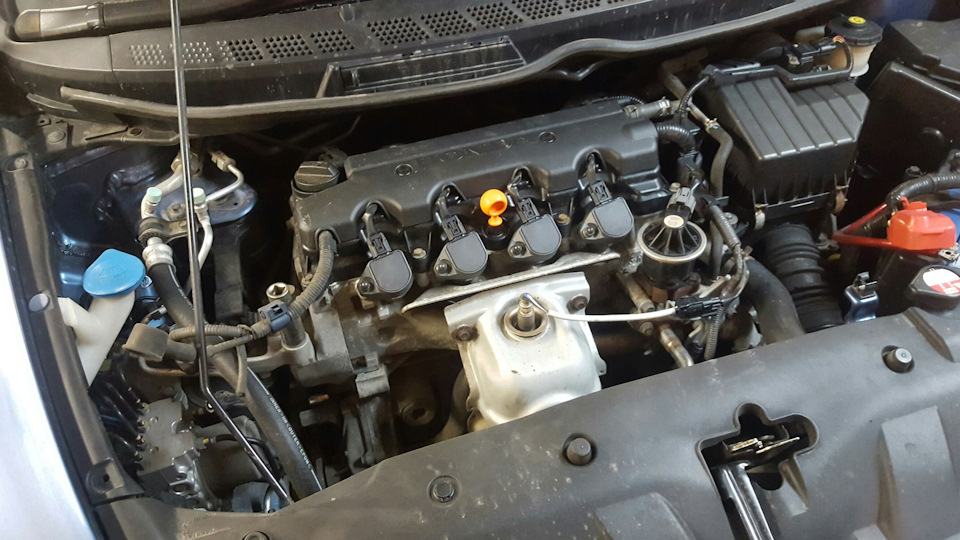
7. Go to the engine compartment.
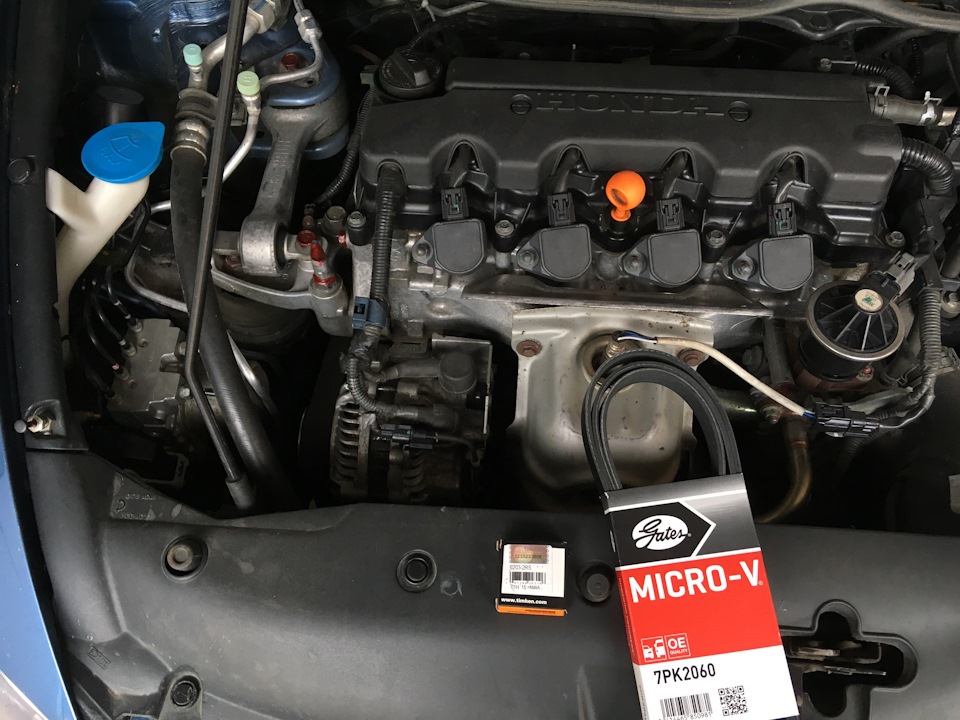
8. Attach a 19mm ring wrench to the auto-tensioner's special lug and slowly turn the wrench counterclockwise.
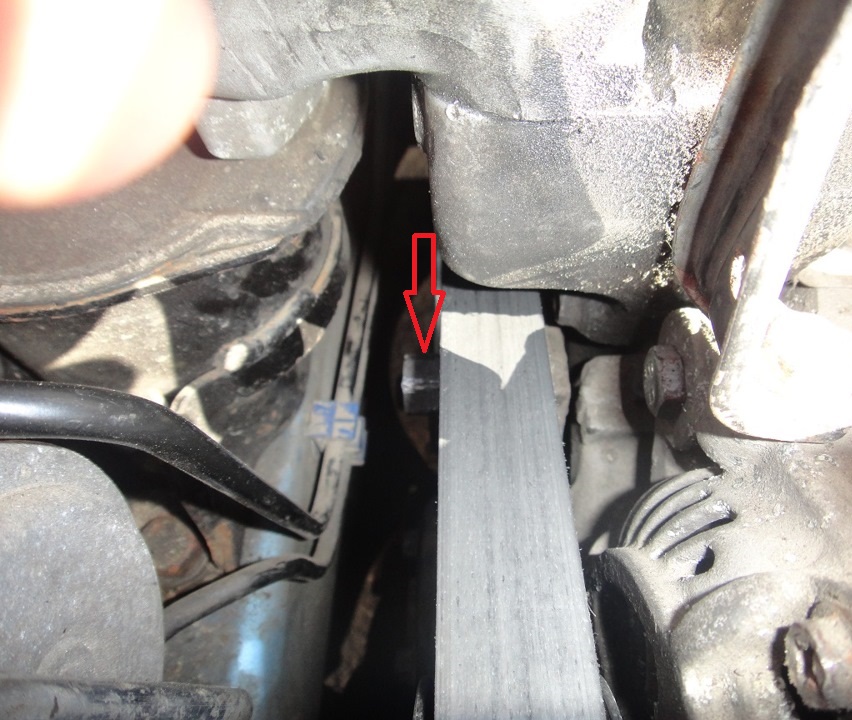
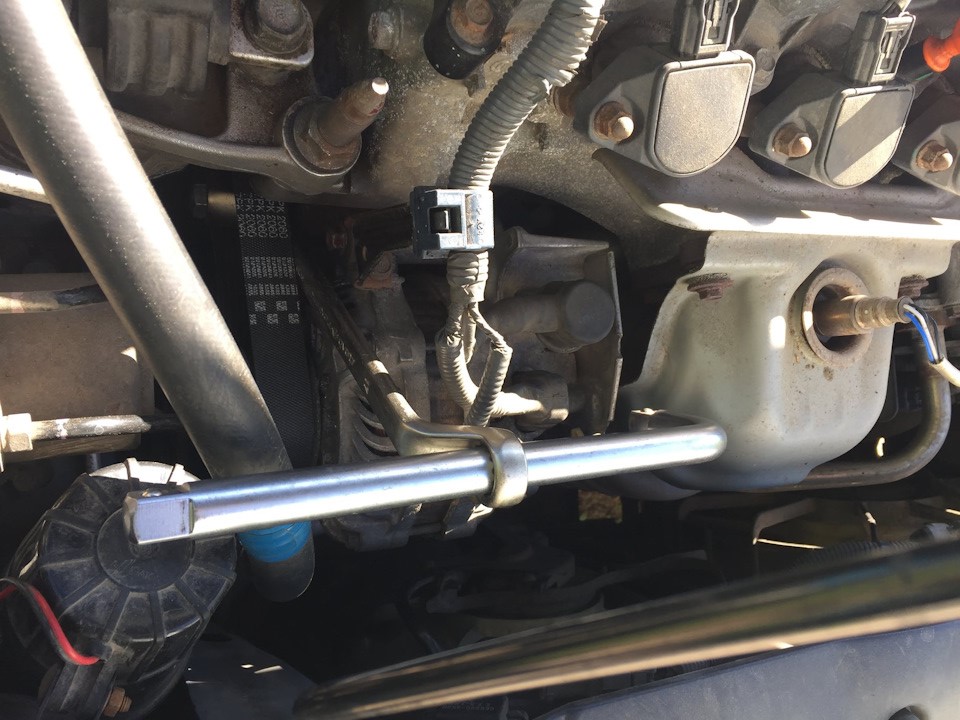
9. Remove the belt from the alternator pulley, and loosen the tensioner bolt.
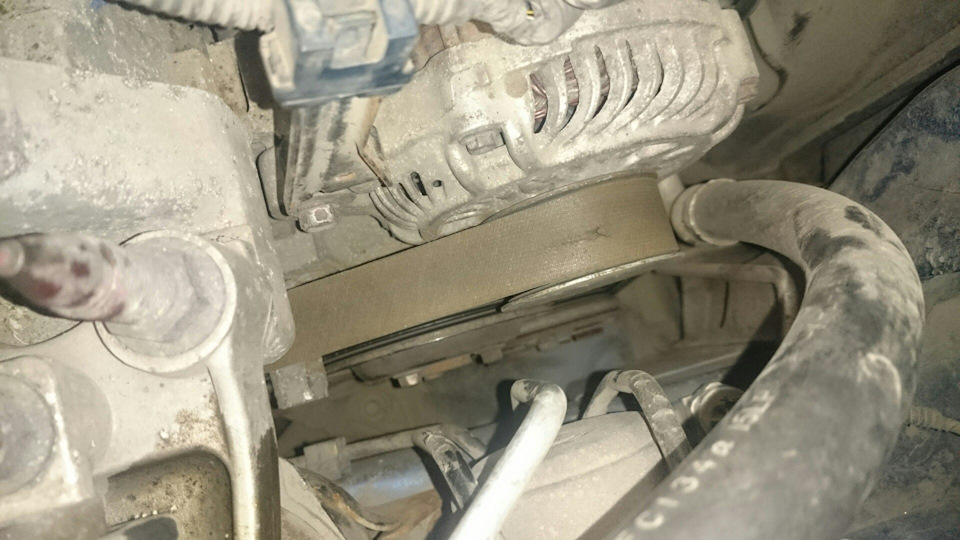
10. Remove the drive belt from the pulleys of the automatic tensioner pulley, water pump, air conditioning compressor.
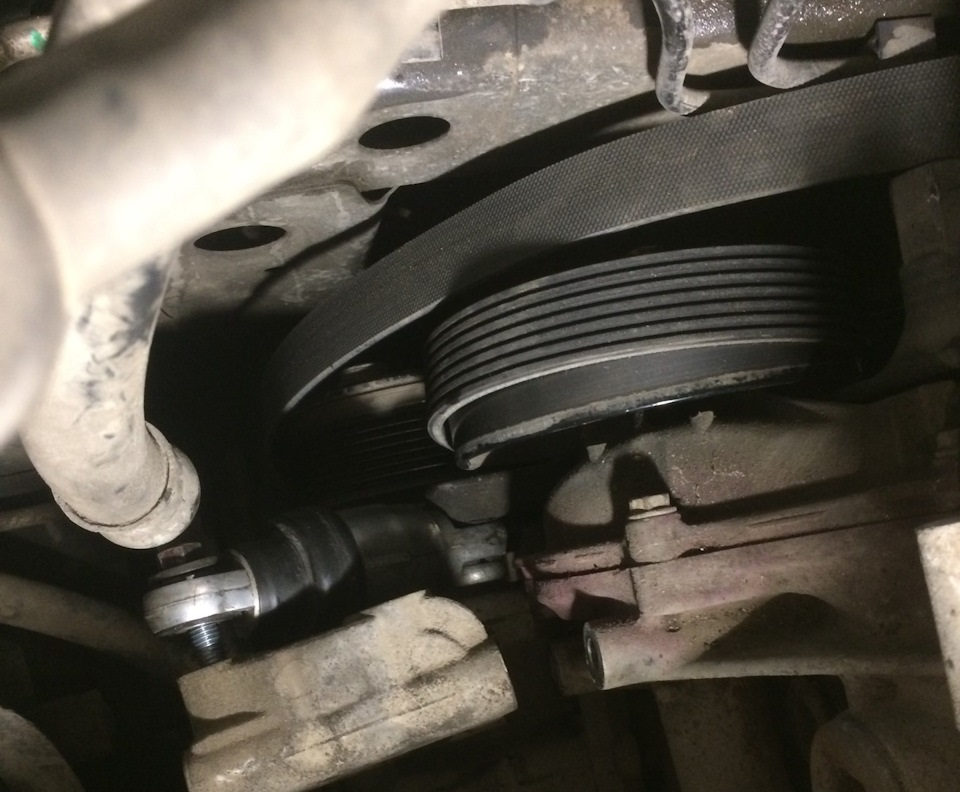
11. Remove the drive belt through the arch of the right front wheel.
Replacing the alternator with a Honda Civic
1. Remove the protective cover.
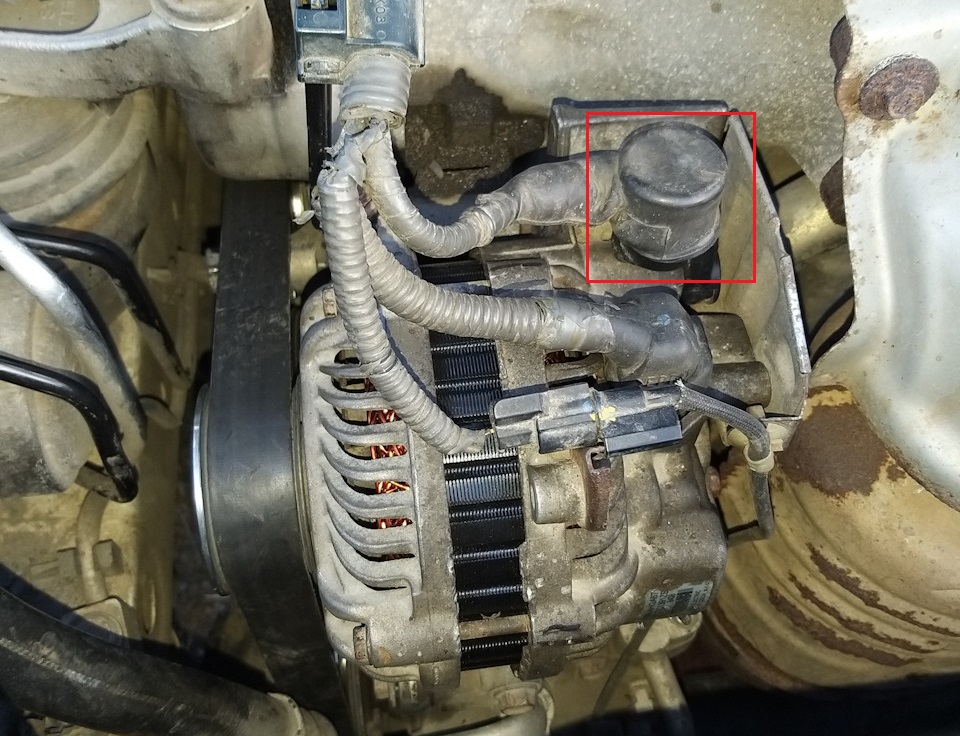
2. Using a 10 mm socket, unscrew the nut securing the power wire lug.
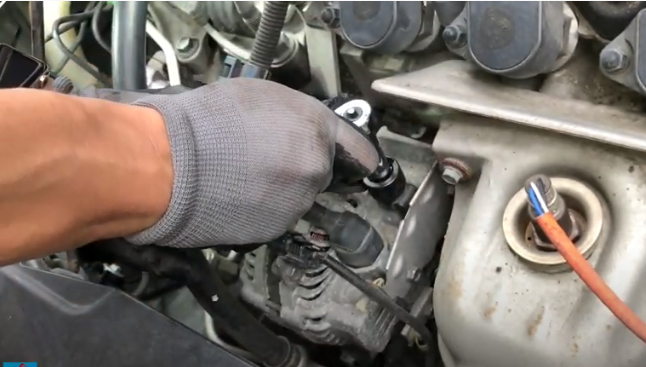
3. Disconnect the power wire from the Honda Civic generator.
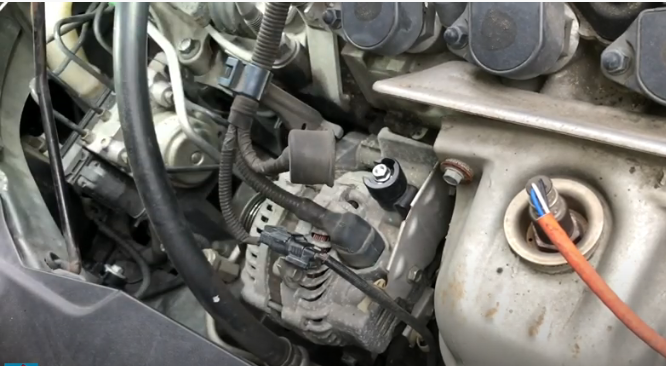
4. Slide off the protective cover.
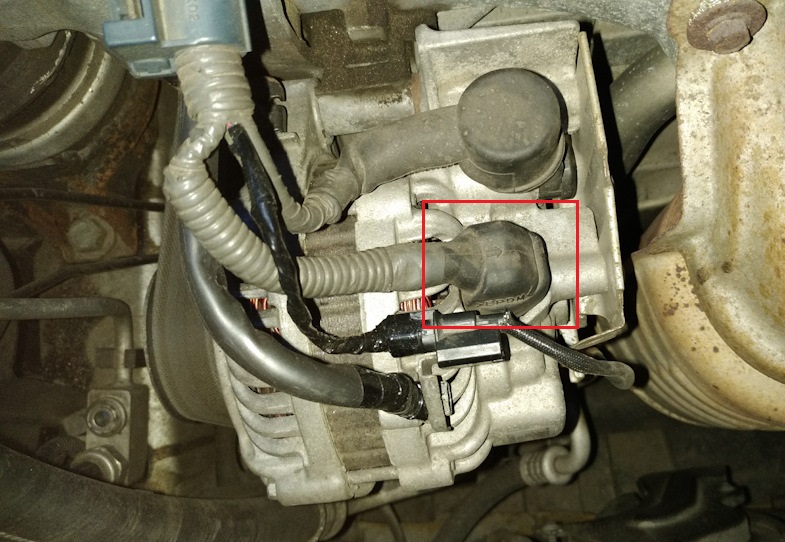
5. Wring out a clamp and disconnect a block of a plait of wires from the generator.
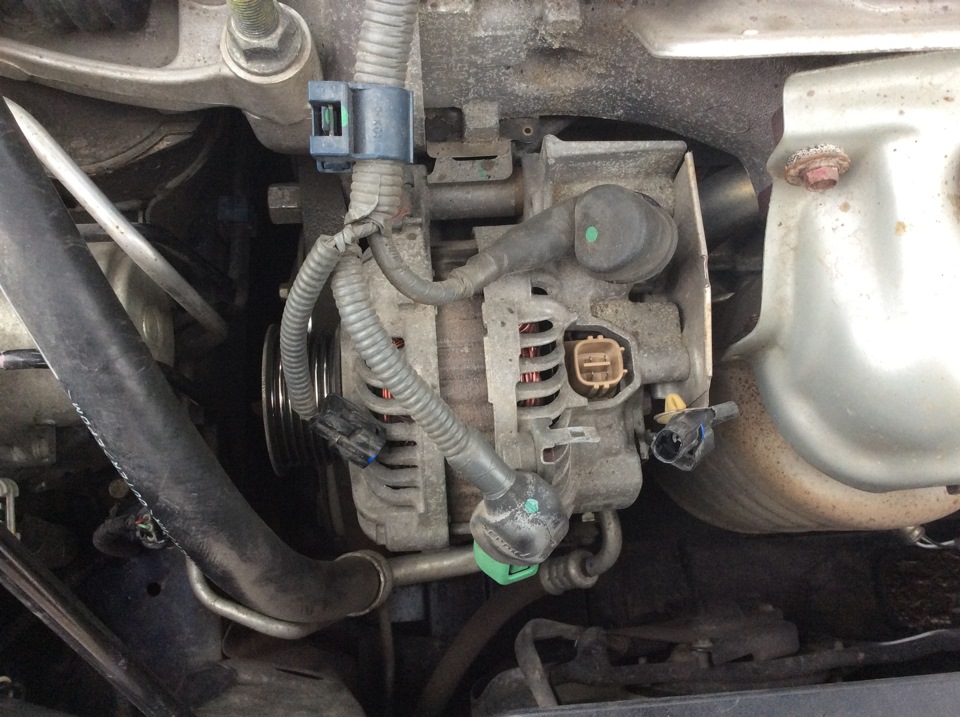
6. Separate blocks and disconnect a socket from the generator.
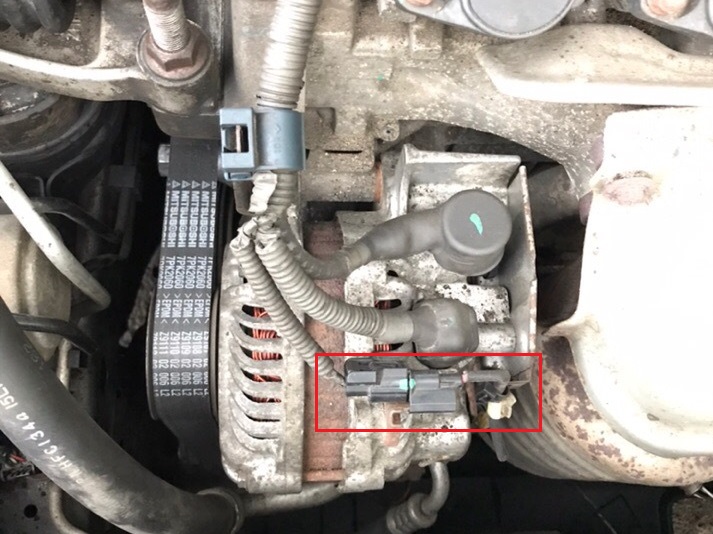
7. Pry with a screwdriver and disconnect the wire harness holders.
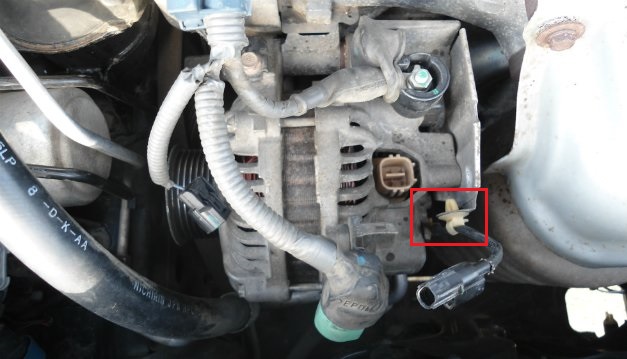
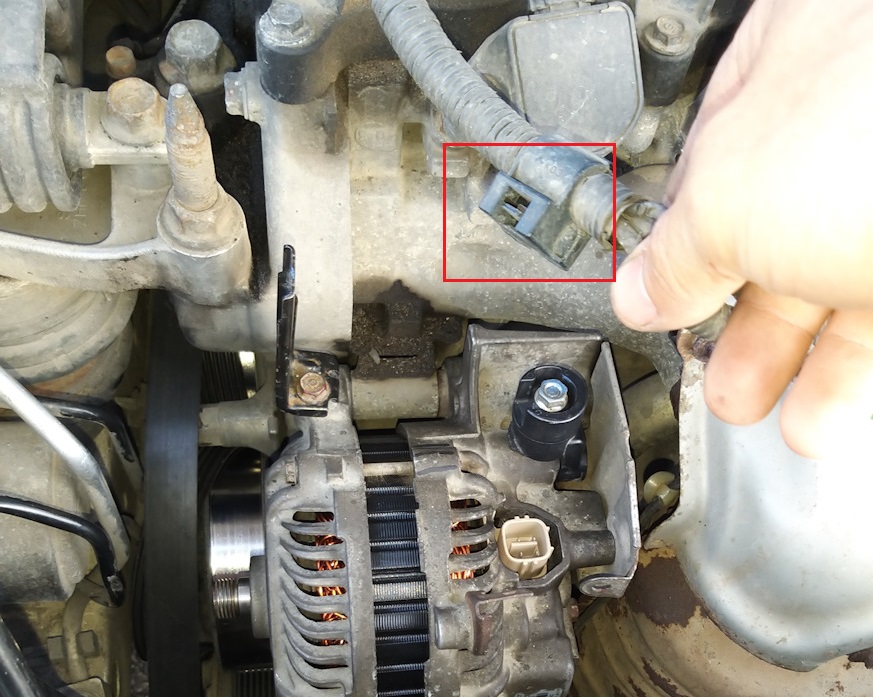
8. With a 12 mm head, unscrew the 2 bolts securing the Honda Civic generator.
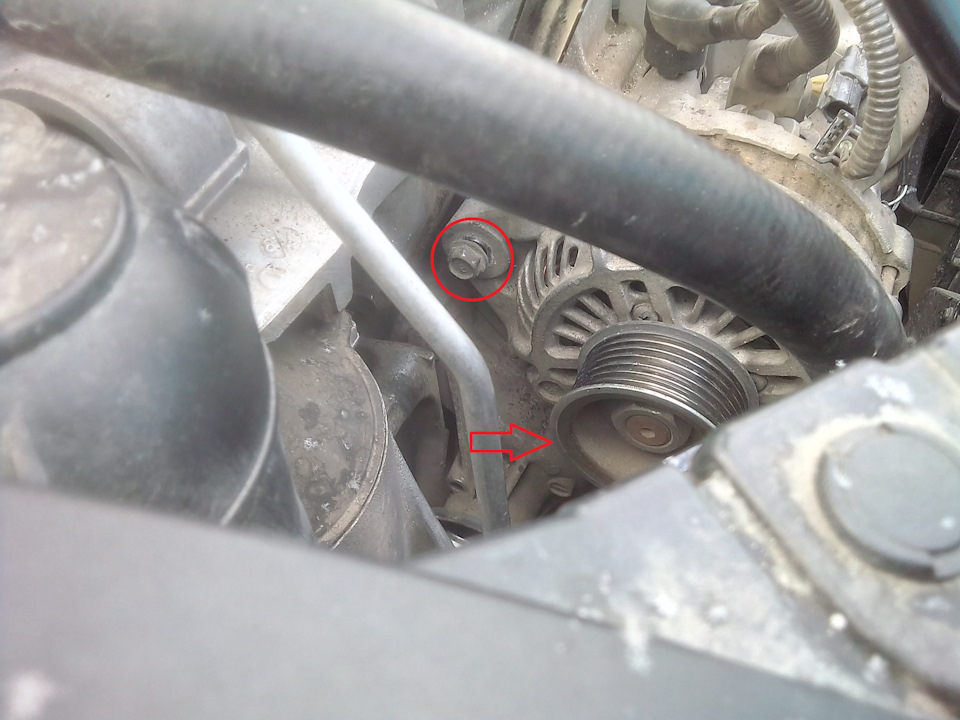
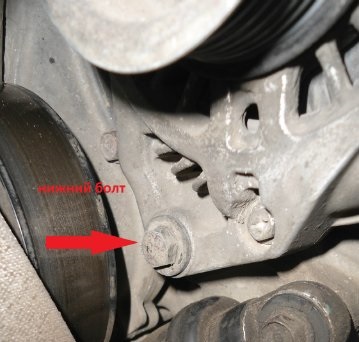
9. Remove the generator.
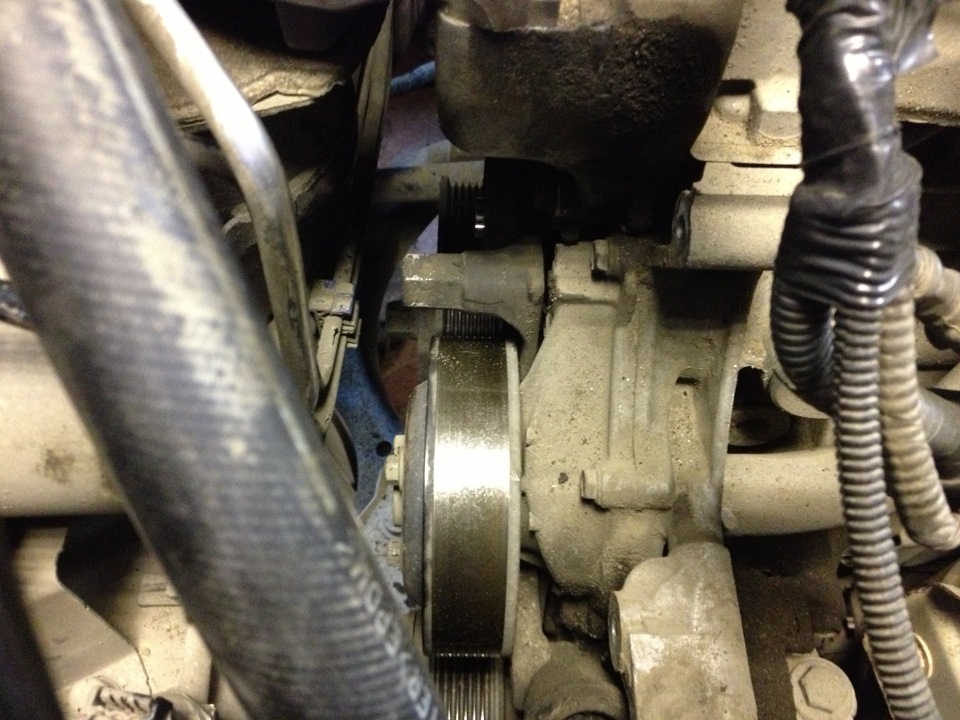
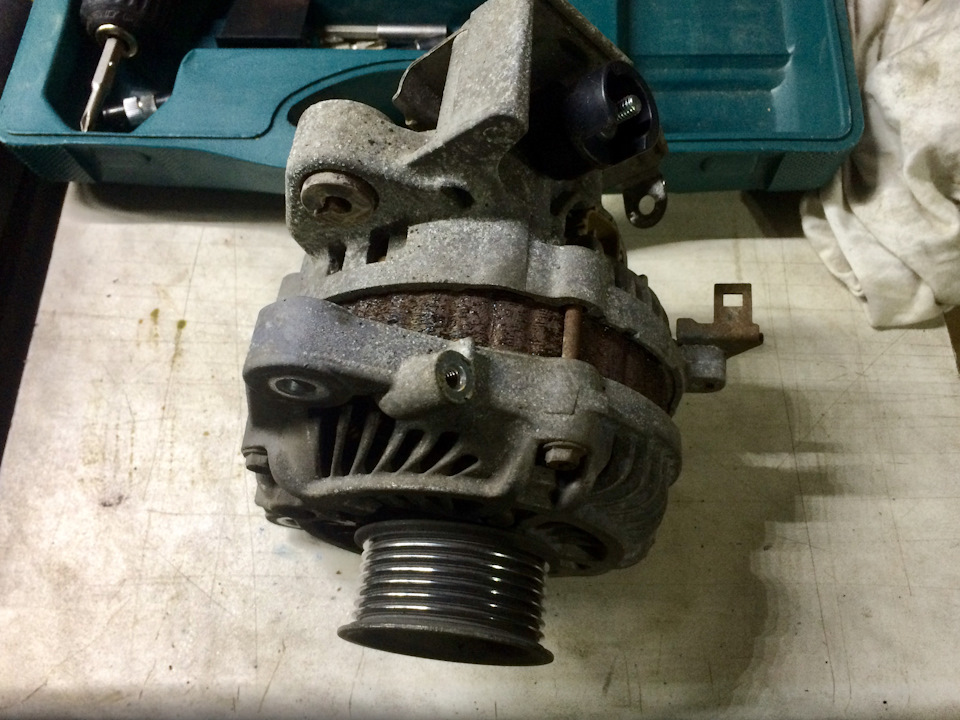
10. Replace the Honda Civic generator with a working one.
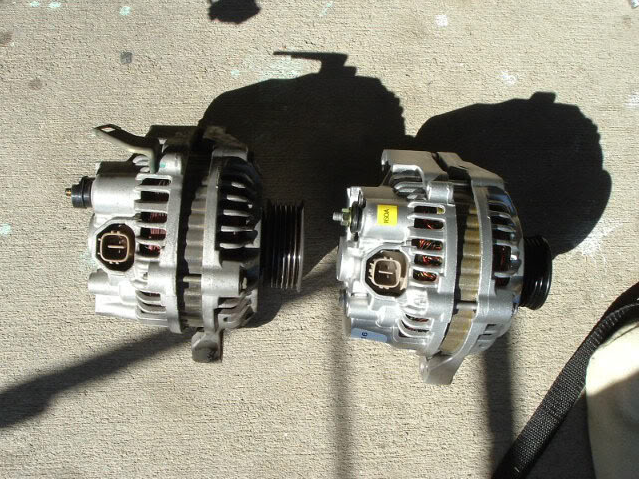
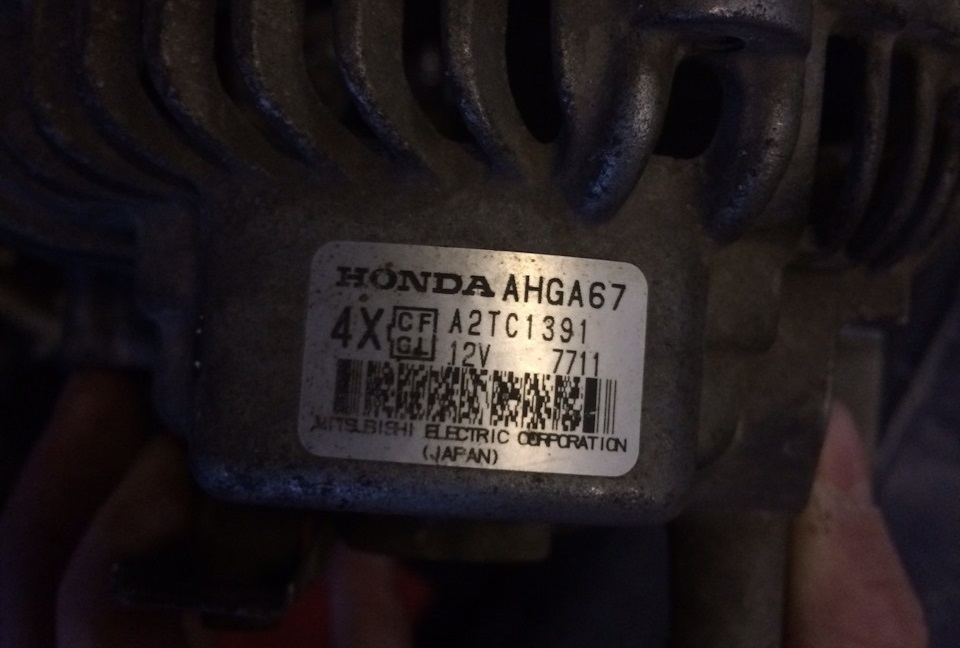
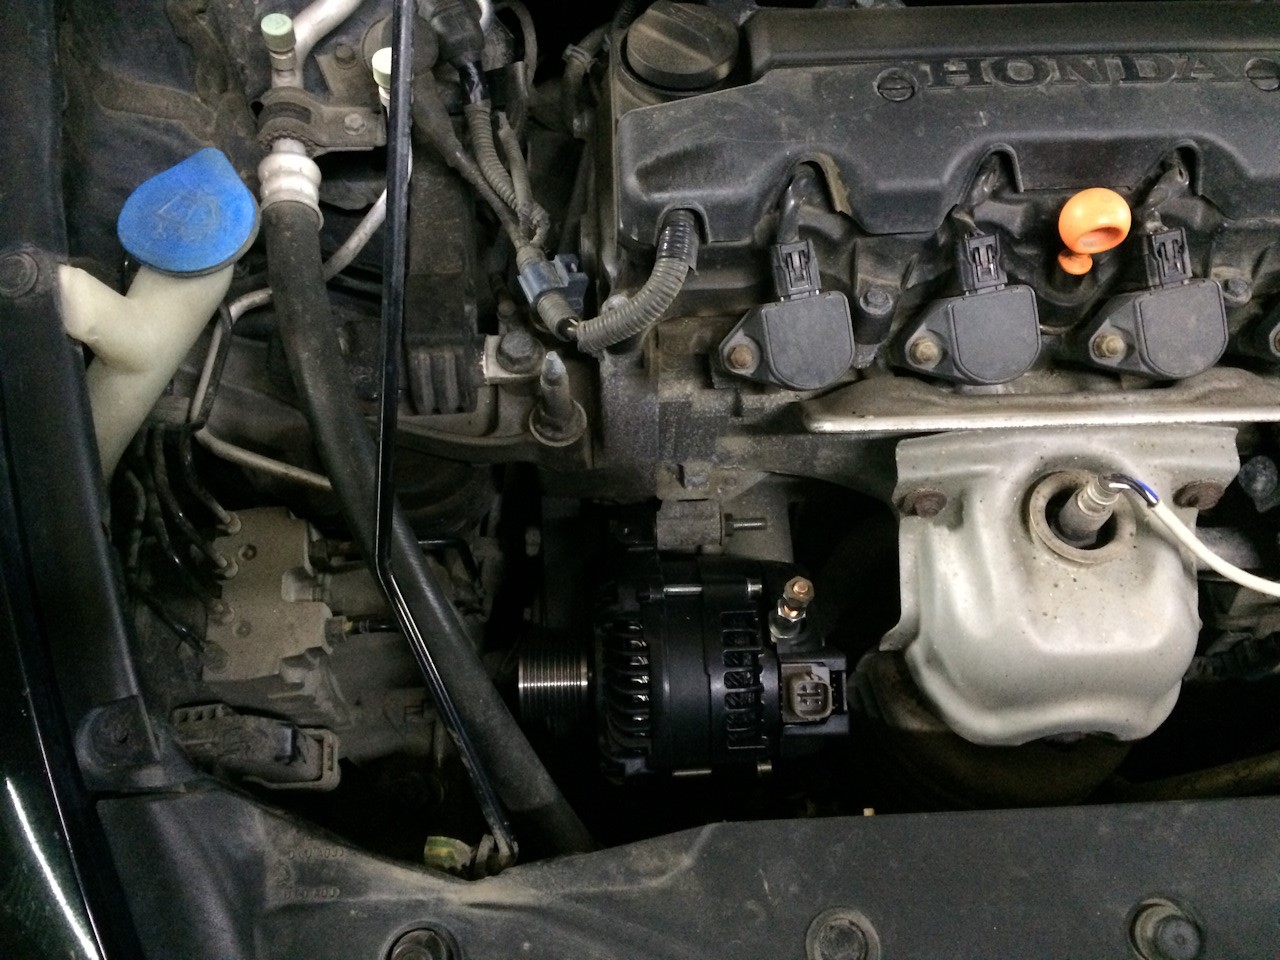
11. Install the generator in the reverse order of removal.
12. Install the accessory drive belt in the reverse order of removal.
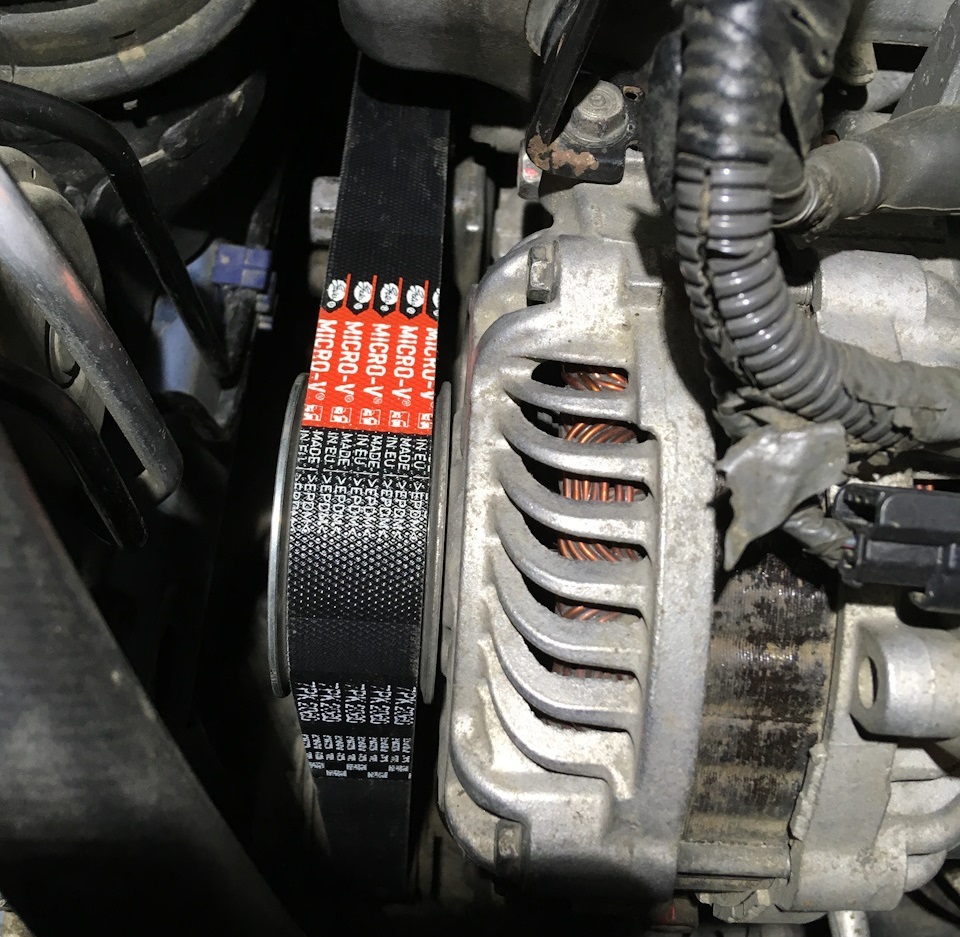
13. Rotate the crankshaft 3 full turns to get the drive belt in the correct position on the pulleys.
Source: carpedia.club

![8 generation [2005 - 2011]](/uploads/Honda_Civic_2011_-_2012.jpg)
