![T31 [2007 - 2011]](/uploads/-_2009.jpg)


Note:
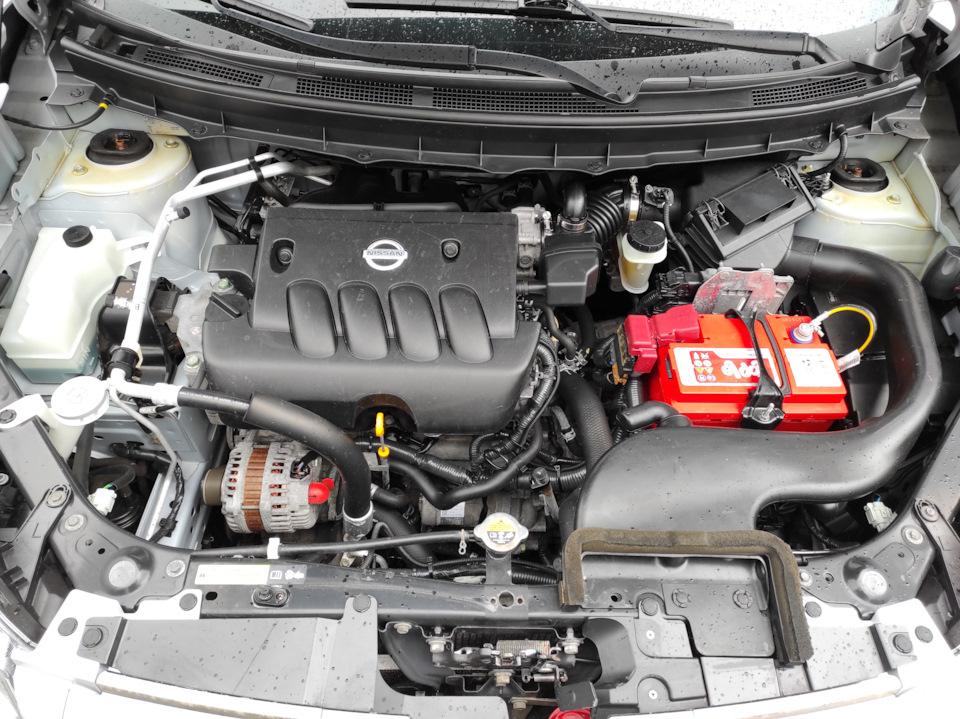
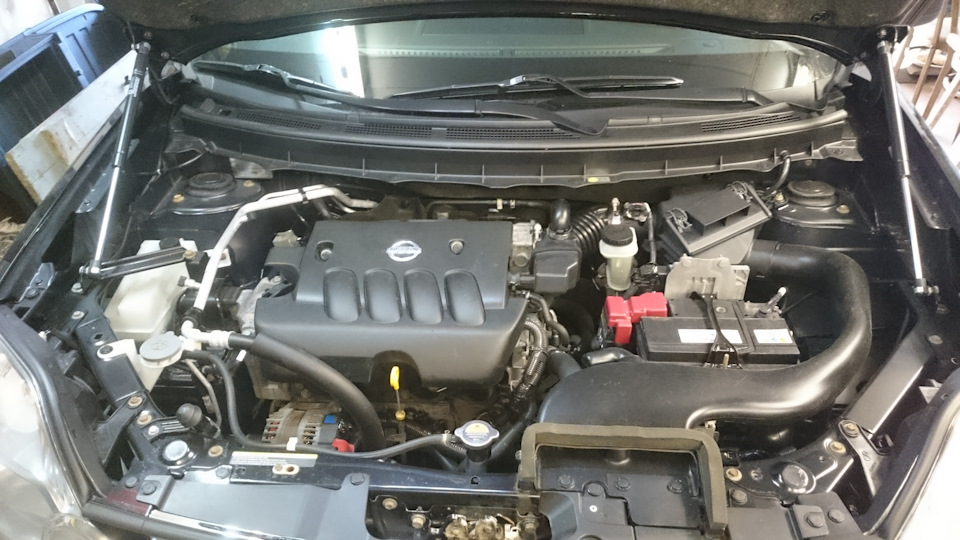
The generator on the Nissan X-Trail is removed for inspection or replacement, as well as when the engine needs to be completely repaired.
The generator is not subject to self-repair. Therefore, in case of its malfunction, replace the generator with a new one.
The principle of removing the generator on the Nissan X-Trail with the MR20DE and QR25DE engines is the same. An example is shown on the MR20DE engine.
Before changing the alternator, you will first need to remove the drive belt.
Removing the drive belt Nissan X-Trail
1. Install the car on a lift or overpass.
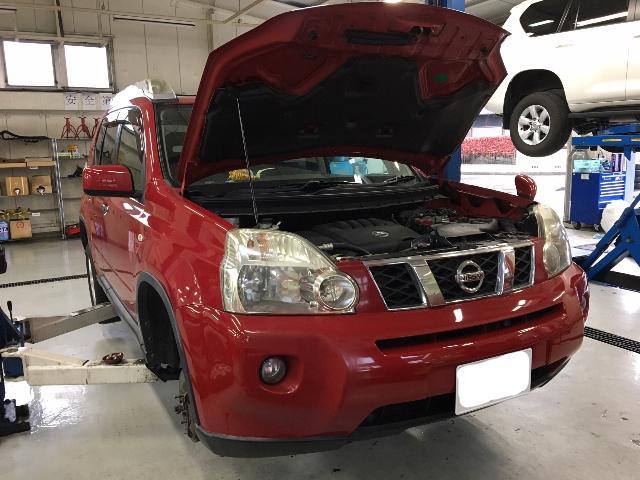
2. Open the hood and place it on the stop.
3. Using a 10 mm wrench, disconnect the wire from the "negative" terminal of the battery.

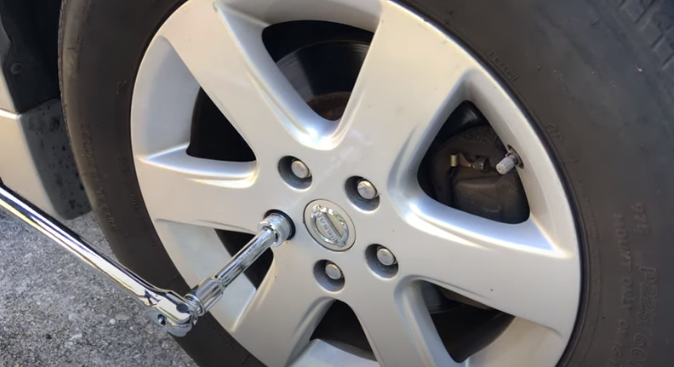
4. If no lift is available, use a 21mm wheelbrace or socket to loosen the wheel nuts approximately one-half turn.
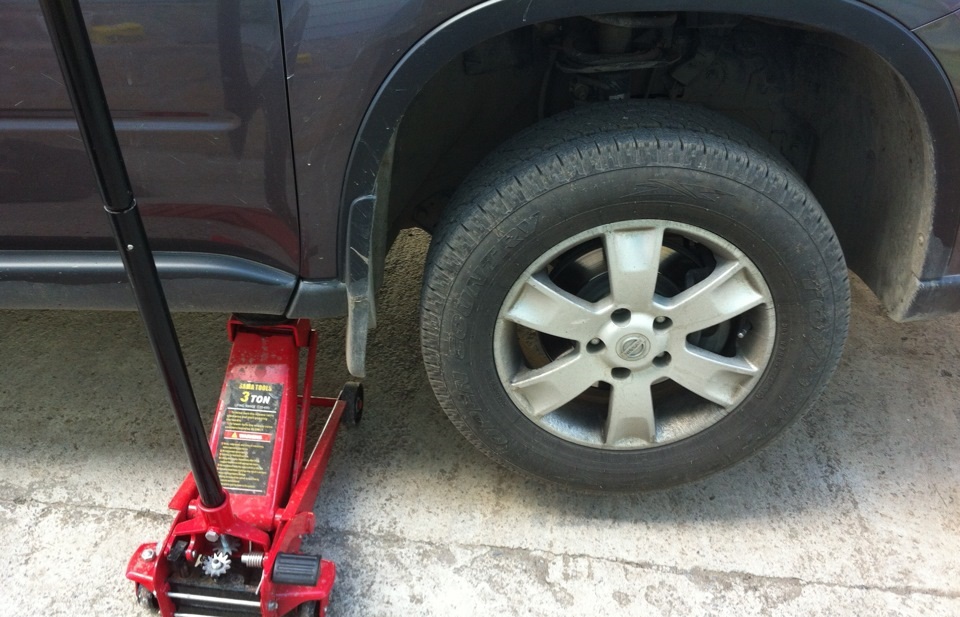
5. Raise the front of the vehicle with a jack and place it on secure supports.
6. Finally turn away nuts of fastening, and remove the right wheel.
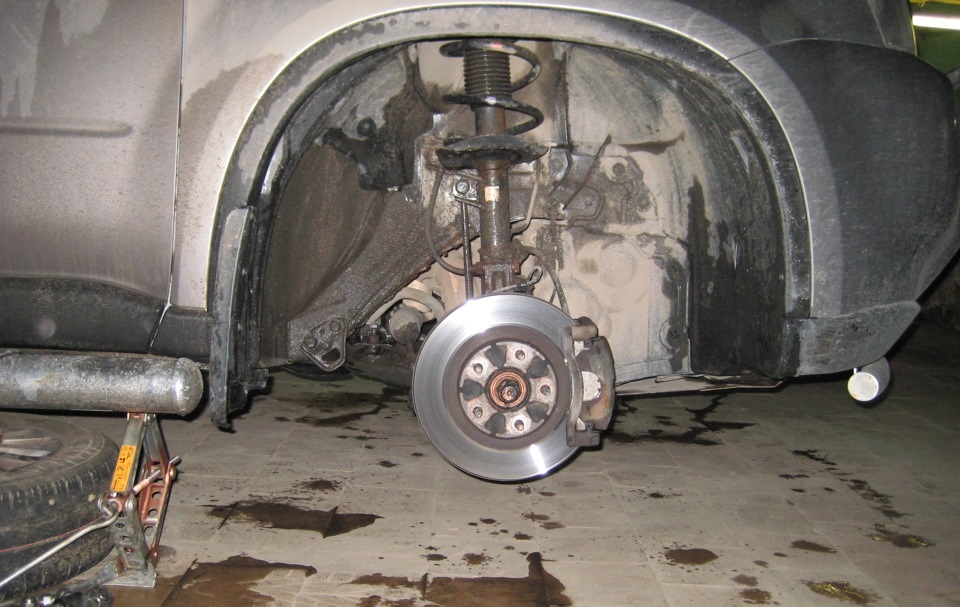
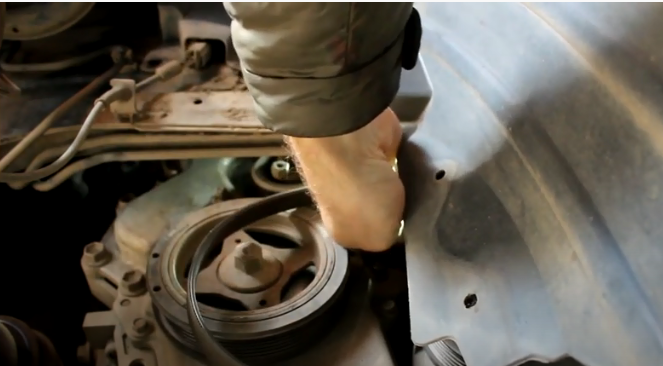
7. Pry with a flathead screwdriver, pull out the tabs and remove the 6 holders of the engine side mudguard.
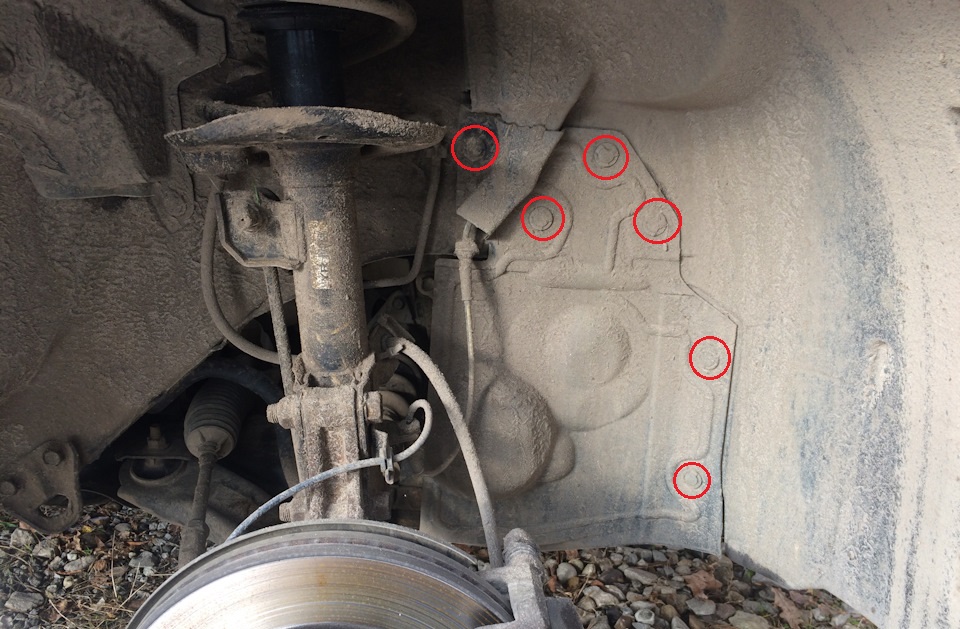
8. Remove the side mudguard of the engine compartment and put it aside.
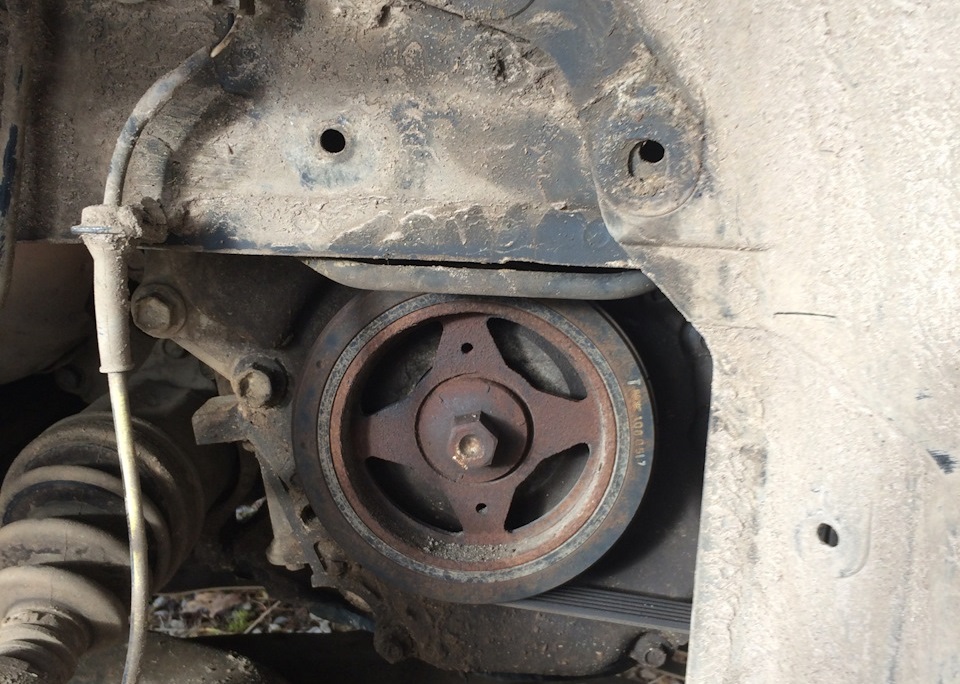
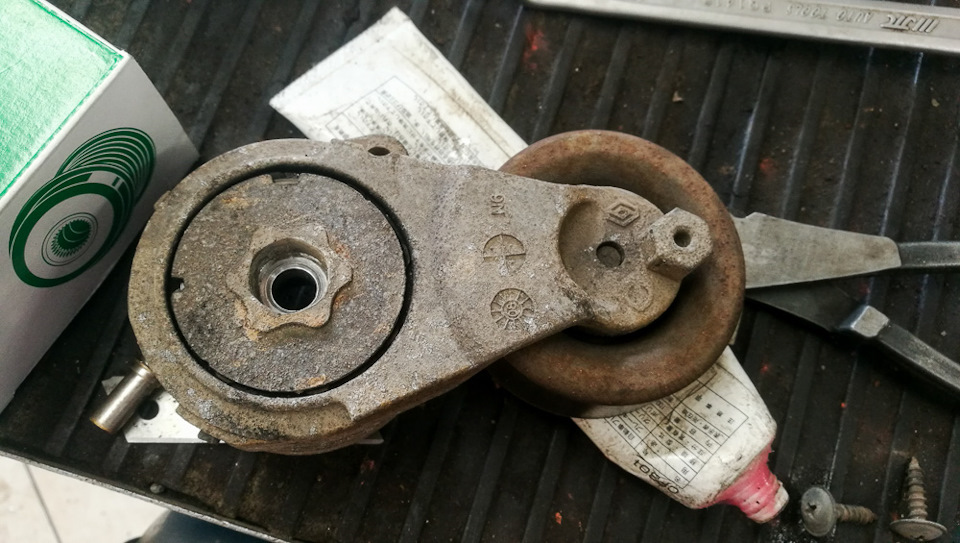
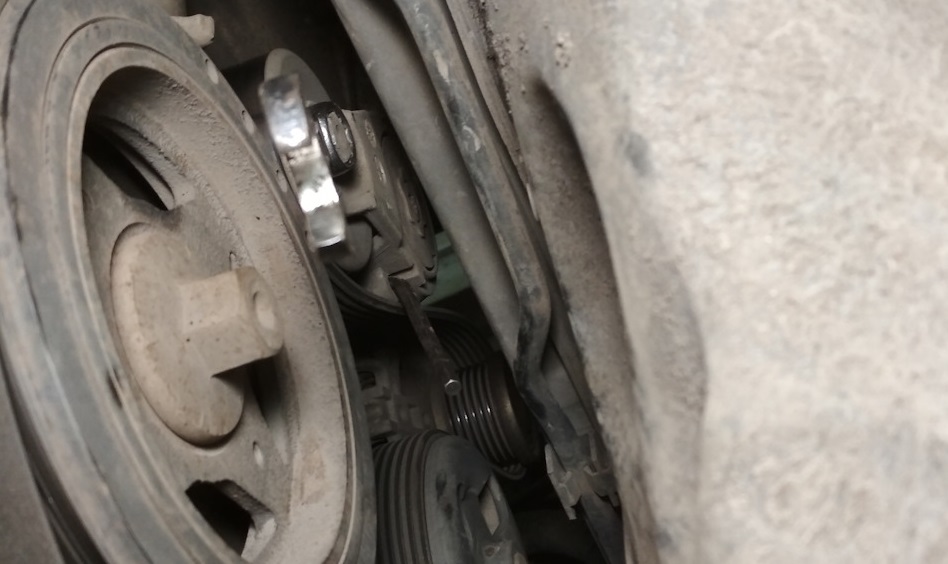
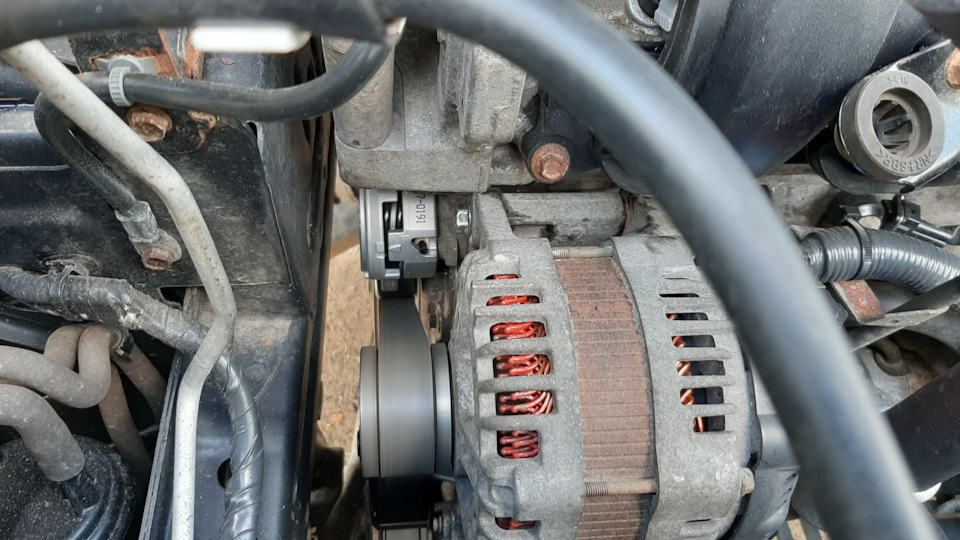
9. To loosen the tension on the drive belt, fit a 14mm ring wrench onto the tensioner's hex stub.
10. Turning the key clockwise, remove the tension roller from the belt.
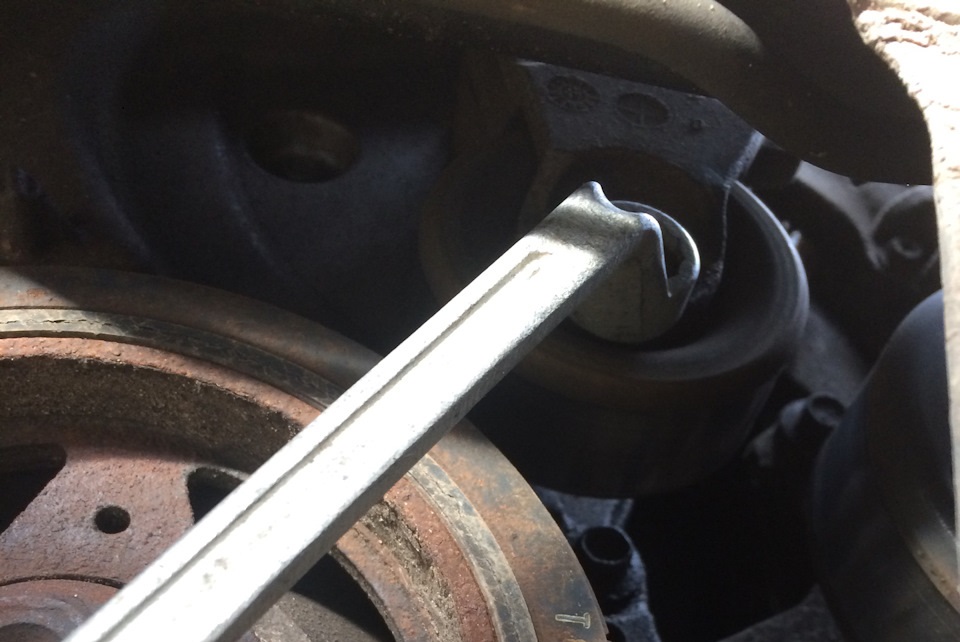
11. Insert a metal rod into a special hole in the tensioner, thereby fixing the roller in this position.
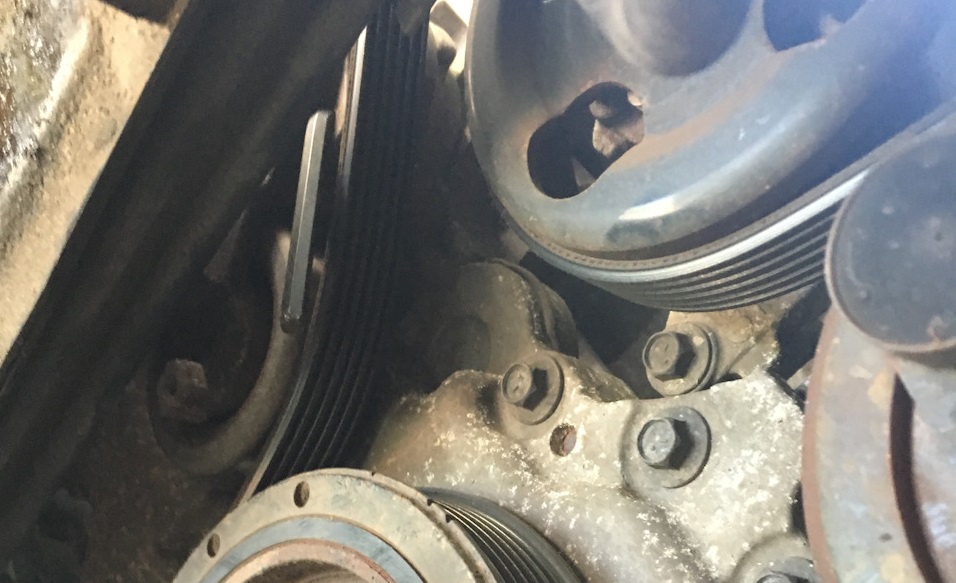
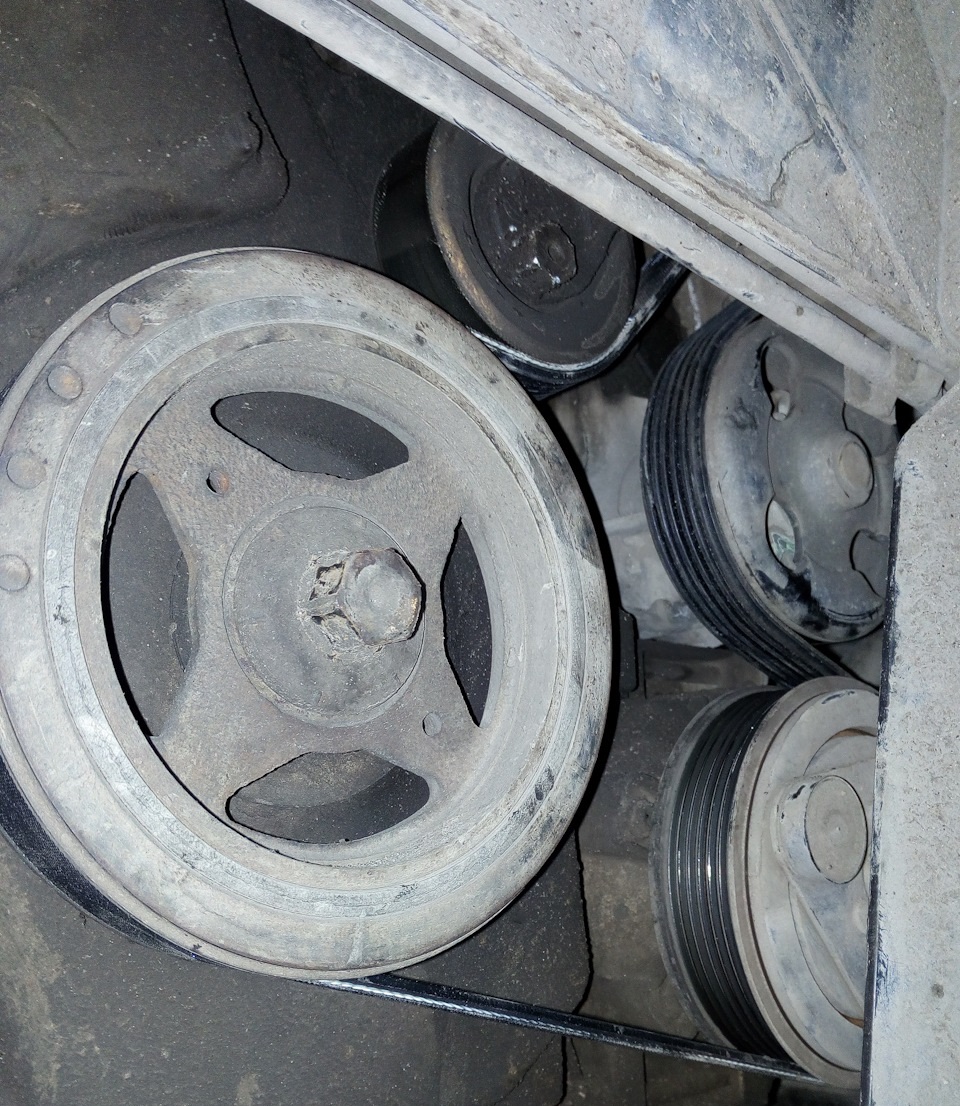
12. Remove the drive belt from the crankshaft pulley and pull it out of the engine compartment.
Note:
If the belt is in good condition and the work is not related to its replacement, first put a mark indicating the direction of rotation of the belt. When assembling, it will help to install it in the same position.
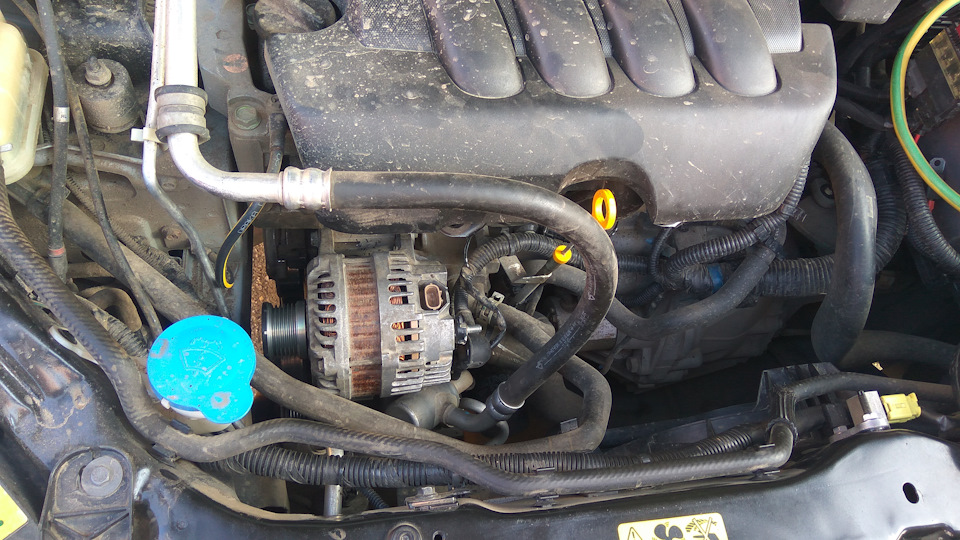
Removal and replacement of the Nissan X-Trail generator
1. Remove the rubber cap from the generator.
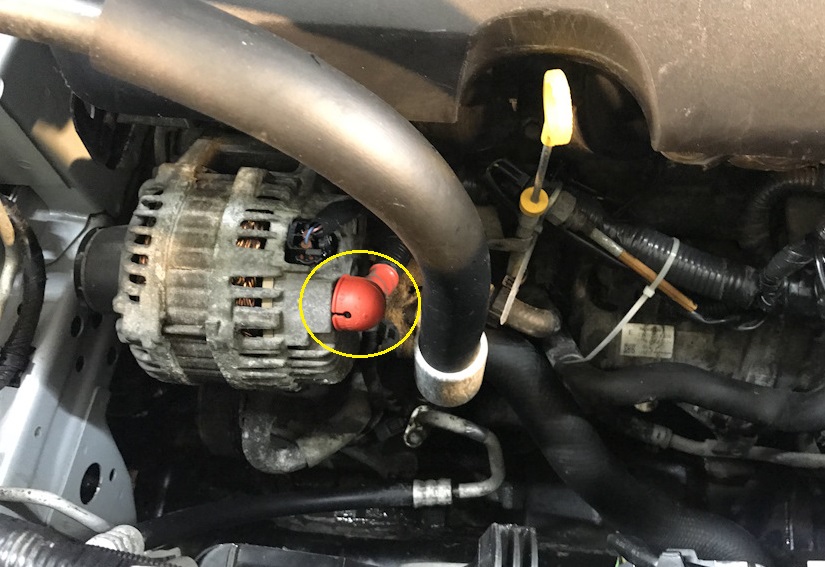
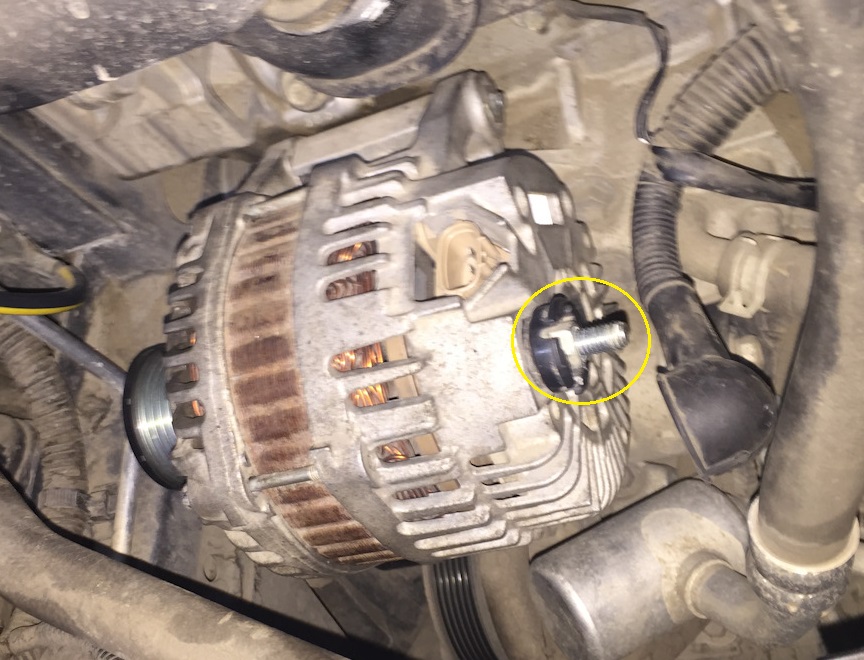
2. Using a 12 mm wrench, unscrew the fastening nut and remove the wire tip from the output of the Nissan X-Trail generator.
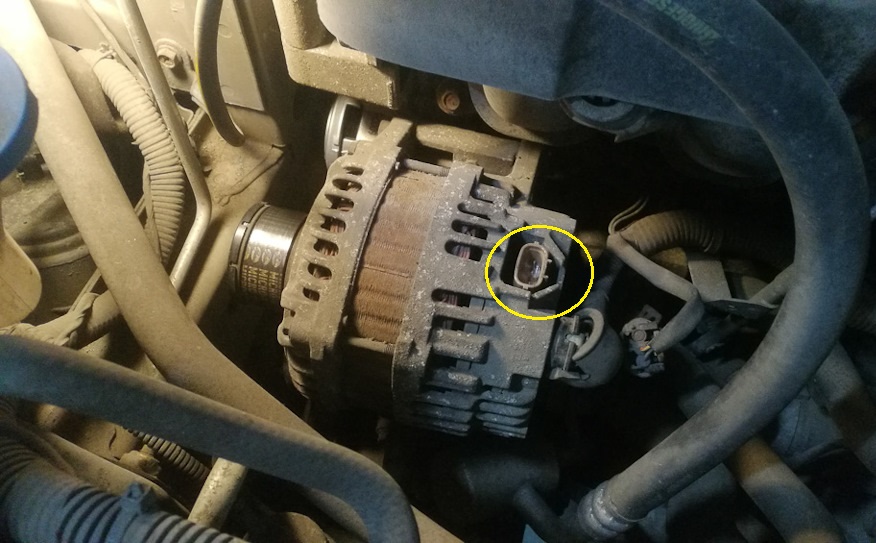
3. Disconnect the block of wires from the generator.
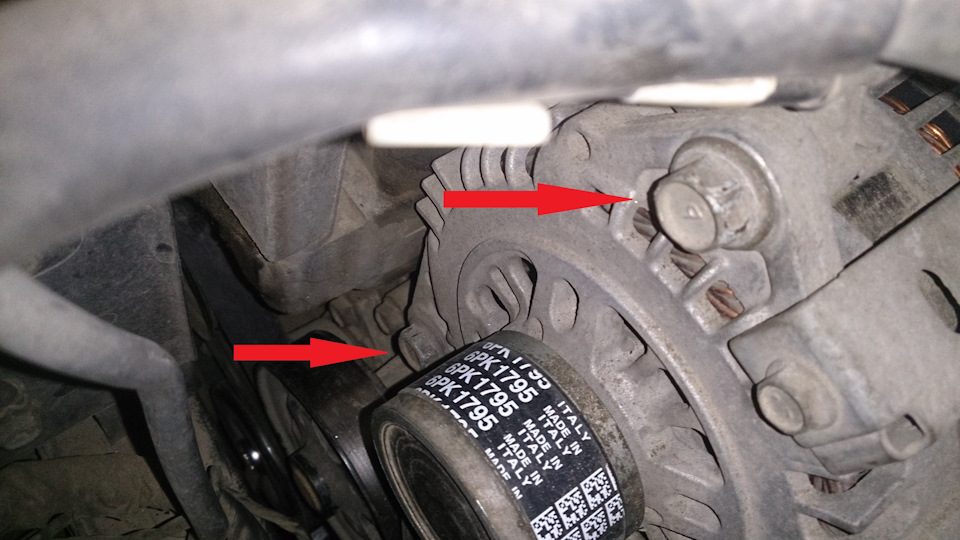
4. Using a 14 mm wrench, remove the 2 bolts securing the Nissan X-Trail alternator.
5. Remove the generator from the engine bracket and pull it out of the engine compartment.
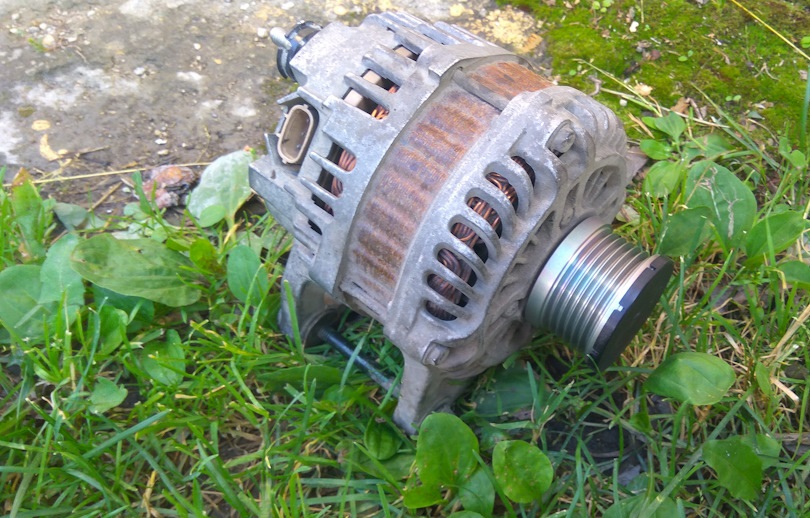
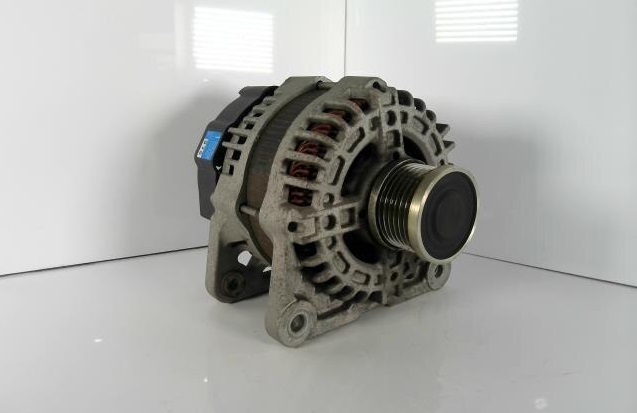
6. In case of malfunction, replace the generator with a working one.
Note:
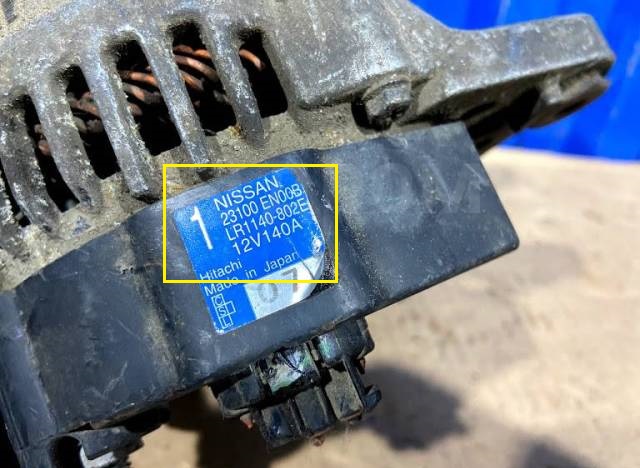
A label with markings is pasted on the back cover of the generator. Buy a replacement generator.
7. Install the alternator on the Nissan X-Trail in the reverse order of removal. Bolts of fastening tighten the moment of 25 Н•м. A nut of fastening of a tip of a power wire by the moment of 10 Н•м.
8. If there are signs of severe wear of the belt (the disappearance of two or more adjacent ribs of the streams in a section longer than 13 mm), longitudinal or transverse cracks, breaks, if the rubber is peeled or oiled, replace the drive belt with a new one.
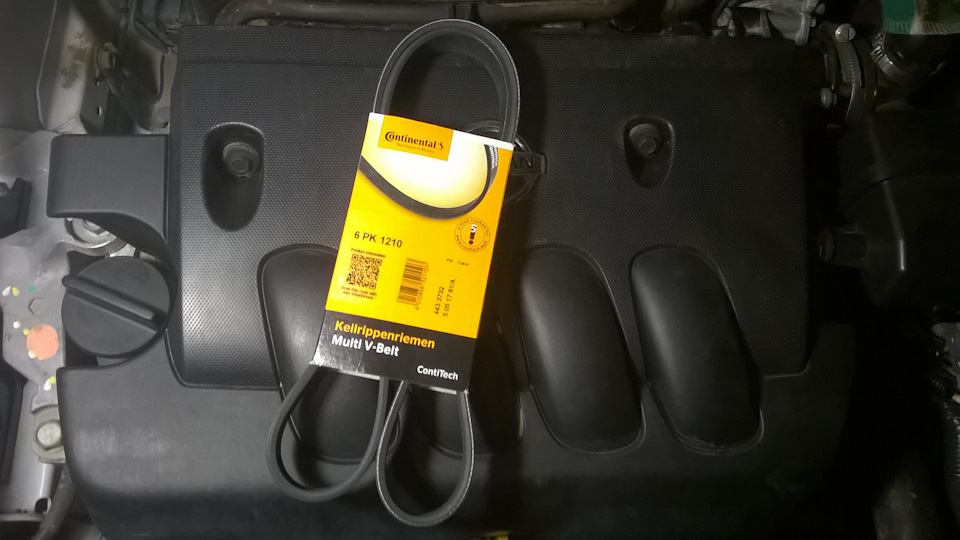
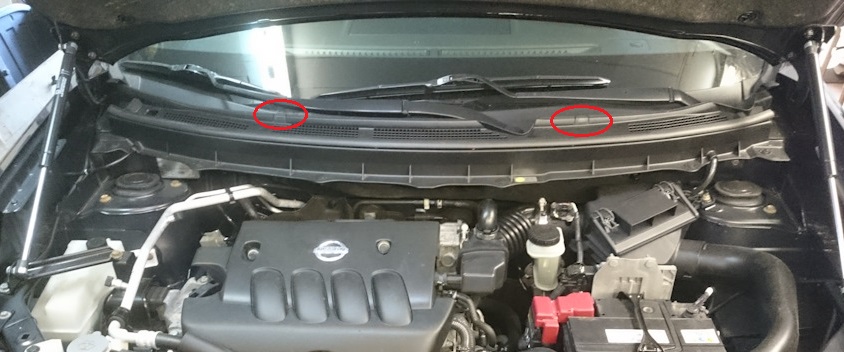
9. Install the Nissan X-Trail alternator belt in the reverse order of removal. Check that the belt lies correctly on all pulleys. Lastly, pull it over the pump pulley.
Note:
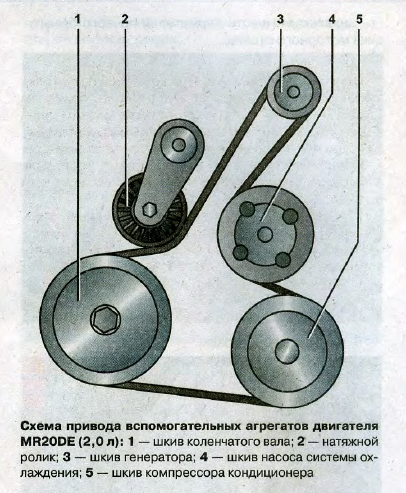
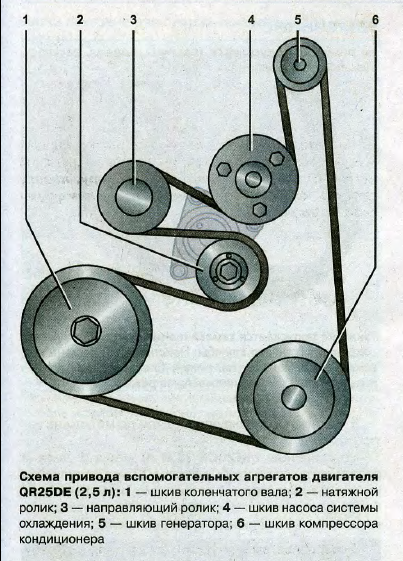
Observe the auxiliary drive diagram.
10. Check the mutual tension of the tensioner marks. With a new belt, the arrow will point to the top of the range. Over time, as the belt wears and stretches, mark 1 will gradually shift.
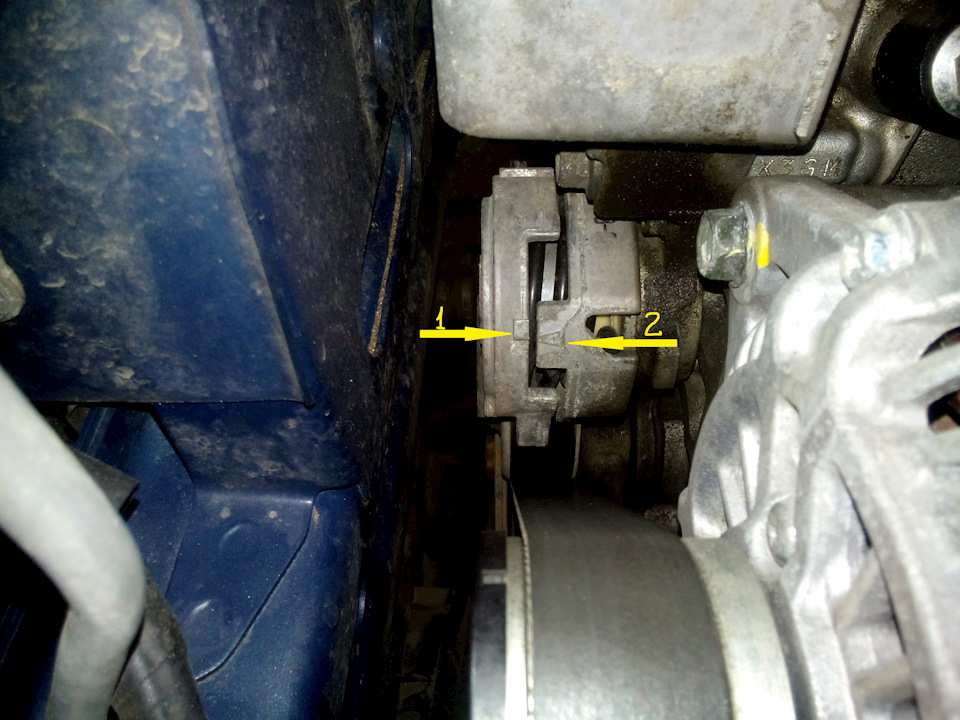
Note:
If the marks with the new belt do not match, the tensioner is most likely defective (the spring in its mechanism has broken or weakened). This tensioner will need to be replaced.
11. Install all removed parts in the reverse order of removal.
The main malfunctions of the Nissan X-Trail generator

Similar articles:
Checking the condition of the Nissan X-Trail drive belt
Nissan X-Trail Drive Belt Replacement
Source: carpedia.club