![2 generation [2000 - 2003]](/uploads/toyota-rav-4-ii-11109.jpg)
![3 generation [2005 - 2009]](/uploads/Toyota_RAV_4_-_2006_-_2009_.jpg)
![4 generation [2012 - 2015]](/uploads/Toyota_RAV_4_-_2012-2015_.jpg)

Tool:
- 10 mm bent box wrench
- 12 mm bent box wrench
- 14 mm bent box wrench
- 17 mm bent box wrench
- 19 mm bent box wrench
- Collar for end nozzle
- Extension for the end nozzle on the crank
- Nozzle on the collar 10 mm
- Nozzle on the collar 17 mm
- Nozzle on the collar 19 mm
- Screwdriver flat medium
- Phillips screwdriver, medium
- Pliers
- Oil drain container
- Coolant collection container
- Ruler
Parts and consumables:
- rags
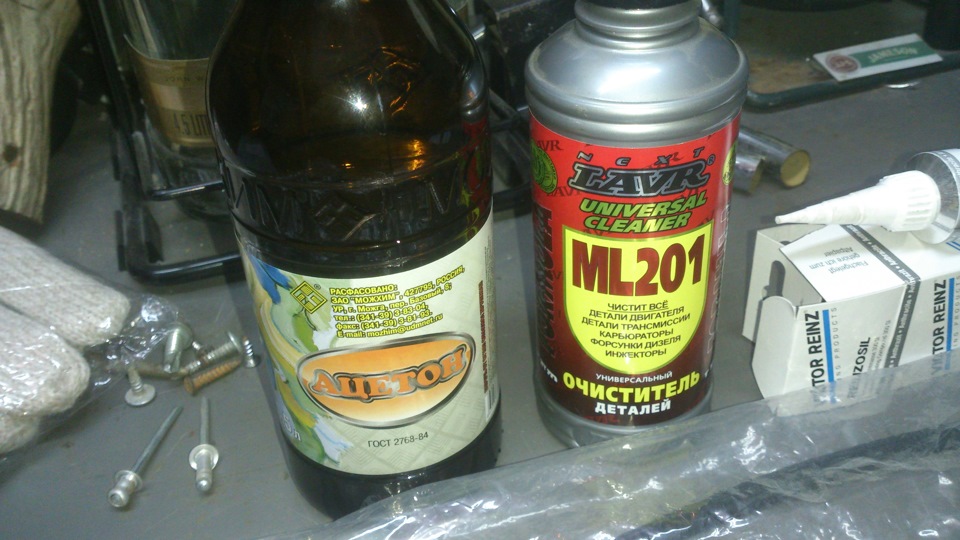
- Parts cleaner
- Degreaser
- sealant
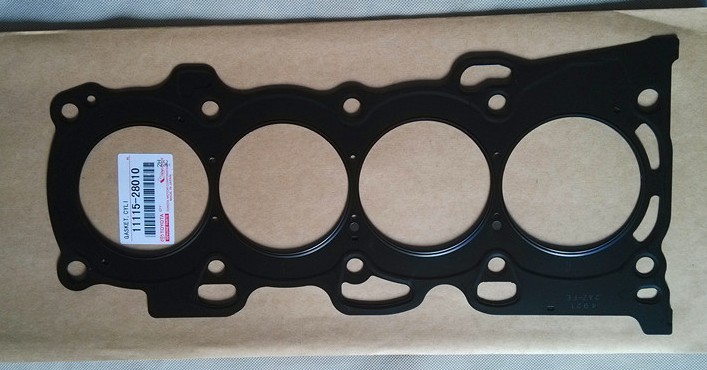
- Cylinder head gasket (KN 11115-28010)
- Motor oil
- Coolant
1. Reduce the pressure in the power system, as described in the first paragraph of this article .
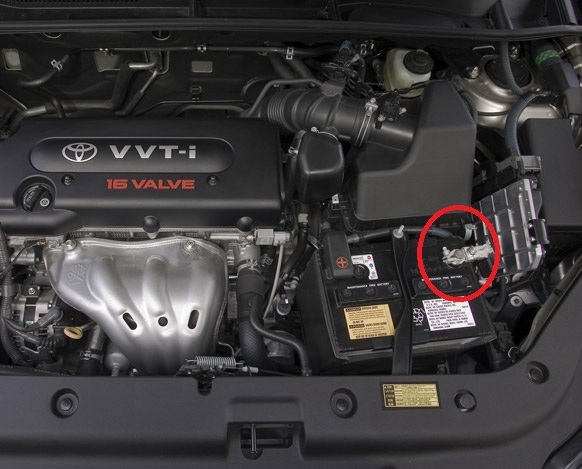
2. Disconnect the wire from the negative terminal of the battery using a spanner wrench.
3. Remove the engine cover as described in this article .
4. Remove the crankcase guard, front lower and right side engine mudguards as described here .
5. Separate block of a wire of "weight" in a forward part of a head of the block of cylinders.
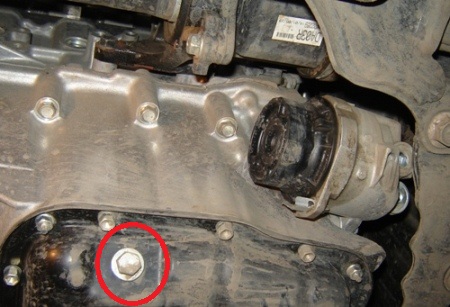
6. Drain the engine oil from the crankcase by unscrewing the drain plug in the crankcase with a wrench.
7. Then drain the engine coolant as described in this article .
8. Squeeze the clips and disconnect the connector from the VVT-i solenoid valve.
9. Remove the fuel rail.
10. Remove the throttle assembly as described in this article .
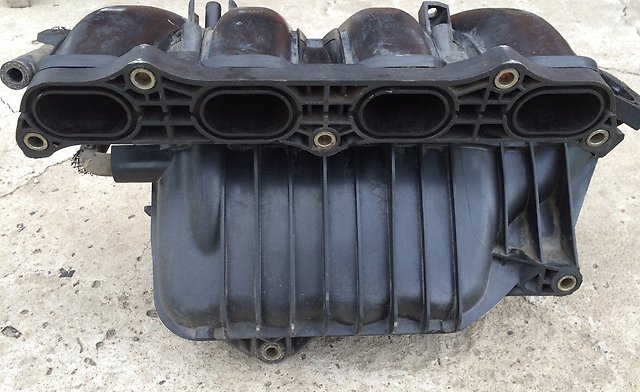
11. Remove the intake manifold by unscrewing the fastening nuts using a wrench with a nozzle.
12. Set the piston of the 1st cylinder to the TDC position of the compression stroke, as described here .
13. Remove the timing chain by loosening the tensioners.
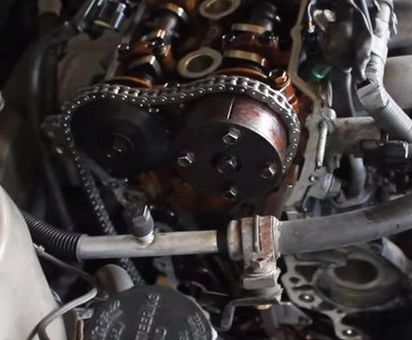
14. Remove camshafts.
15. Squeeze the bent ears of the radiator inlet hose clamp with pliers and slide the clamp along the hose.
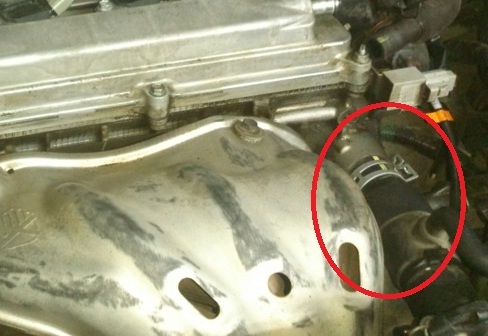
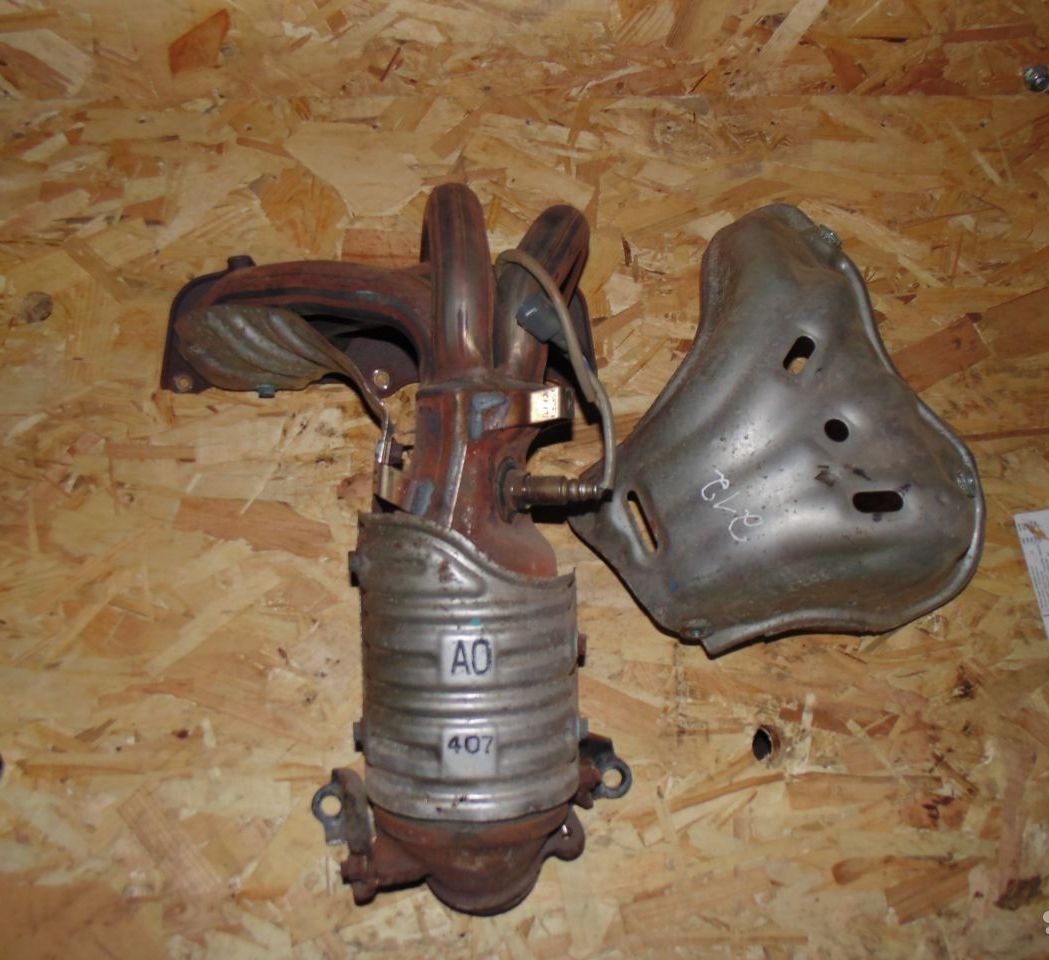
16. Then remove the collector.
17. Turn out a bolt and remove a tube of an oil dipstick.
18. Squeeze the latch and disconnect the connector from the RFI filter.
19. Turn out a bolt of fastening of a wire of "weight" to a head of the block of cylinders.
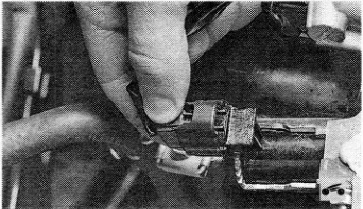
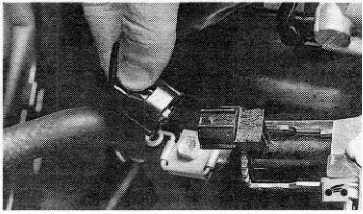
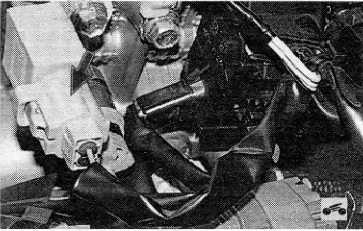
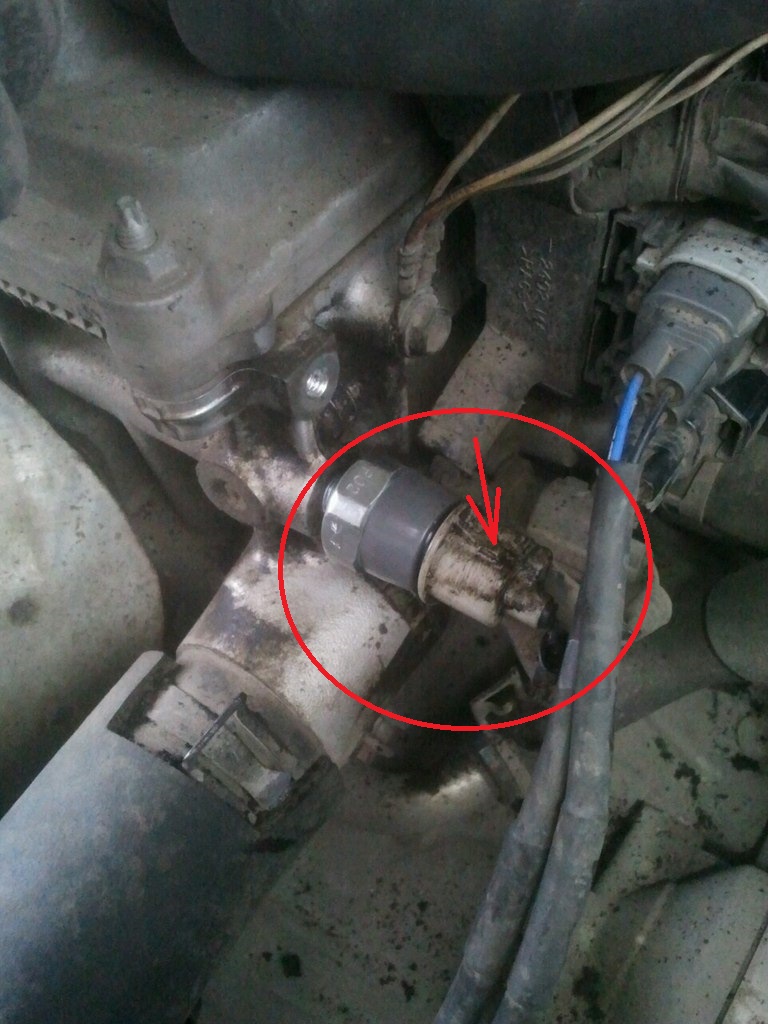
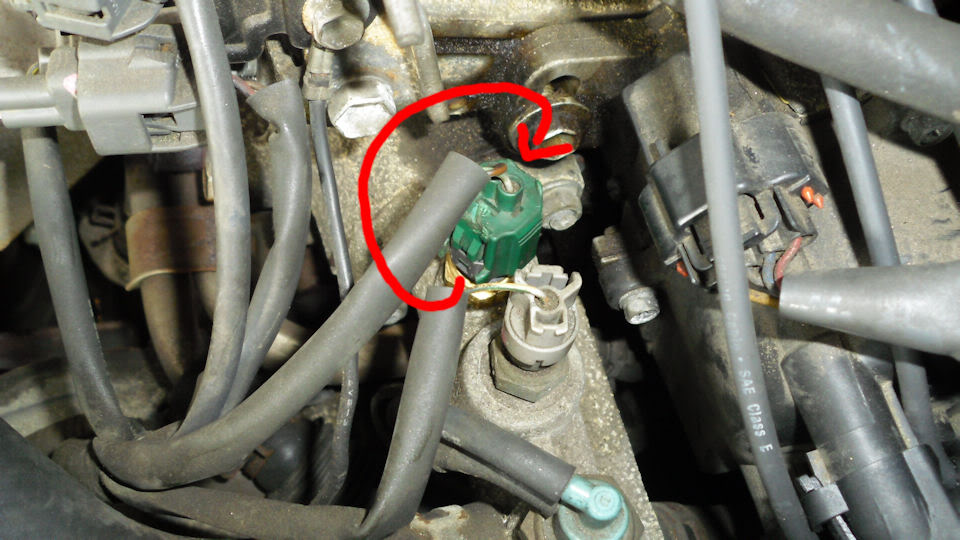
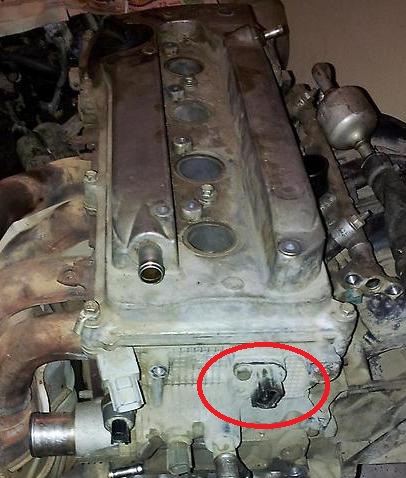
20. Squeezing the latches, disconnect the wire connector from the emergency oil pressure drop warning light sensor (first photo), coolant temperature sensor (second photo) and camshaft position sensor (last photo).
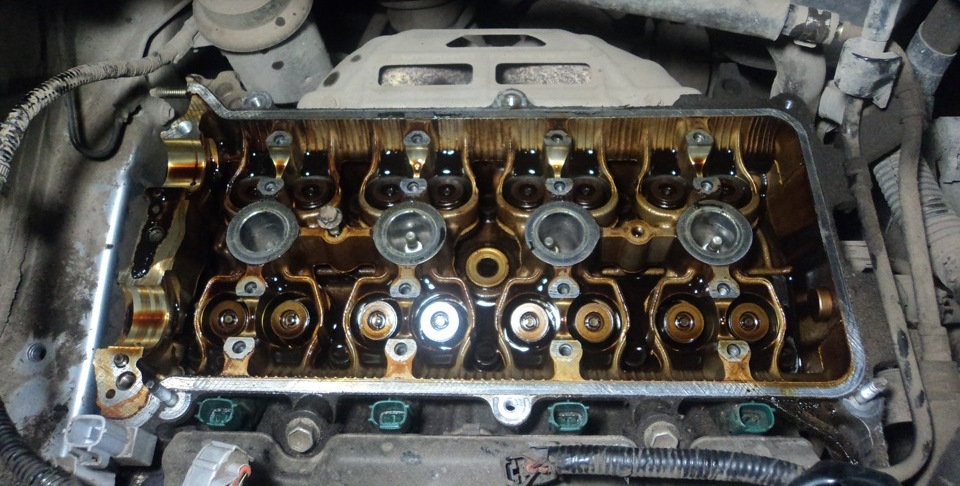
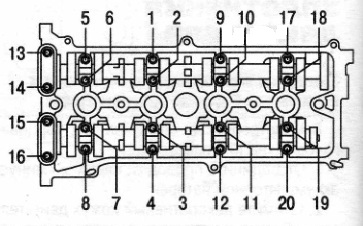
21. Turn out bolts of fastening of a head of the block of cylinders in the sequence specified in the manual, take them together with spring washers and remove a head of the block of cylinders. Remove the cylinder head gasket.
Note:
It is more convenient to remove the cylinder head with an assistant, since it is quite heavy.
22. Clean the mating surfaces of the cylinder head with a rag and parts cleaner with a degreaser (surfaces must be dry and clean), remove oil from the threaded holes in the block for the head bolts.
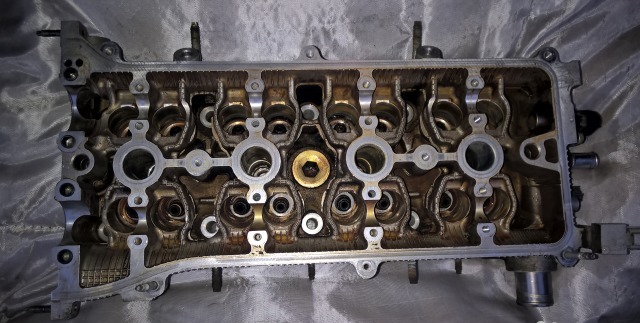
23. Check up a head of the block on lack of a buckling. To do this, place the ruler with an edge on the surface of the head, first in the middle along, across, and then diagonally and with a feeler gauge, measure the gap between the surface of the head and the ruler. Replace the cylinder head if the clearance is more than 0.08mm.
24. Install the cylinder head in the reverse order of removal, taking into account the following:
1) remove oil or coolant from the threaded holes of the cylinder head mounting bolts that got there when the head was removed;
2) be sure to install a new head gasket, reuse of the gasket is not allowed;
3) lubricate the bolts with engine oil;
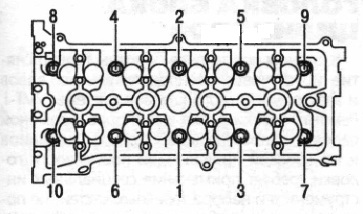
4) tighten the bolts on a cold engine in the order shown in the photo below, in two stages: 1st - tighten the bolts to a torque of 78.5 Nm; 2nd - tighten the bolts at an angle of 90 °.
25. Install all removed parts in the reverse order of removal.
26. Fill the engine with oil and coolant as described here and here .
The article is missing:
- Tool photo
Source: Instructions (manual) for the repair and operation of Toyota RAV4 since 2005. PDF