![1 generation [1994 - 2006]](/uploads/Citroen_Jumpy_I_1994_-_2006_.jpg)

Tool:
- Collar for end nozzle
- Nozzle for crank 8 mm
- Nozzle on the crank 10 mm
- Nozzle on the crank 13 mm
- Straight spanner wrench 13 mm
- Torx wrench set (star)
- Jack
- Support leg
- balloon wrench
- torque wrench
- Belt tension gauge
- Phillips screwdriver, medium
Parts and consumables:
- timing belt
- Timing roller
- Parasitic timing roller
- wooden block
- Finger №7014-TJ
- Pin No. 5711-T.A
- Pin No. 5711-T.V
- Pin #5711-TC
Note:
The article describes the procedure for working with parts of a diesel engine with a volume of 1.9 liters, WJZ series.
This manual can be used to work with cars Citroen Jumpy (I), Peugeot Expert (I), Fiat Scudo (I), Citroen Berlingo (1996 - 2002), Citroen Xsara (2000 - 2003). , Peugeot Partner (2000 - 2006), Peugeot 206 and Peugeot 306 (2000 - 2002).
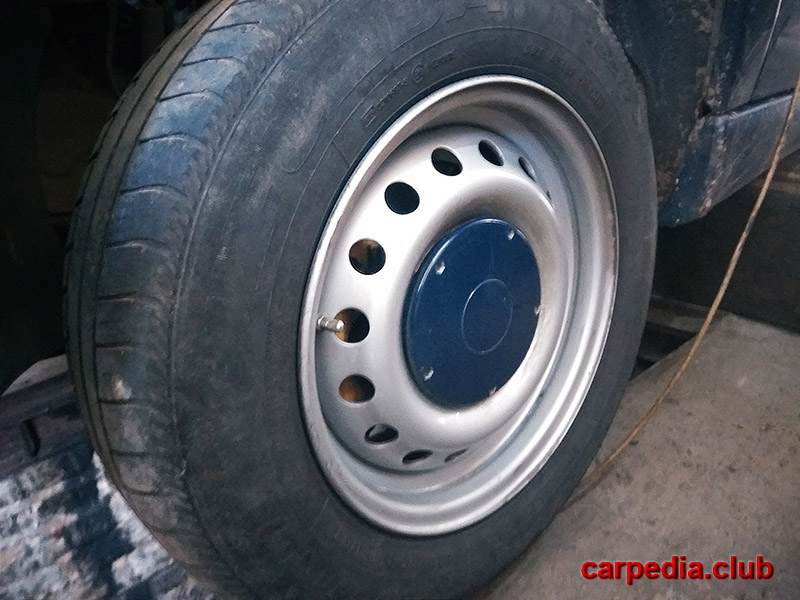
1. Remove the right front wheel
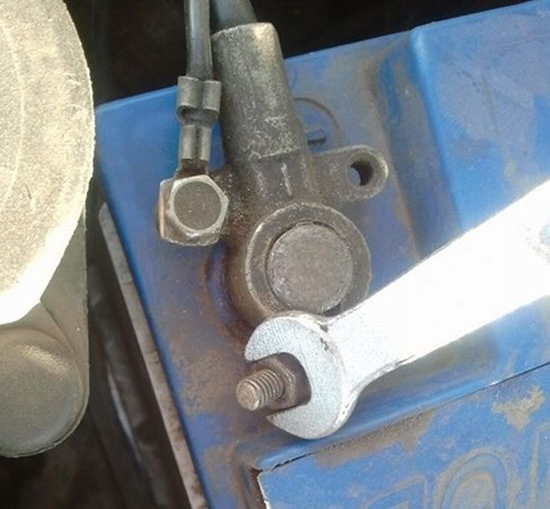
2. Remove the terminal from the negative battery terminal.
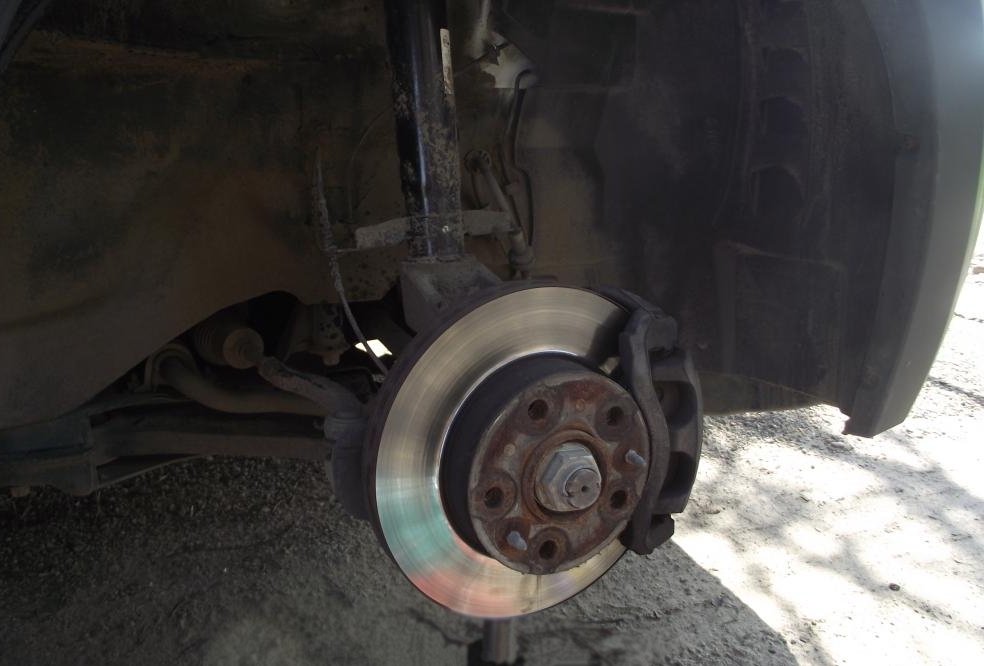
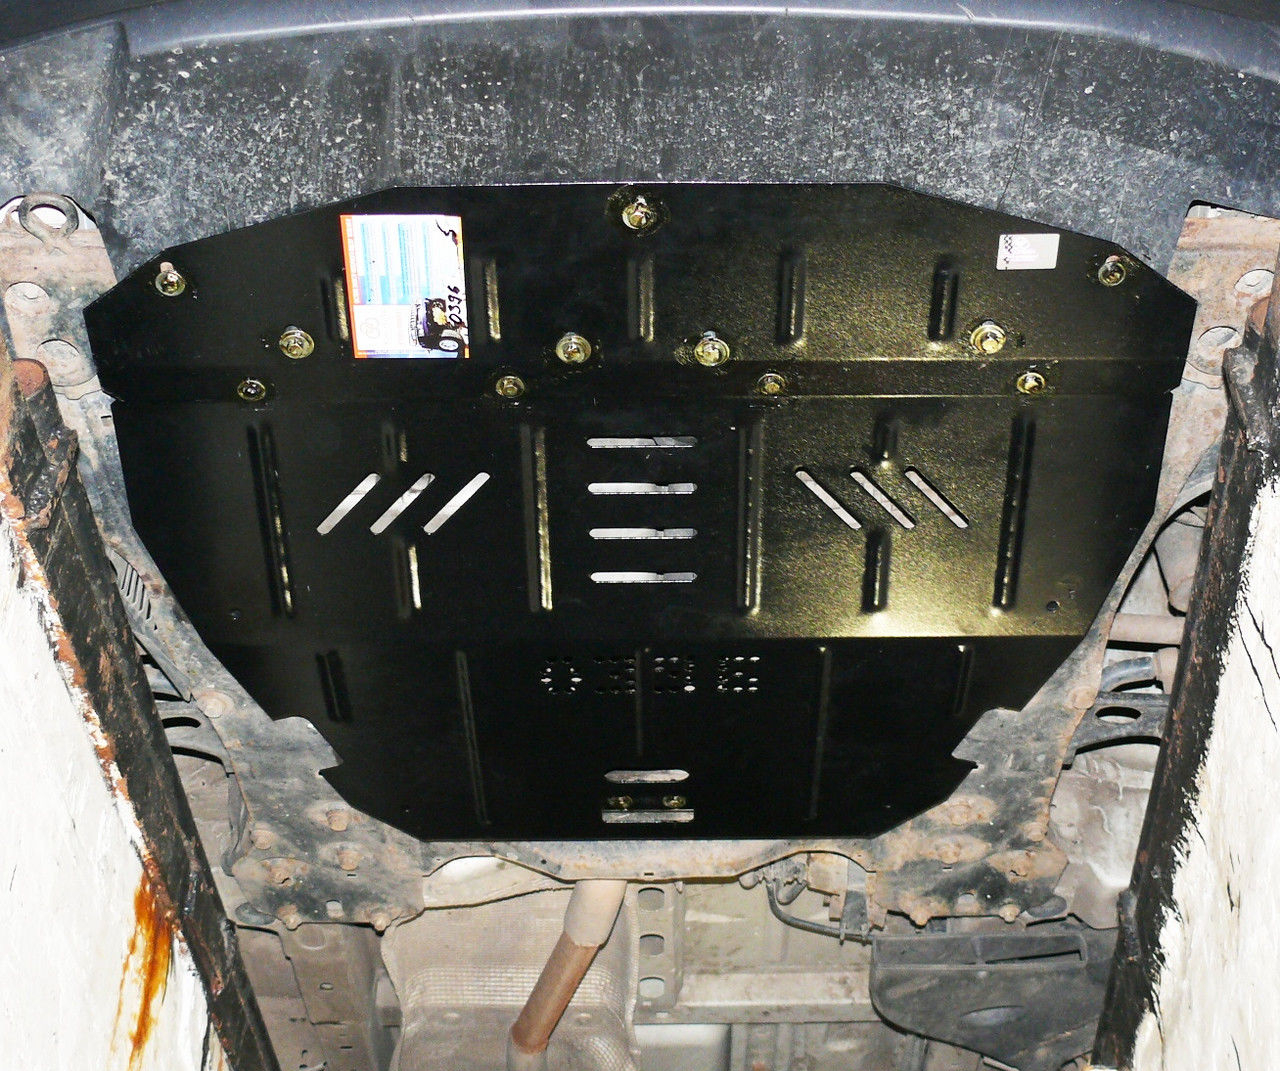
3. Next, you need to remove the right fender liner and engine crankcase protection.
4. Jack up the engine.
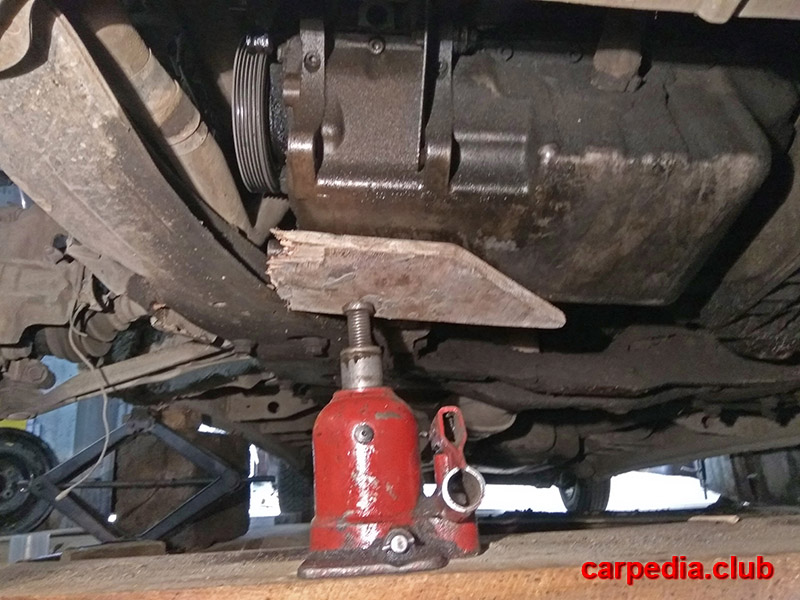
Note:
Place a piece of wood between the crankcase and the jack to prevent damage to the crankcase.
5. Unscrew and remove the two accessory crank pulley bolts and the right engine mount center nut.

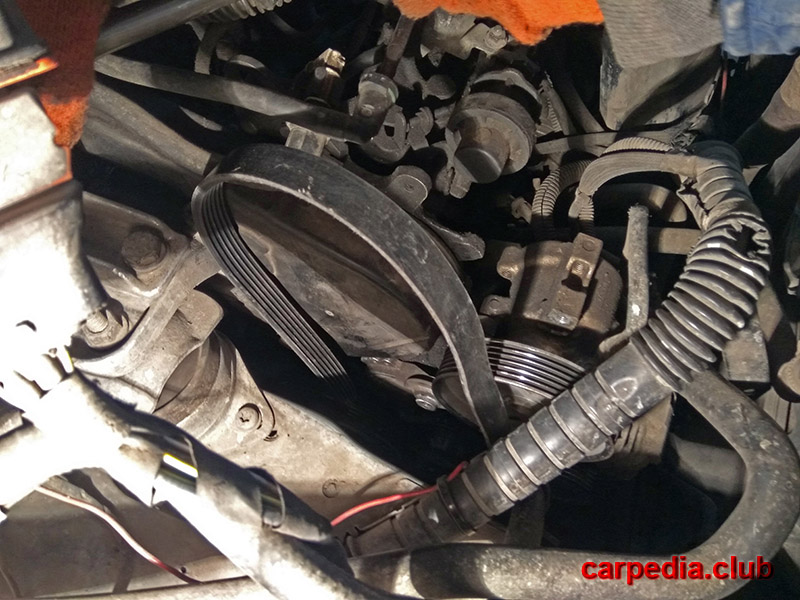
6. Remove the accessory drive belt.
7. Turn out the bottom screw of fastening of a cover of a belt of a drive of the gas-distributing mechanism.
8. Turn the crankshaft clockwise to the TDC position and fix the flywheel.

Note:
This will require a special locking pin No. 7014-TJ
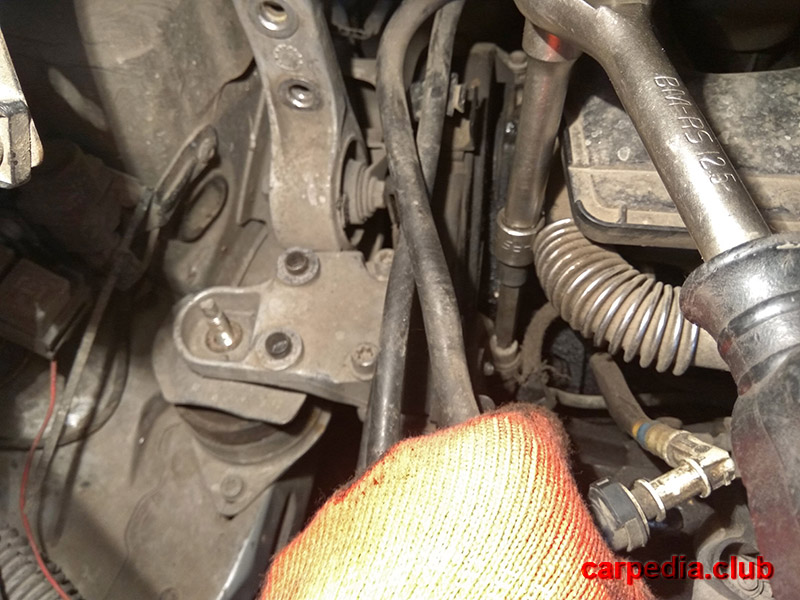
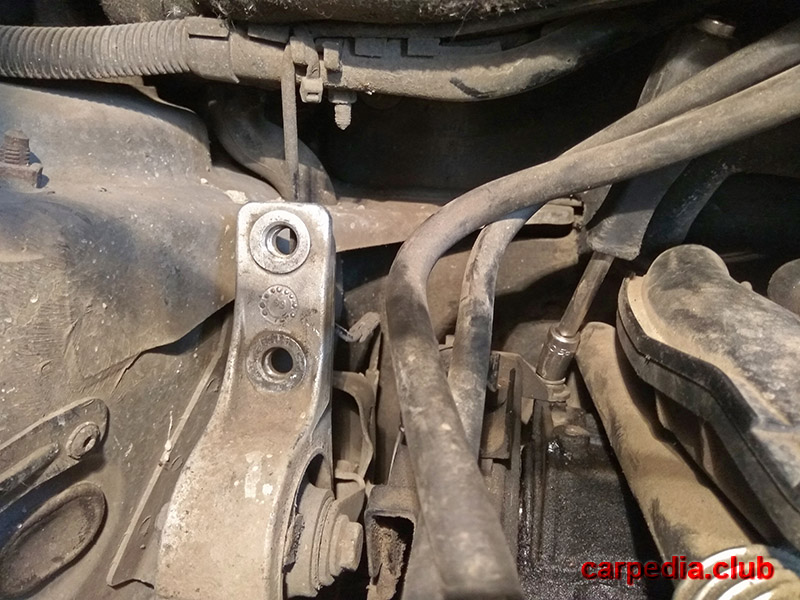
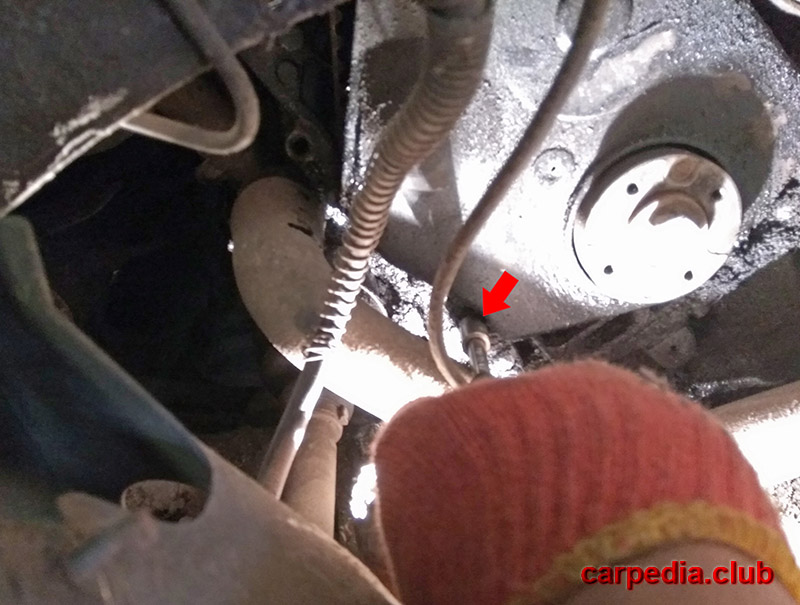
9. Next, we proceed to remove the bracket for the right pillow of the power unit. Remove the rear screw securing the engine mount bracket (located behind the timing shield).
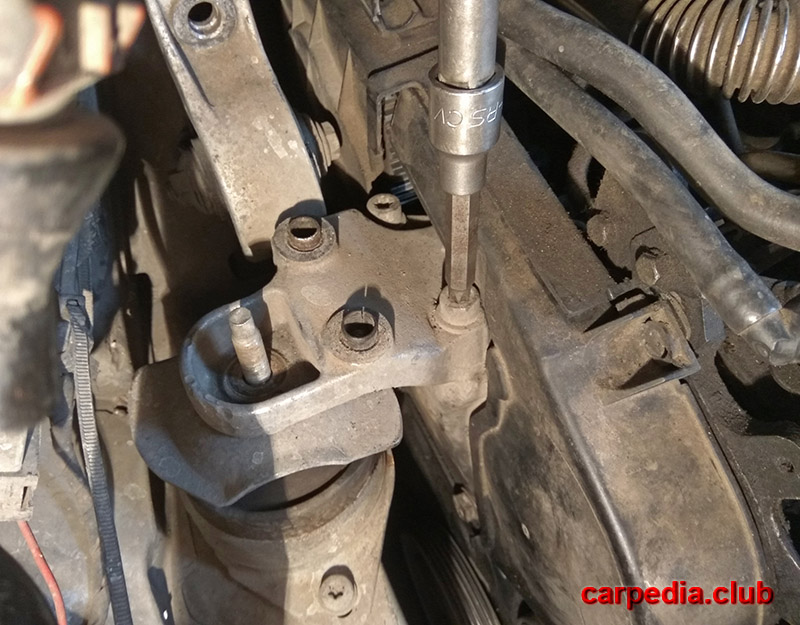
10. Turn away the near screw of fastening of an arm.
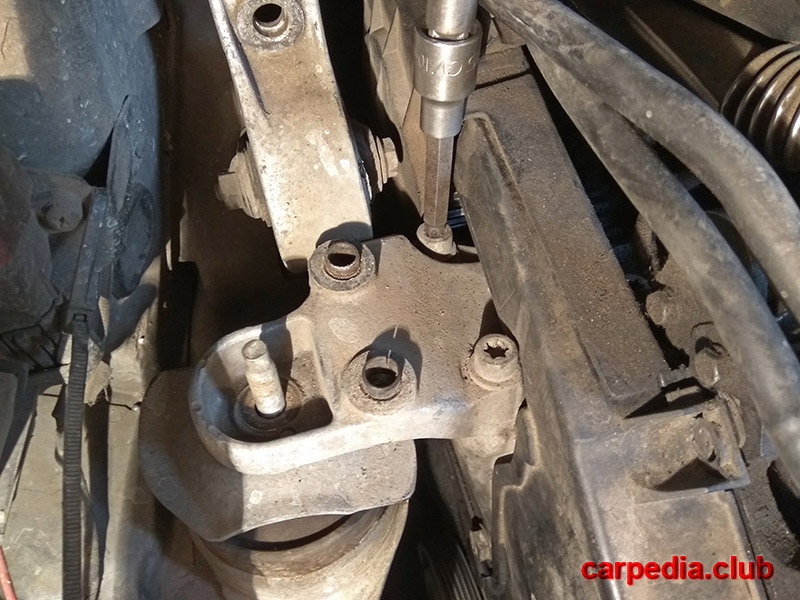
11. Similarly turn away the far screw of fastening of an arm.
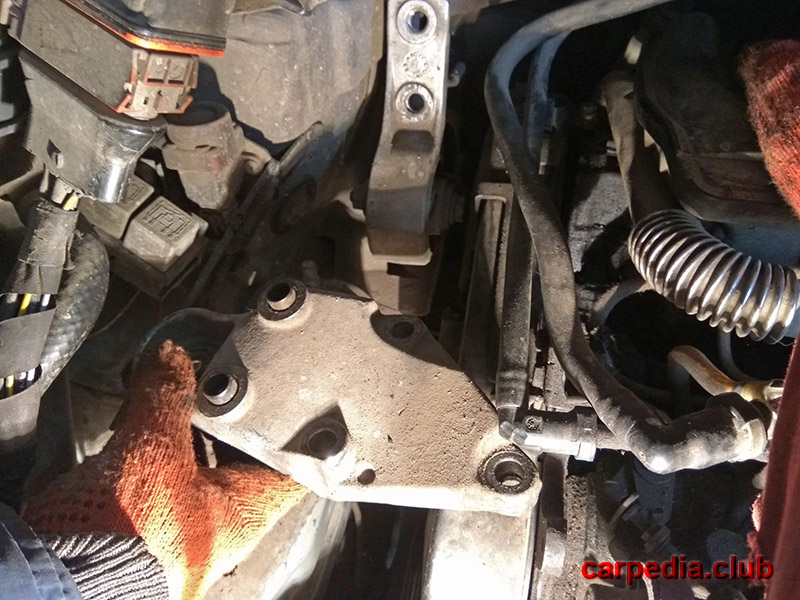
12. Remove the screws from the bracket.

13. Remove the bracket.
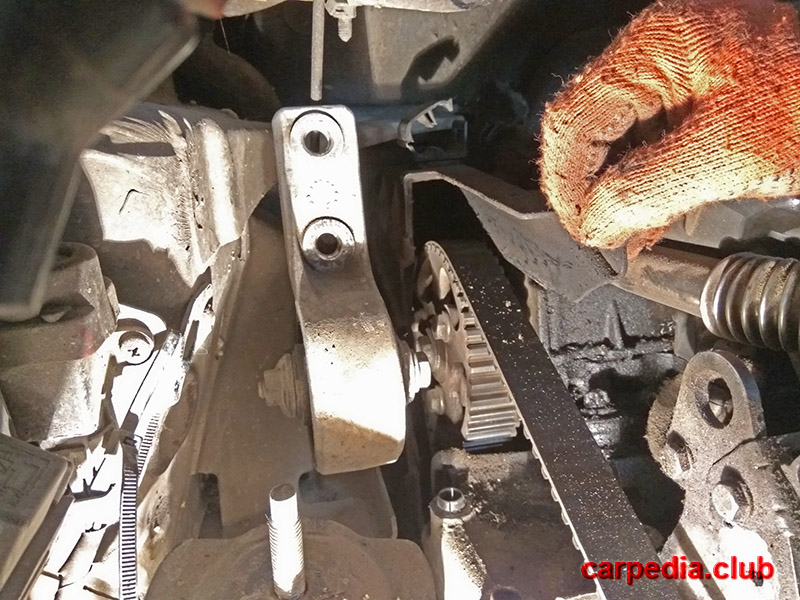
14. Remove the front timing gear cover.
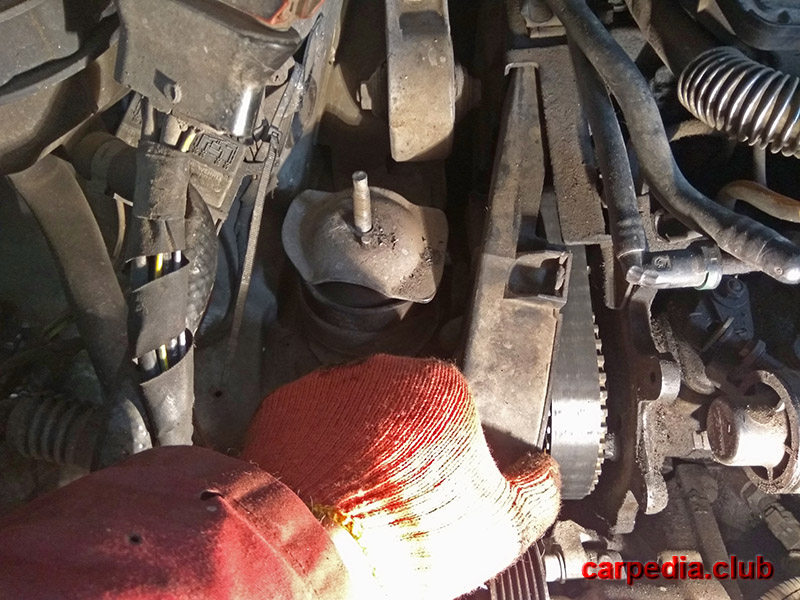
15. Thus, you gained access to the injection pump pulley.
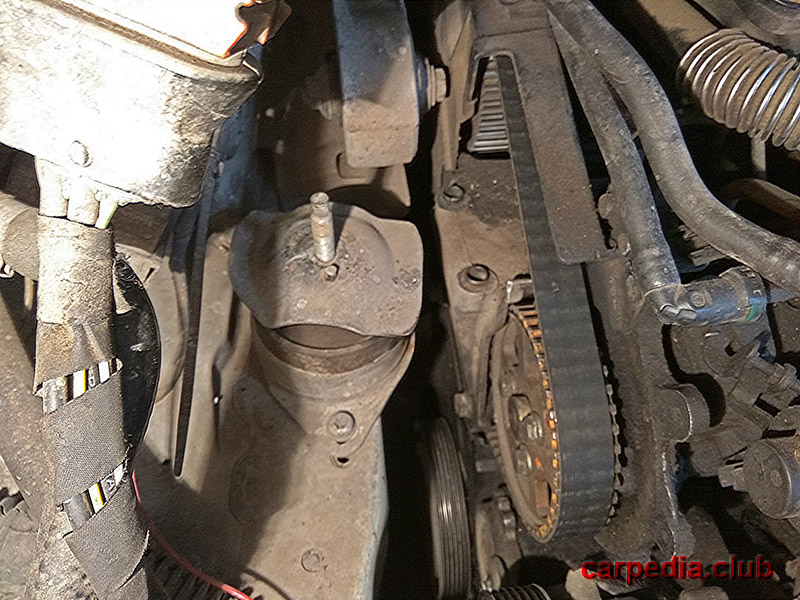
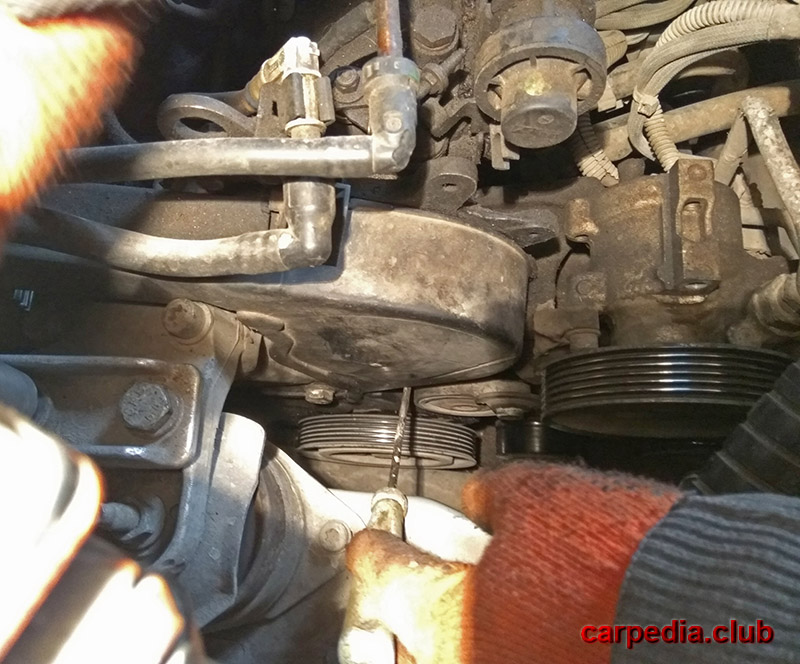
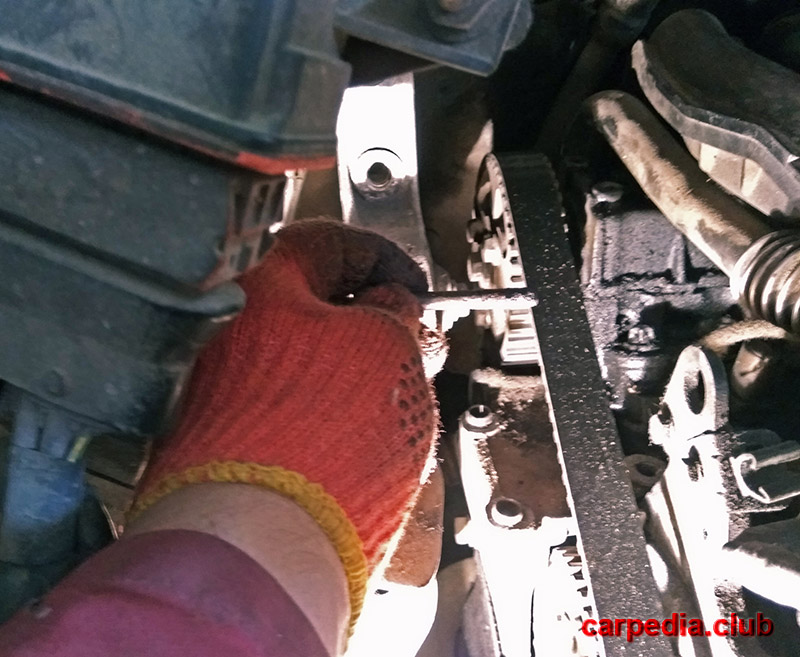
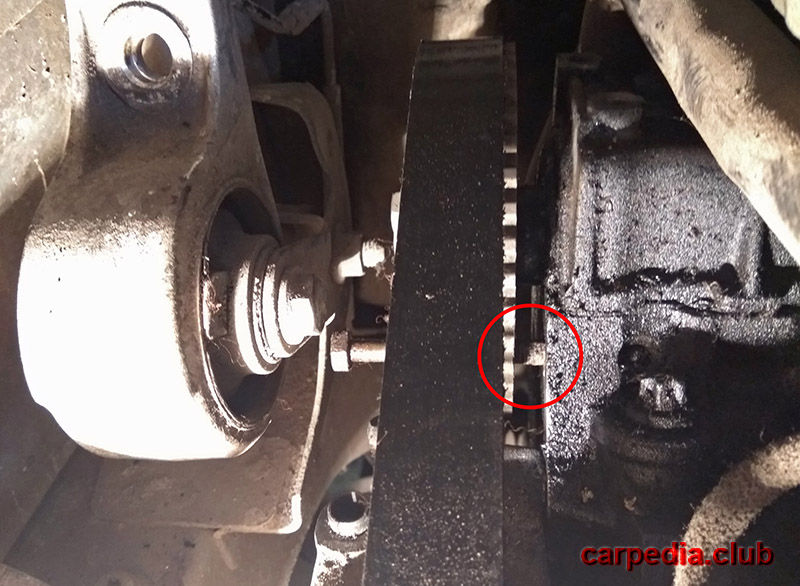
16. Using a pin, we fix the pulley of the high pressure fuel pump.
Notes:
For BOSCH injection pump - a pin with a diameter of 9.5 mm is suitable, and for Lucas CAV - 6.0 mm .
Behind the pulley, in the position as in the photo below, there is a special hole into which you need to get the pin.
17. We unscrew the screw securing the rear cover of the timing drive.
18. Remove the rear timing cover.
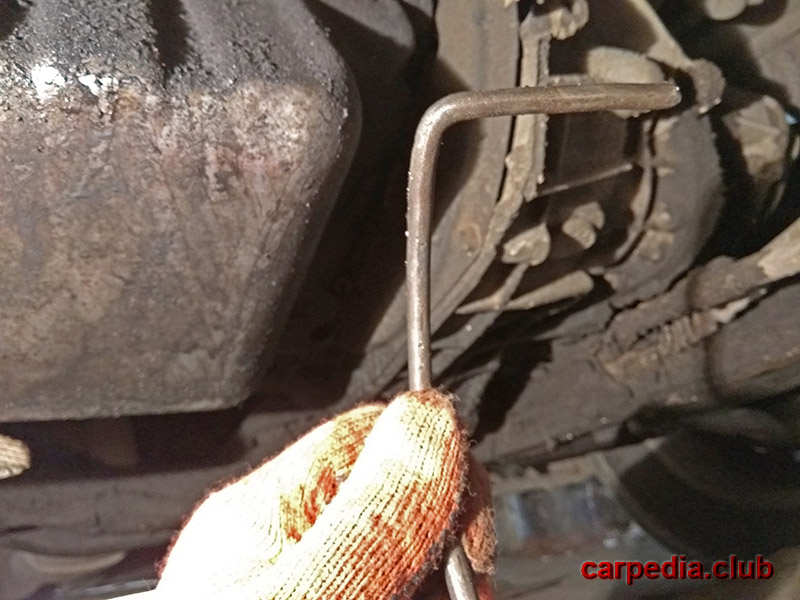
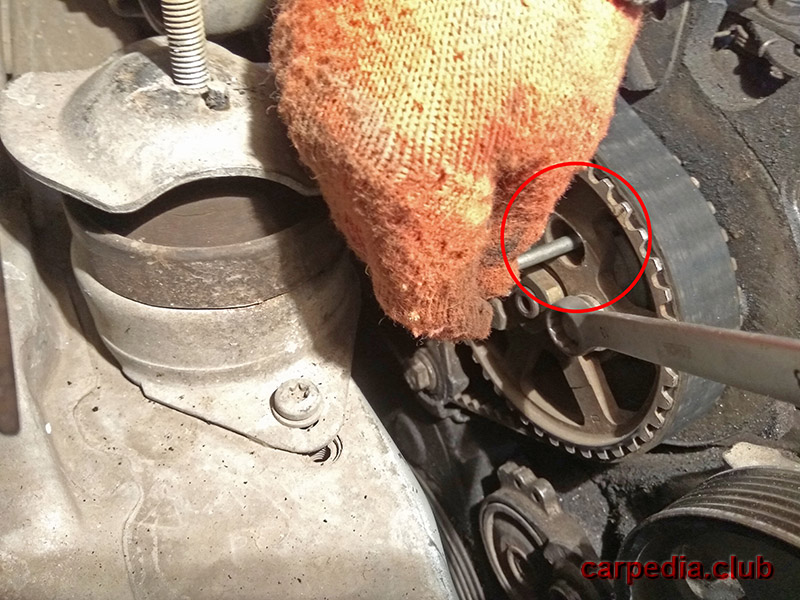
19. Now you need to fix the camshaft pulley. We take the pin and install it in the lower hole of the pulley.
Pin No. 5711-T.A.
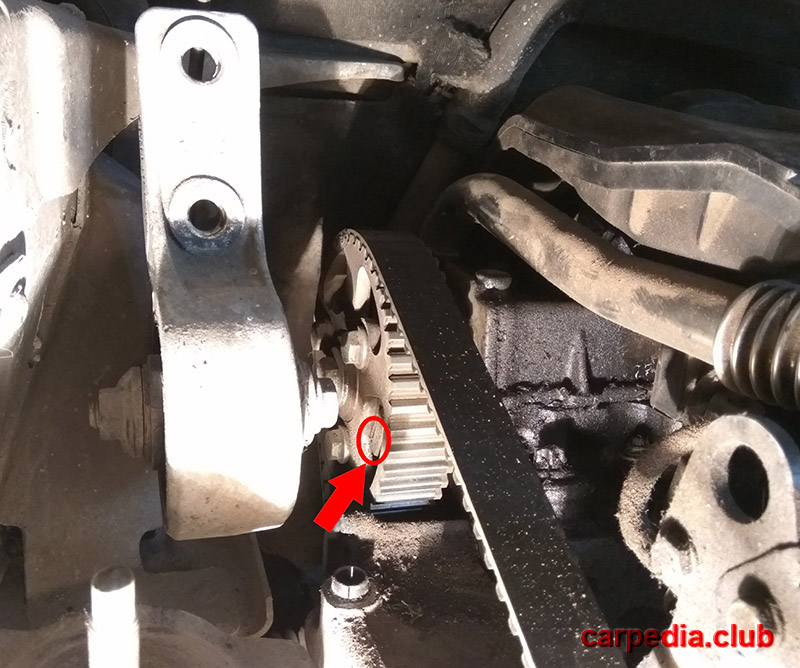
Hole for fixing pin.
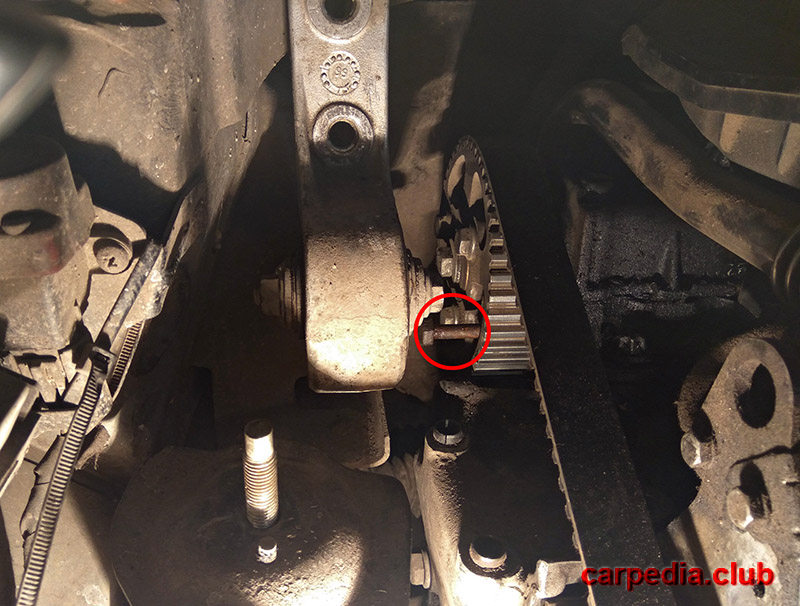
Note:
Make sure the pin is in the appropriate hole behind the toothed pulley.
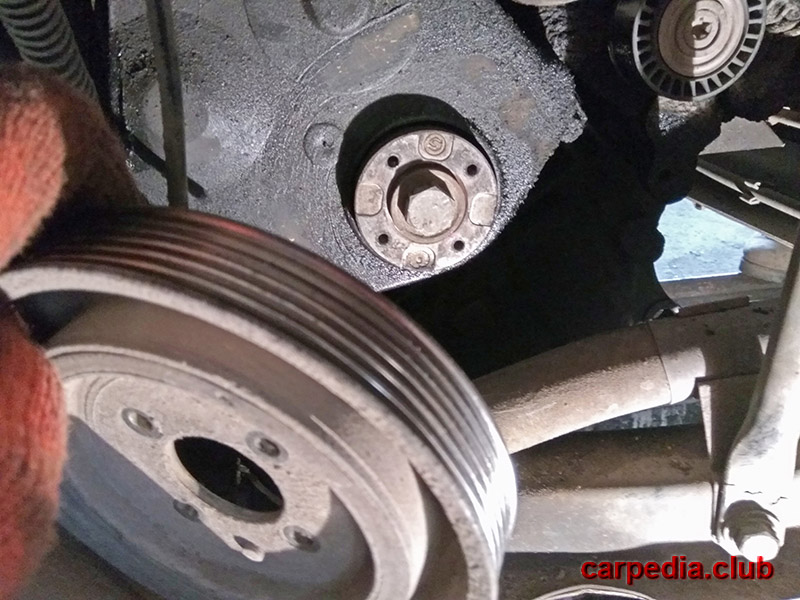
20. Turn away bolts of fastening of a pulley of a cranked shaft.
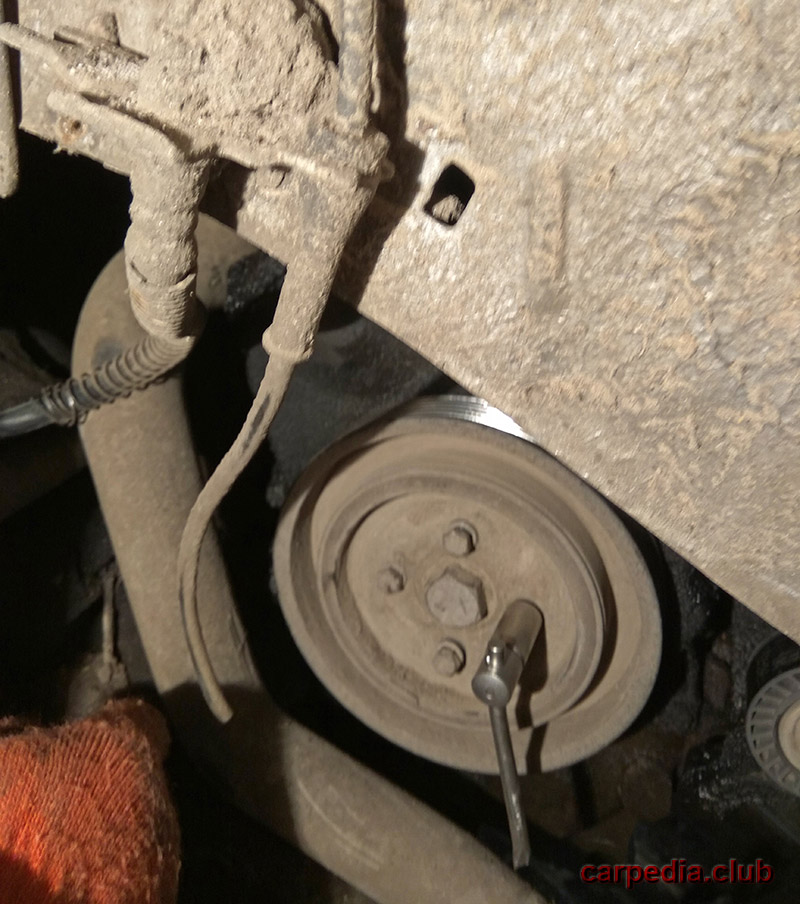
21. Completely unscrew and remove the bolts securing the accessory drive pulley.
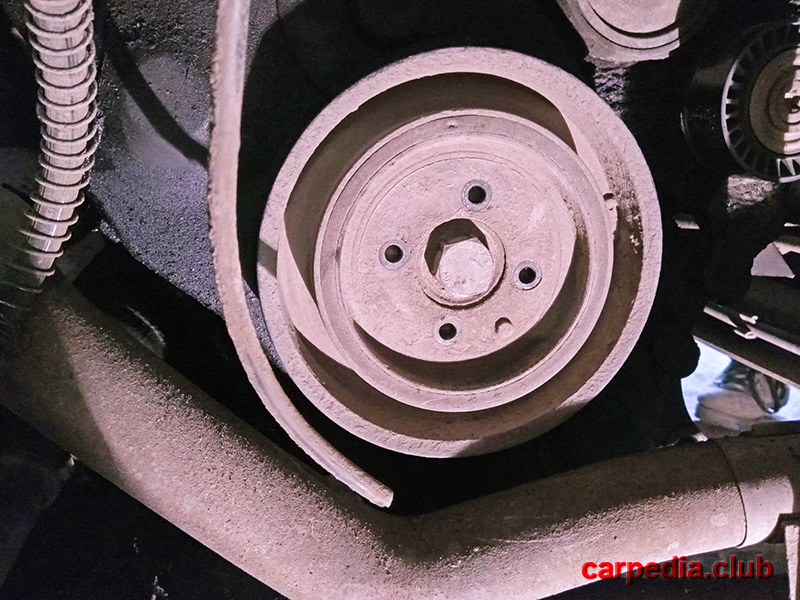
22. Remove the pulley
23. Behind the pulley is the lower timing cover.

24. We unscrew the cover fastening bolt on the left.
25. Unscrew the right bolt securing the lower timing belt cover.
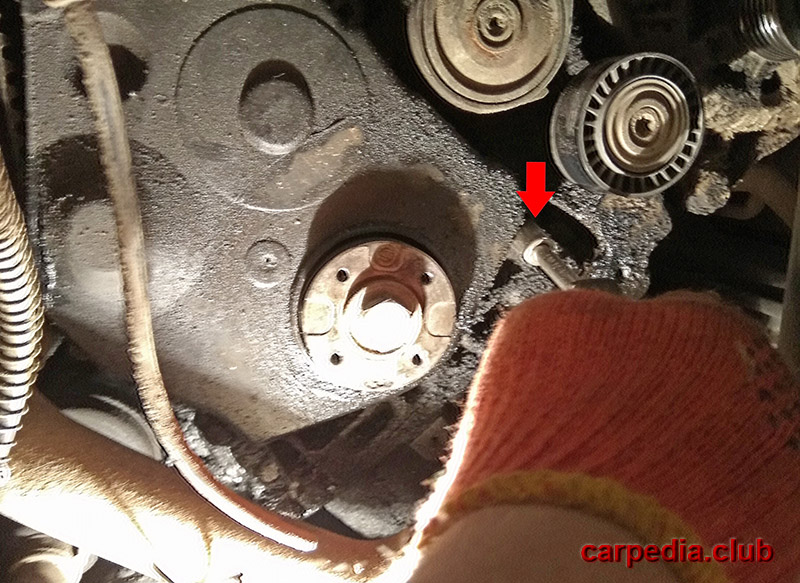
26. Remove the timing cover.
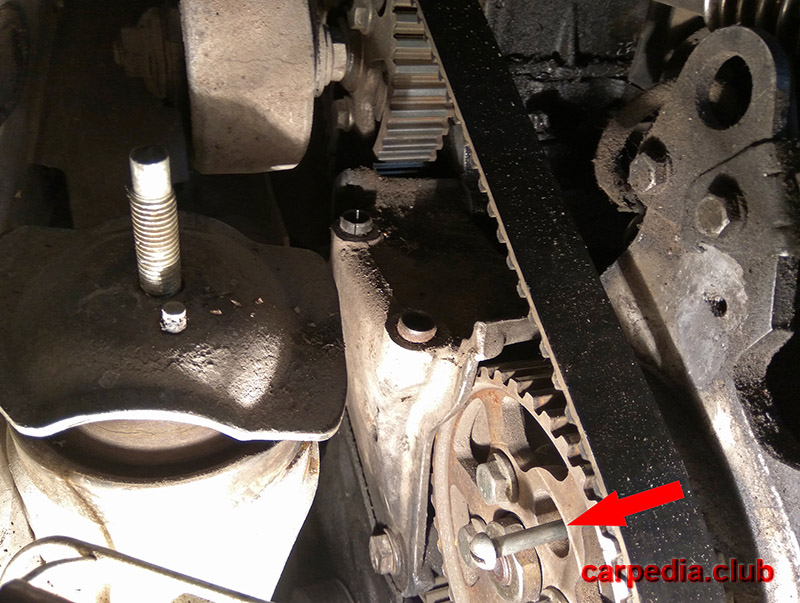
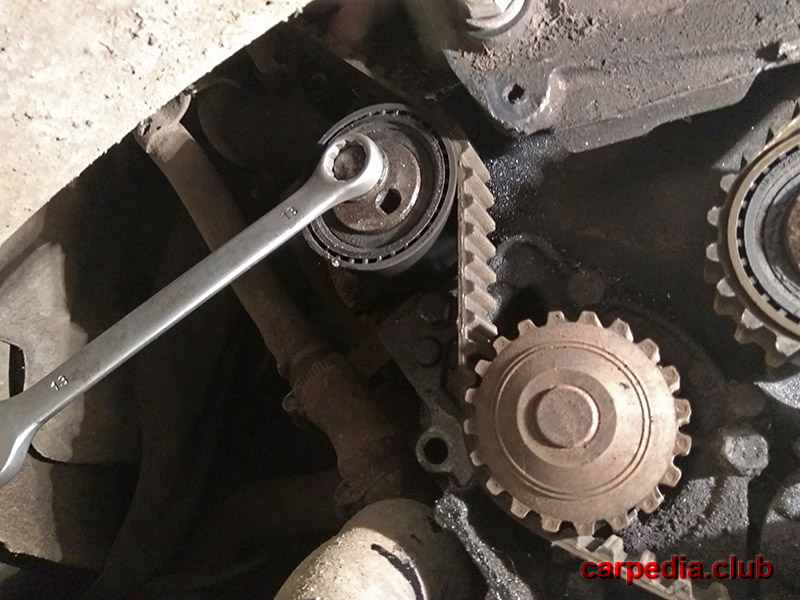
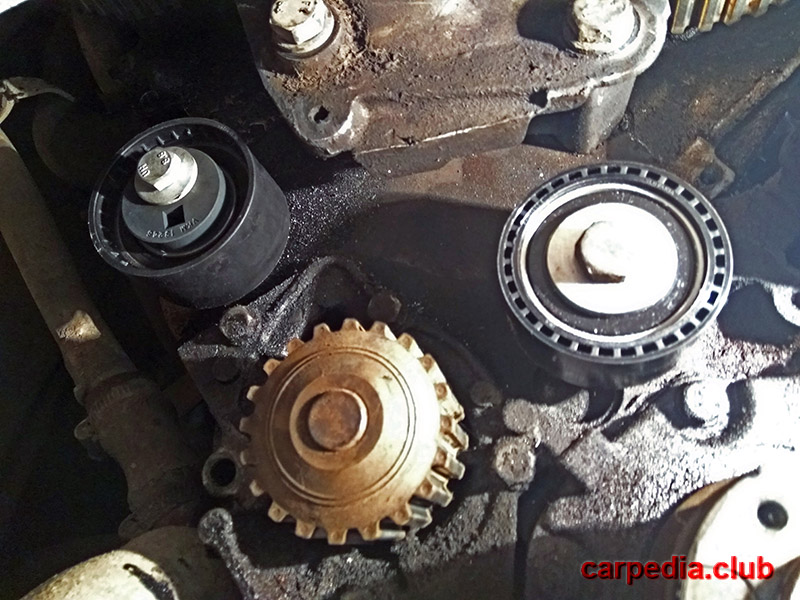
27. Here is the timing belt tensioner. Loosen the idler pulley bolt and turn it clockwise. Then tighten the nut.
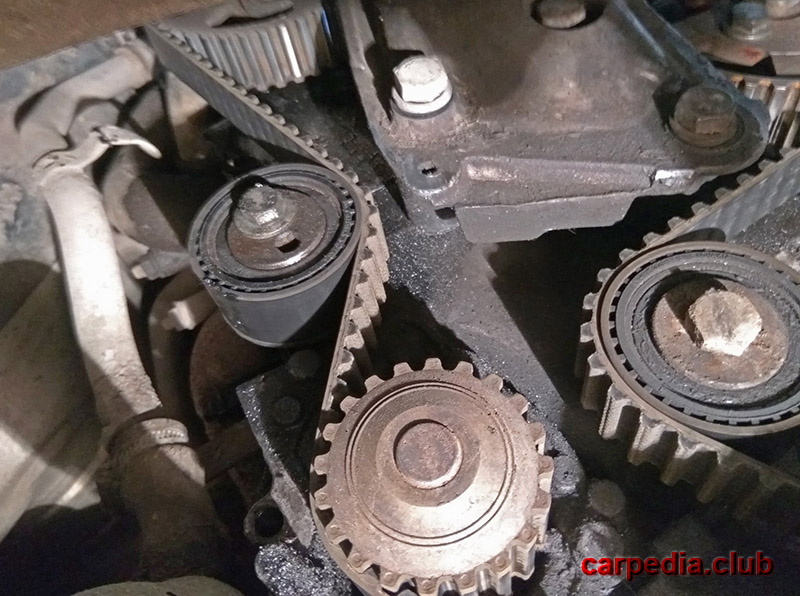
Tension roller, far left.
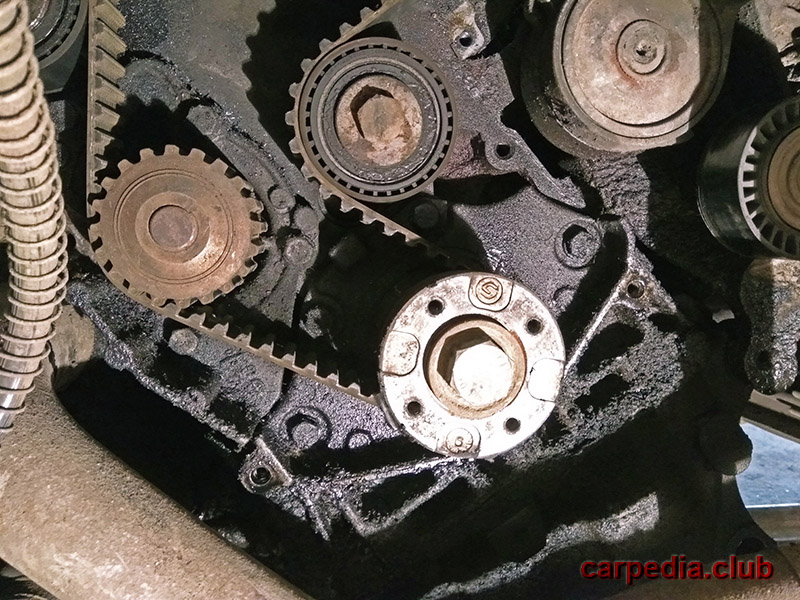
28. Now the timing belt can be easily removed.
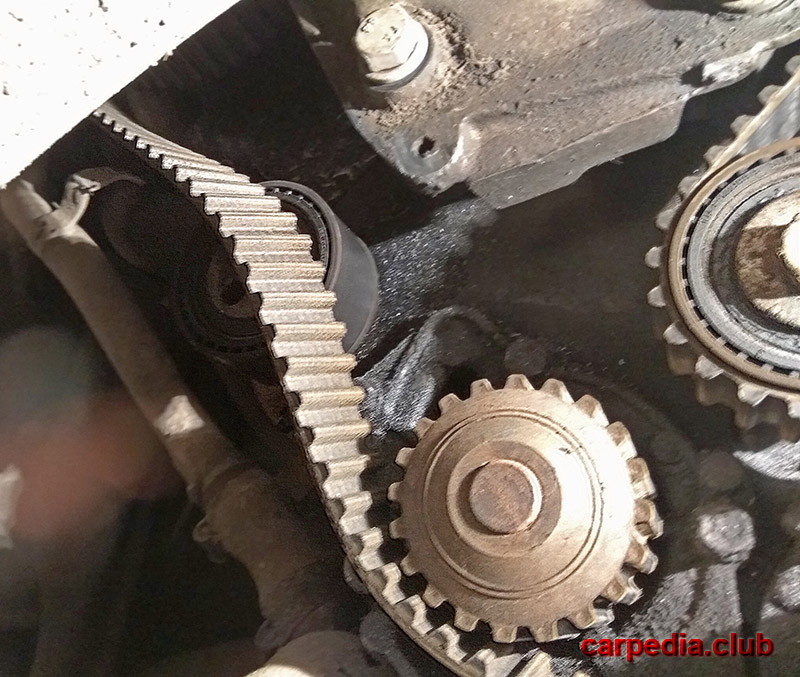
Notes:
After removing the belt, turn the camshaft and injection pump sprocket pulleys clockwise until the pins rest against the edges of the oval holes.
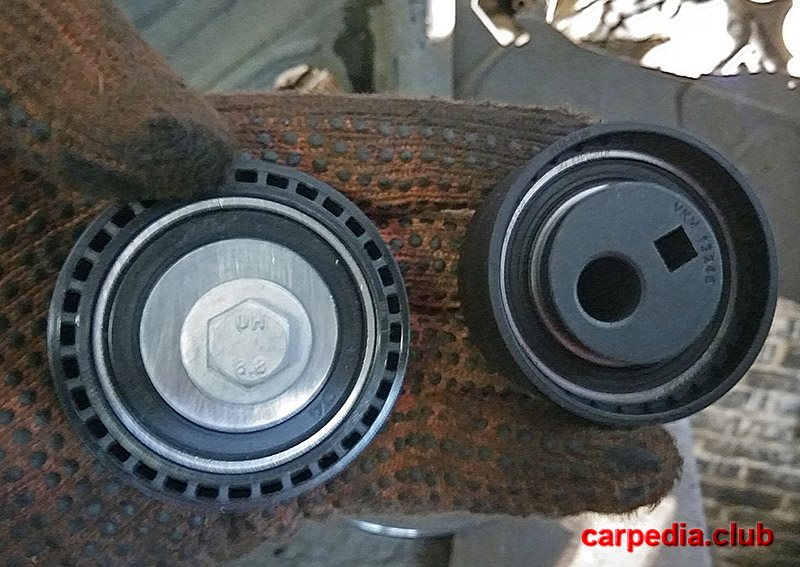
It is recommended to replace the parasitic and tension rollers together with the belt, since they are also subject to wear.
29. Install a new timing belt following the instructions in this article .
30. Install the remaining parts in the reverse order of their removal.
The article is missing:
- Tool photo
- Photo of parts and consumables
Source: carpedia.club