![IX [2000 - 2005]](/uploads/mitsubishi_lancer_2005_images_2.jpg)
![X [2007 - 2017]](/uploads/Mitsubishi_Lancer_Sedan_2007.jpg)


Hello everyone! Finally, I got my hands and money to the front silent blocks. Ordered last week, they came on Monday, but only yesterday managed to drive the car.
The process is not particularly complicated, provided that you have the necessary tools and a press at hand.
It wasn't hard to take the levers off. On the right side, I took everything apart when replacing the ball. Everything is lubricated with graphite grease, so there are no problems at all, and there were no difficulties on the left side either. I only had to tinker with the stabilizer bar a little, as the bushing was clogged with dirt and could not be removed.
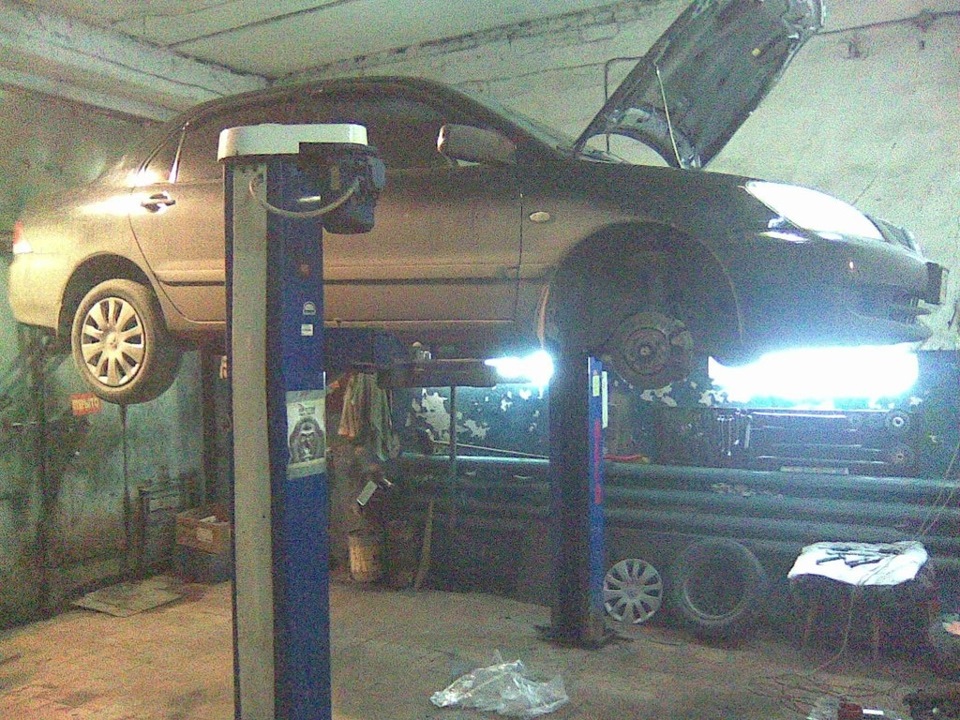
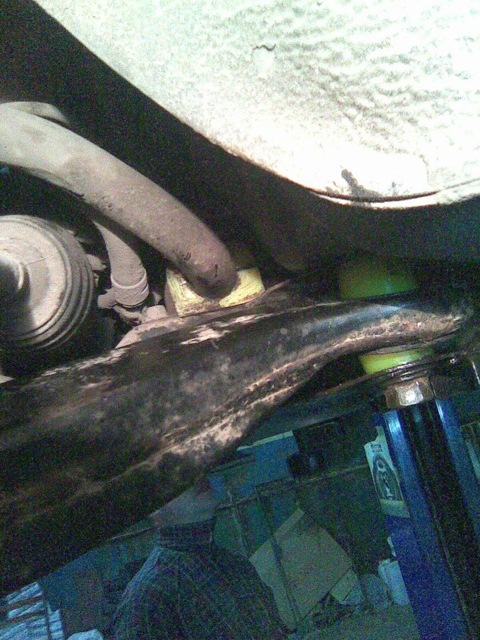
We put the car on a lift.
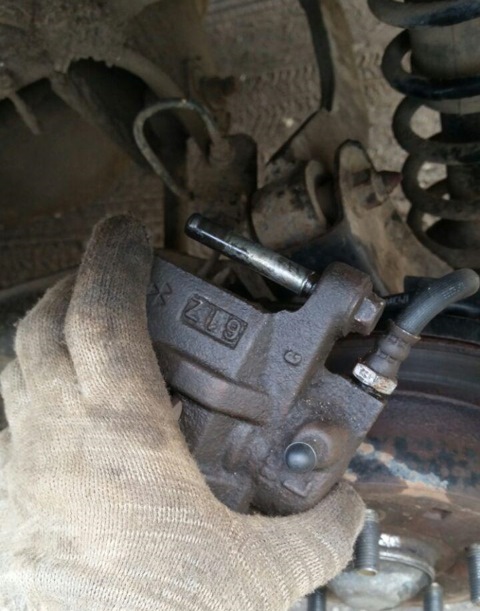
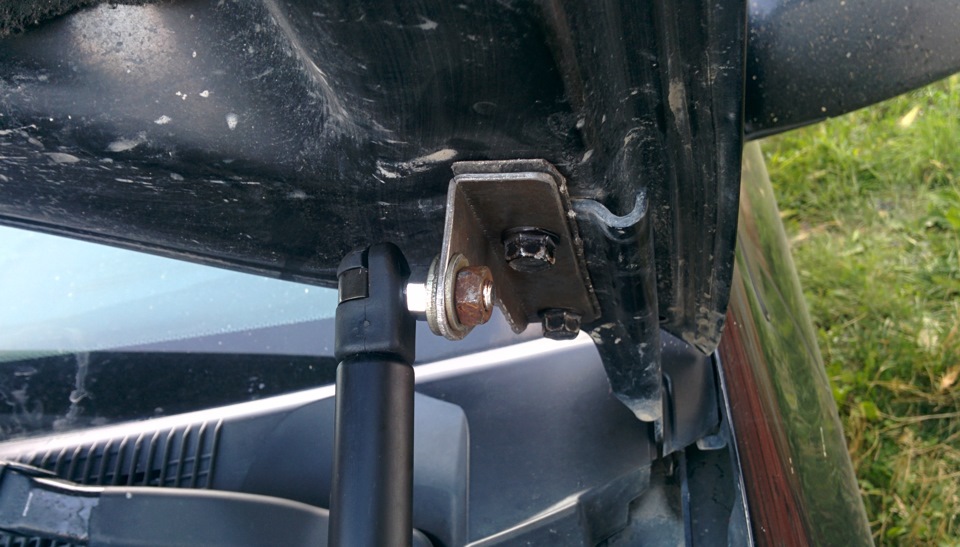
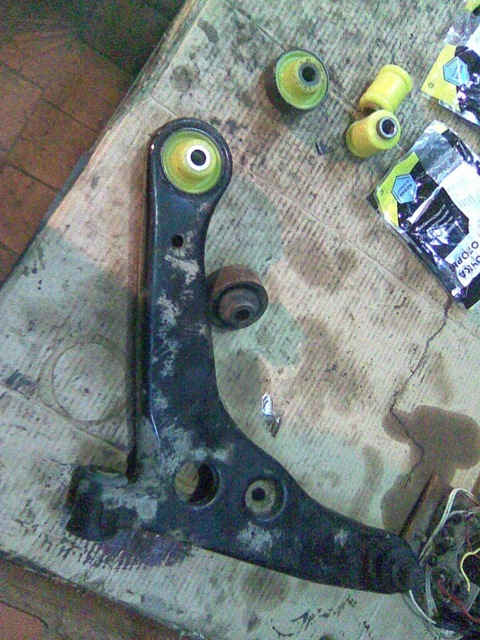
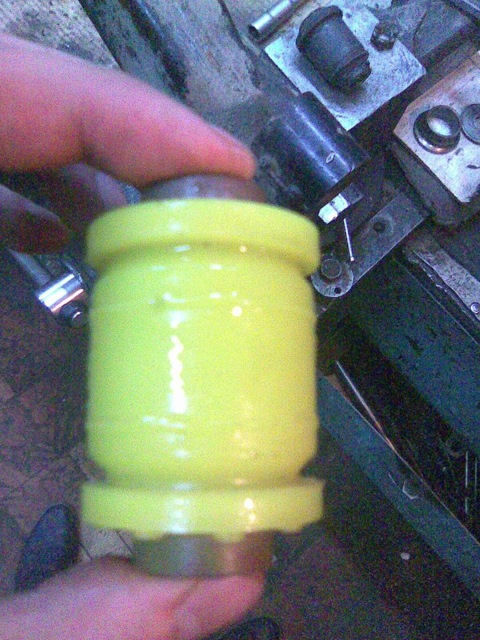
Here are the silents themselves.

For some reason, the sticker "The bushing is not glued to the material" is pasted on the silents, although everything seems to be holding up perfectly.

Having pressed out the old silent blocks, I saw that they were all rusted inside the lever. The lever was cleaned of rust as best he could.
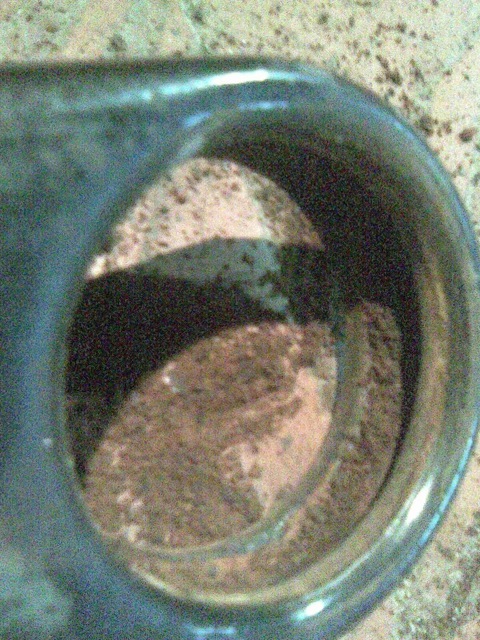
Rust cleaning process inside the lever
Then I lubricated inside the lever and the silent block itself with graphite grease.
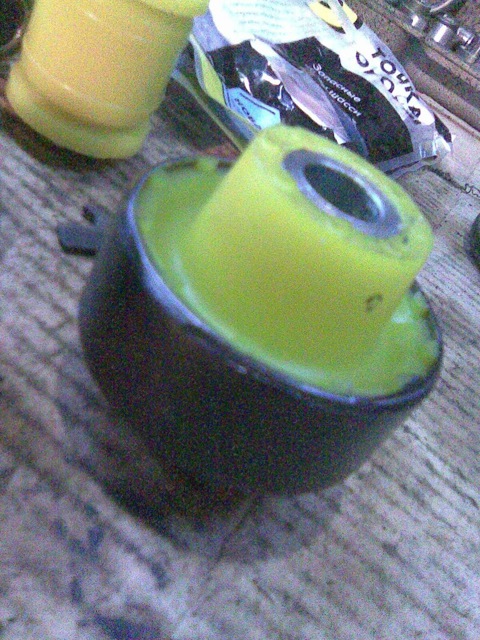
Well, I pressed the first silent block.
Oh, and by the way, the question is: I have drilled brake discs, apparently changed, not the original? Or are there originals too?
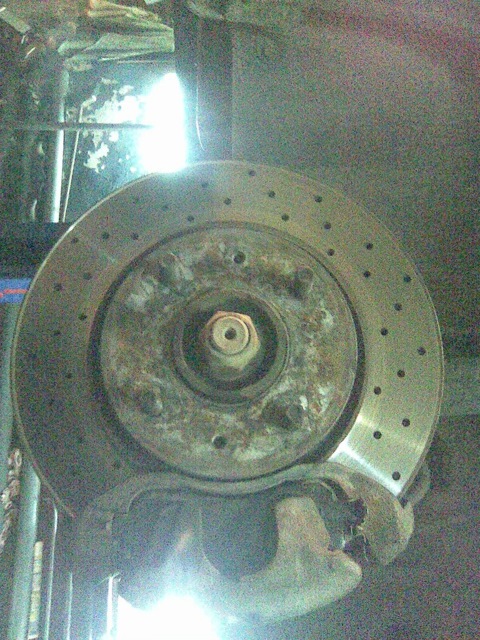
Brake discs with holes
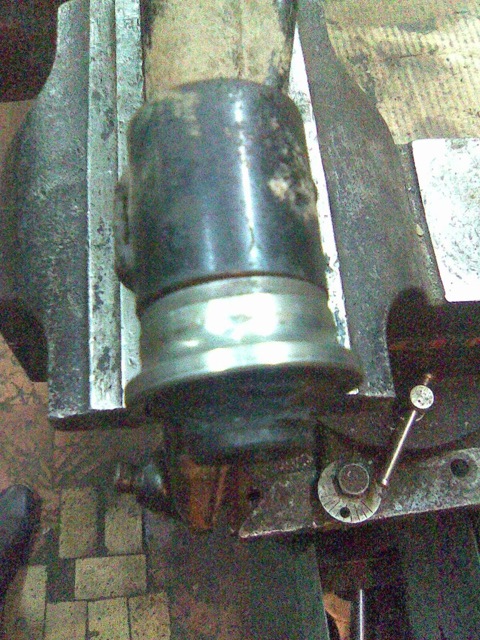
Having pressed the rear silent block on the second arm, I started replacing the front silent blocks. To do this, first cut off the edge of the silent from the outside.
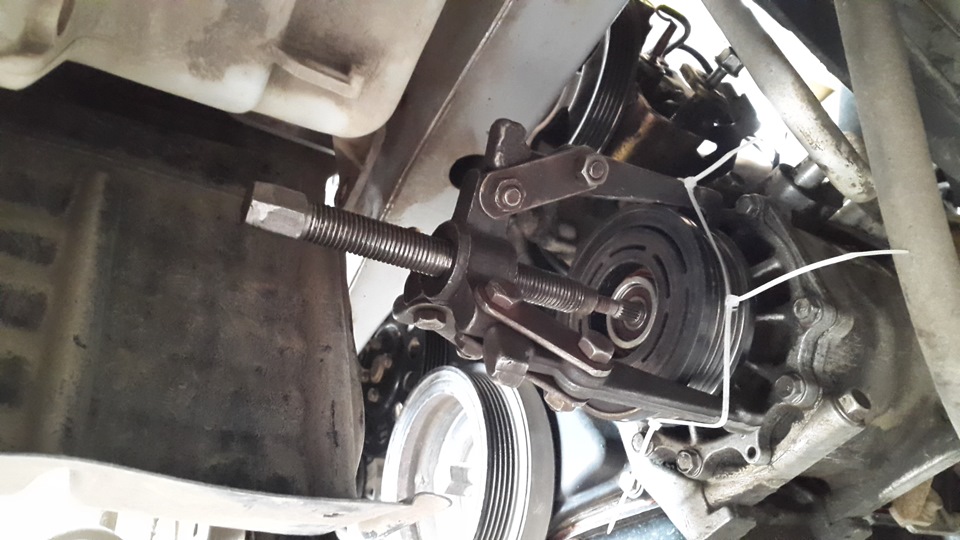
Next, we build such a "sandwich" on the lever.
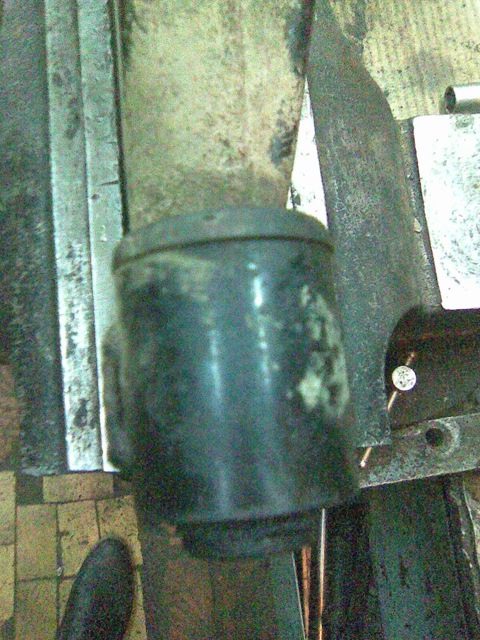
We press out the silent block from the lever with a bolt. I managed to pull it out like this.

Next, I put a long bolt into it and pulled it out of the lever by swinging it.
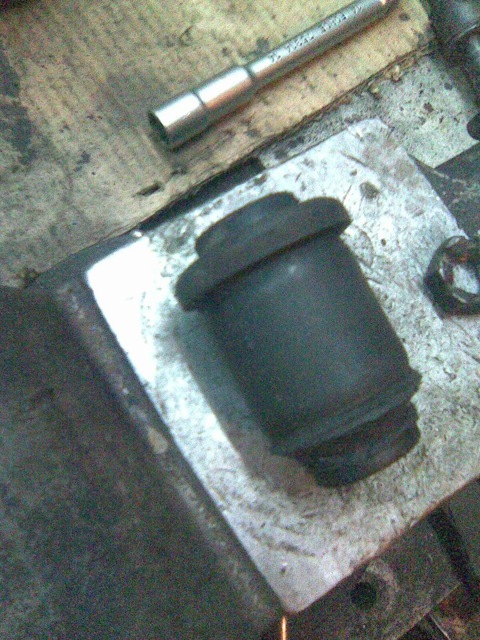
Old silent block
I cleaned the inside of the lever with a file and proceeded to press in a new one. Before you "push" it, you need to lubricate it. You understand that without lubrication in some places and the conditions are tight. I smeared it with regular shampoo. Strawberry flavored.
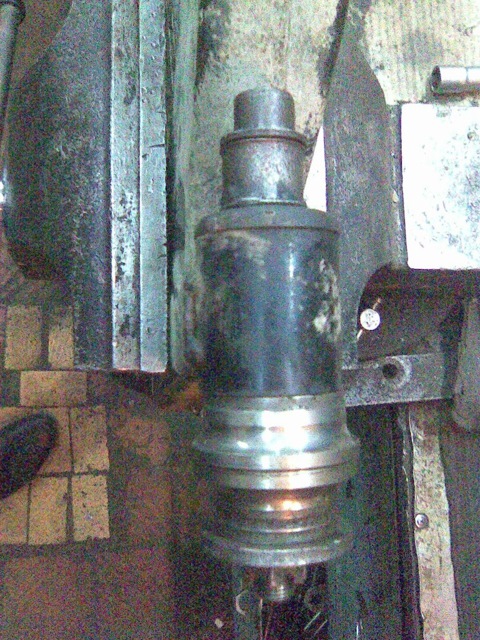
Next, we assemble such a structure.
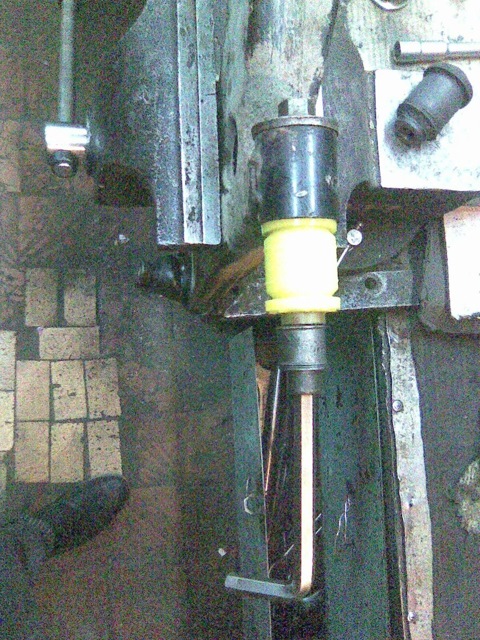
And we push the silent block into a narrow hole. 
Finished lever

Well, then, setting the levers in place. The stabilizer bushings are also polyurethane, I wrote about this in past entries. It remains for the final "polyurethane" to change the stabilizer strut bushings front and rear and rear stabilizer bushings. Well, it's very soon.
PS Although the old silent blocks were not even torn, with small cracks, I got rid of strong sonorous blows to the body when driving through "sharp" bumps. Suspension began to work out "more fun" and quieter. It remains to change the little things.
Silent block numbers:
"Fulcrum" Silent block polyurethane front suspension rear — 3-06-1493
"Fulcrum" Silent block front front arm — 3-06-1492

Source: http://www.drive2.ru/l/6417028/