![IX [2000 - 2005]](/uploads/mitsubishi_lancer_2005_images_2.jpg)
![X [2007 - 2017]](/uploads/Mitsubishi_Lancer_Sedan_2007.jpg)

Note:
If there are scuffs, deep scratches and other defects on the working surface of the disc that increase pad wear and reduce braking efficiency, as well as in case of increased lateral runout of the disc, causing vibration during braking, replace the disc.
The minimum allowable brake disc thickness is 8.4 mm. If the thickness of one of the discs is less than the specified value, replace both discs.
When replacing brake discs, be sure to replace the brake pads with a new set.
Replacing the rear brake disc Mitsubishi Lancer X
1. Remove the wheel from the side of the disc being replaced.
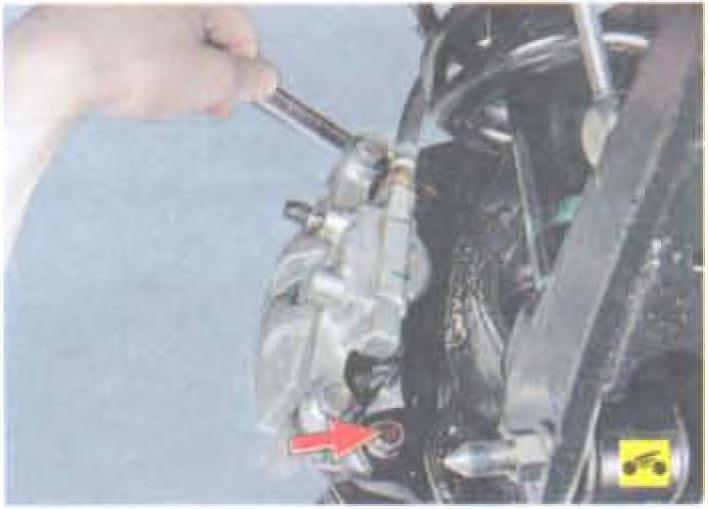
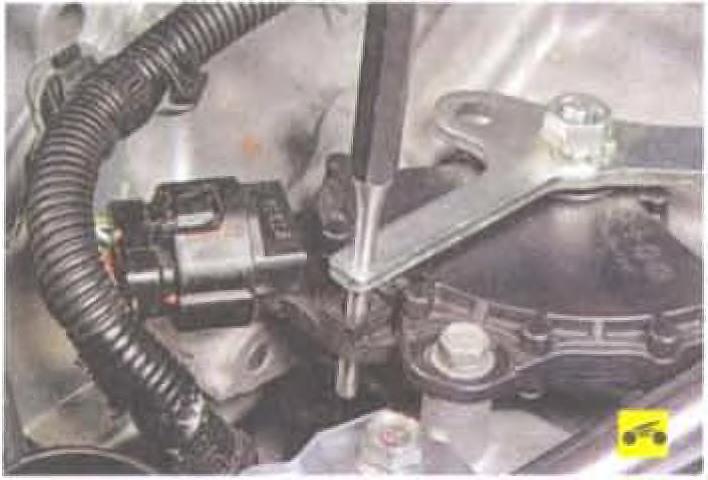
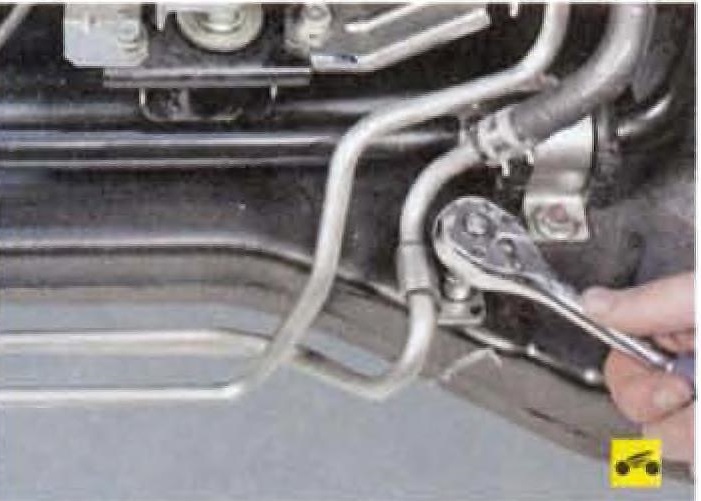
2. Turn out directing fingers of a brake support and disconnect a support from a trailing arm of a suspension bracket.
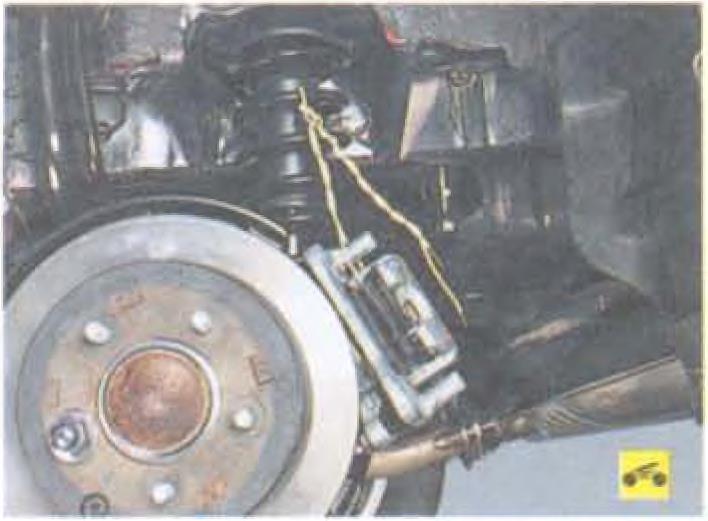
3. Tie the brake caliper with wire to the spring to keep it from falling.
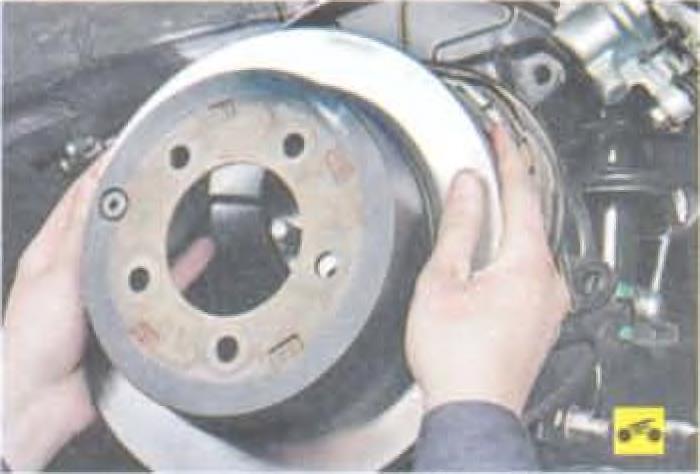
4. Remove the Mitsubishi Lancer X rear brake disc.
Note:
If you cannot remove the brake disc with your hands, press it off the hub by gently tapping the back of the disc through the wooden spacer.
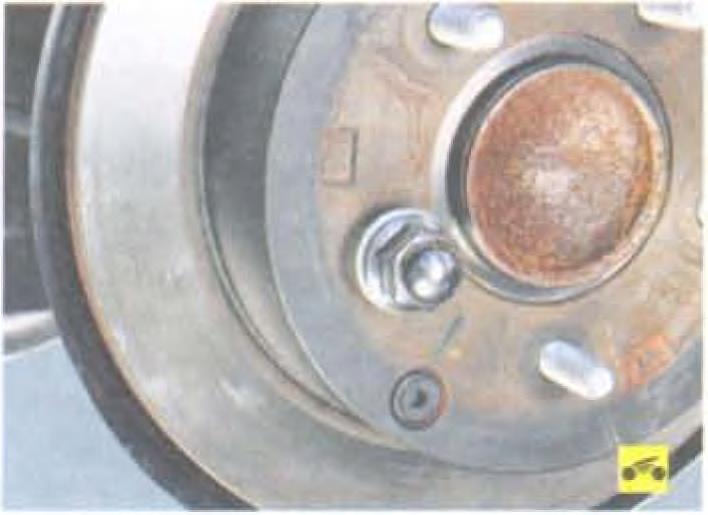
To prevent the disc from falling, screw a nut onto one of the wheel studs.
5. Install the brake disc in the reverse order of removal.
Note:
Before installing the disc on the Mitsubishi Lancer X, carefully clean the mating surfaces of the hub and disc from rust and scale. since even the smallest particle sandwiched between the mating surfaces. will cause disc wobble and vibration when braking.
Useful advice:
If you are installing an old disc, file the edges on the working surfaces of the disc that have formed on both sides as a result of wear with a file.
Source: Mitsubishi Lancer X Owner's Manual