![2 generation [2000 - 2003]](/uploads/toyota-rav-4-ii-11109.jpg)
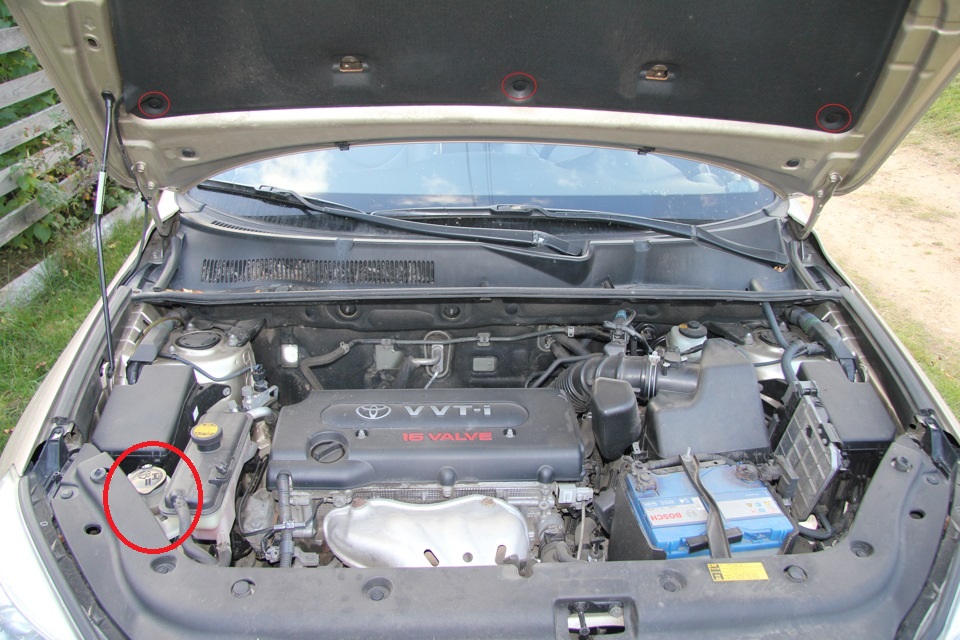
![3 generation [2005 - 2009]](/uploads/Toyota_RAV_4_-_2006_-_2009_.jpg)
![4 generation [2012 - 2015]](/uploads/Toyota_RAV_4_-_2012-2015_.jpg)

Tool:
- Collar for end nozzle
- Nozzle on the collar 10 mm
- Nozzle on the collar 12 mm
- Nozzle on the collar 14 mm
- Nozzle on the collar 17 mm
- Screwdriver flat medium
Parts and consumables:
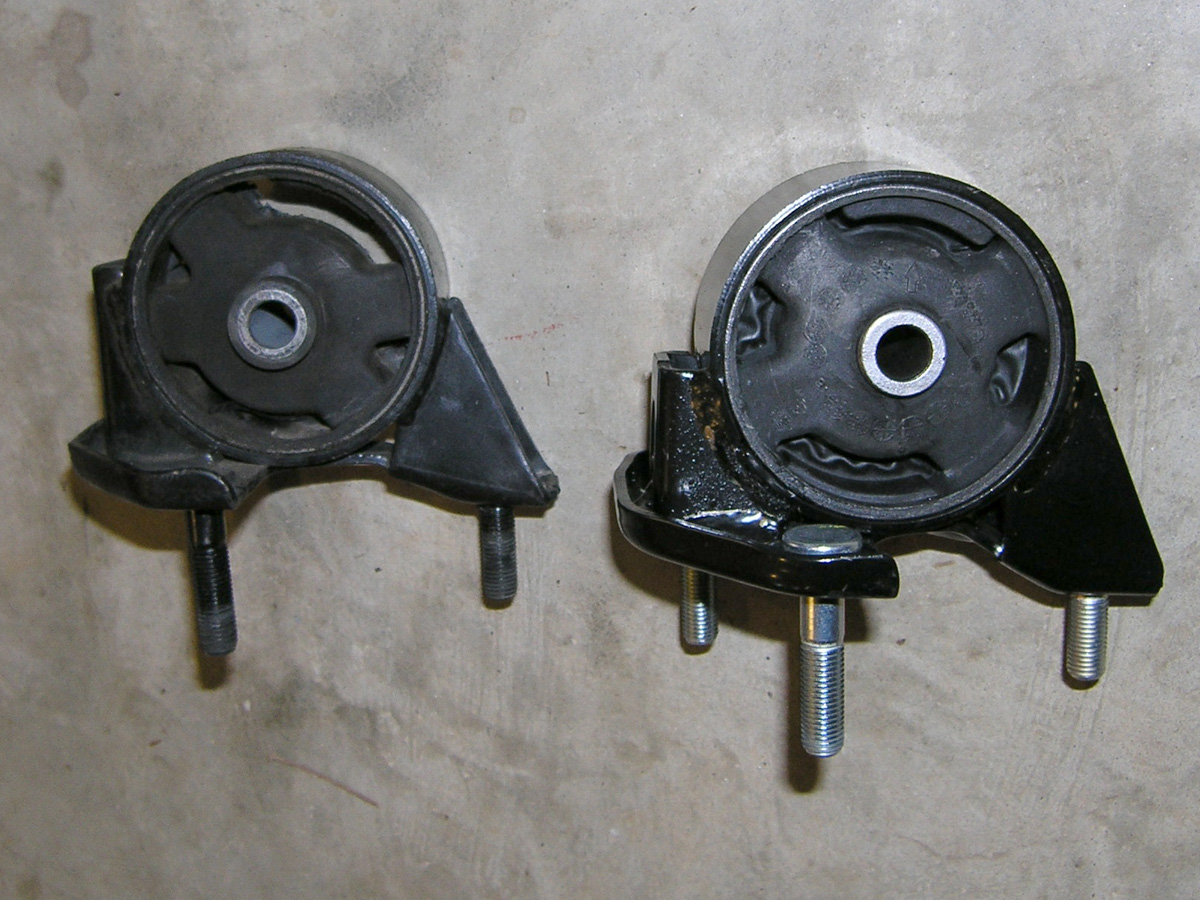
- Rear engine mount
1. Place the car on a lift or on a pit and remove the crankcase and rear lower engine mudguard as described in this article .
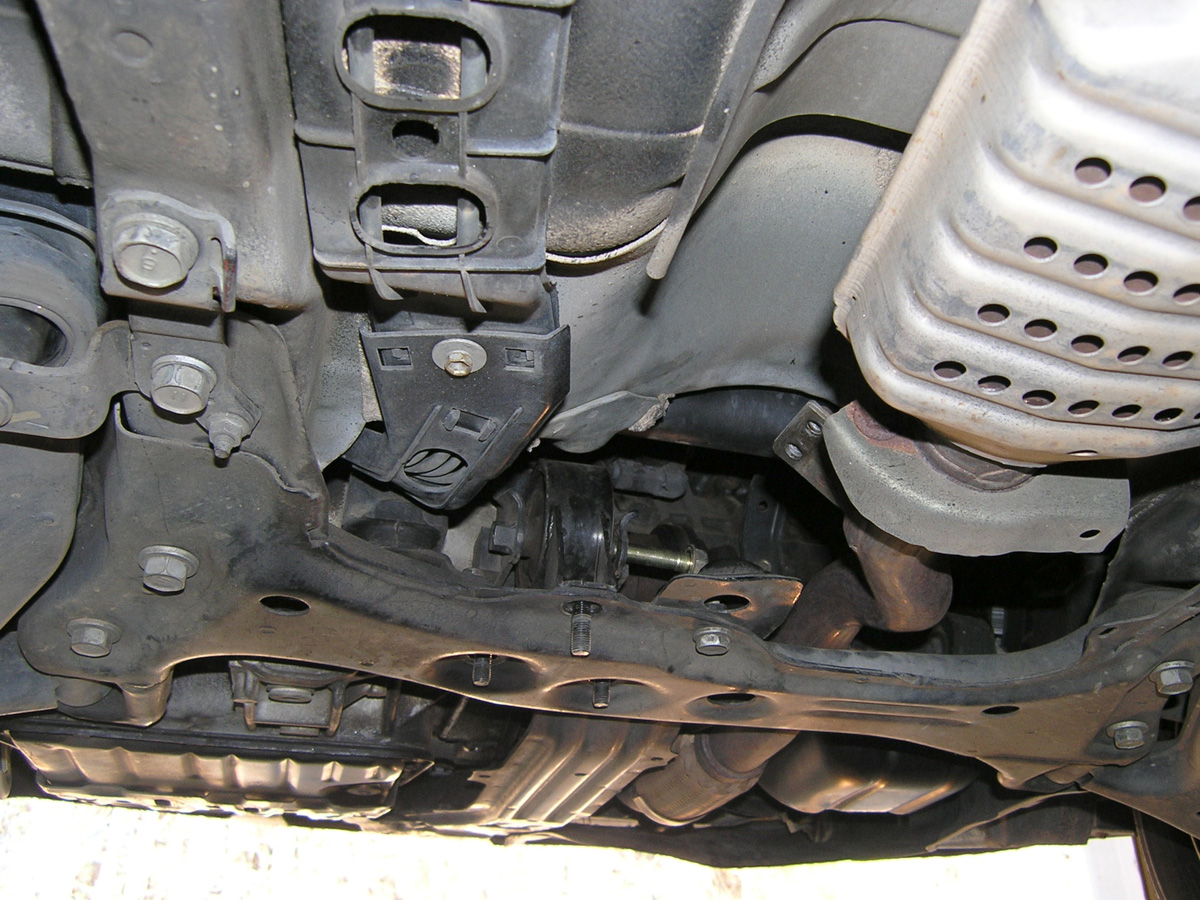
2. Turn out two bolts by means of a wrench with a nozzle, release two clamps and remove a protective guard of a fuel tank.
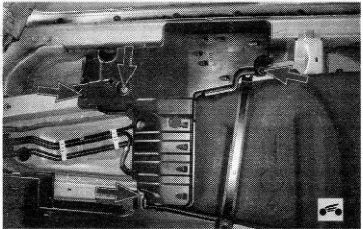
3. Then release the three clips and remove the aerodynamic shield installed in front of the fuel tank.
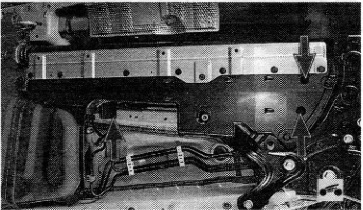
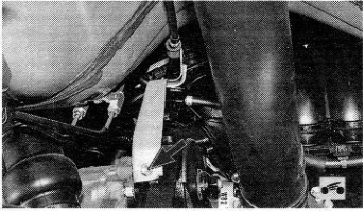
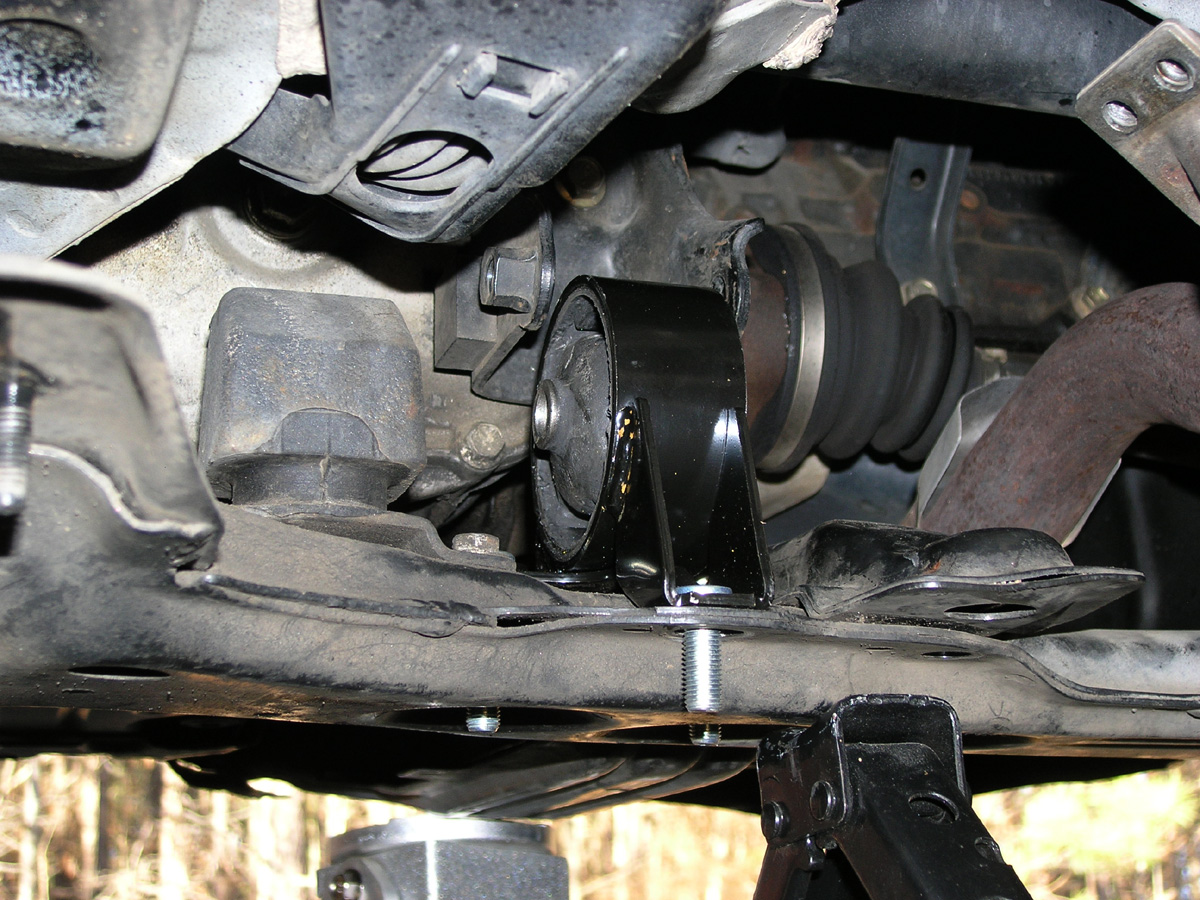
4. Turn out a bolt of fastening of the holder of a cable of the selector of an automatic transmission to a back support of the power unit (it is specified on a photo by an arrow).
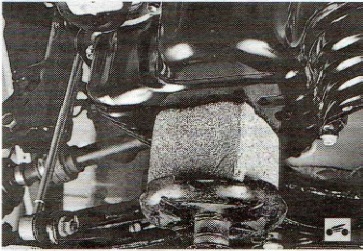
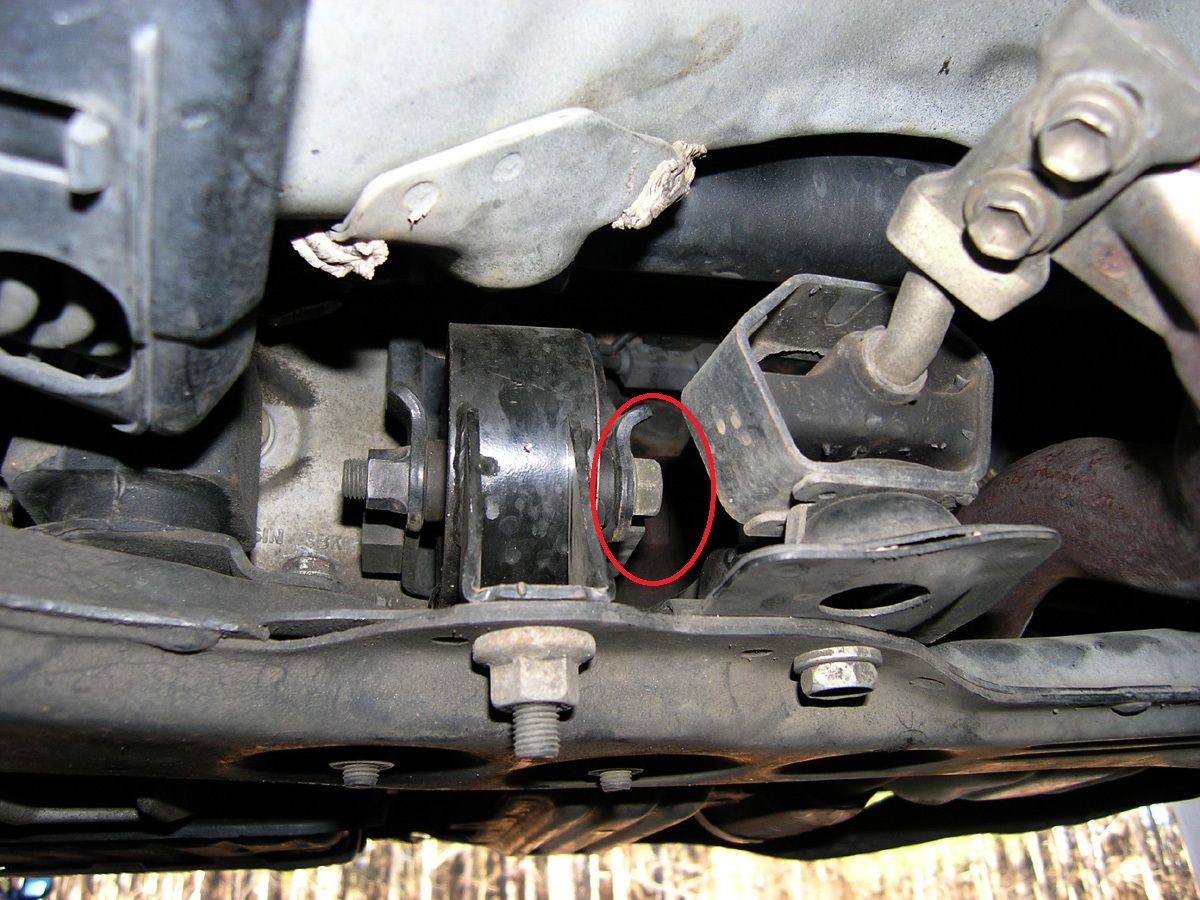
5. Then turn away a bolt of fastening of a pillow of a back support to an arm and take it.
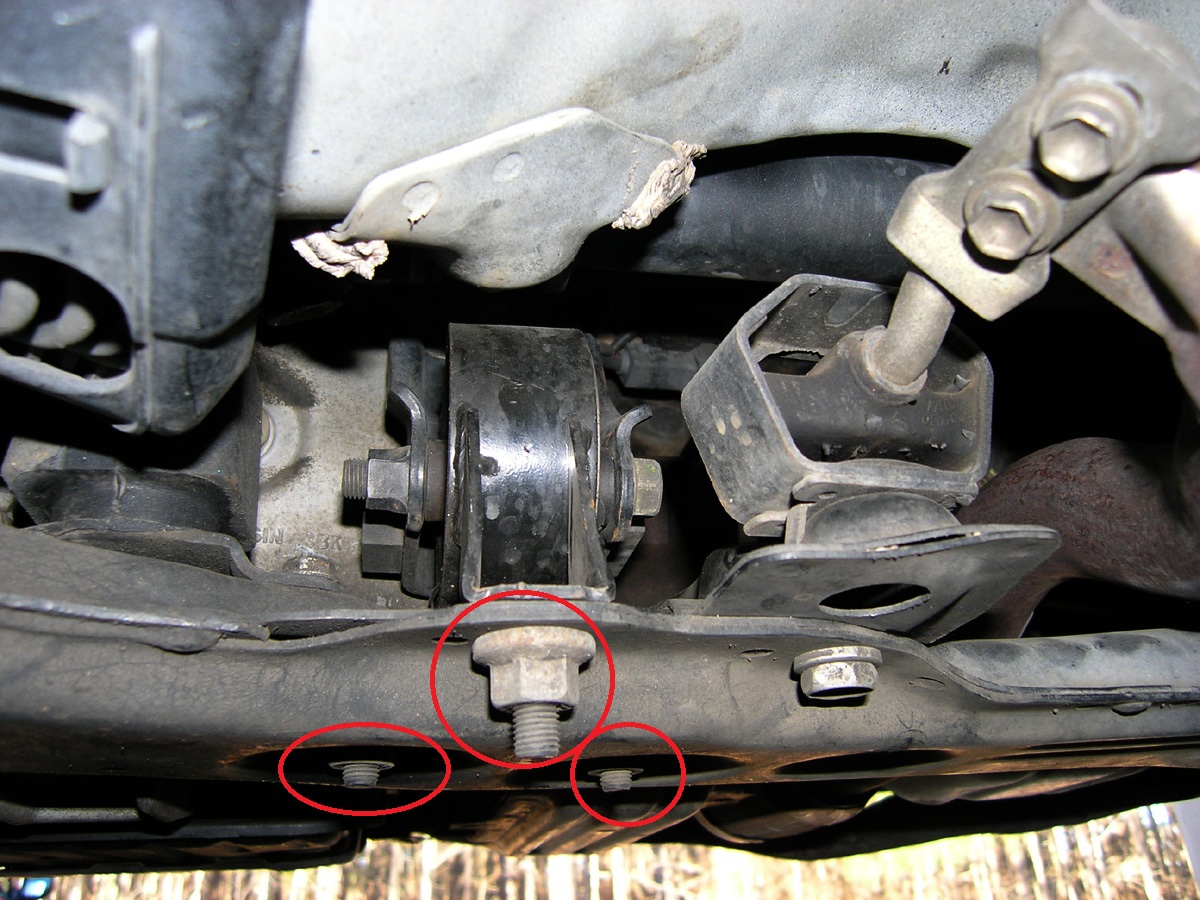
6. Turn away nuts of fastening of a pillow of a back support to a subframe of a forward suspension bracket then remove a pillow.
7. Examine a pillow of a back support. If there is swelling, cracking of the rubber mass, its delamination from the steel cage, or if cracks appear in the cage, replace the defective parts.
8. Install the rear powertrain mount and all removed parts in the reverse order of removal.
The article is missing:
- Tool photo
Source: Instructions (manual) for the repair and operation of Toyota RAV4 since 2005. PDF