![1 generation [2003 - 2007]](/uploads/Mitsubishi_Outlander_I_2003_-_2008_.jpg)
![3 generation [2012 - 2014]](/uploads/3.png)
![XL [2005 - 2012]](/uploads/4d137205da66f_.jpg)
Tools:
- Ratchet wrench
- Extension
- Head 10 mm
- 19mm head (for 6B31 engine)
- Head 36 mm (for 6B31 engine)
- Bit head hex 6 mm (for 4B11 / 4B12 engines)
- Torque wrench
- Special tool for changing the coolant (MB991871)
- Medium flat screwdriver
- Pliers
- Funnel
Parts and consumables:
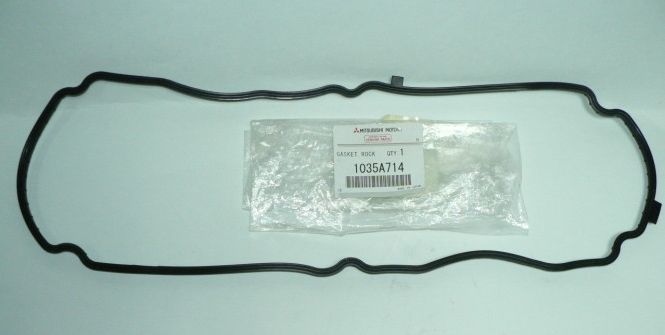
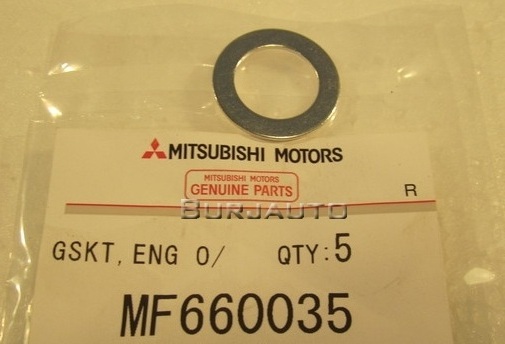
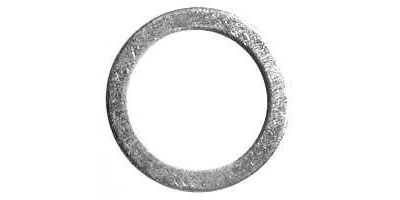
- MF660035 cylinder block drain plug gasket (4B11 and 4B12 engines)
Cylinder block drain plug gasket MF660034 and MF660042 (6B31 engine)
- Technical capacity
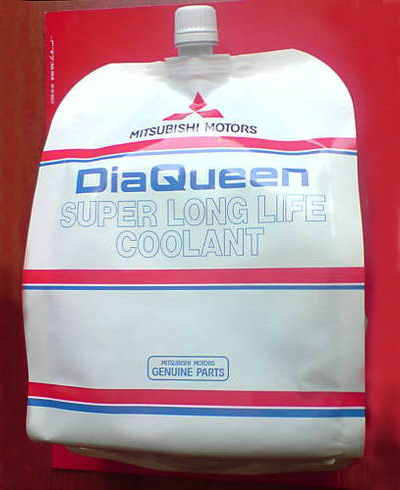
- Coolant
- Coolant flush fluid (if necessary)
- Distilled water
- Rags
Notes:
According to the manufacturer's recommendation, the coolant should be checked for the first time after 3 thousand km (if the car is new), and then the check is necessary at intervals of 15 thousand km or a year (whichever comes first).
Checking the coolant level
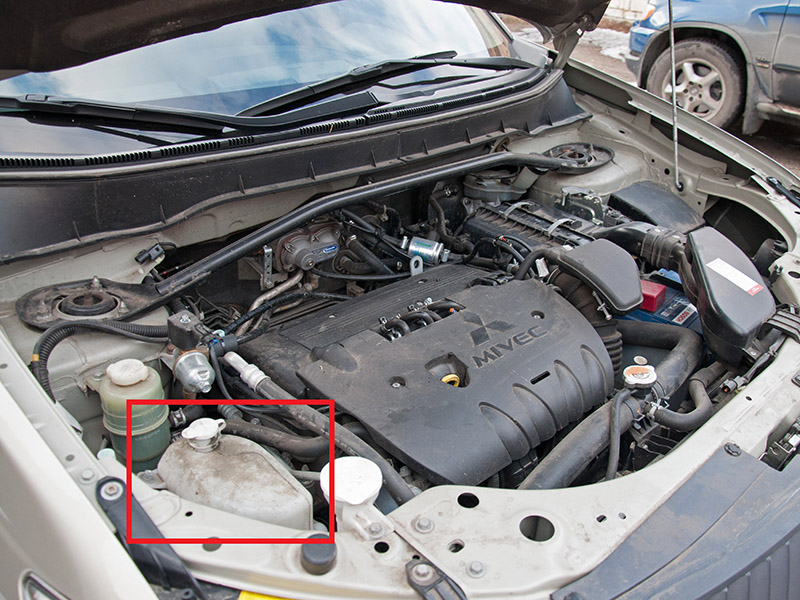
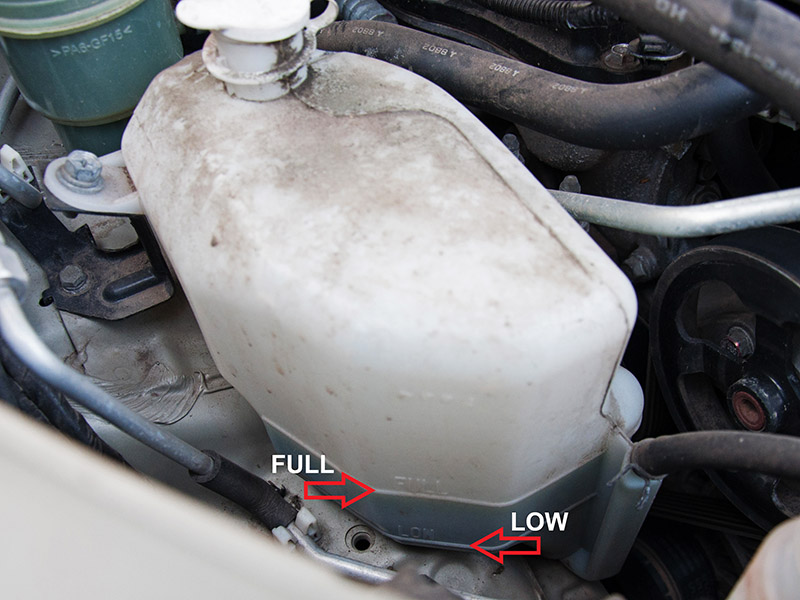
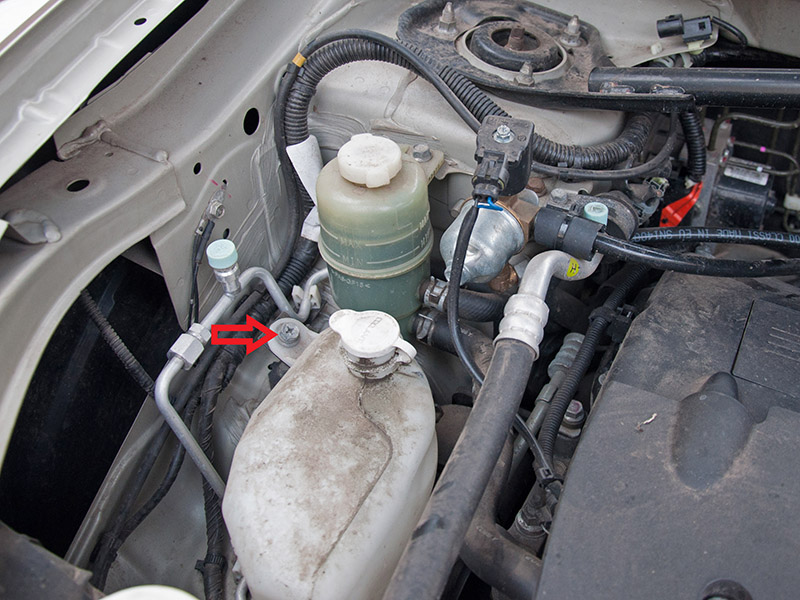
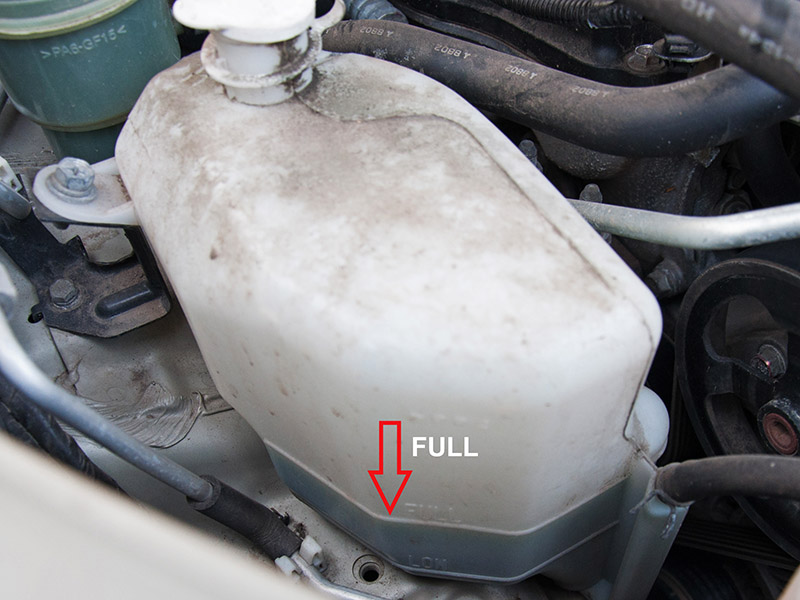
1. The expansion tank of the cooling system is not located on the right side of the engine compartment in the direction of travel. Check that the coolant level in the expansion tank is between the "FULL" and "LOW" marks on the wall of the tank.
Note:
Since the cooling system is closed, there is little normal coolant loss. A noticeable drop in coolant level may indicate leaks.
In addition, if the expansion tank is completely empty, then remove the radiator cap and add coolant to the level of the base of its filler neck.
Do not fill coolant on a cold engine above the "FULL" mark on the wall of the reservoir, as its volume increases when the engine is running (warming up).
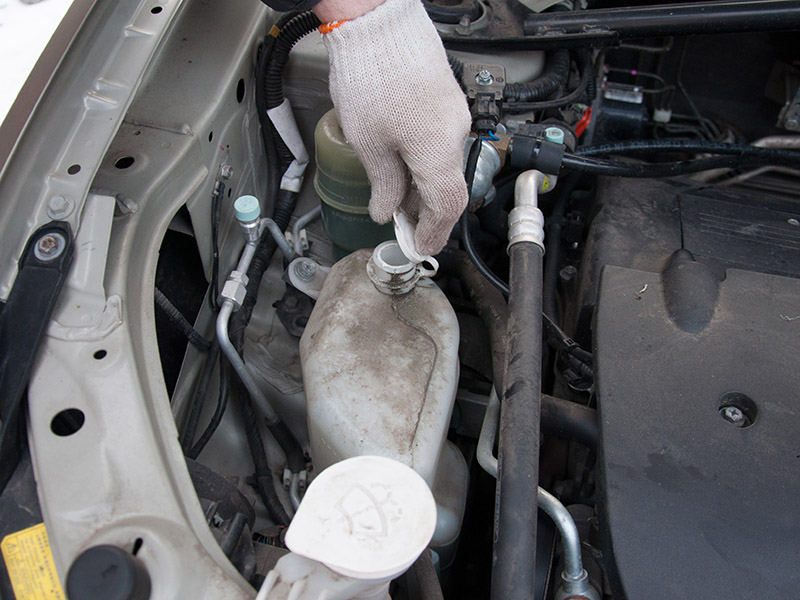
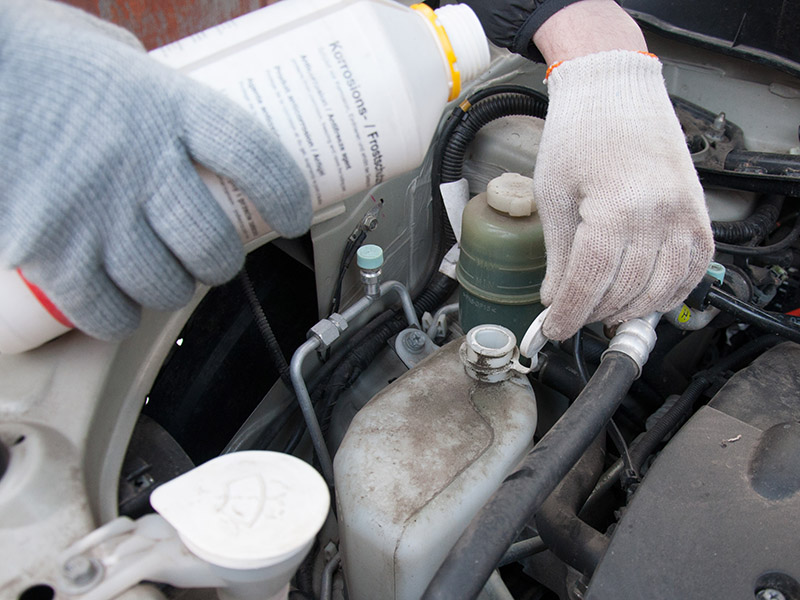
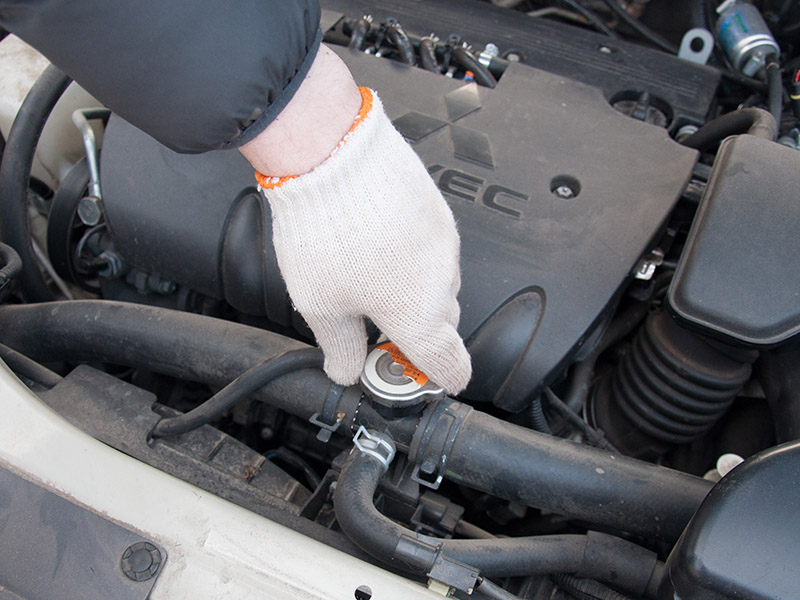
2. If the coolant level is low, check for leaks. If there are no leaks, open the cover of the expansion tank and add coolant to it to the specified level.
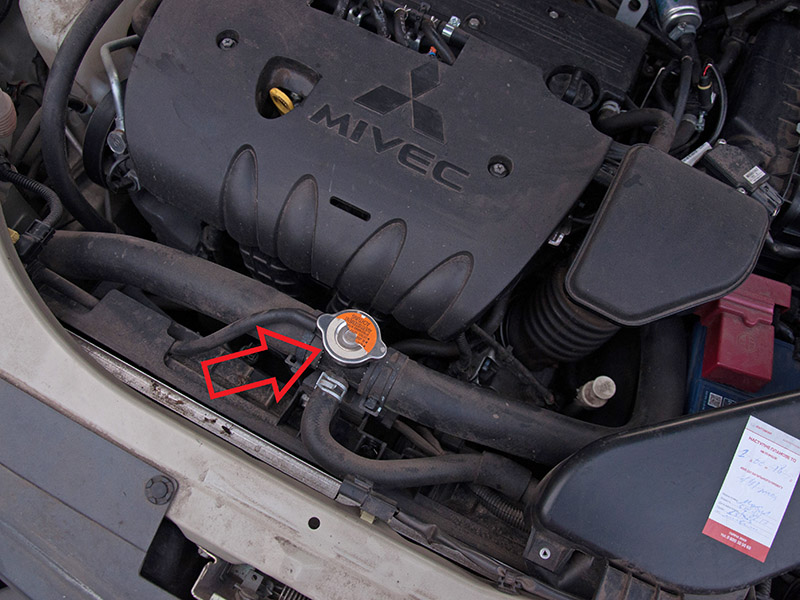
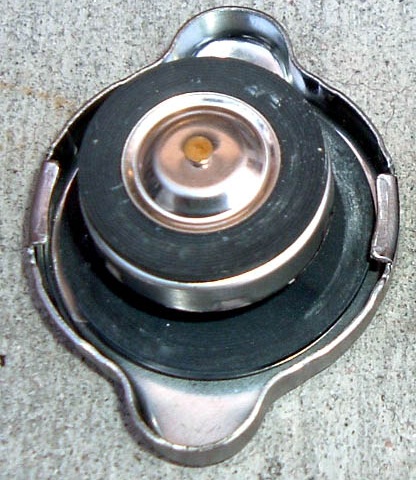
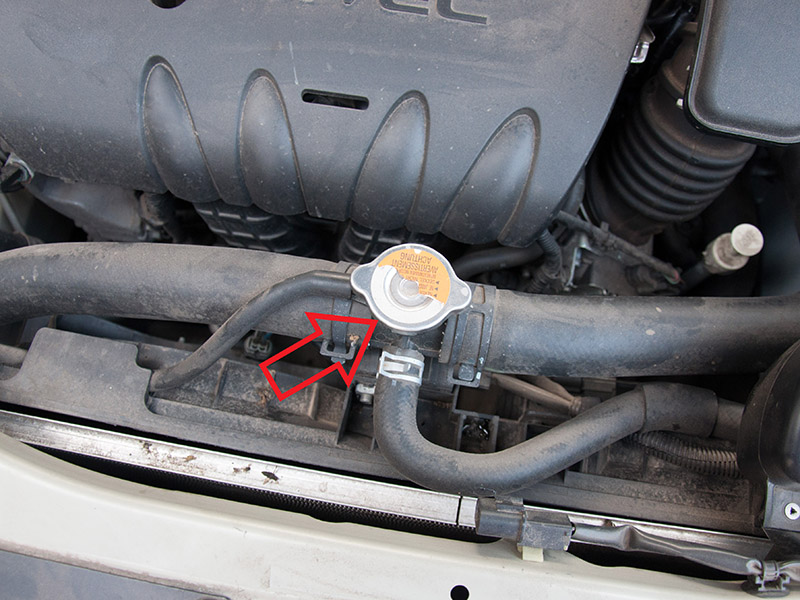
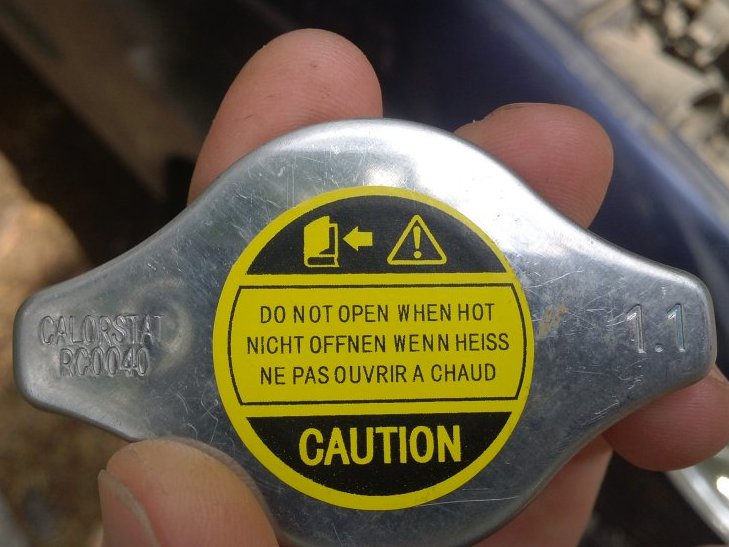
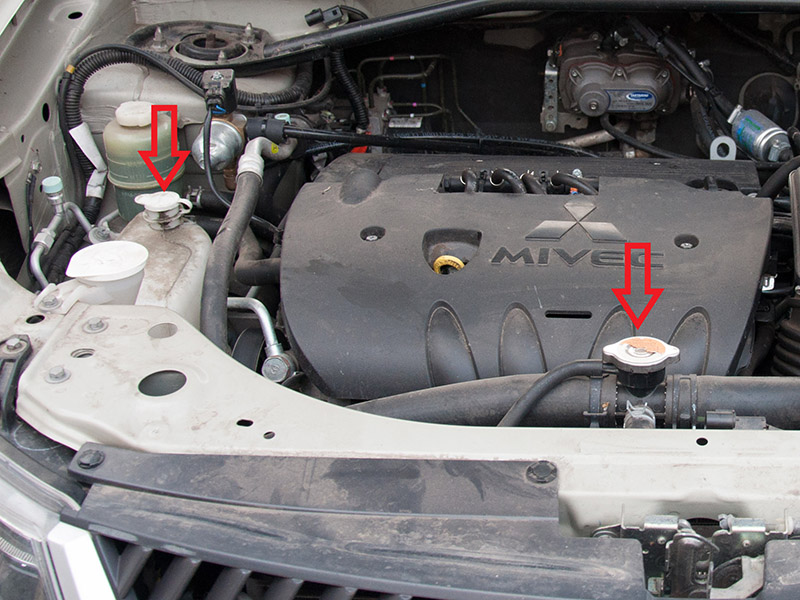
3. Remove the radiator cap (the location of the radiator cap is the same for all three engines).
Note:
To avoid burns, do not remove the radiator cap while the engine is hot, as fluid and vapor are pressurized.
3. Check for rust deposits around the radiator cap valves and their seats on the radiator filler neck.
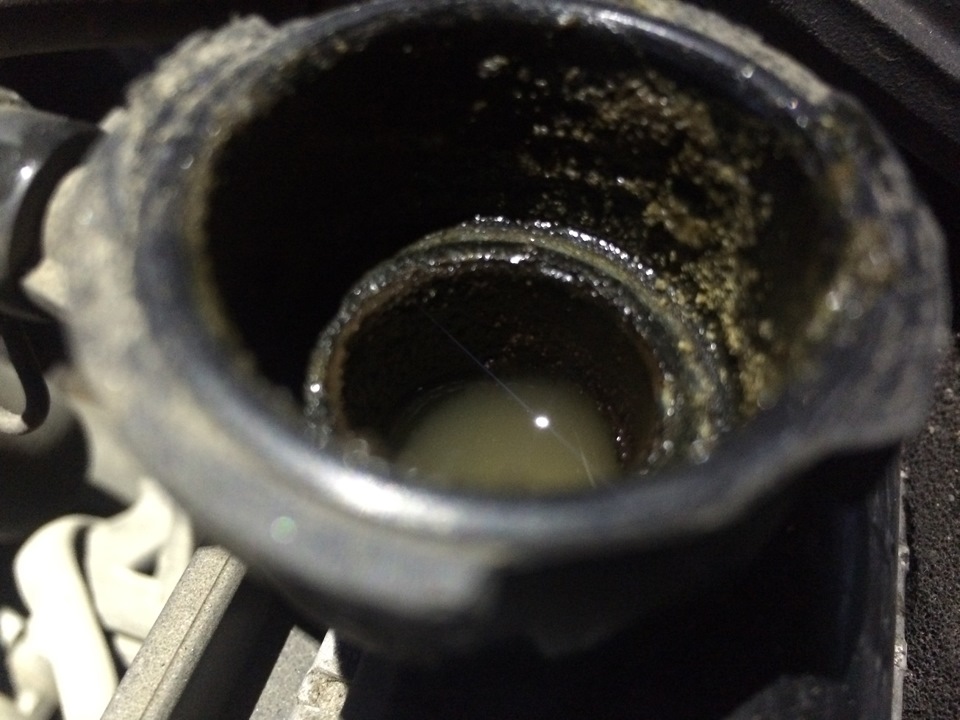
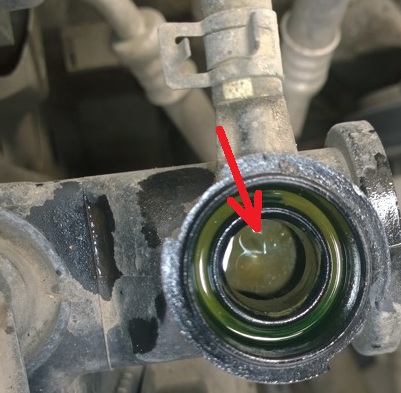
4. Check that the coolant is clear and free of oil. If the coolant is dirty, clean the cooling system passages with flushing fluid and replace the fluid.
5. Screw on the radiator cap securely and close the expansion tank cap.

Replacing the coolant
Notes:
The coolant is located in the jacket of the engine block, in the channels of the cylinder head, in the hoses and pipes of the cooling system and in the radiator. Therefore, to completely replace the coolant, it is necessary to drain it from the radiator and engine (cylinder block). Draining the coolant from the radiator is a partial replacement procedure.
The coolant contains ethylene glycol and an anti-corrosion additive. Since the radiator, cylinder head and coolant pump housing are cast from an aluminum alloy, periodic replacement of the coolant is required to prevent corrosion of these parts. In addition, it is not allowed to replace the coolant with clean water, even in summer.
According to the manufacturer's recommendation, the 6B31 engine coolant should be replaced for the first time after 96 thousand km of run or 4 years of operation (whichever comes first), then every 48 thousand km or 2 years. antifreeze Outlander HL engines 4B11 and 4B12 are required every 60 thousand km or 4 years of operation (whichever comes first).
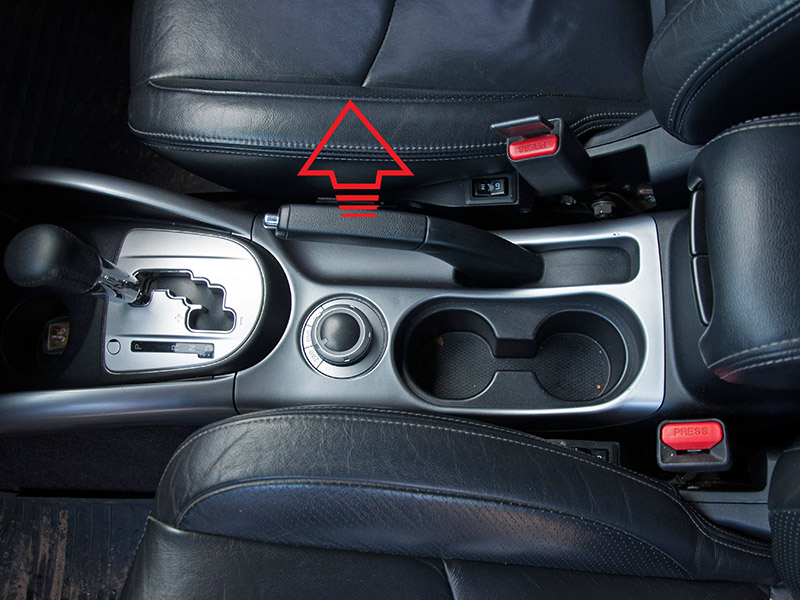
1. Place the vehicle on a lift or inspection pit and apply the parking brake.
2. Wait for the engine to cool down.
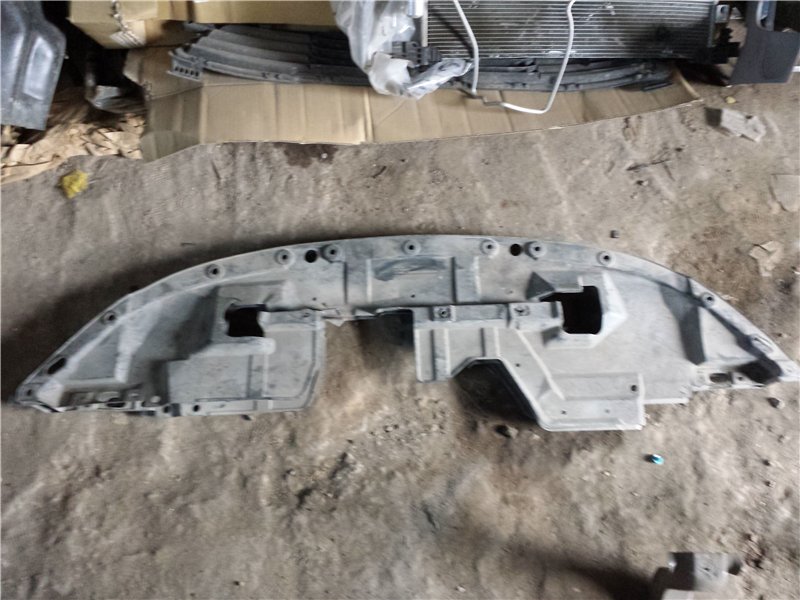
3. Remove the engine undertray and front engine mudguard as described here .
4. Remove the radiator cap.
Note:
To avoid burns, do not remove the radiator cap while the engine is hot, as fluid and vapor are pressurized.
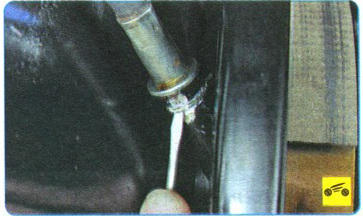
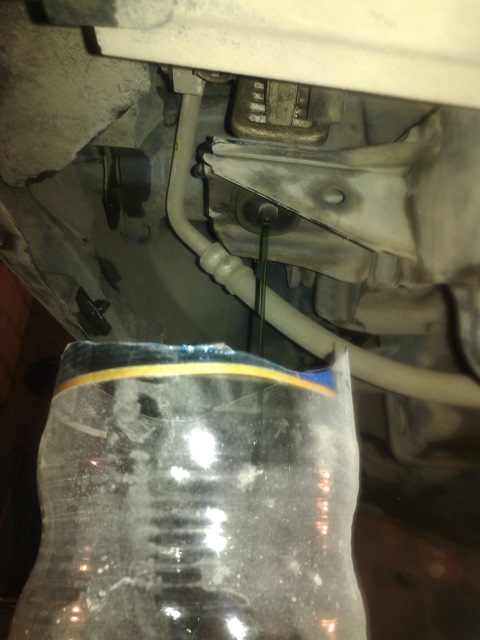
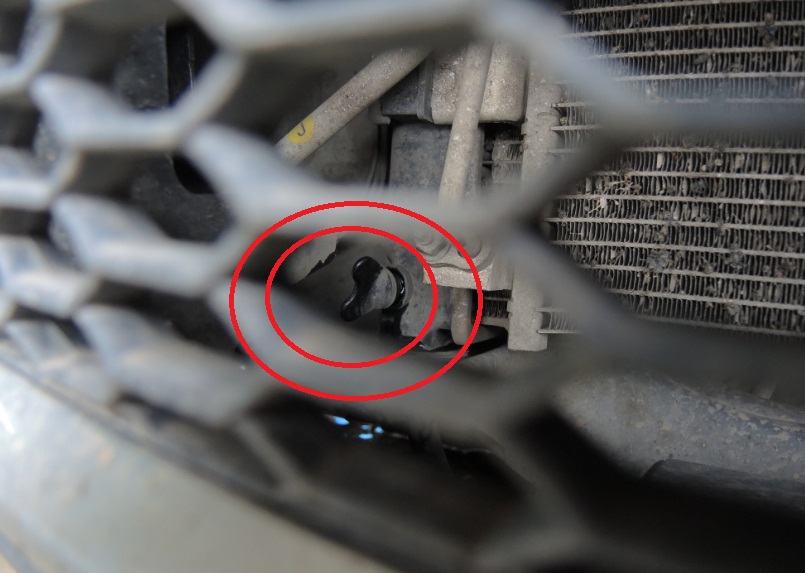
5. Drain the coolant from the radiator into a suitable container by unscrewing the radiator drain valve.

Note:
Use rubber gloves when working.
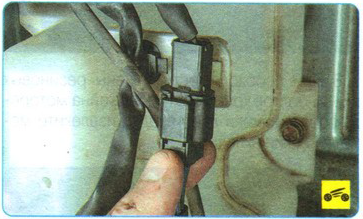
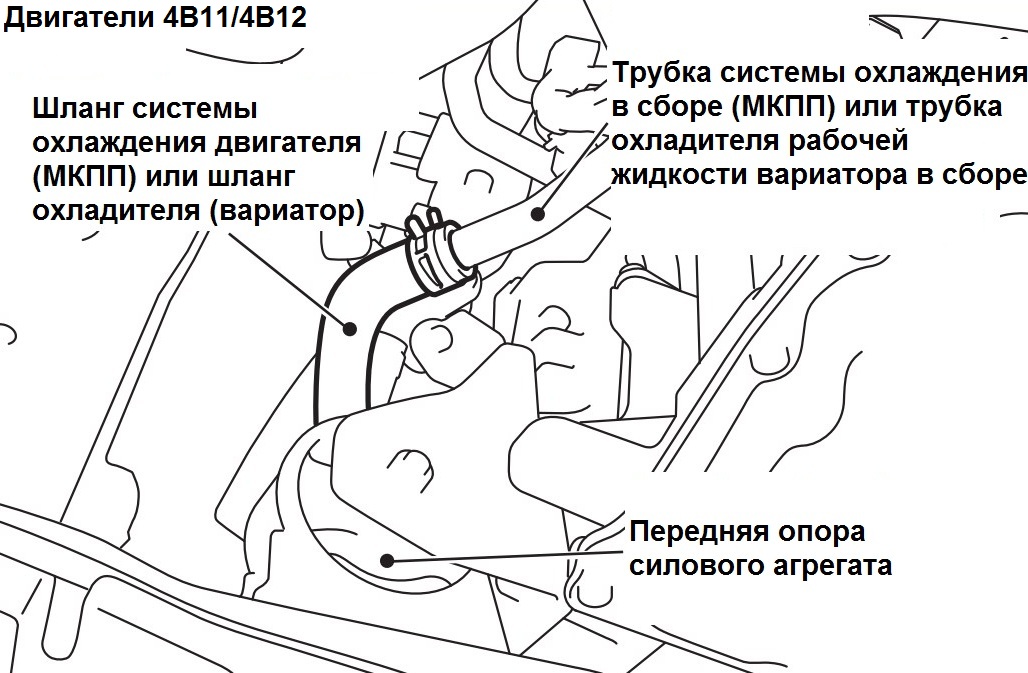
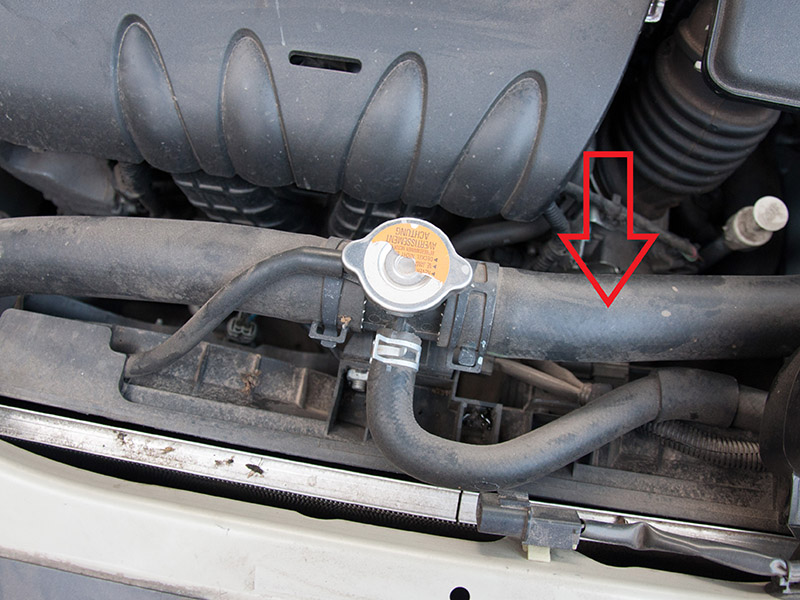
6.1. (4B11 and 4B12 engines) Disconnect the coolant hose (manual transmission models) or the clutch fluid cooler hose (CVT models) and drain the coolant into a suitable container.
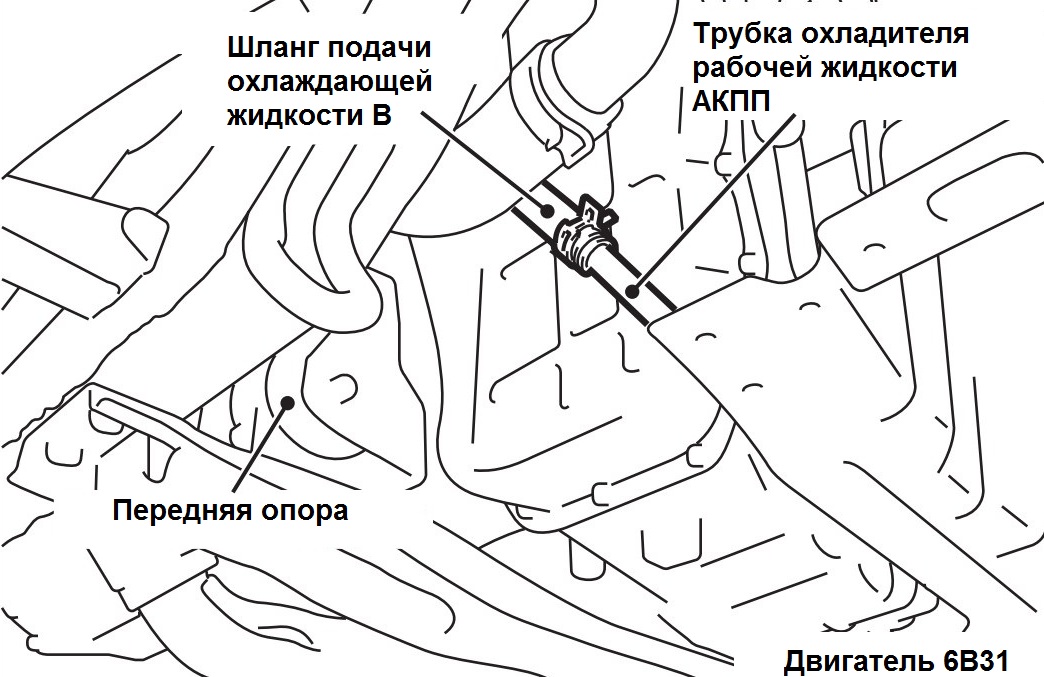
6.2. (6B31 engine) Disconnect the coolant supply hose B and drain the coolant into a suitable container.
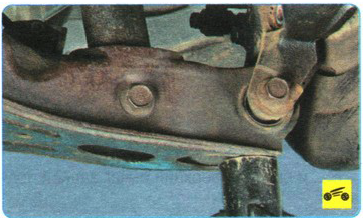
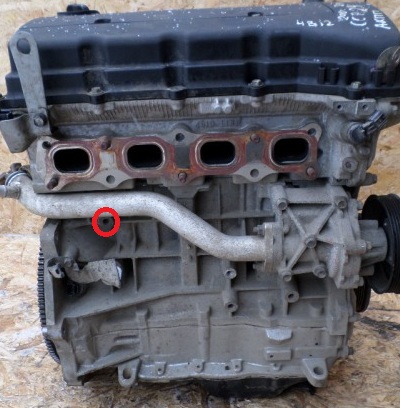
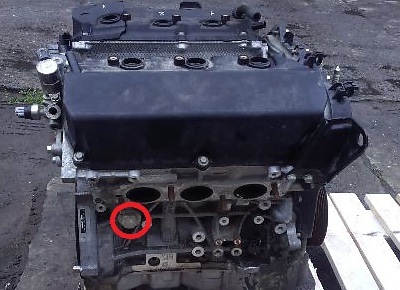
7. Drain the Mitsubishi Outlander HL antifreeze from the engine by unscrewing the drain plug on the cylinder block (for clarity, the location of the drain plugs is shown on the removed engines, in the first photo - the 4B12 / 4B11 engine, on the rest - 6B31).

8. Remove the expansion tank and drain the coolant from it. If necessary, flush the expansion tank, then reinstall it.
9. If necessary, after draining the coolant, fill the radiator with clean distilled water to flush the cooling system (or flushing fluid in case of a long service life of the drained antifreeze).
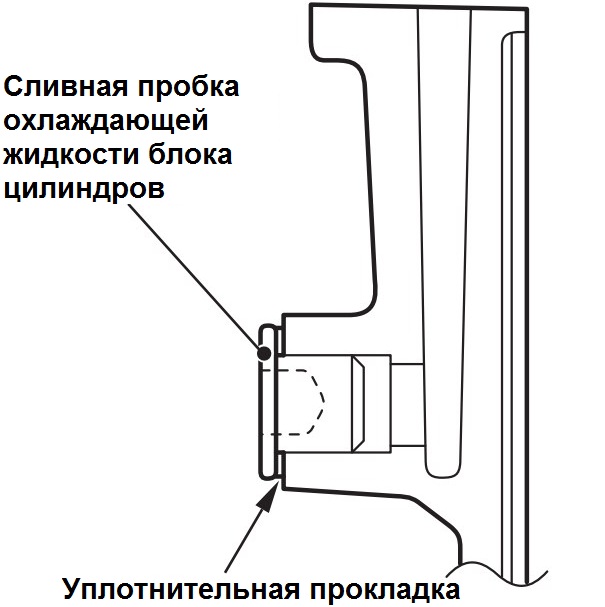
10. Reinstall the drain plug of the cylinder block. Before installing, clean the drain plug and install a new gasket. Tighten the plug to the specified torque.
Note:
The tightening torque of the plug of engines 4B11 and 4B12 is 39 ± 3 Nm.
The tightening torque of the 6B31 engine plug: the left side of the block - 29 ± 5 Nm; the right side of the block - 140 ± 5 Nm.
11. Connect the coolant hose (manual transmission models) or the variator fluid cooler hose (variator models).
12. Tighten the radiator drain valve securely.
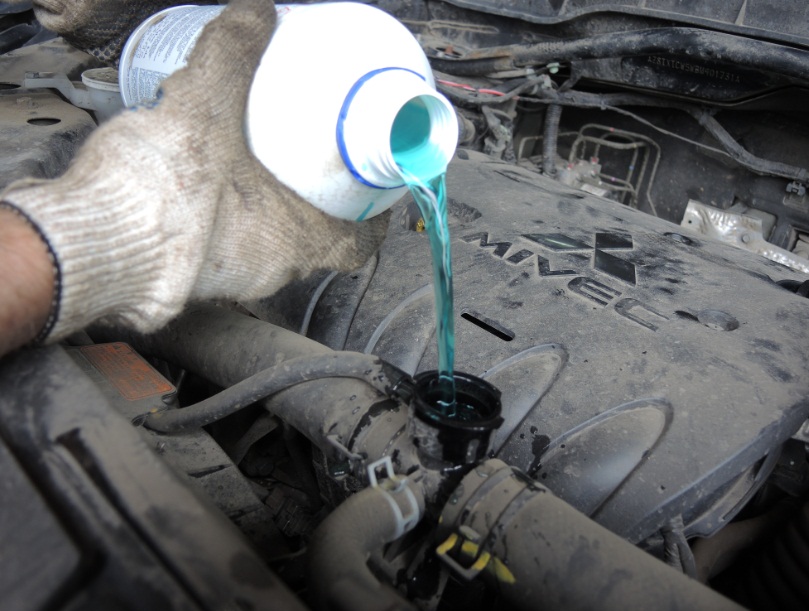
13. Slowly fill the radiator with coolant until it is full (to the base of the filler neck), and also fill the expansion tank, not exceeding the "FULL" mark on the tank wall.

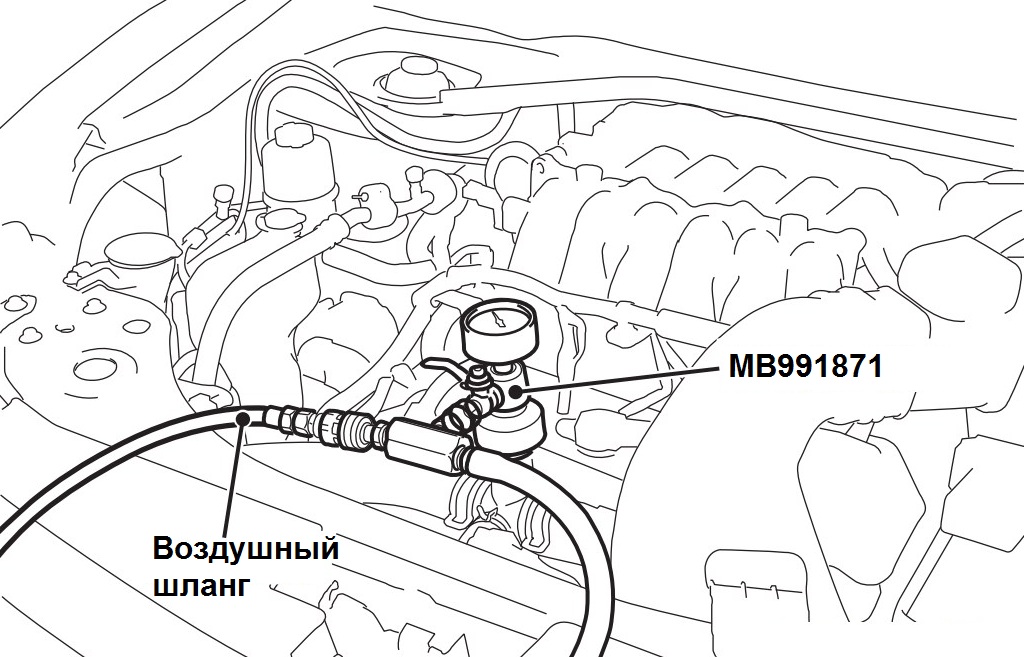
Note:
It is recommended to fill with coolant using a special tool for changing the coolant (MB991871) to prevent air from entering the radiator of the cooling system.
Coolant: high quality ethylene glycol based antifreeze for aluminum alloys. The range of permissible concentrations of antifreeze in the coolant is 30 - 60%.
The recommended concentration of antifreeze in the coolant is 50%.
For total fill volume and recommended coolant see here .
If the concentration of antifreeze is below 30%, the anti-corrosion properties of the coolant are significantly reduced.
In addition, if the concentration is more than 60%, then the crystallization temperature of antifreeze increases (the efficiency of heat transfer decreases), affecting the engine unfavorably. Therefore, make sure the concentration level of antifreeze is within the specified range.
With an antifreeze concentration of 50%, the freezing point of the coolant is -36 ° C, and the temperature for safe operation is -31 ° C. With an increase in the concentration of antifreeze, the freezing point of the coolant decreases, and with a decrease in the concentration, it rises.
Use proprietary ethylene glycol based coolant with anti-corrosive additive and mix with demineralized or distilled water according to the manufacturer's instructions.
Do not mix different brands of antifreeze.
Do not use alcohol antifreeze. Using the wrong antifreeze can corrode aluminum parts.
14. Screw on the radiator cap securely and close the cap on the expansion tank.
15. Turn the A/C switch to the "OFF" position, then start the engine and warm it up until the cooling fans and the A/C condenser begin to operate.
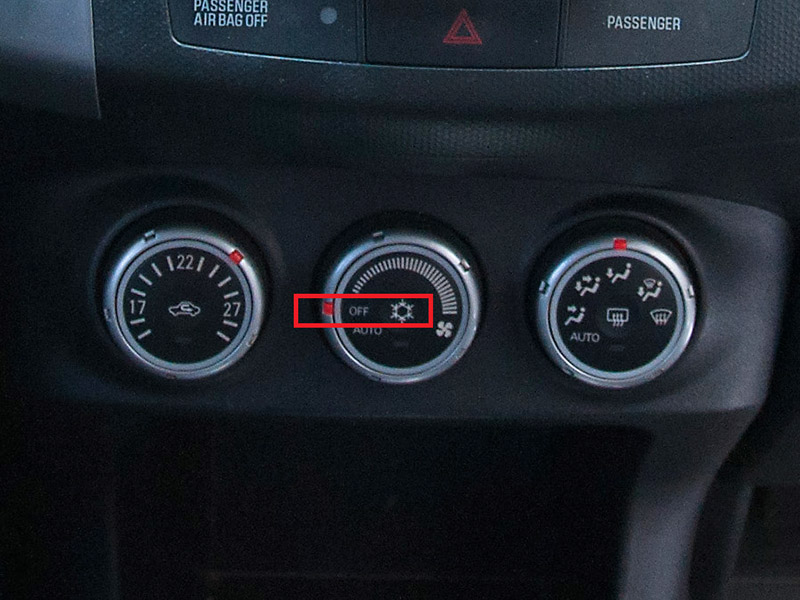
Note:
When the electric fans are running, the thermostat valve is in the fully open position and the coolant circulates in a large circle of the cooling system.
To avoid personal injury, keep your fingers away from the electric fans when the engine is warm, as they can start working at any time.
Squeeze the upper and lower radiator hoses several times during warm-up.
To check the condition of the leaking coolant, touch the upper radiator hose with your hand; with the thermostat open, the hose should be warm.
16. After the electric fans start to work, press the accelerator pedal several times, increasing the crankshaft speed to about 3000 rpm, and then stop the engine. Check for leaks from the drain plugs.
17. After stopping the engine, allow it to cool, then remove the radiator cap and check the coolant level. If the level is low, add fluid to the base of the radiator filler neck, then install the cap.
Note:
To avoid burns, do not remove the radiator cap while the engine is hot, as fluid and vapor are pressurized.
18. Later, if the coolant level in the radiator does not drop, add coolant to the expansion tank up to the "FULL" mark on the wall of the tank.
19. Reinstall the crankcase and front engine mudguard in the reverse order of removal.
The article is missing:
- Photo of the instrument
- Photos of parts and consumables
Source: carpedia.club