![T11 [2005 - 2014]](/uploads/Chery_Tigo_T11_2005_-_2014_.jpg)
Tools:
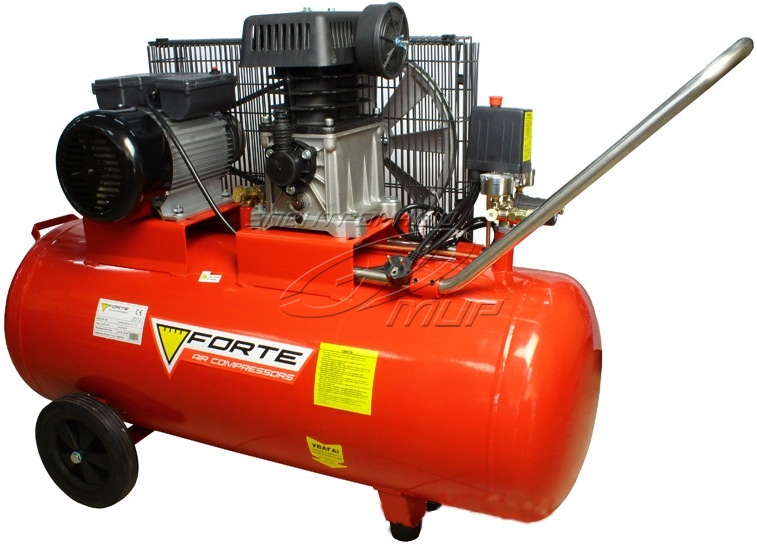
- Compressor
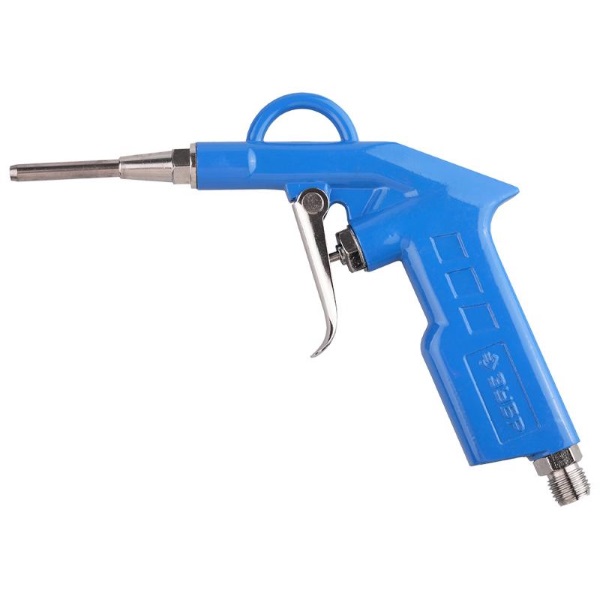
Air blow gun
Parts and consumables:
- Rags
- Duct tape
- Reinforcement adhesive tape
- Water
- Fuse - F5
- Fuse - F19
- Fusible link - F7
- Fusible link - F8
- Relay - K1
- Relay - K3
- Relay - K7
- Relay - K12
- Electric motor
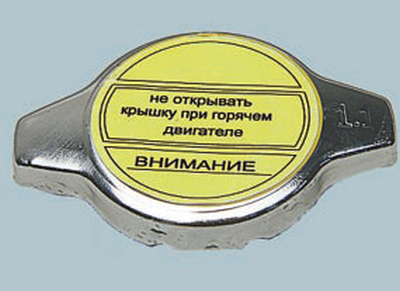
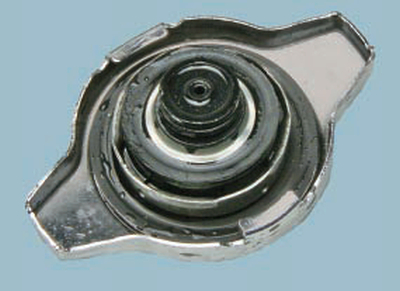
- Radiator cap
At the first signs of overheating, if the arrow of the temperature gauge has gone into the red zone, but steam does not escape from under the hood, turn on the maximum heating mode of the passenger compartment. This is necessary in order to reduce the temperature of the coolant in the engine cooling system.
Turn on the hazard warning lights, depress the clutch pedal and, using the vehicle's inertia, try to move carefully to the edge of the carriageway and stop as far to the right as possible at the curb, and if possible outside the carriageway. Let the engine run for a couple of minutes at normal engine speed and idle with the heater on at full power.
A warning:
Do not stop the engine immediately! The only condition is to maintain the tightness of the cooling system.
If a hose bursts or comes off, or if there is a leak other than fluid escaping from the expansion tank plug, the engine will have to be stopped immediately. After stopping the overheated engine, local overheating of the coolant begins in the places of its contact with the most heat-stressed engine parts and the formation of steam locks. This phenomenon is called heatstroke.
Chery Tiggo cooling system check
1. Stop the engine.
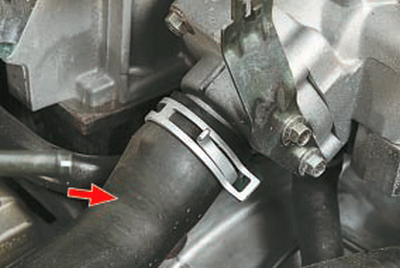
2. Open the hood and inspect the engine compartment. Determine where the steam is coming from. When inspecting the engine, pay attention to the presence of coolant in the expansion tank, to the intact rubber hoses, radiator, thermostat.

A warning:
Never open the radiator cap directly. The liquid in the cooling system is under pressure, when the plug is opened, the pressure will drop sharply, the liquid will boil, and its splashes can scald you. If you want to open the radiator cap on a hot engine, first put a thick thick cloth on top and only then carefully turn the cap.
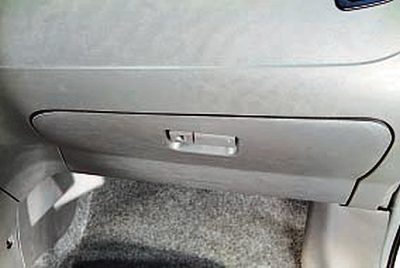
3. Look under the dashboard from the front passenger side for leaks or traces of coolant leaking from the heater radiator.
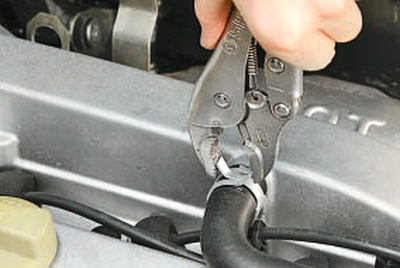
If a coolant leak is detected, the burst hose can be temporarily repaired with adhesive tape.
Helpful advice:
Reinforced (eg silver colored) adhesive tape, which can be obtained from auto dealerships, is especially suitable for this purpose.
The leakage of a radiator, thermostat or heater is quite difficult to eliminate on the spot, therefore, in such a situation, it is necessary to add water to the cooling system and carefully monitor the temperature indicator while driving, periodically restoring the level in the cooling system.
Warnings:
Long-term use of water instead of antifreeze leads to the formation of scale in the engine cooling system, deterioration of its cooling and, as a result, to a reduction in the resource.
Never add cold water to an overheated engine. It must cool down with the hood open for at least 30 minutes.
4. The engine may overheat if the thermostat fails, which regulates the flow of fluid in the cooling system through or past the radiator (to accelerate the warm-up of a cold engine).
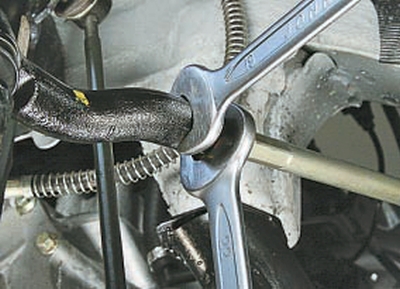
To check the thermostat, on a warm engine, check the temperature of the hose connecting the thermostat to the radiator by touch. If the radiator hose is cold, the thermostat is defective, there is no circulation through the radiator.
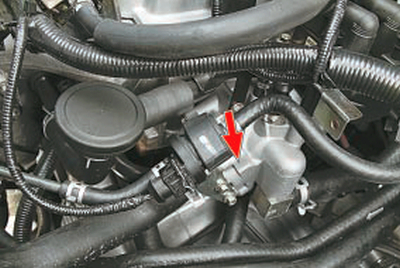
5. Very often the cause of overheating of the engine, the cooling system of which is equipped with an electric fan, is a fan failure. Start the engine, monitor the temperature and pay attention to whether the cooling fan turns on when the engine overheats. The reasons for not turning on the fan may be a blown fuse (fusible link), a faulty turn-on relay, oxidized contacts in the wiring harness block, or a burned-out fan motor.
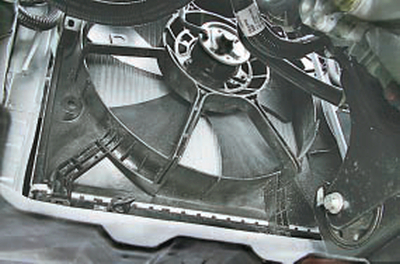
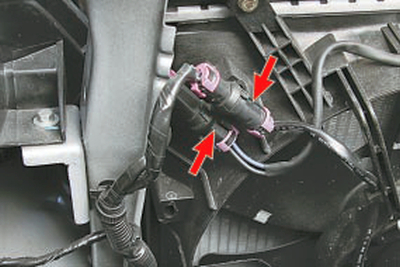
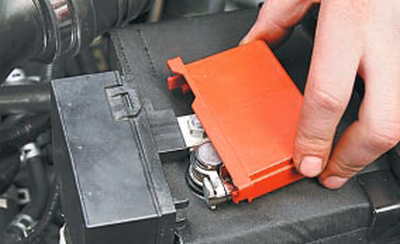
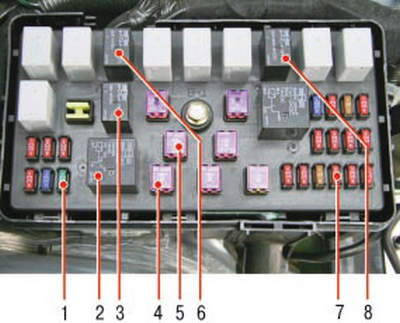
6. Check and if necessary replace fuses 1 (F5) and 7 (F19), fuses 4 (F7) and 5 (F8), and relays 2 (K1), 3 (K3), 6 (K7) and 8 ( K12) in the fuse and relay mounting block installed in the engine compartment. If, after replacing the fuse and relay, the fan does not start working, check the electric motor, for which take two additional wires and power it directly from the battery. The wires must be securely fastened and insulated.
A warning:
Do not short-circuit the wires with each other! Pay attention to the polarity of the connection: the electric motor should rotate so that the fan blows air through the radiator to the engine, and the directions of the generated flow and the incident (travel) air flow coincide.
If the electric motor starts to work, the wiring, fuses or relay for turning on the cooling fan is faulty; if not, the wiring or the motor itself is also faulty. Relays, fuses and motor are not repairable, replace them.
Helpful hints:
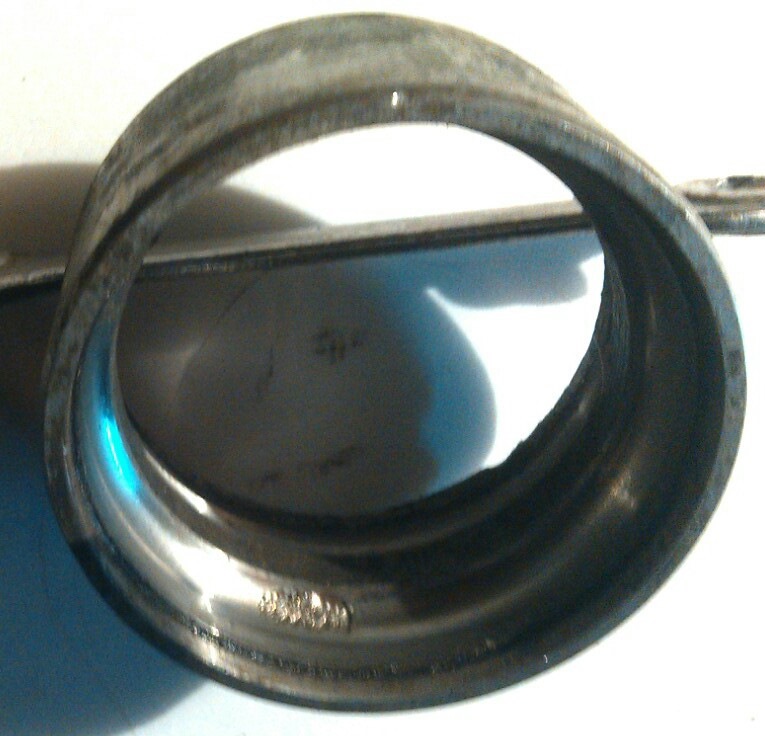
There are two valves installed in the radiator plug: intake and exhaust.
The exhaust valve plays an important role in ensuring optimal engine temperature. It maintains an overpressure in the system of at least 0.07–0.10 MPa (0.7–1.0 kgf / cm2), providing an increase in the temperature of the beginning of boiling of the coolant and preventing intense vaporization.
Unfortunately, when the valve is jammed in the closed position during overheating, a significant excess of excess pressure occurs - more than 0.2 MPa (2 kgf / cm2), which can damage the radiator or break one of the hoses. In turn, valve jamming in the open position leads to premature boiling of the coolant.
Therefore, rinse the radiator cap with running water once a year. If in doubt, replace the plug.
Obviously, if the radiator cap is removed on an overheated engine and this action coincides with a thermal shock in time, then liquid boiling and the formation of air jams in the cooling system will be guaranteed.
Once a year, blow out the radiator cells with a jet of compressed air (for example, from a compressor), directing the jet first towards the oncoming air flow, and then in its direction to remove dirt, adhering insects and road debris from the radiator surface. This will partially restore the efficiency of the radiator.
The article is missing:
- Photos of parts and consumables
- High-quality photos of repair
Source: http://chery-tiggo.dv13.ru/sistema-oxlazhdeniya/proverka-sistemy-oxlazhdeniya/