![1 generation [restyling] [2005 - 2015]](/uploads/Fiat_Doblo_I_2001_-_2014_.jpg)

Tools:
- Phillips screwdriver
- Hex Key 6
- Yardstick
- Analog pressure gauge
- Car pump
Consumables:
- masking tape
Note: it is recommended to check and adjust the headlights on an equipped car, with a fully filled fuel tank and things constantly transported in the luggage compartment, as well as with a spare wheel.
Important: it is necessary to choose the most smooth surface for the most accurate adjustment of the headlight beam.
Description
1. Before starting adjustment work, it is recommended to check and, if necessary, bring the air pressure in the tires to normal.
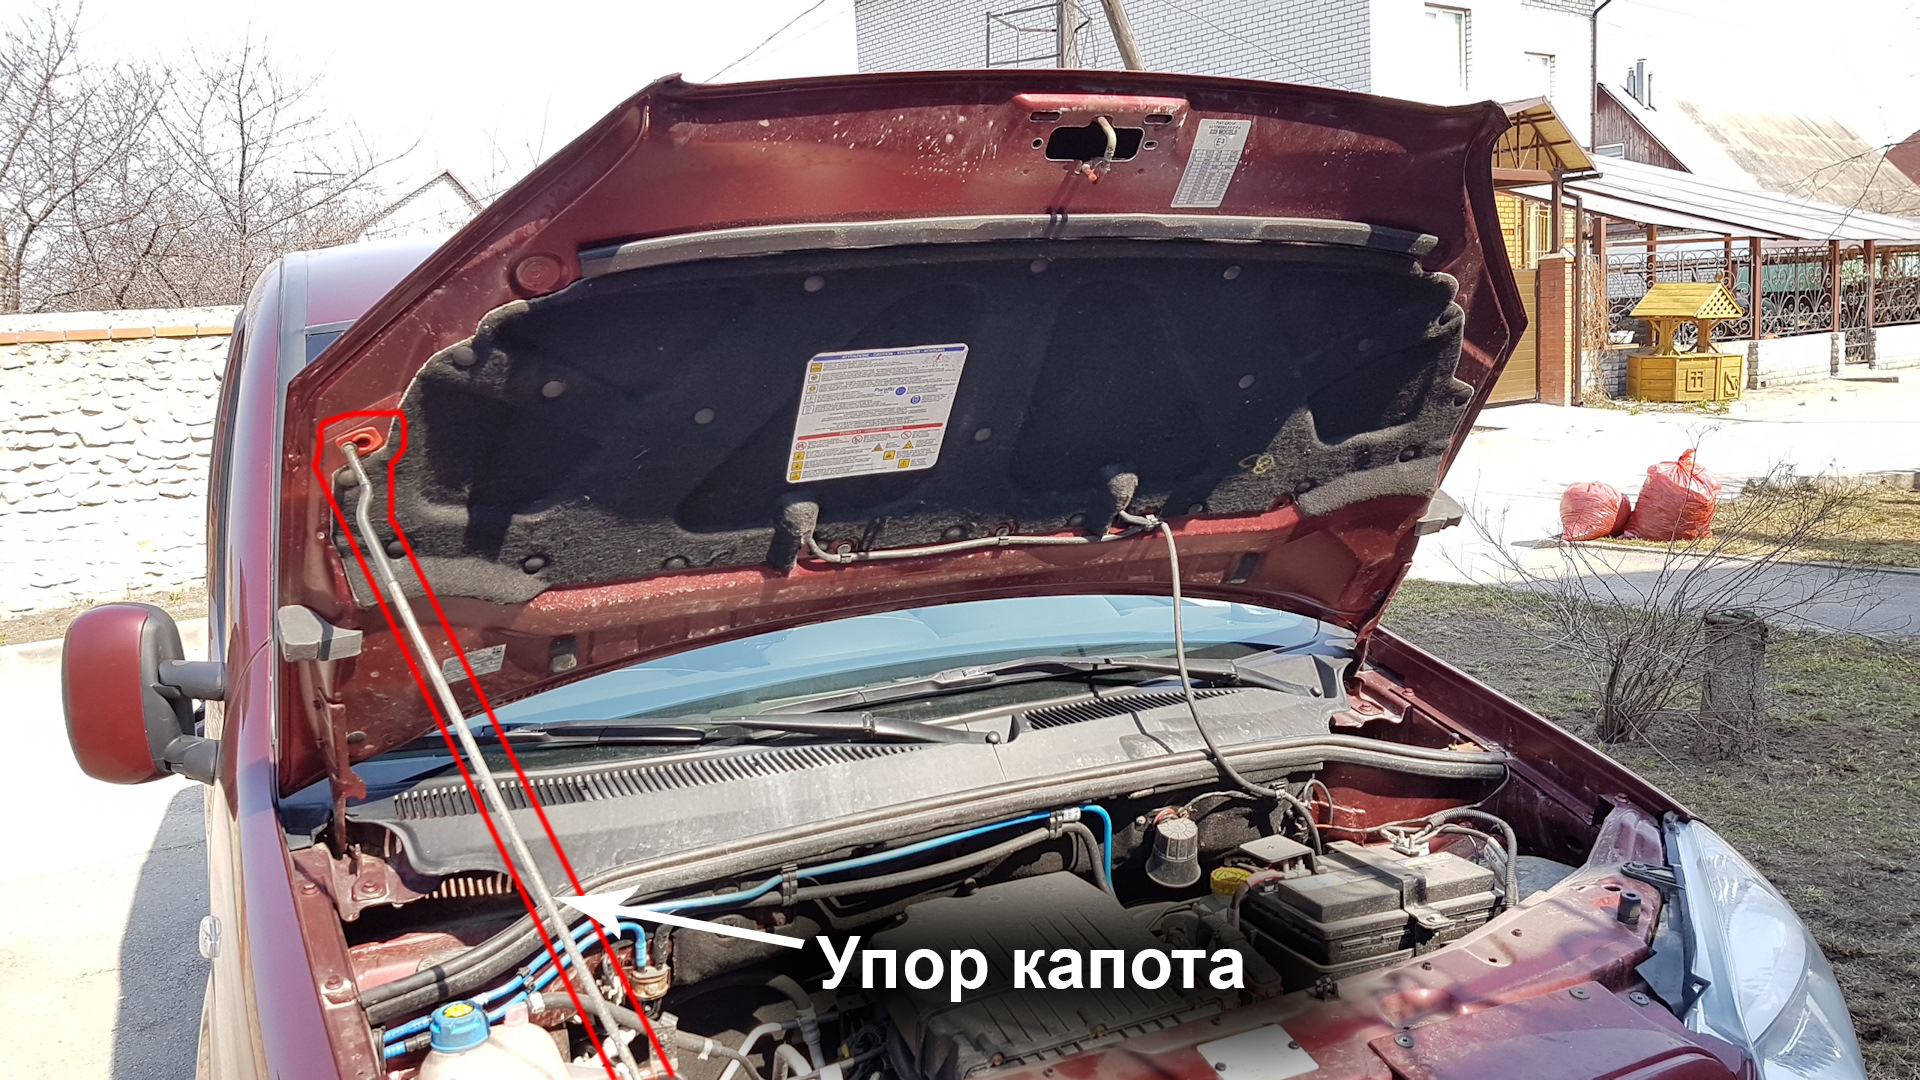
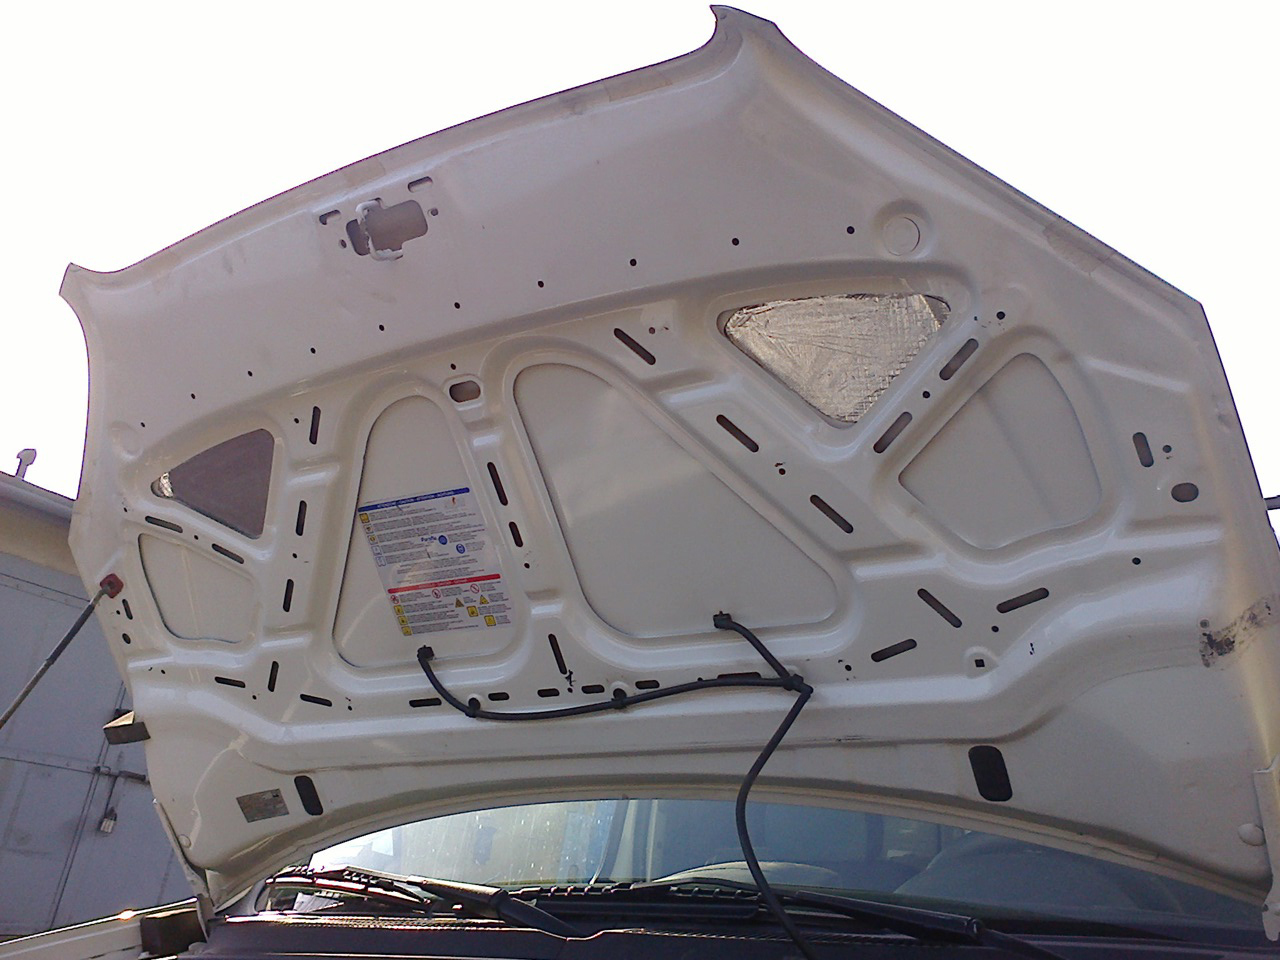
2. Open the hood and look for the beam fall percentage icon next to the headlight.
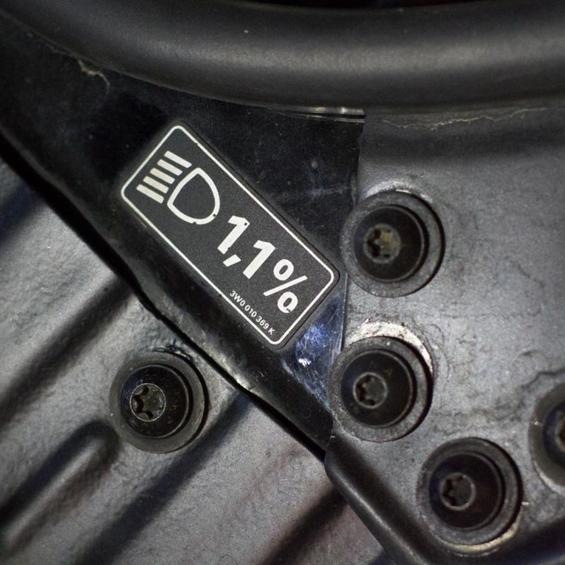
Note: This indicator means the value of the light beam to the ground. It is possible to determine at what distance in meters (S) from the car the dipped beam of the car "rests" on the ground, if the focal center of the lens or reflector is at a height (H) 70 cm from the ground, using the formula S = (H / ( n / 100 )) / 100, where n is the percentage of beam incidence.
In this case, S = (70 / ( 1/100 )) / 100 = 70 meters. It is at this distance from the car that the beam of light "rests" on the ground.
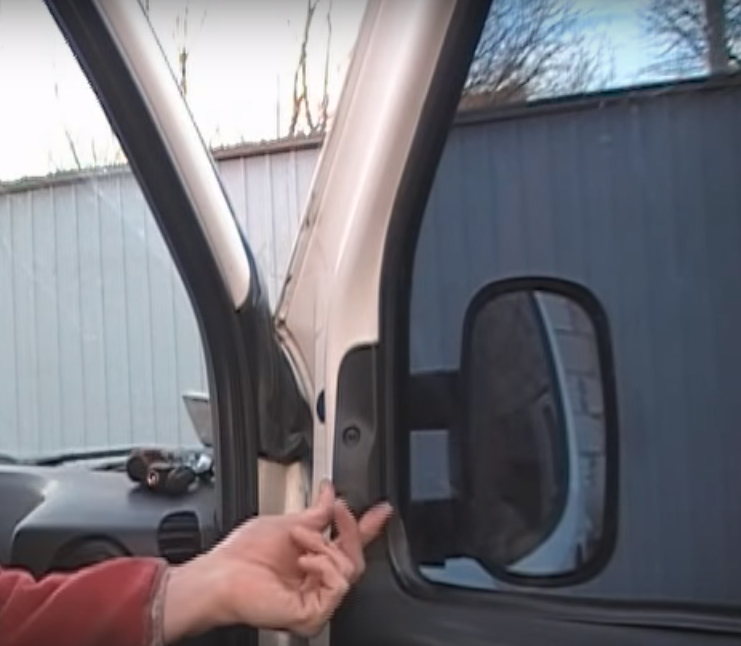
3. Position the vehicle perpendicular to a smooth wall, close to the wall. Install an additional weight of 75 kg in the driver's seat. Shake the car so that the suspension springs self-adjust.
4. Standing close to the wall, mark the vertical and horizontal axes along the upper edge of the beam with molar tape on the wall and mark along the beam with two pieces of masking tape.
Note: it is important to correctly mark the initial positions with a masking tape, since in the future the rest of the parameters will be marked from them.
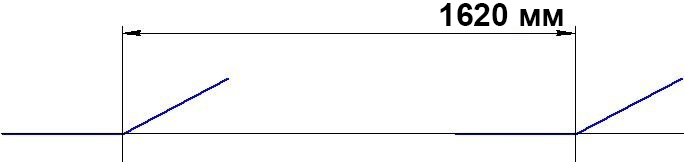
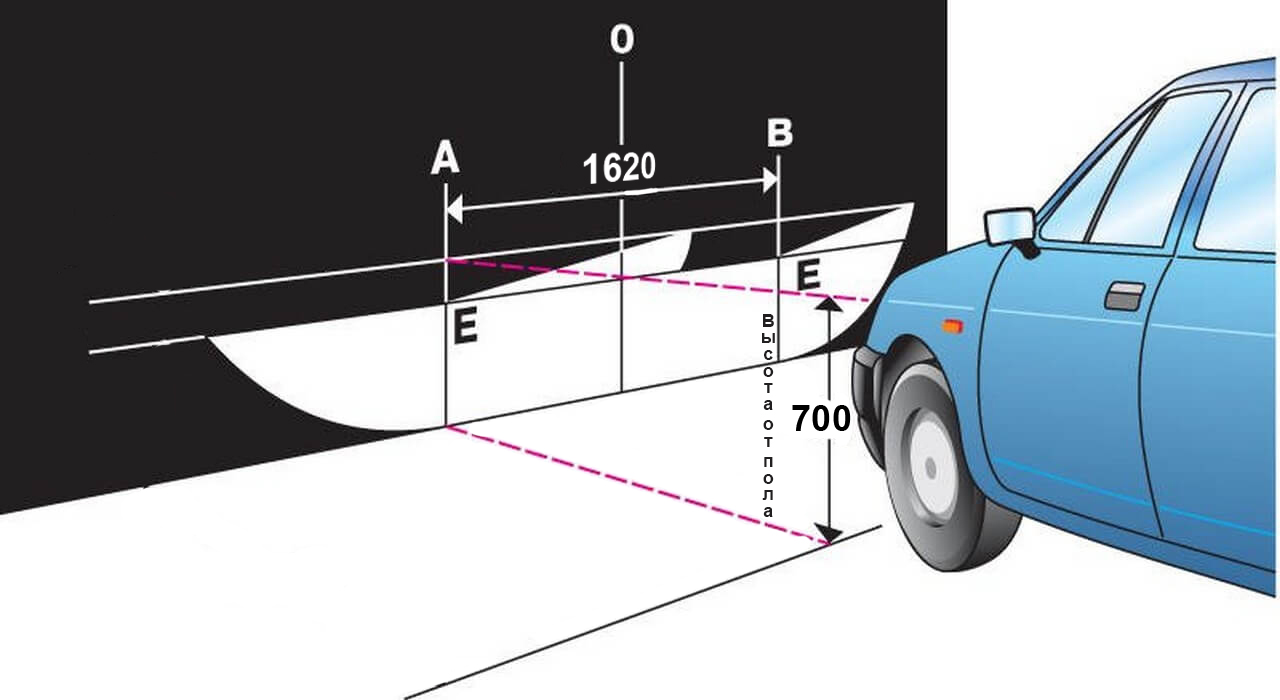
5. Measure the distance from the centers of the axes with a tape measure and stick masking tape from center to center. The longitudinal plane of symmetry of the car must pass along line 0 on the markings.
Note: The distance from the axle centers must be 1620 +/- 50 mm.
6. Measure the height of the headlight centers from the floor with a tape measure.
7. Mark with masking tape in increments of 2 cm (from the edge of each piece) the same checkmarks, below those already drawn, 5 pieces.
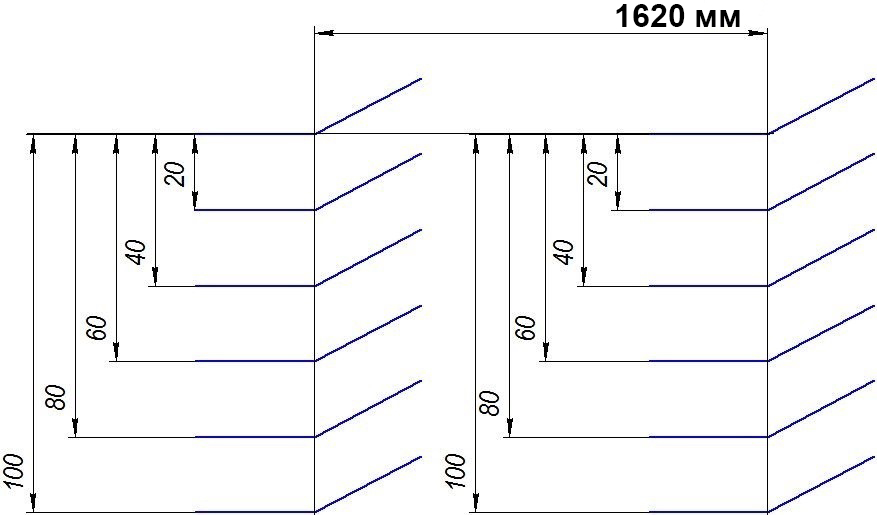
8. We move away from the wall 2 meters back and turn on the dipped beam.
Note: The headlight ticks should move from position 1 to position 2.
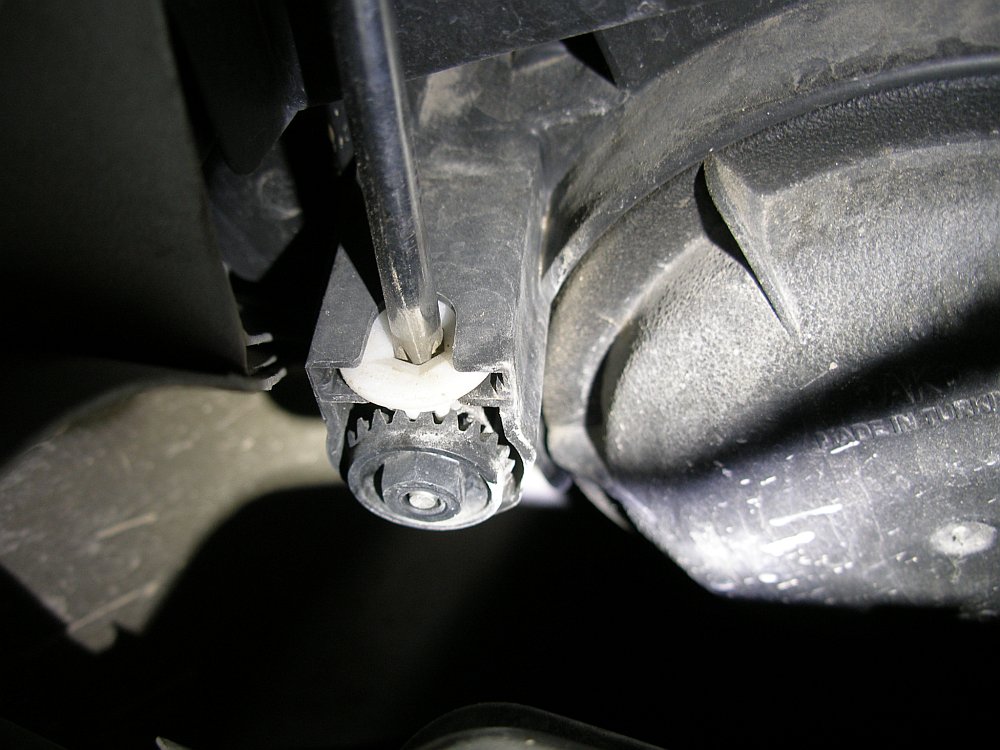
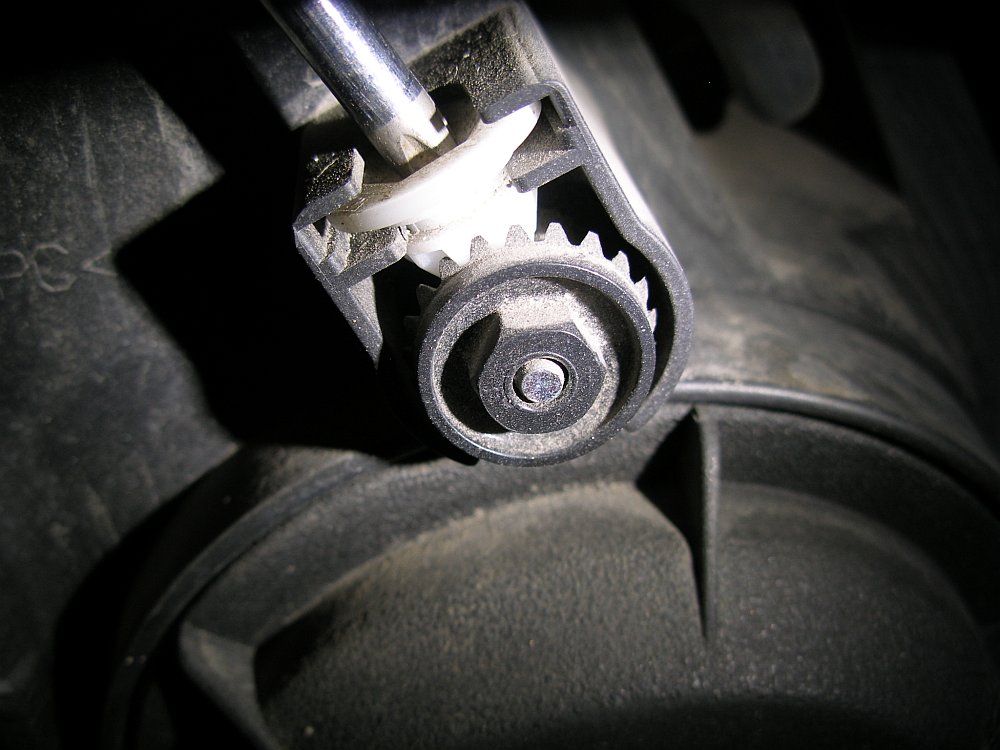
9. If the checkmarks from the headlights do not fall into position 2, then by turning the adjusting screws on the headlight, adjust the position on the screen of the light spot for each headlight horizontally as well as vertically.
10. After setting up, we get into the car and drive another 2 meters back.
Note: The headlight ticks must move from position 2 to position 3. Otherwise, adjust the headlights again.
11. Continue to drive back 2 meters up to 10 times.
Note: if the checkmarks from the headlights do not match on any of the marks, adjust the headlights.
12. Low and high beam headlights are adjusted simultaneously. After setting the low beam headlights, the far beam will be set due to the geometry of the reflector.
A source:
https://carpedia.club
The article is missing:
- Repair photo
The article lacks:
- Фото ремонта