Tools:
- Mounting blade
- screw jack
- balloon wrench
- Pneumatic wrench
- Screwdriver flat medium
- Large flat screwdriver (if needed)
- torque wrench
- 5mm hex wrench
- Open-end wrench 7 mm
- Open end wrench 16 mm
- Open end wrench 22 mm
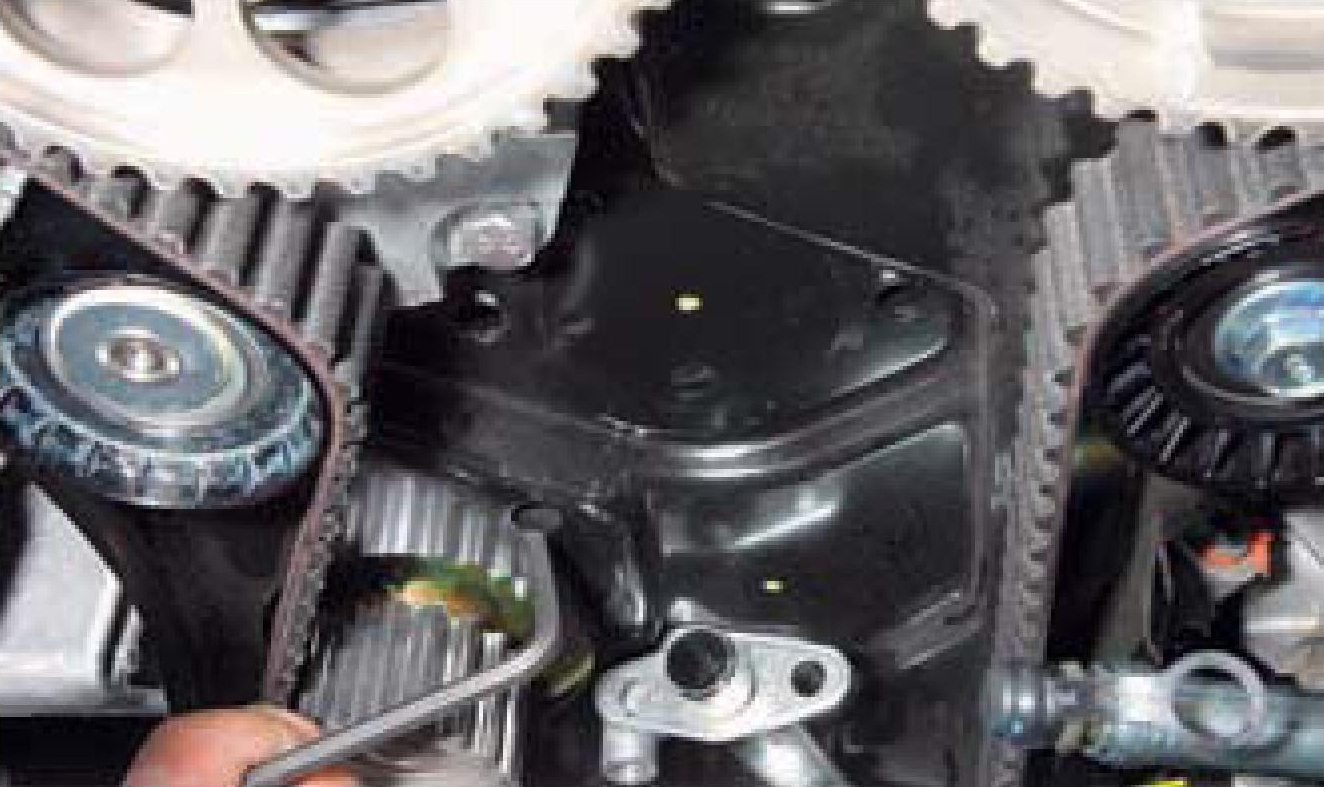
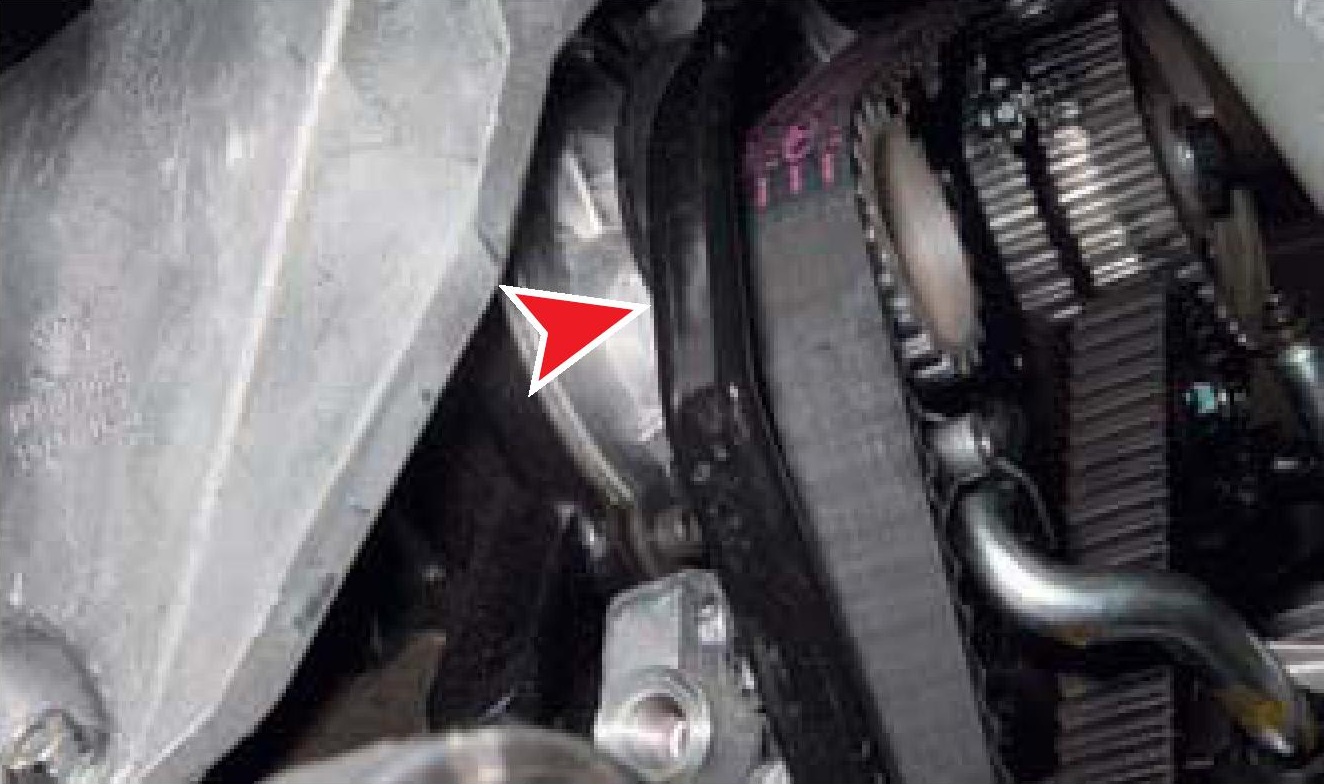
- Straight ring wrench 10 mm
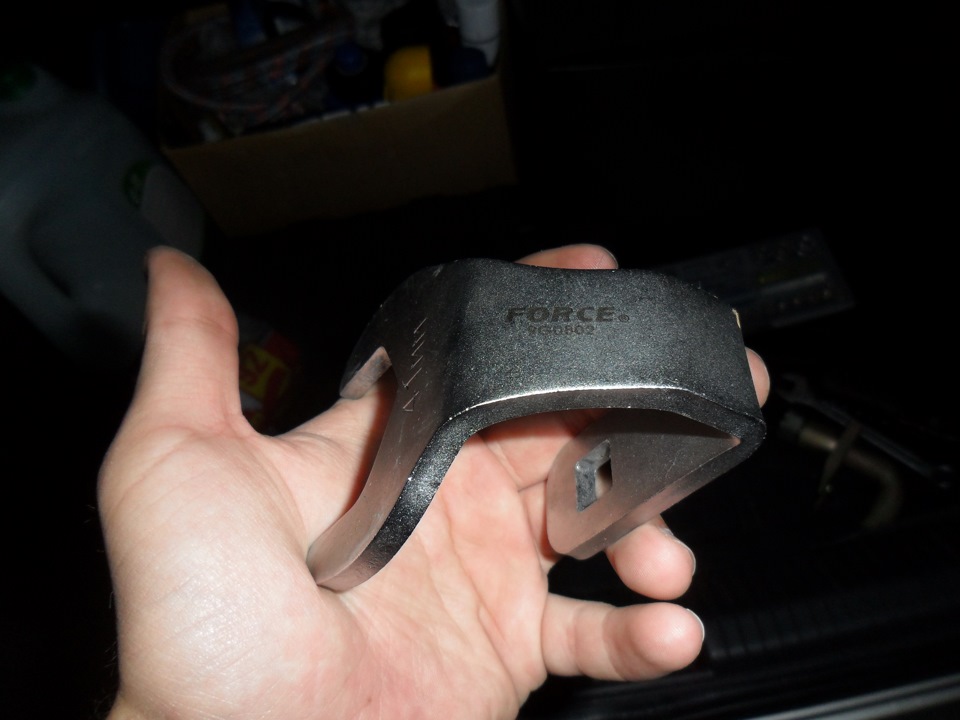
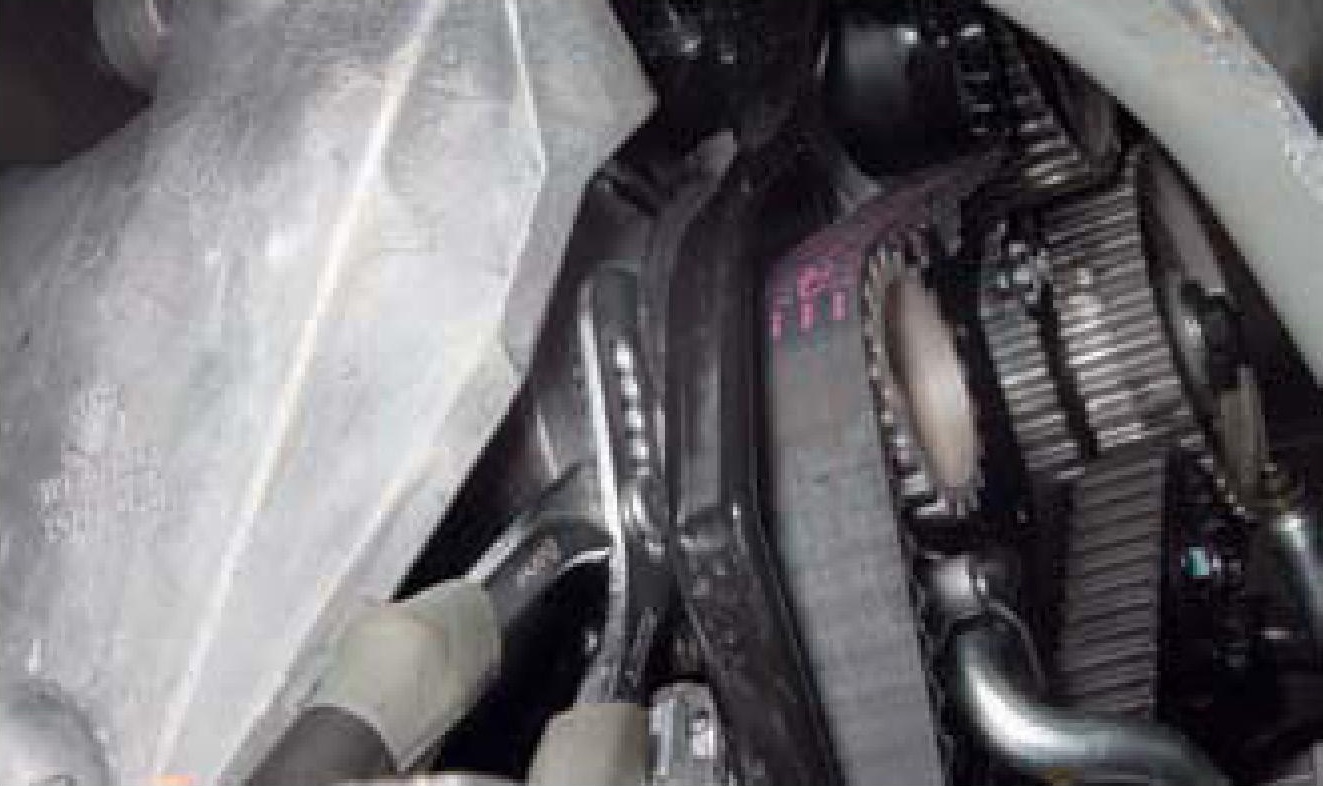
- Straight ring wrench 12 mm - 2 pcs.
- Straight ring wrench 14 mm
- Straight ring wrench 17 mm
- Special wrench 41mm for coolant pump (or sliding pliers)
- Ratchet wrench
- Extension
- Head 4 mm
- Head 10 mm
- Head 12 mm
- Head 14 mm
- Head 17 mm
- Head 19 mm
- Head 32 mm
- Hammer medium
- beard
- Support leg
- Syringe
- Funnel
Parts and consumables:
- wheel chock
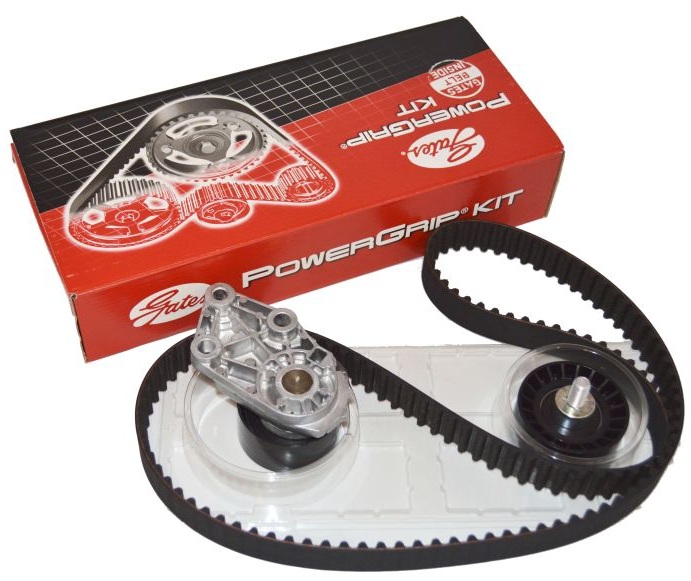
- Timing roller and belt kit K015419XS
- Rod with a diameter of 6 mm (if necessary)
- Technical capacity
- Stub
- O-ring for water pump (if required)
- Power Steering Fluid
- Coolant (if required)
- rags
Notes:
Check the condition of the timing belt (timing) or replace parts of the corresponding mechanism according to the maintenance schedule . It should be borne in mind that failure of the timing belt (breakage or shearing of teeth) can lead to valves hitting pistons due to a mismatch in the angles of rotation of the crankshaft and camshafts and, as a result, to expensive engine repairs.
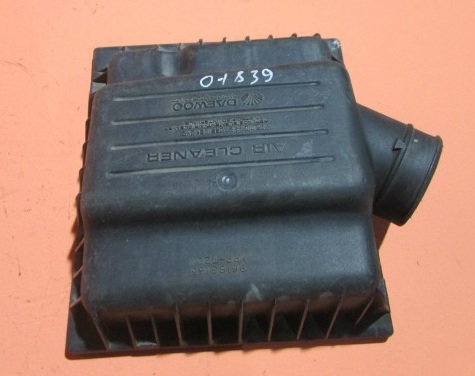
1. Remove the air filter as described here .
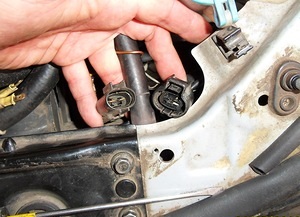
2. If there is an air conditioner on the car, disconnect the wiring harness from the coolant pressure sensor (located next to the power steering pump pulley).
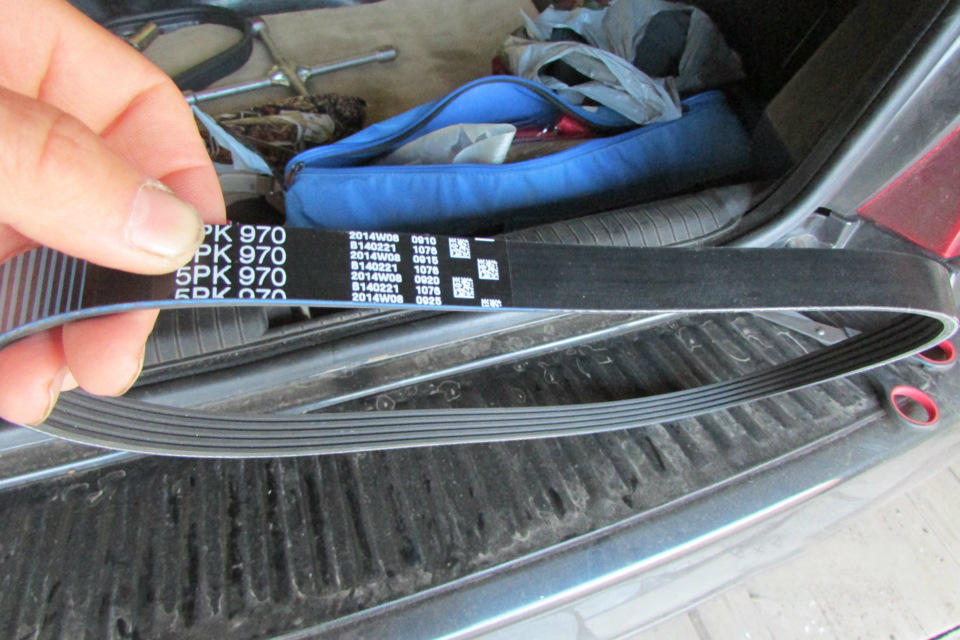
3. Remove the alternator drive belt and power steering pump as described here .
4. Using a 12 mm spanner, loosen the tightening one by one and unscrew the three bolts securing the power steering pump pulley. At the same time, hold the pulley from turning with another 12 mm ring wrench or a slotted screwdriver inserted between the pulley hub and the bolt head.
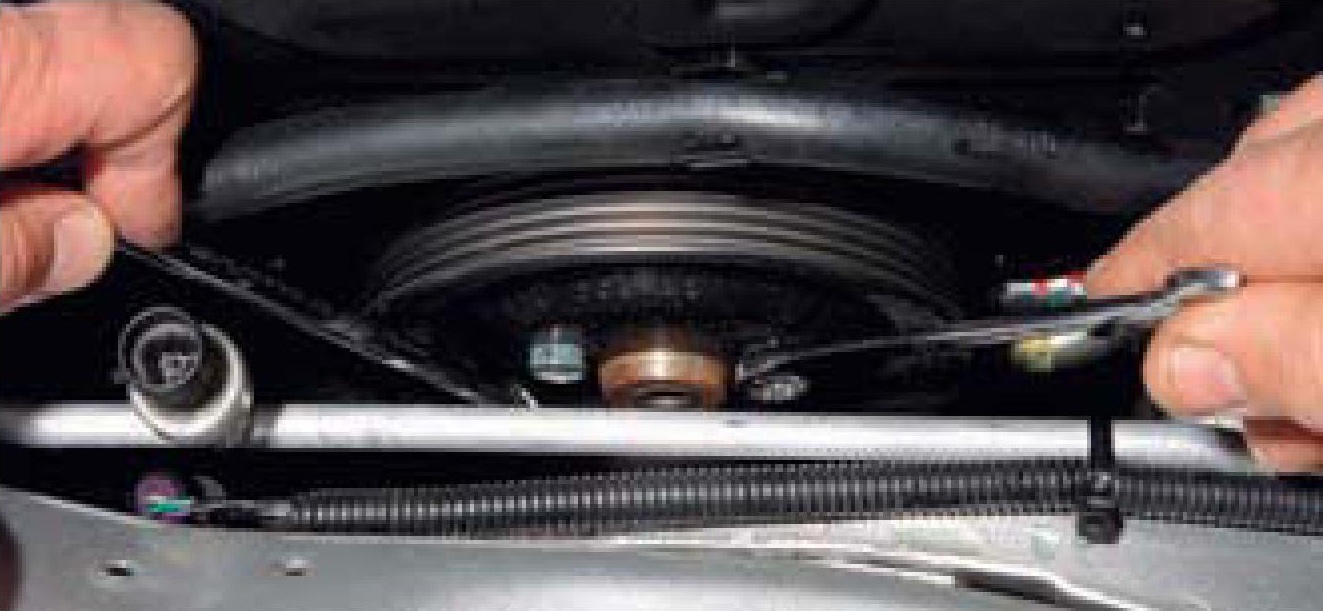
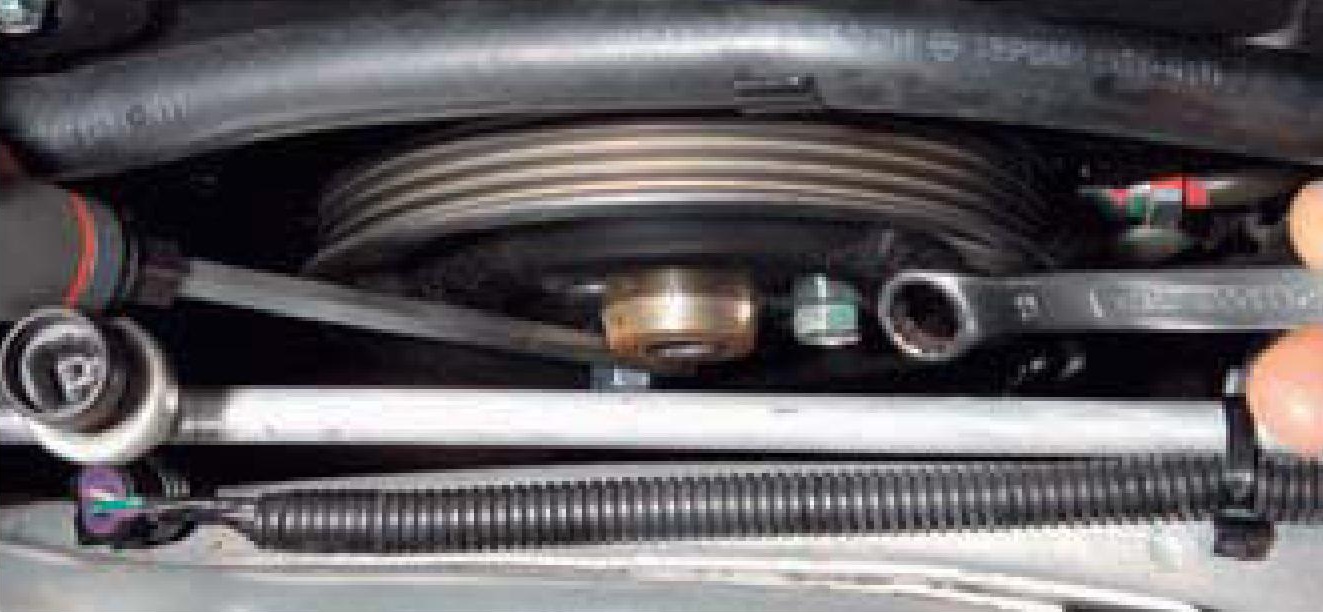
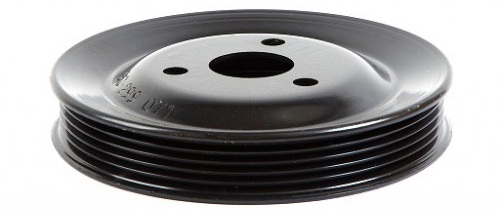
5. Pressing the power unit to the left side of the car, remove the pulley from the hub.
6. Remove the coolant supply hose to the throttle assembly from the two holders of the upper front timing cover.
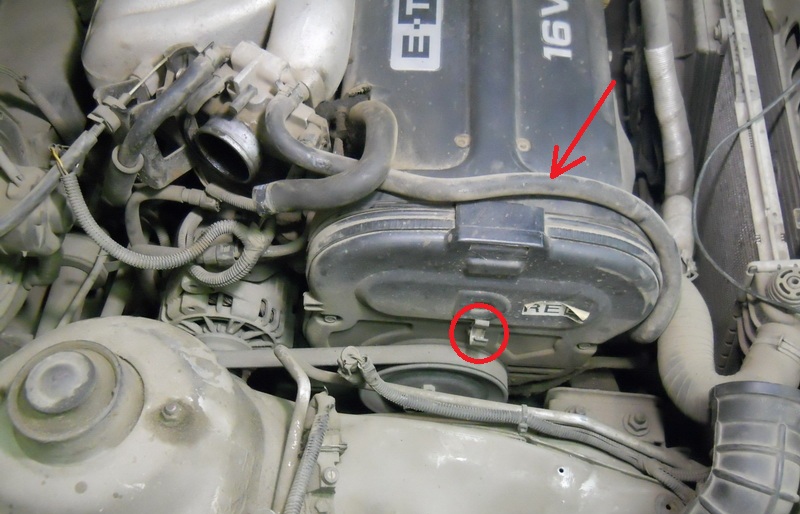
7. With a 10 mm head, unscrew the four bolts securing the upper front timing cover and remove it.
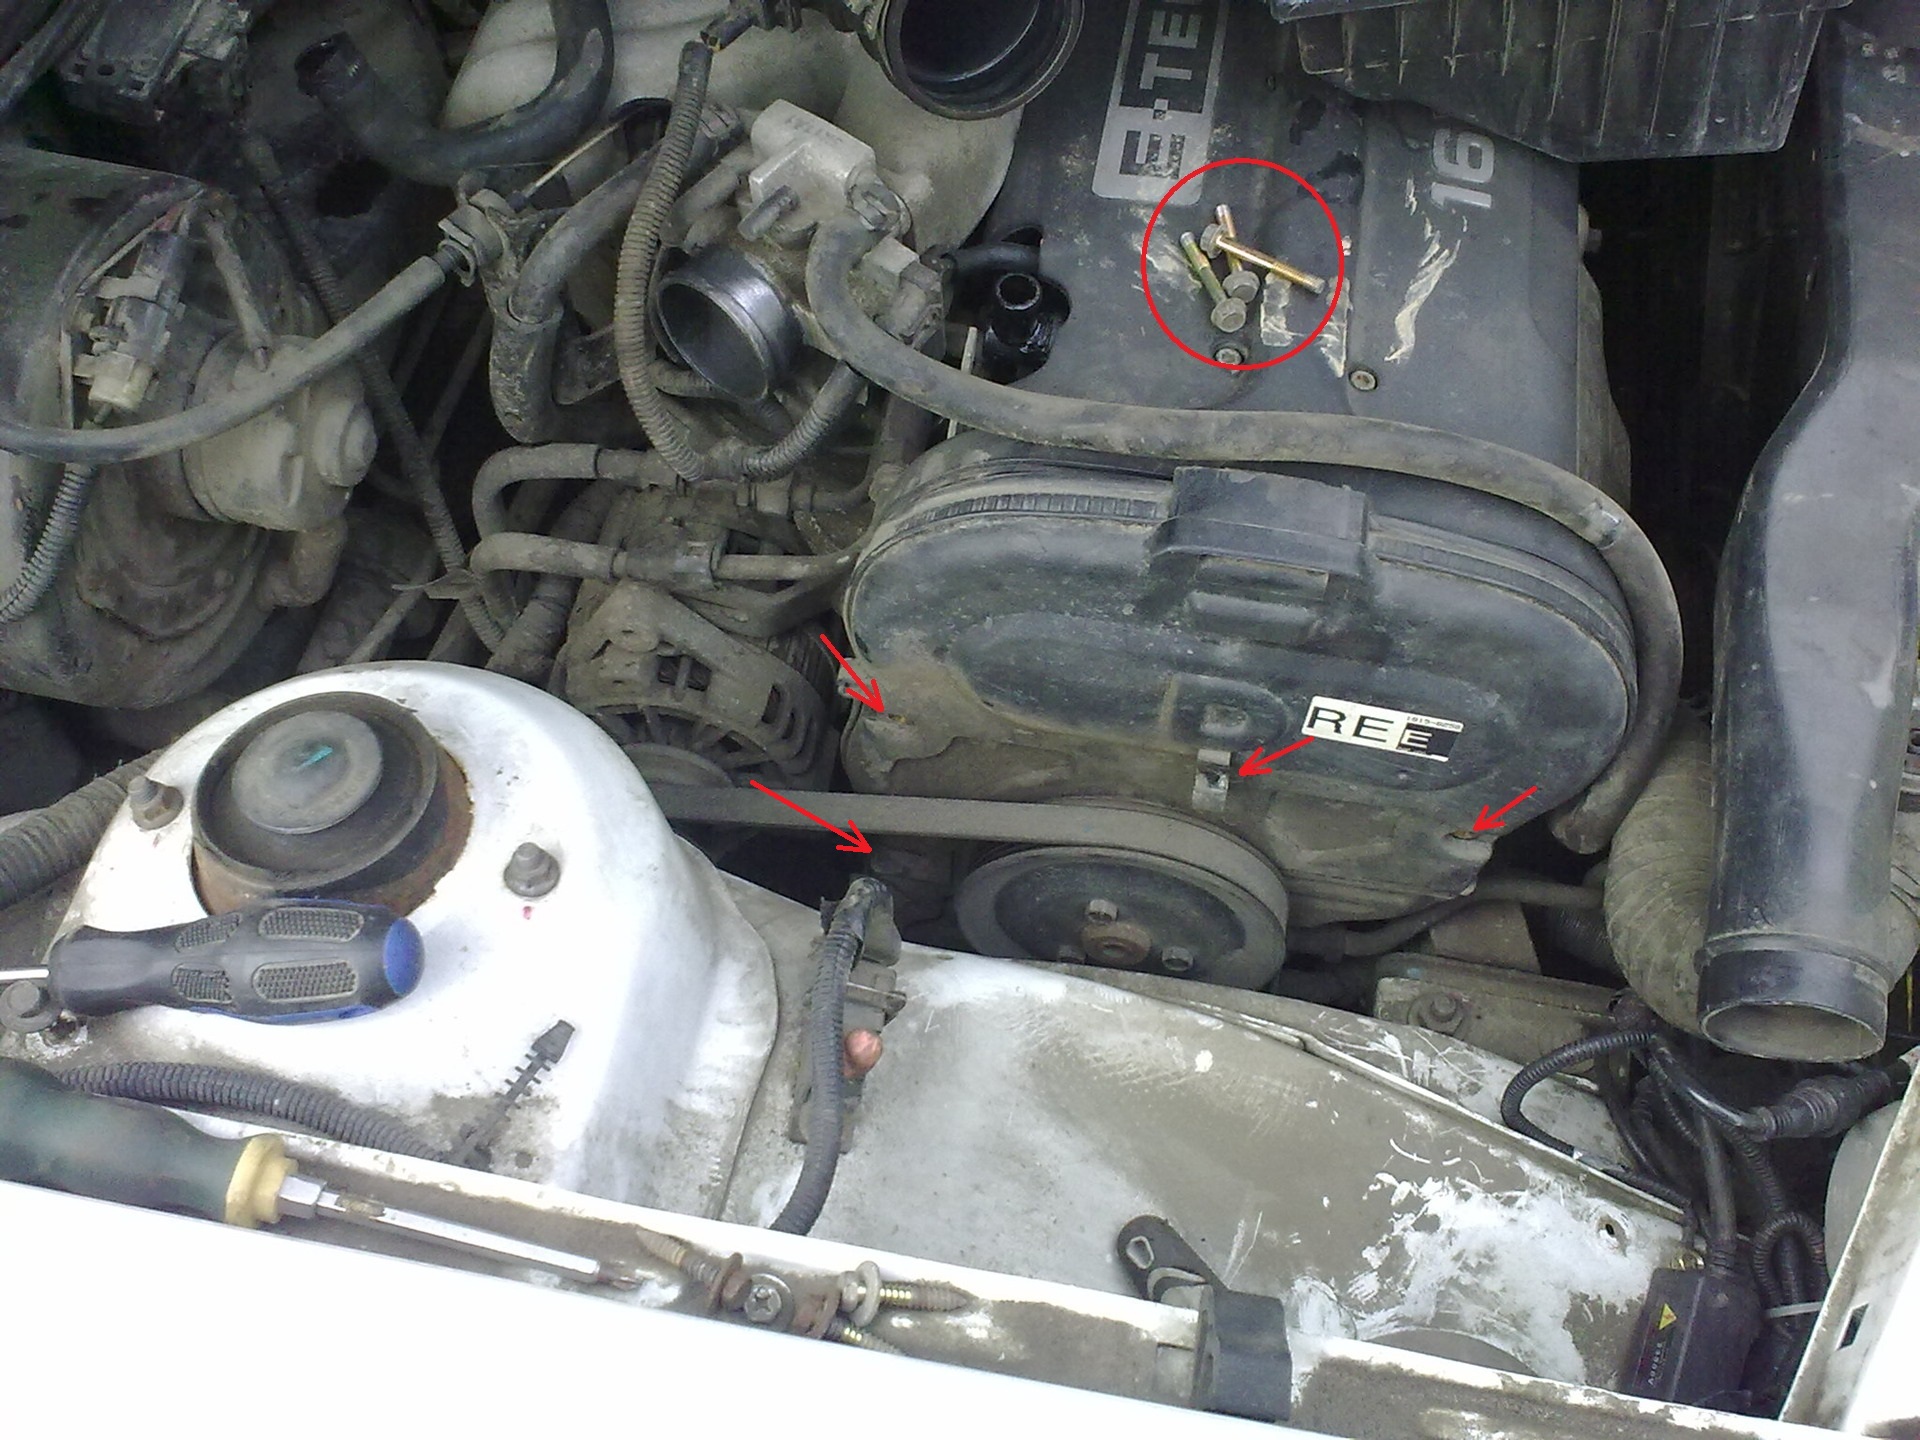
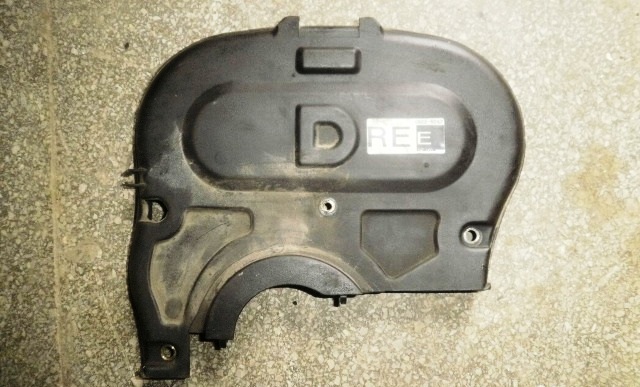
8. Turn on the fifth gear in the gearbox and hang out the right front wheel. Rotating the wheel clockwise, turn the crankshaft and check the condition of the timing belt.
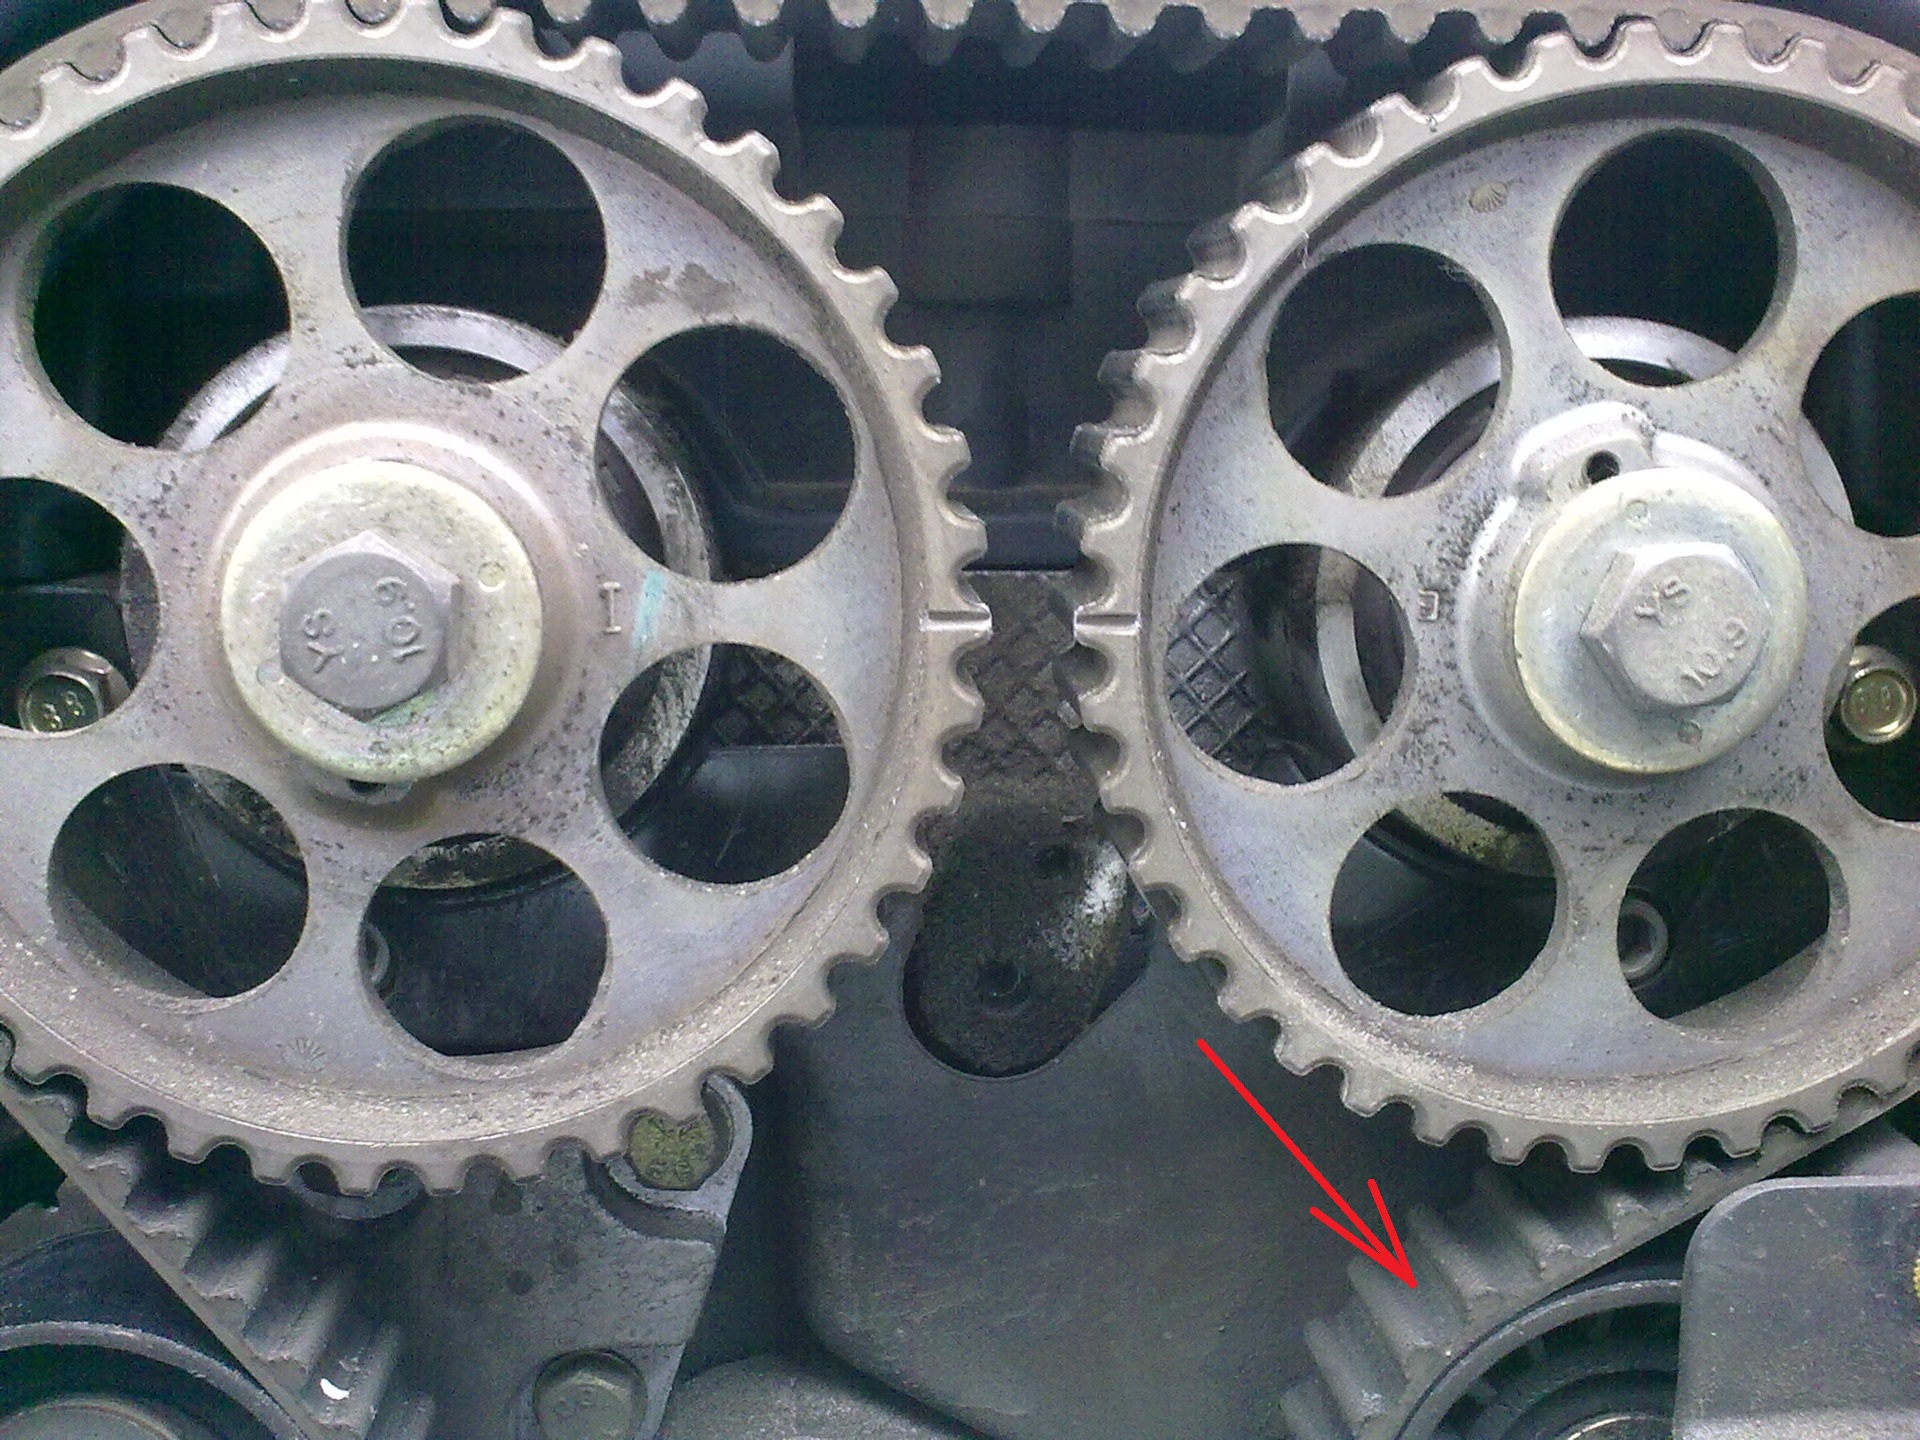
Note:
The surface of the toothed part of the belt must not have folds, cracks, undercutting of the teeth and delamination of the fabric from the rubber. The reverse side of the belt should not have wear, exposing the cord threads, and signs of burning.
On the end surfaces of the belt there should be no delaminations and fraying. If there is damage, the belt must be replaced. The belt must also be replaced if traces of oil are found on it (before replacing the belt, the cause of its oiling should be eliminated) or when replacing the failed tensioner and belt support roller, coolant pump.
9. With normal belt tension, the movable pointer 1 of the roller should coincide with the fixed pointer 2 on the tensioner bracket.
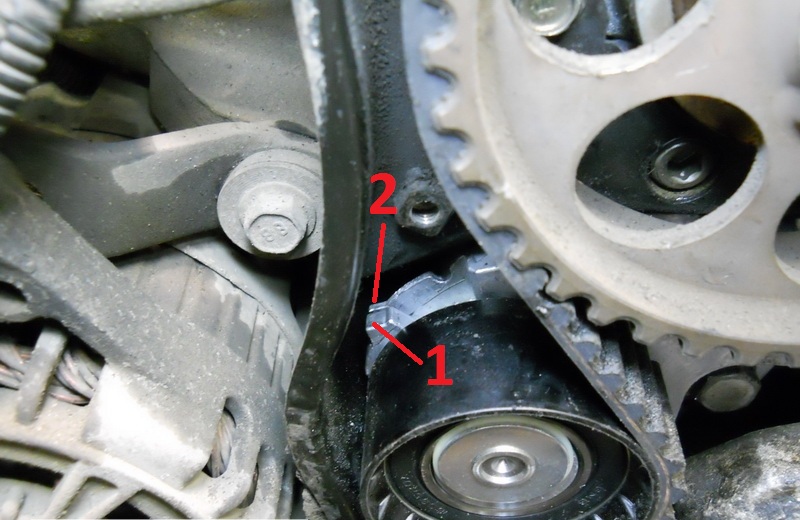
Note:
If the movable pointer is offset relative to the fixed pointer:
- counterclockwise - belt tension is not enough;
- clockwise - the belt will be tightened.
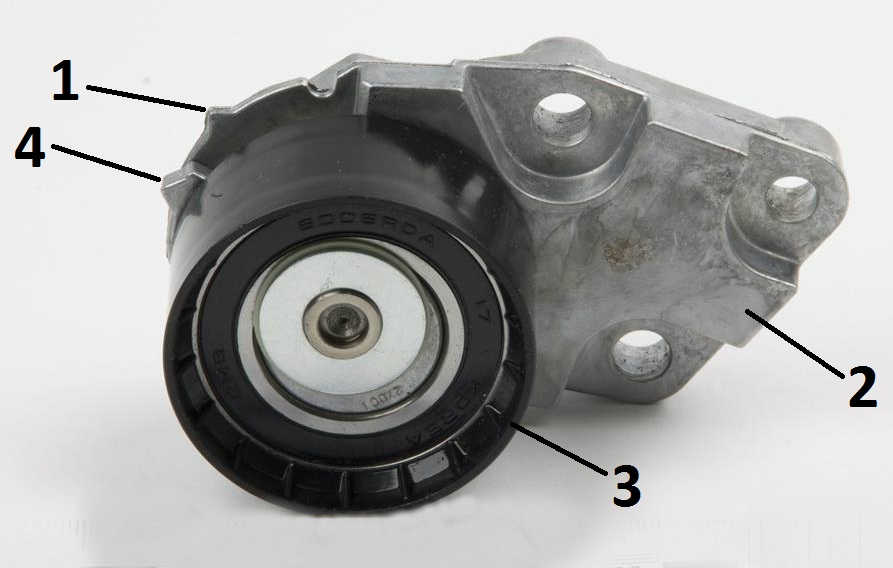
Timing Belt Tensioner :
1 - fixed pointer;
2 - bracket;
3 - eccentric roller;
4 - movable pointer.
10. If the pointers do not match, adjust the belt tension (see below) or replace the belt with a new one.
Timing belt replacement
Note:
Perform belt replacement operations on an inspection ditch or overpass.
1. Remove the right front wheel and securely support the vehicle on a factory-made stand.
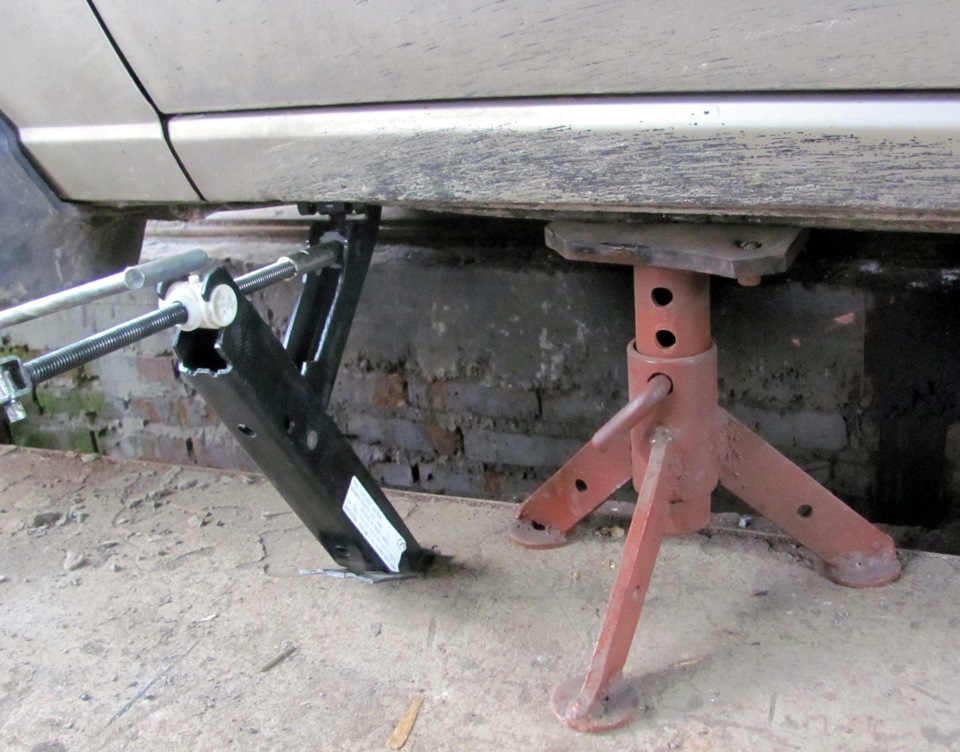
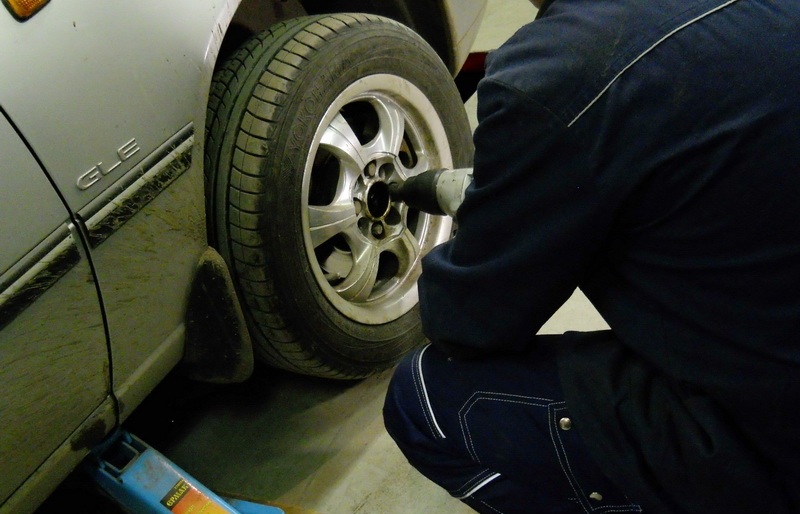
2. With a 17 mm head, turn the crankshaft clockwise for the bolt securing the accessory drive pulley until the alignment marks on the camshaft pulleys are aligned.
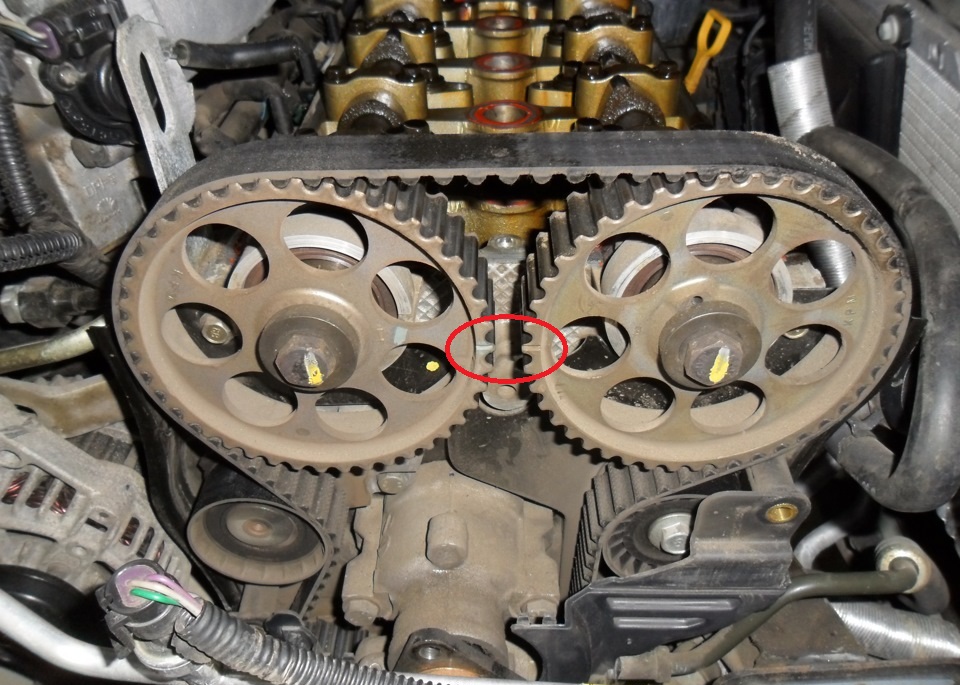
3. Turn away a bolt of fastening of a pulley of a drive of auxiliary units. To keep the crankshaft from turning, the assistant must engage fifth gear and depress the brake pedal.
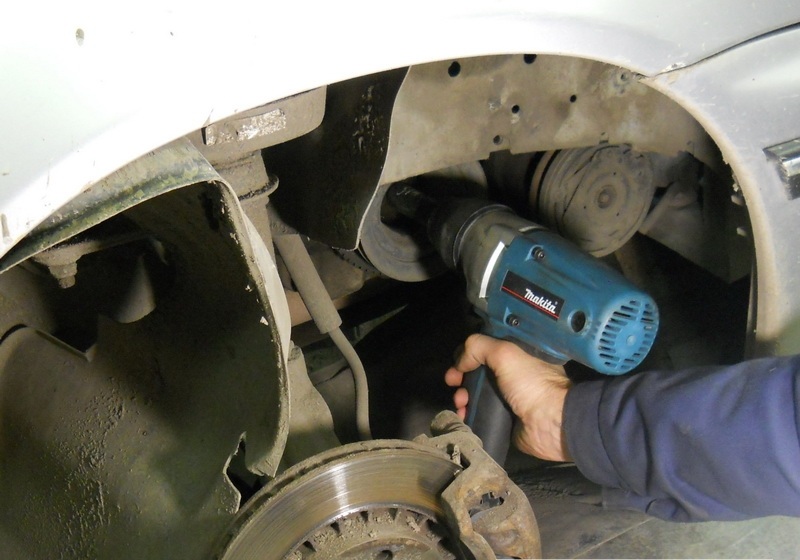
Note:
In the absence of an assistant, you can stop the flywheel from turning by removing the rubber plug from the window in the oil pan and inserting a strong rod (about 6 mm in diameter) through the window into the nearest of the six through threaded holes in the flywheel, into which, on the other side of the flywheel, screws are screwed to fasten the "basket » clutch.
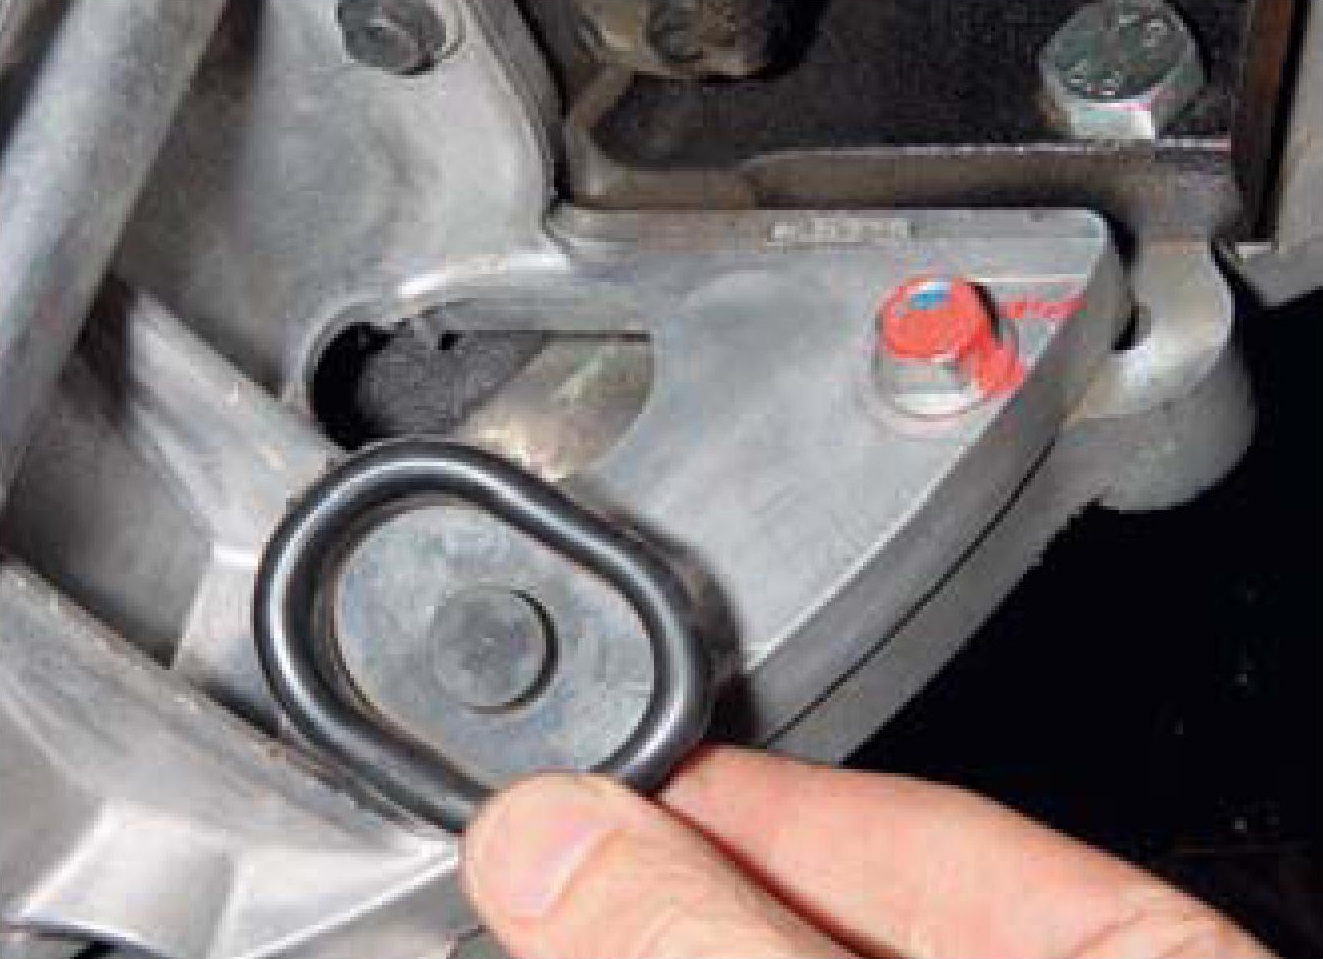
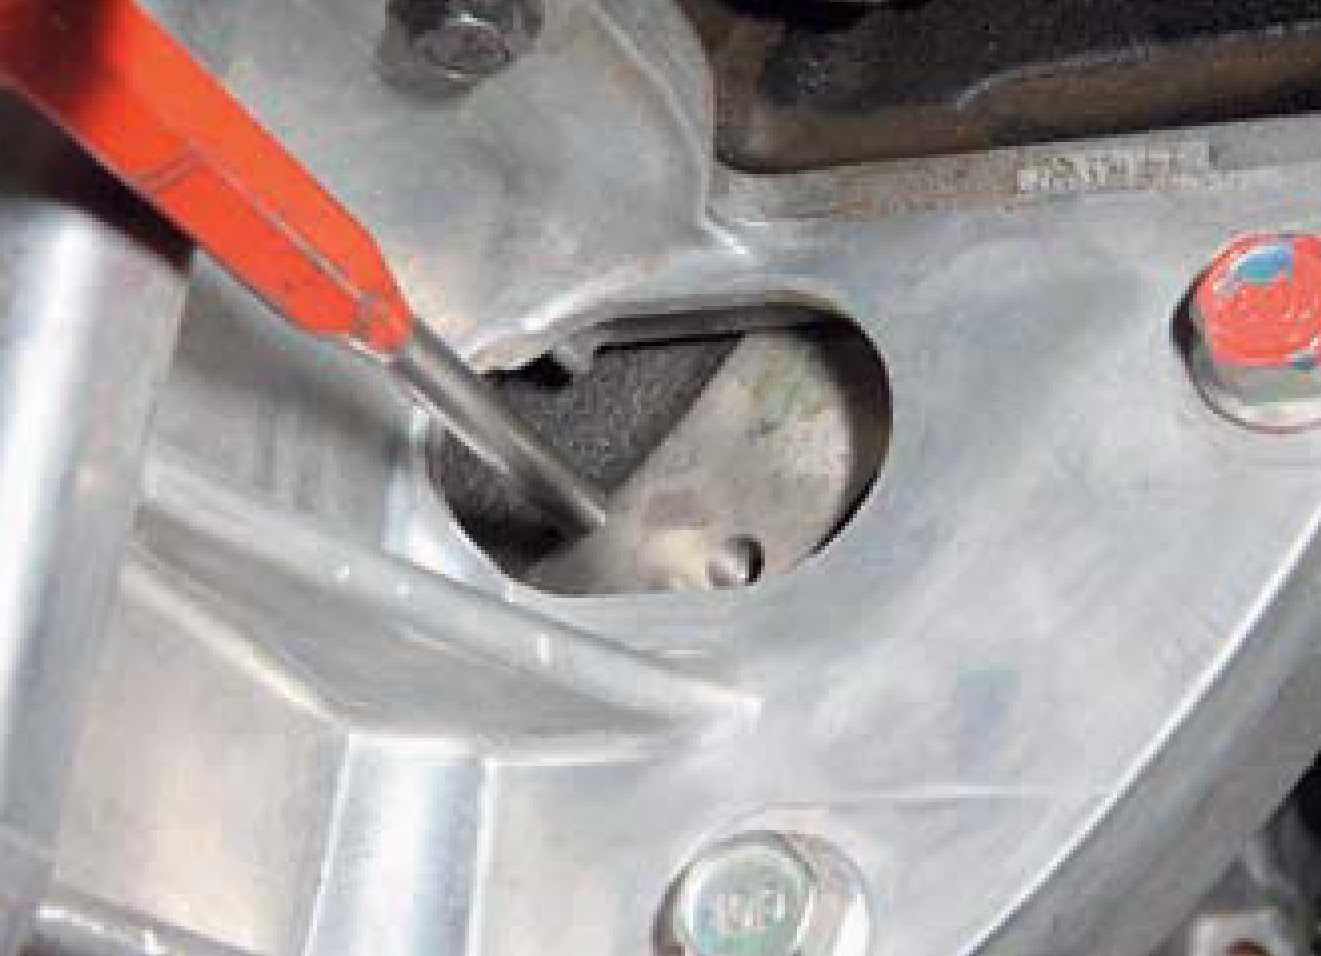
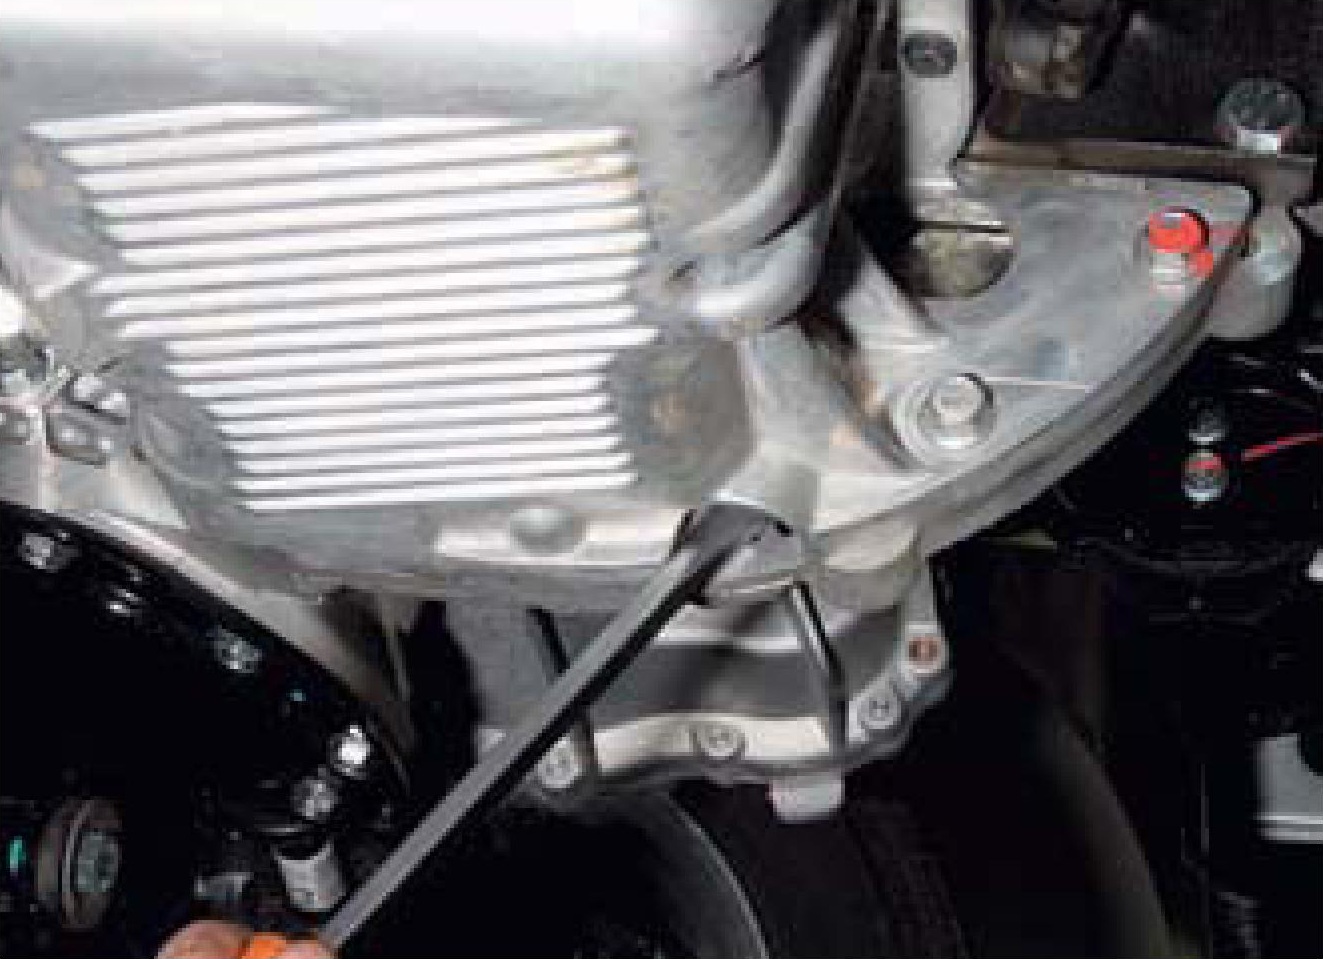
4. If it is not possible to unscrew the pulley in this way due to crankshaft rotation, then you can lock the flywheel with a screwdriver by inserting it through the well of the oil pan between the teeth of the flywheel crown.
5. Remove the bolt with washer and remove the accessory drive pulley.
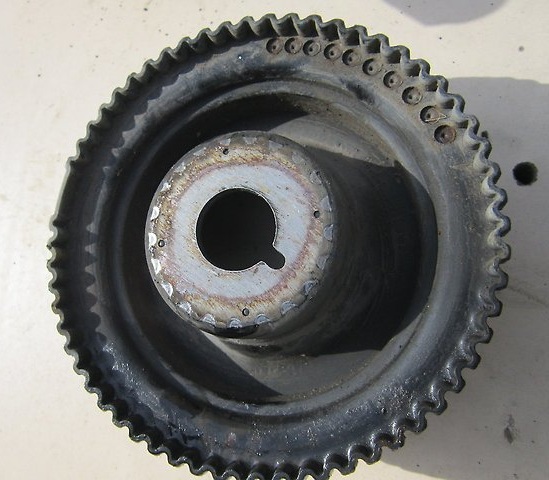
Note:
If the flywheel was blocked with a rod when unscrewing the pulley, remove it.
6. Once again check the coincidence of the alignment marks on the camshaft pulleys. With correctly installed phases of the gas distribution mechanism, mark 1 on the crankshaft pulley should be located opposite slot 2 on the rear timing cover.
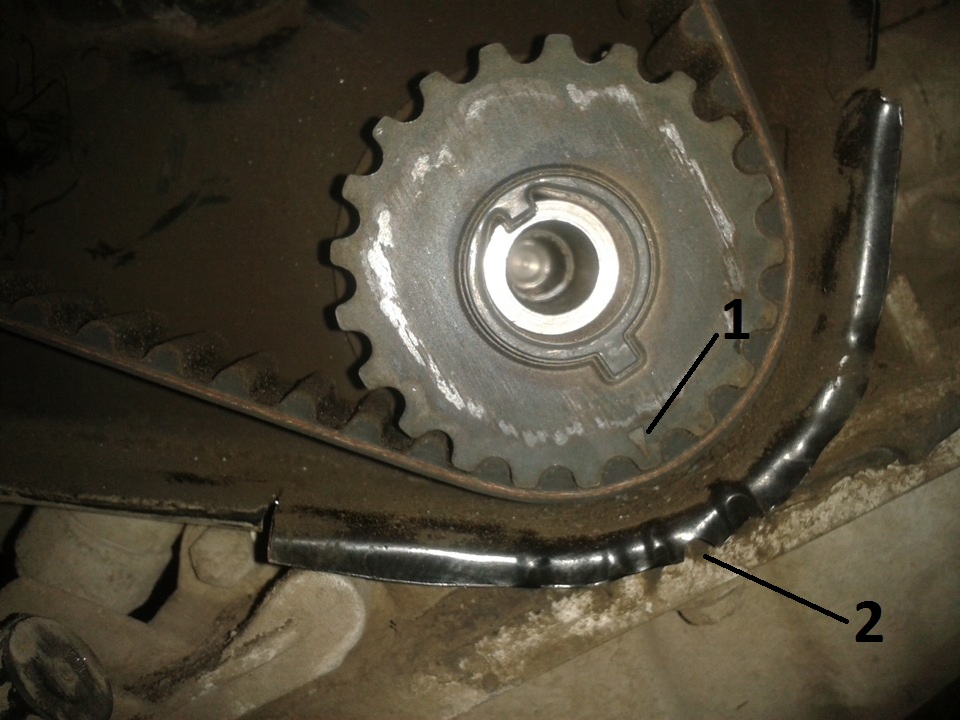
7. If necessary, tighten the crankshaft until the marks match.
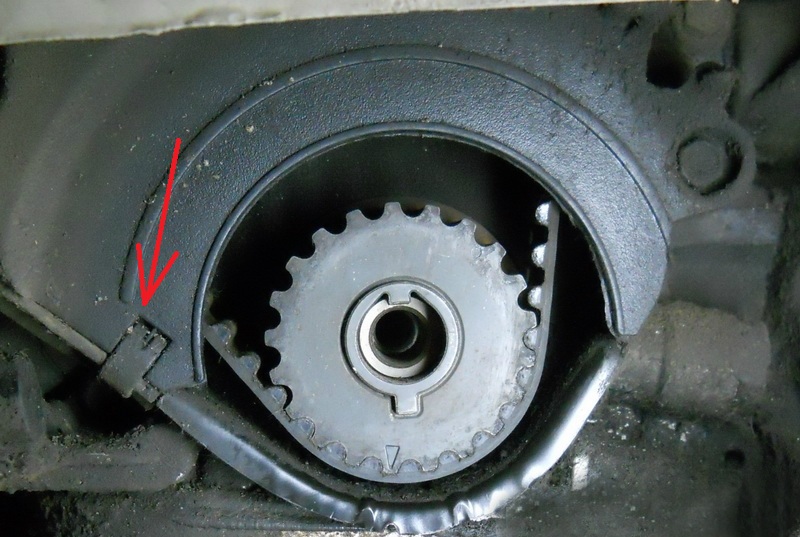
8. Unfasten the spring latch of the lower front timing cover.
9. With a 10 mm head, unscrew the bolt of the lower and the bolt of the upper fastening of the lower front timing cover.
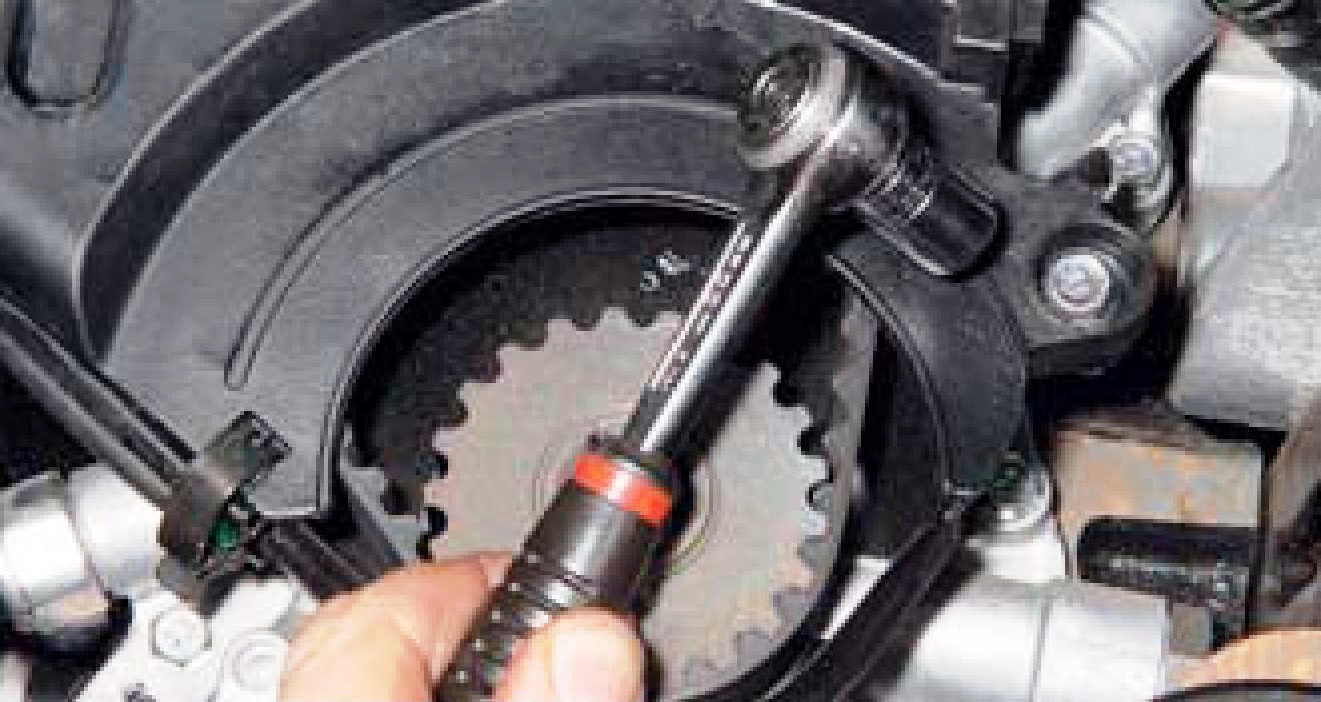
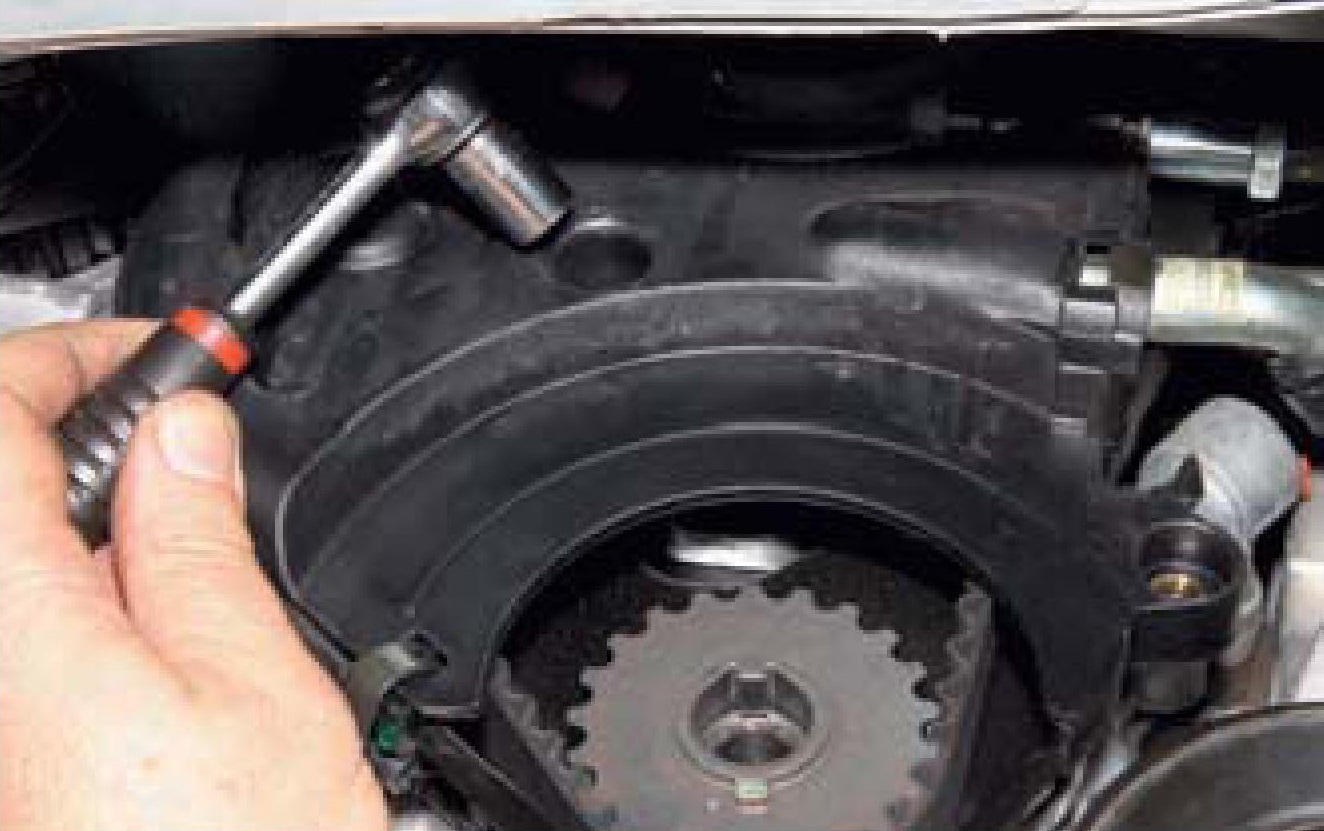
10. Remove the lower front timing cover.
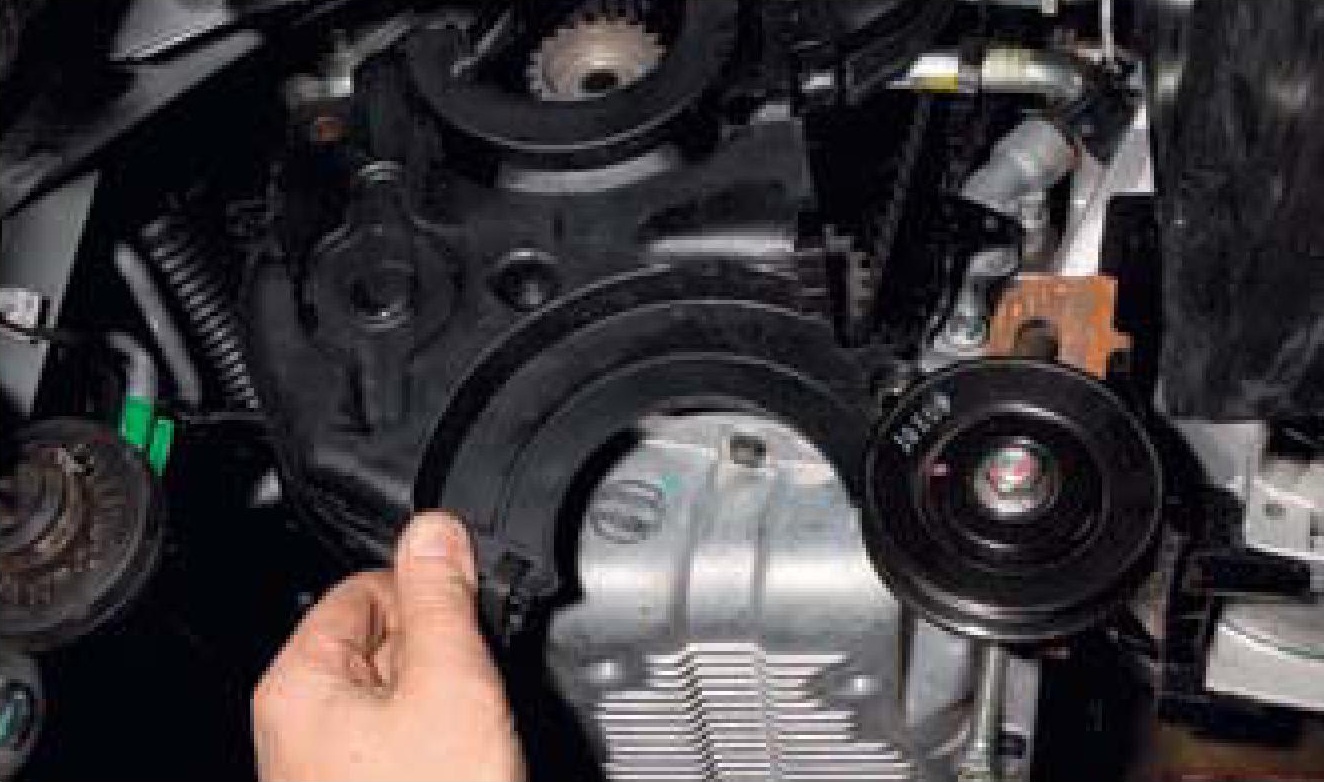
11. Remove the power steering pump as described here .
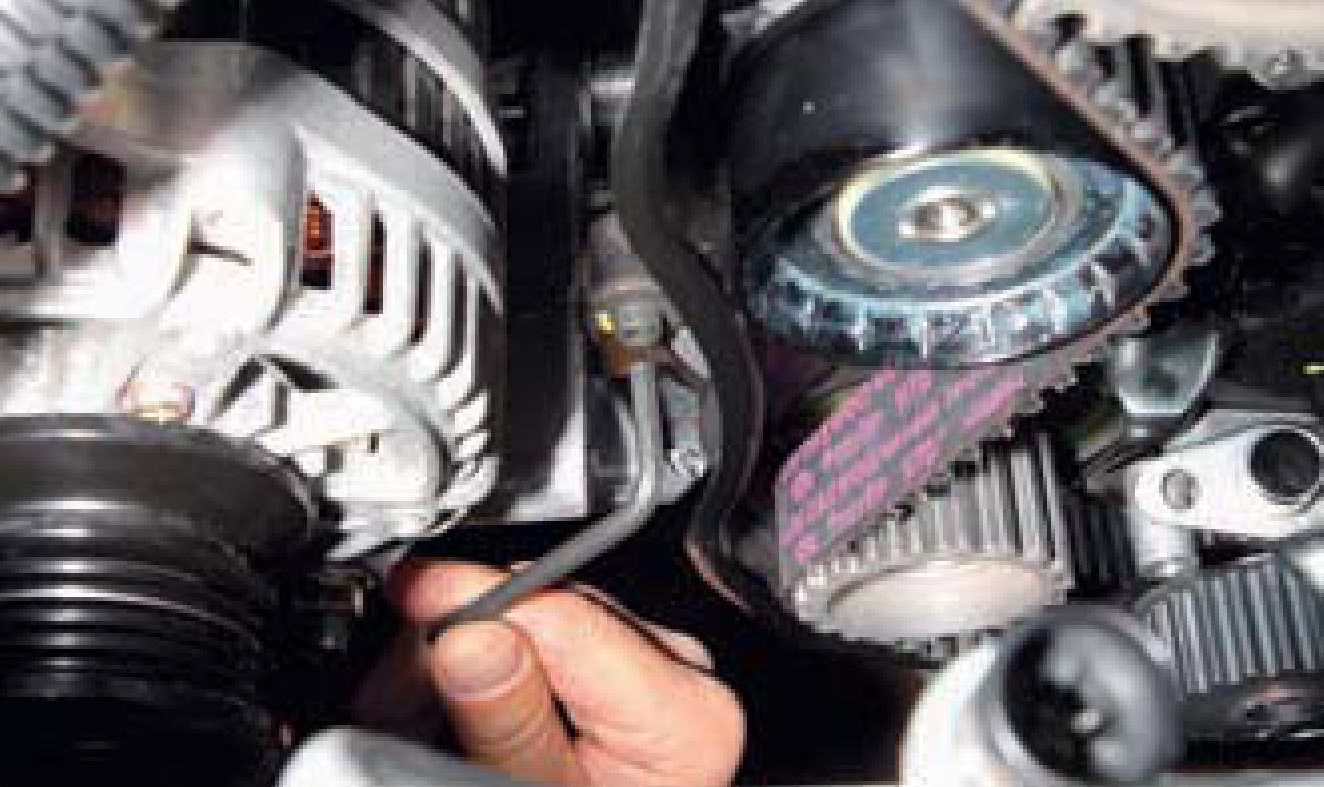
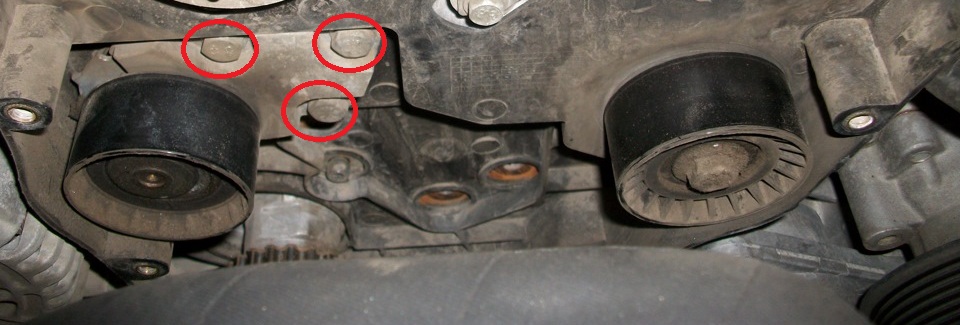
12. To remove the belt from the pulleys, you need to reduce its tension. To do this, turn the coolant pump housing in the cylinder block seat counterclockwise (with the pump fastening screws loosened). Loosen the three screws securing the coolant pump to the cylinder block with a 5 mm hex wrench: one screw located next to the generator bracket (see first photo below) and two screws through the hole in the back cover of the timing drive (see second photo below), located below it.
Note:
To avoid leakage of coolant through the pump O-ring, only loosen the screws until the pump housing can be turned with a tool.
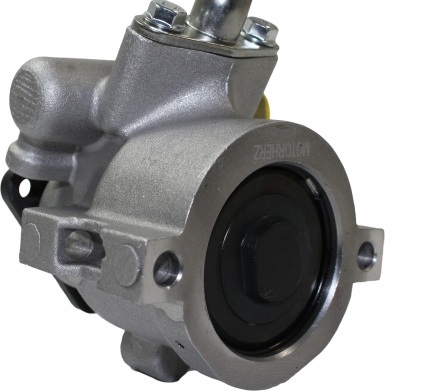
13. You can turn the pump by the hexagon, made on its body, with a 41 mm open-end wrench (for clarity, shown on the removed pump) or (in the absence of a key) sliding pliers.
14. After loosening the belt tension, remove it from the coolant pump pulleys, camshafts and crankshafts and remove the belt.
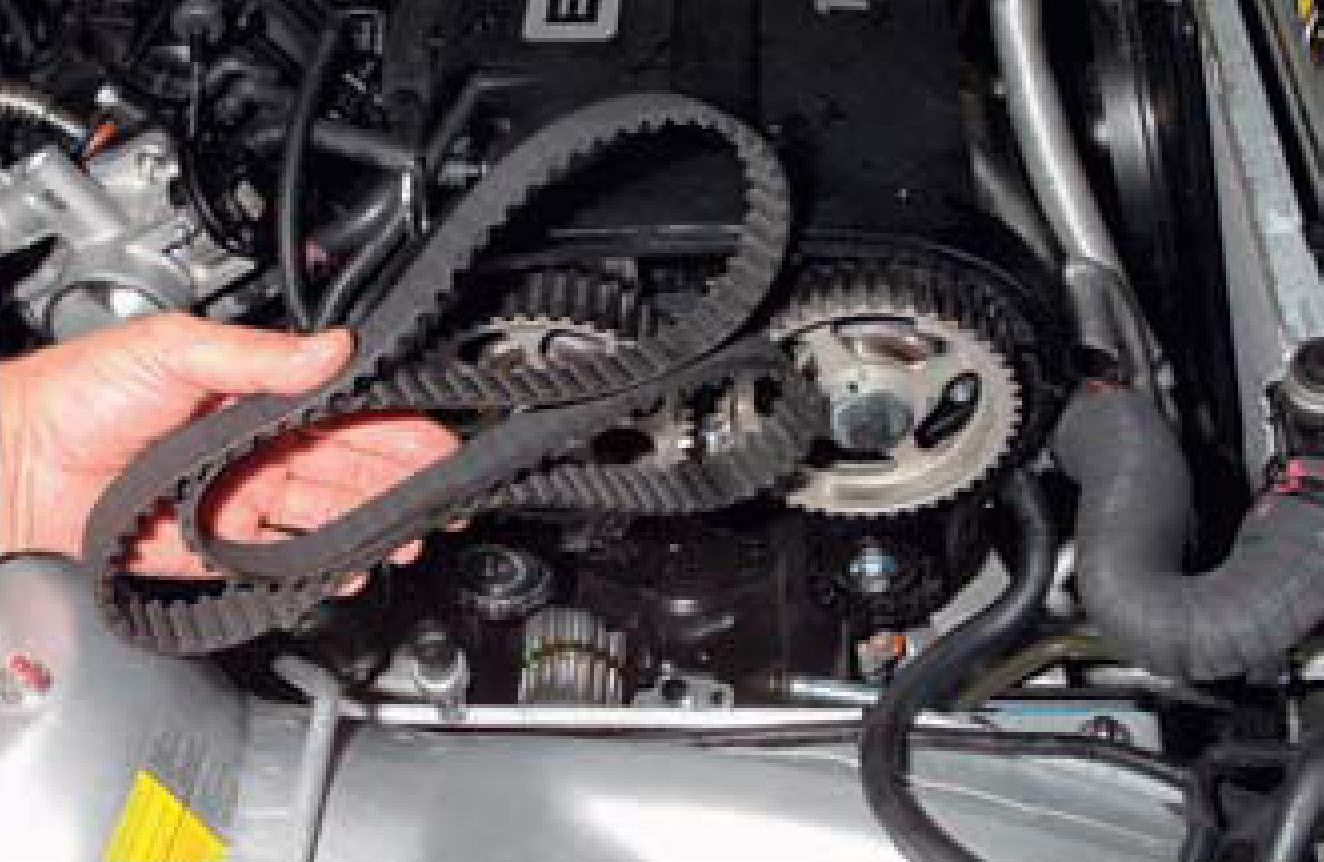
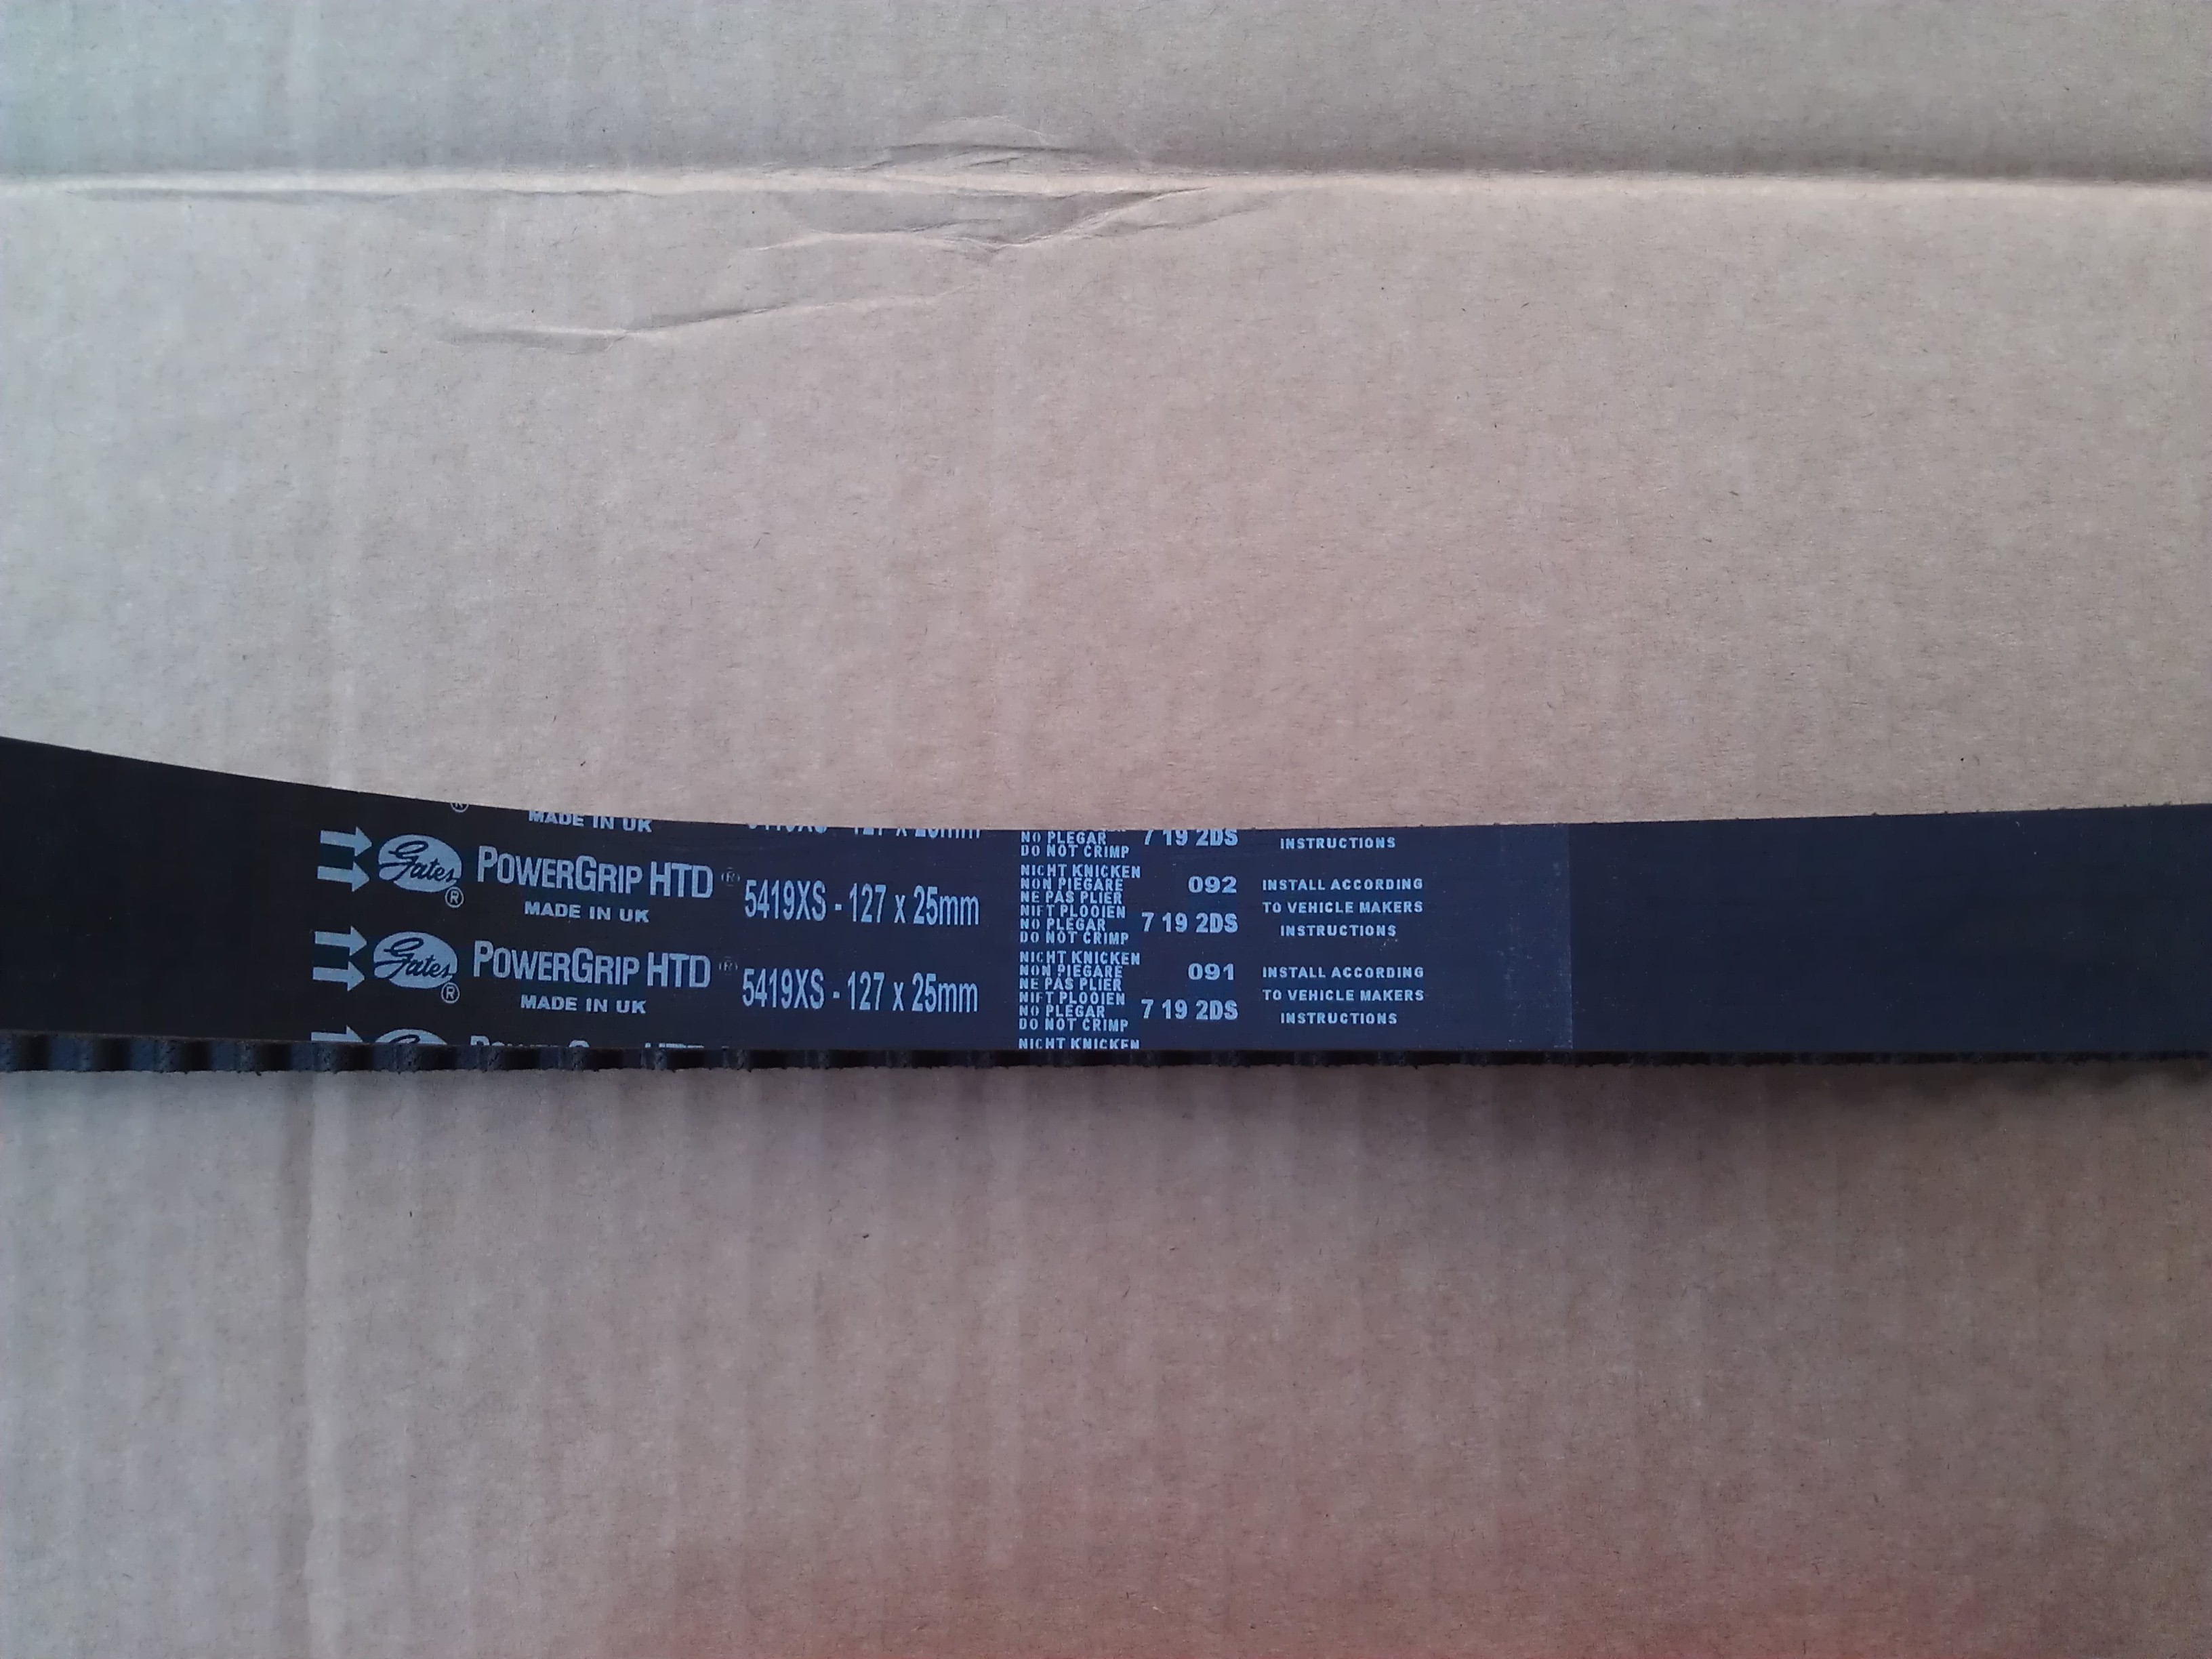
Timing belt marking (number of teeth 127, belt width 25 mm).
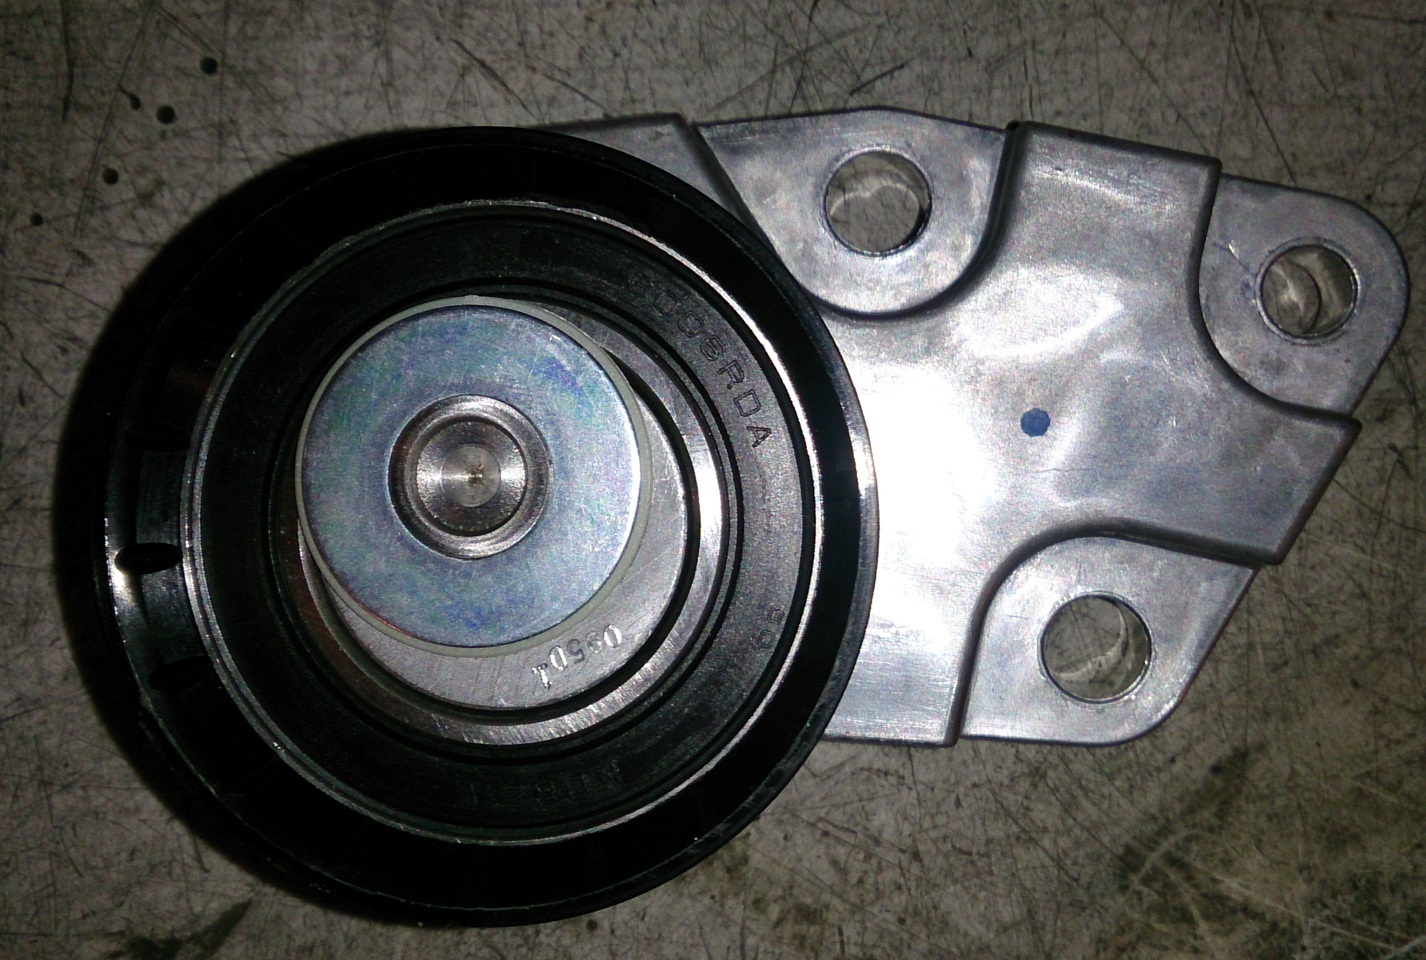
15. When replacing the belt, the tensioner and idler must also be replaced with new ones. To replace the tensioner with roller assembly, 12 mm head, unscrew the three bolts securing the tensioner to the cylinder block and remove the belt tensioner.
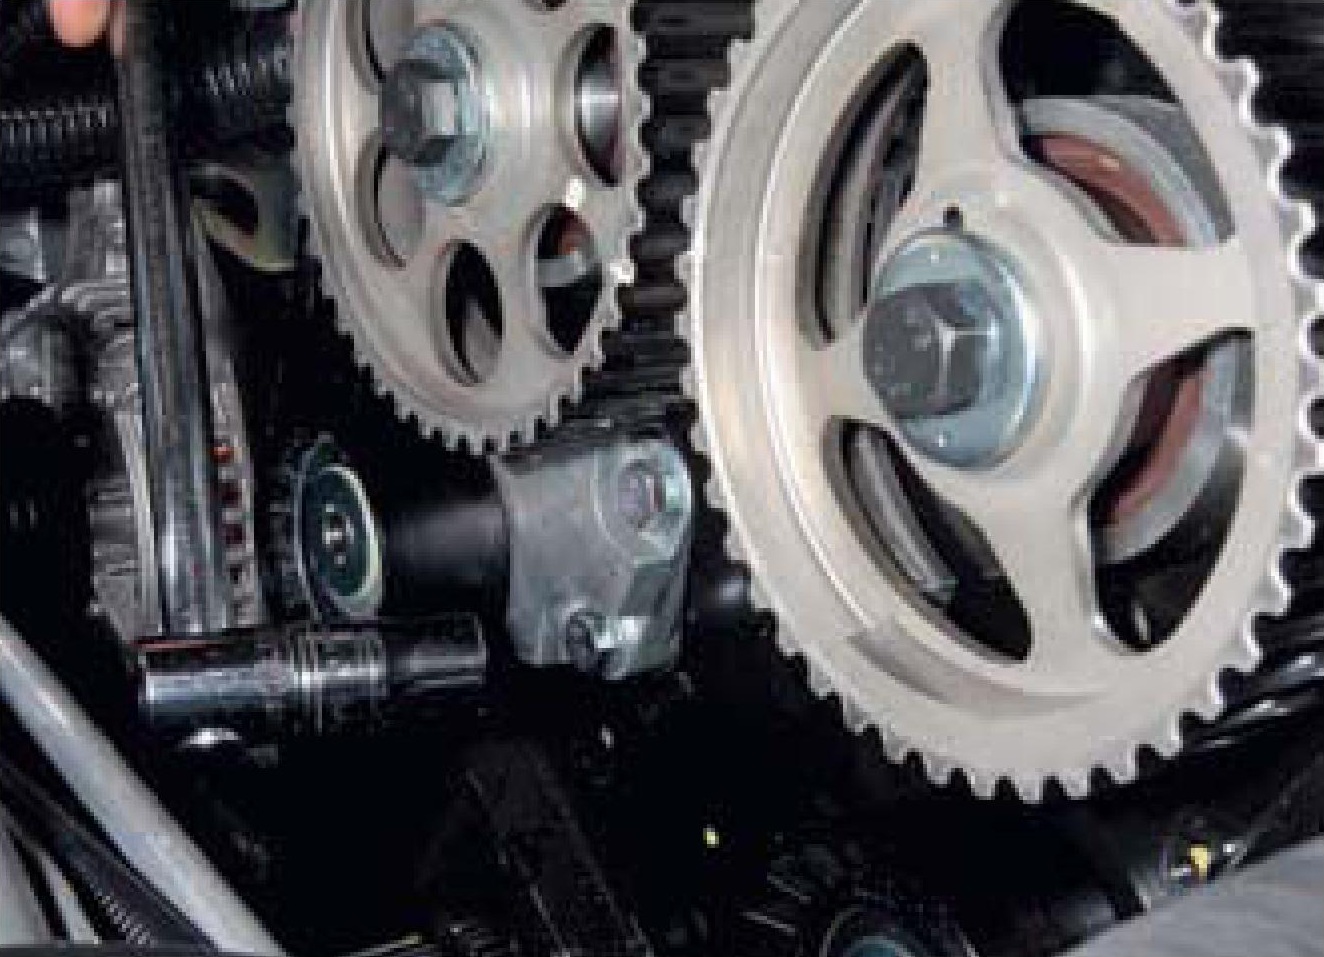
16. To remove the support roller with a 14 mm head, unscrew its fastening bolt and remove the roller.
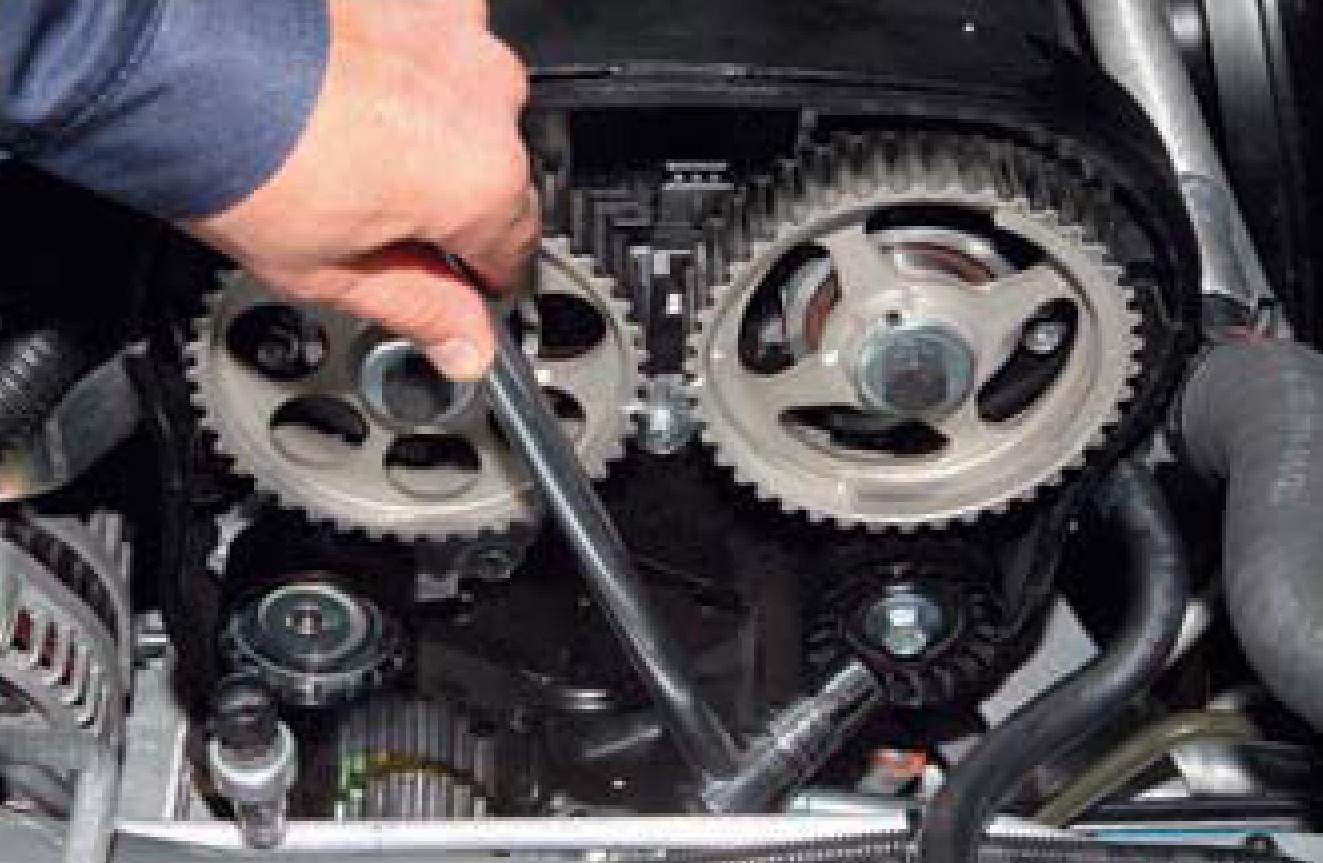
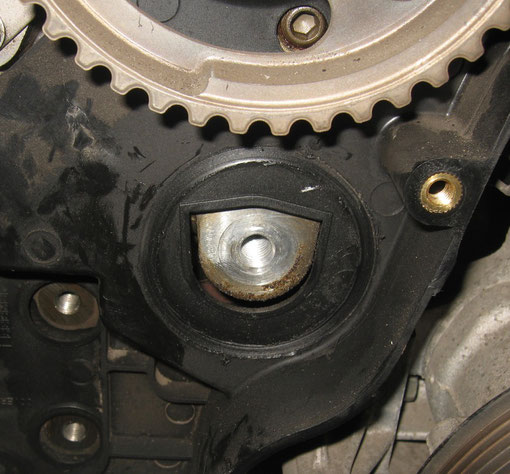
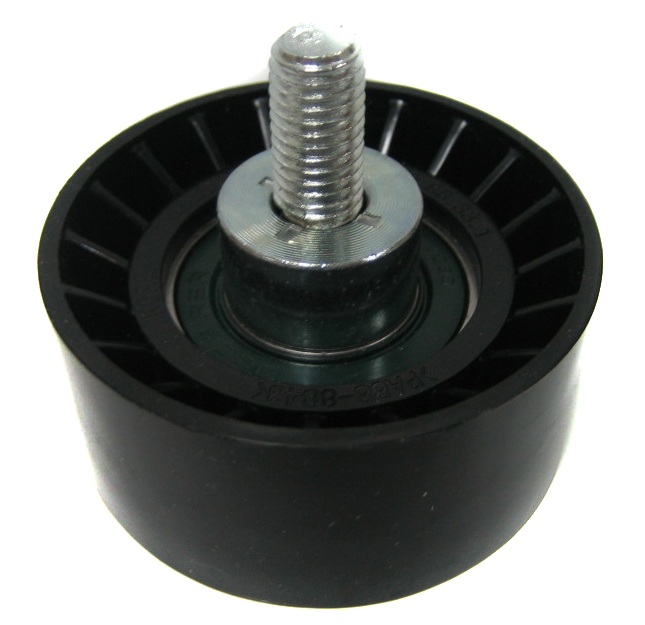
17. Install tensioner and belt idler in reverse order. Bolts of fastening of the tension device and a basic roller tighten the prescribed moments .
18. Before installing the belt, check the condition of the coolant pump. When swinging and rotating the pump pulley by hand, no play, jamming should be felt, noise in the bearing should be heard. If any of these faults are present, replace the coolant pump with a new one.
19. Before installing the belt, make sure that the alignment marks (see above) on the camshaft pulleys and the marks on the crankshaft pulley are aligned with the slot on the rear timing cover. In this position, put the belt on the crankshaft pulley.
20. Tensioning both branches of the belt, get the front branch behind the support roller, and the rear branch, putting it on the coolant pump pulley, behind the tensioner roller. Put the belt on the camshaft pulleys, eliminating the sagging of the belt branches.
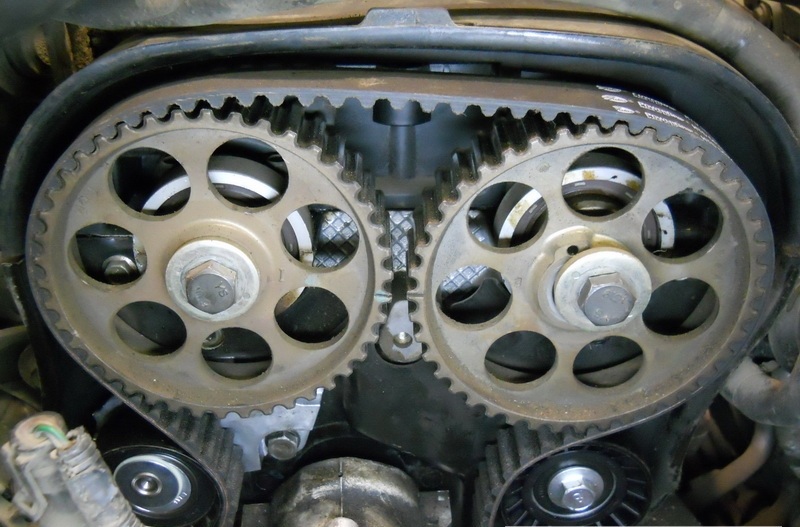
21. Tension the belt by turning the coolant pump clockwise until the movable and fixed indicators of the tensioner are aligned (see above in paragraph 9). In this position, tighten the pump fixing screws.
22. To check the valve timing and belt tension, turn the crankshaft two turns. To do this, with the fifth gear engaged, use a 32 mm head to rotate the crankshaft clockwise by the left wheel hub bearing nut.
23. Check the belt tension and match the alignment marks of the crankshaft and camshafts. If the alignment marks do not match, repeat the operation to set the valve timing. Check for leaks from the coolant pump. Otherwise, replace the pump housing O-ring.
24. If the valve timing is set correctly and the belt tension is normal, then install the lower front timing cover and the accessory drive pulley. Bolt of fastening of a pulley of a drive of auxiliary units tighten the prescribed moment .
25. Further assembly is carried out in the reverse order. Tighten threaded connections to the prescribed torques .
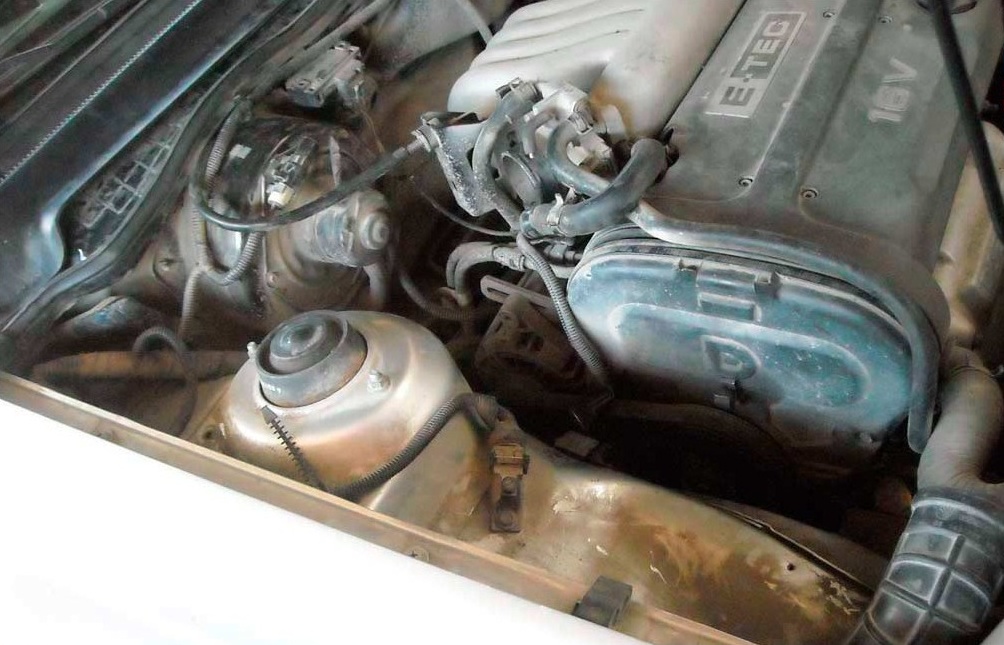
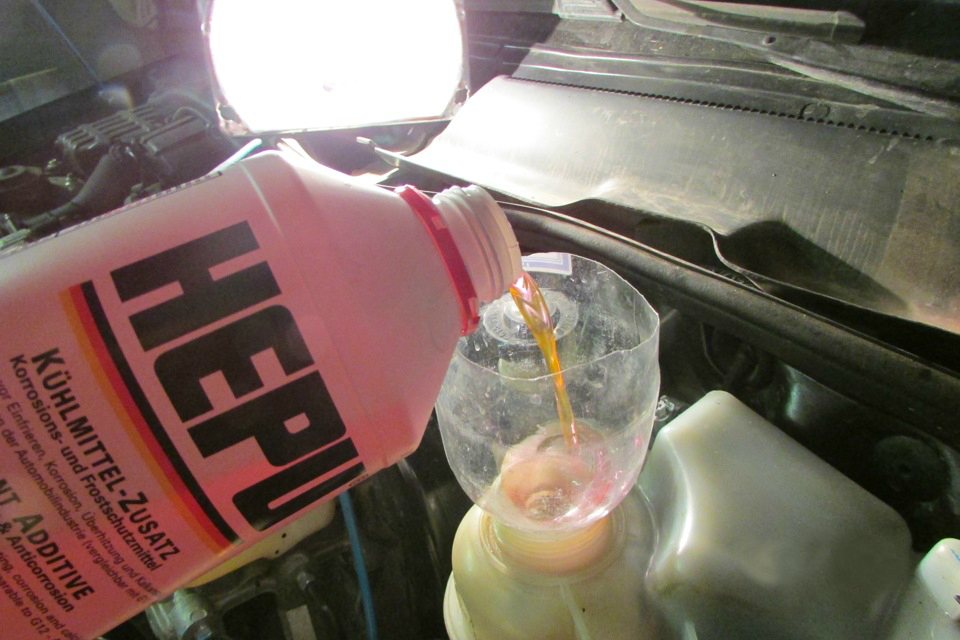
26. Fill and bleed the power steering hydraulic fluid as described here . Top up the coolant level as described here .
The article is missing:
- Tool photo
- Photo of parts and consumables
Source: carpedia.club
![1 generation [2-й restyling] [2008 - 2016]](/uploads/Daewoo_Nexia_2008_-_2015_.jpg)
