![G [1998 - 2009]](/uploads/Opel_Astra_II_G_1998_-_2009_.jpg)
![H [2004 - 2011]](/uploads/remont-opel-astra-family.jpg)

Tools:
- Socket collar
- Socket head Torx (asterisk) Т30
Parts and consumables:
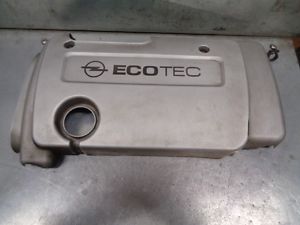
Decorative engine cover - 55353144 (if replacement is needed)
Notes:
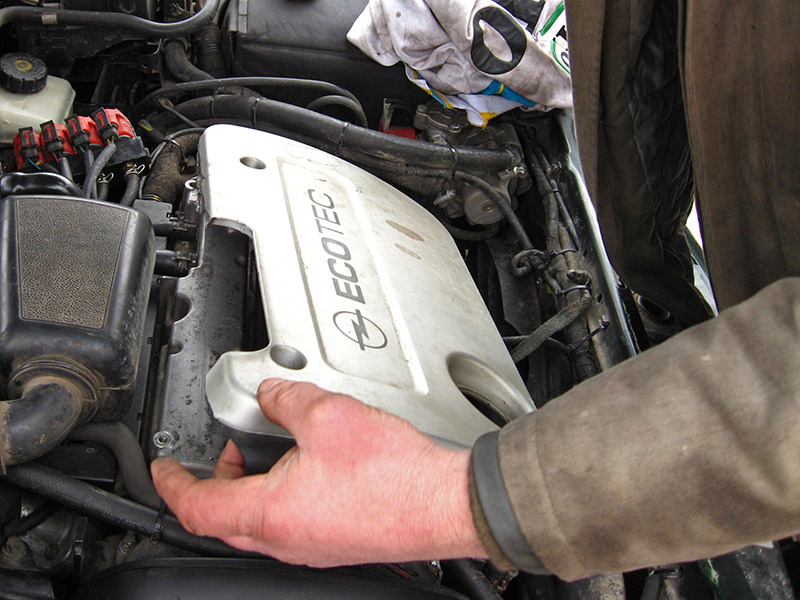
To improve the appearance of the engine compartment and reduce the noise level, a decorative plastic casing Opel Astra G was installed on the engine .
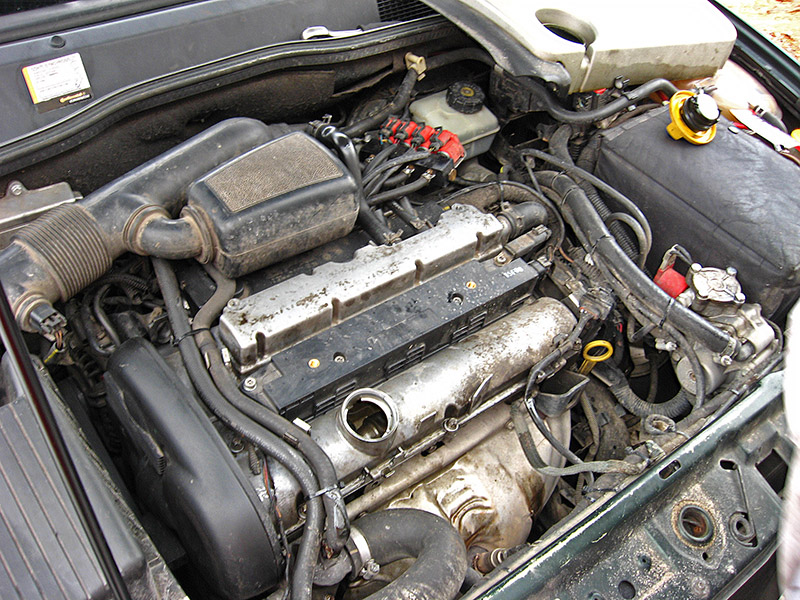
The engine cover (shroud) must be removed for most engine maintenance and repair work.
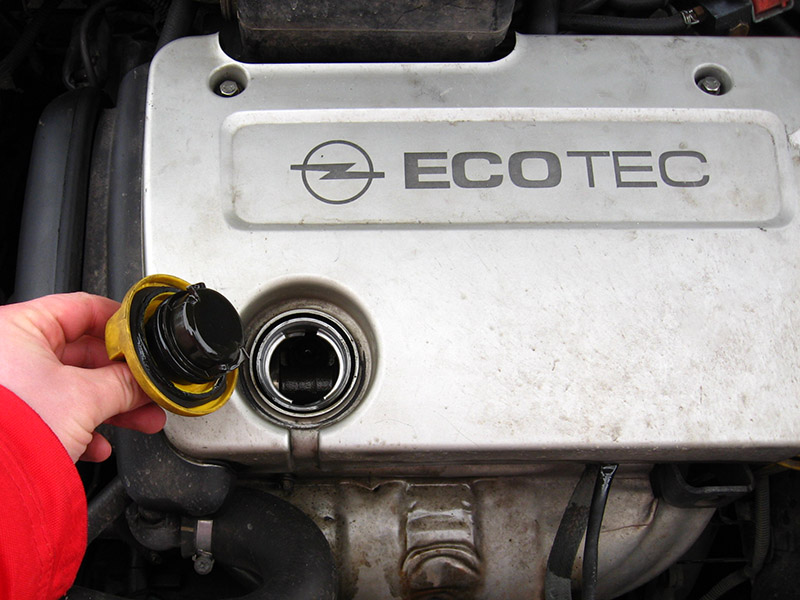
1. Park the vehicle on level ground, allow the engine to cool, and open the hood. The plastic decorative cover Opel Astra G is installed on the engine cylinder head.

2. Turn the oil filler cap counterclockwise and remove it.
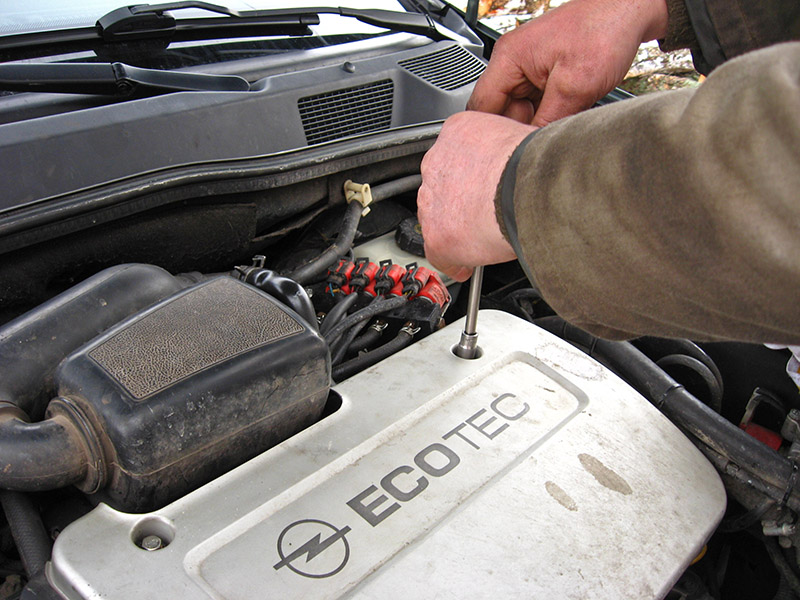
3. Using a Torx T30 socket, remove the two screws securing the decorative cover to the engine cylinder head cover.
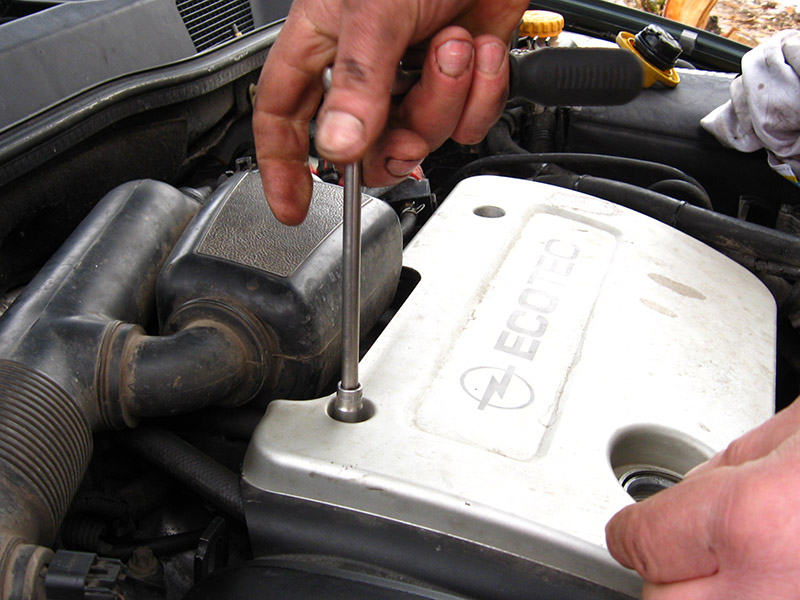
4. Pull slightly towards you and remove the decorative engine cover.
5. Establish a decorative casing of the engine in an order, the return to removal.
Useful advice:
To prevent small parts from entering the Opel Astra G engine during further maintenance, install the oil filler cap.
The article is missing:
- Tool photo
Source: carpedia.club
The article is missing:
- Tool photo
The article lacks:
- Фото инструмента