Tools:
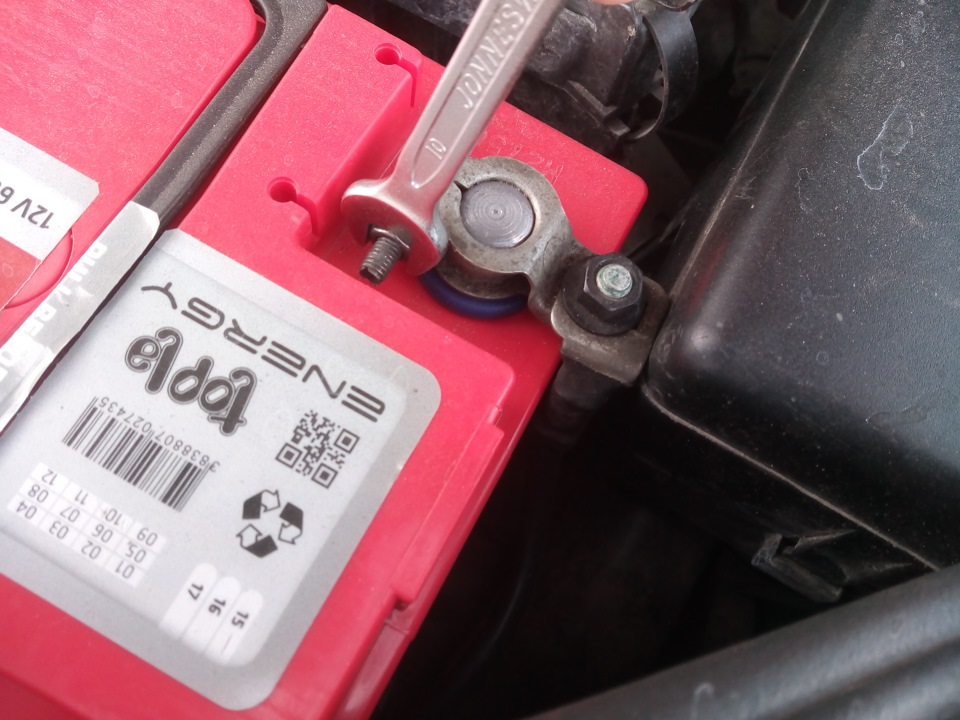
- Open-end wrench 10 mm
- Collar for end nozzle
- Nozzle for crank 12 mm
Parts and consumables:
- Grease Litol-24 or equivalent
- Sandpaper, fine-grained
Notes:
Before removing the battery, check its condition. If the battery is all dirty, with wet electrolyte secretions, you need to be extremely careful - any spark can cause the battery to explode. During operation and recharging from the generator, the electrolyte evaporates from the battery, or rather, the decomposition of sulfuric acid into explosive gases hydrogen and oxygen. The danger lies in the ventilation holes clogged with dirt, due to which the gas does not escape, but remains in the battery.
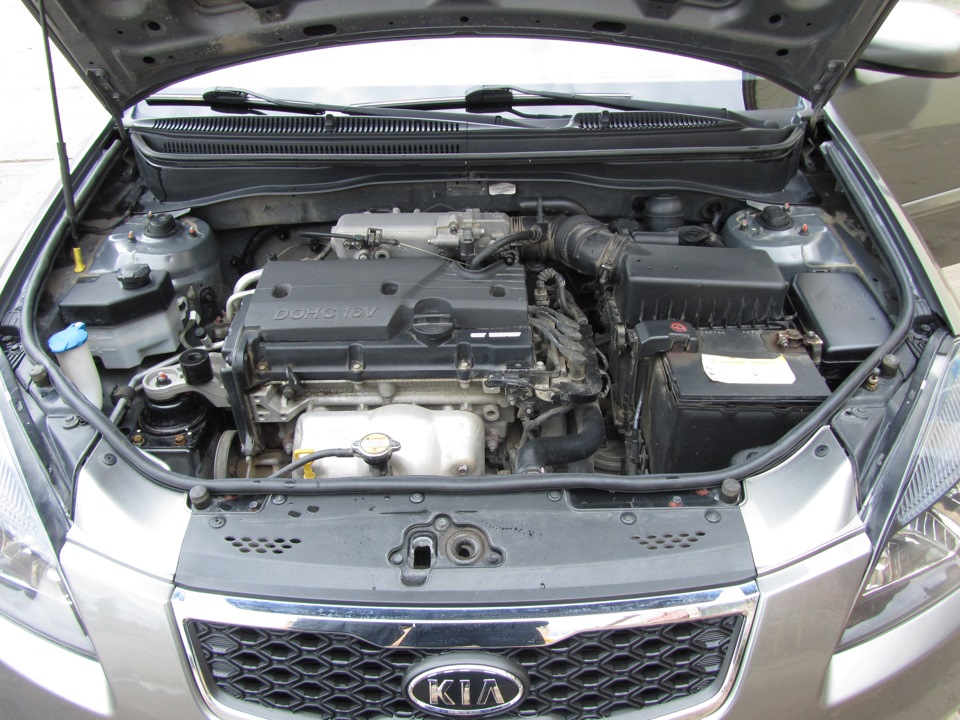
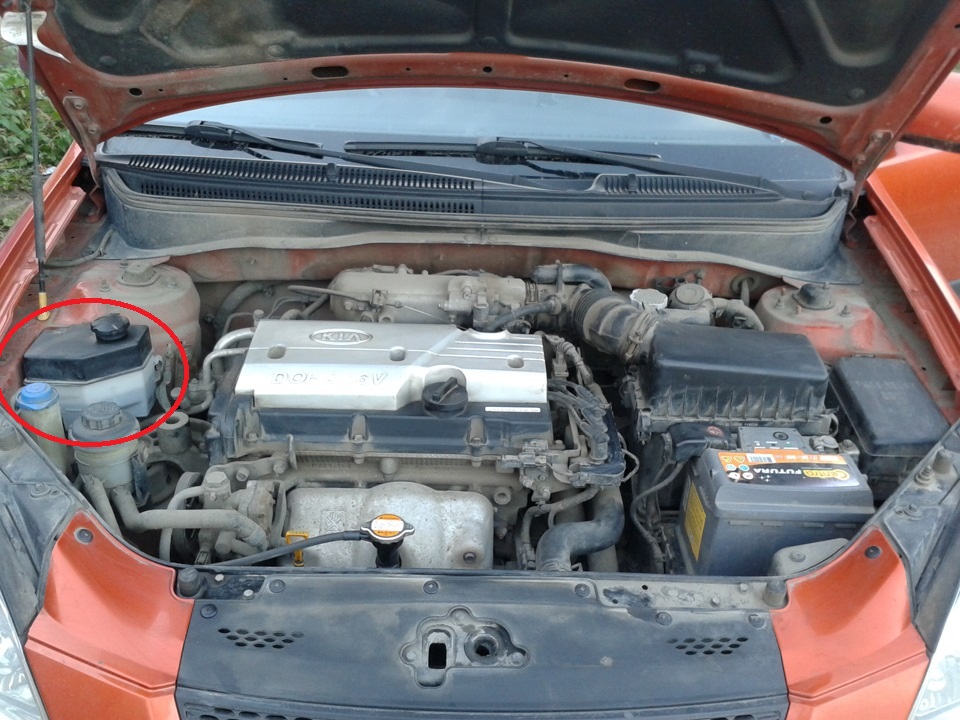
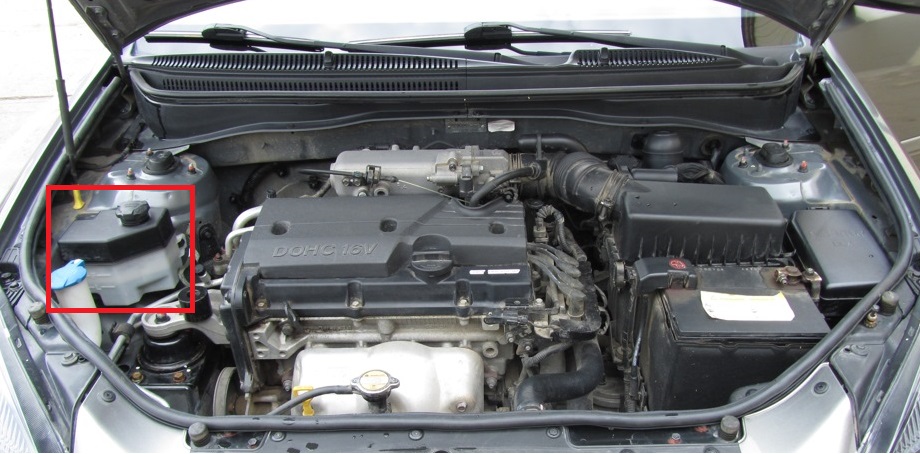
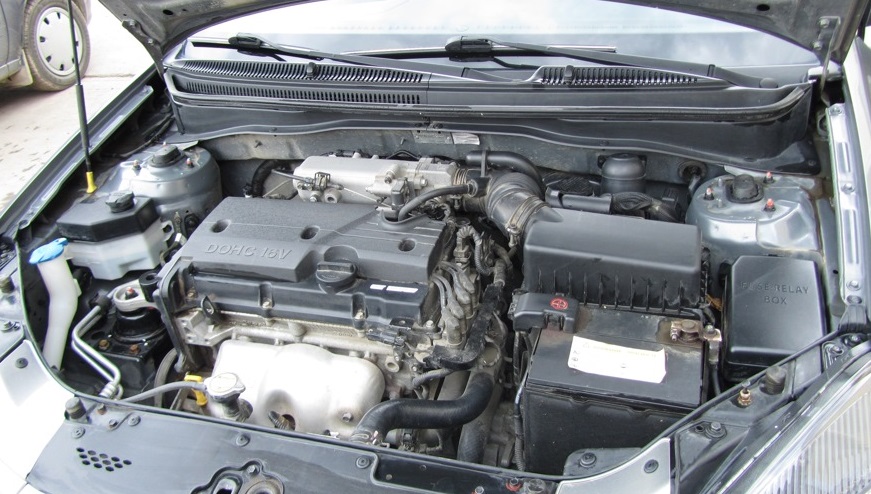
1. Turn off the ignition (if it was on) and open the hood. The battery is installed in the engine compartment on the left side in the direction of the vehicle.
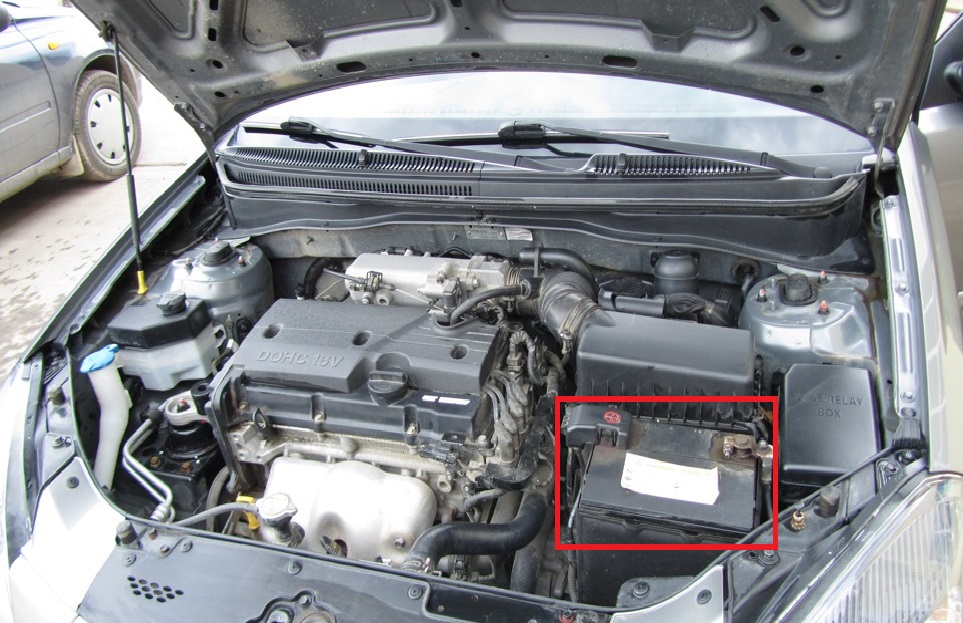
2. Loosen the negative wire terminal.
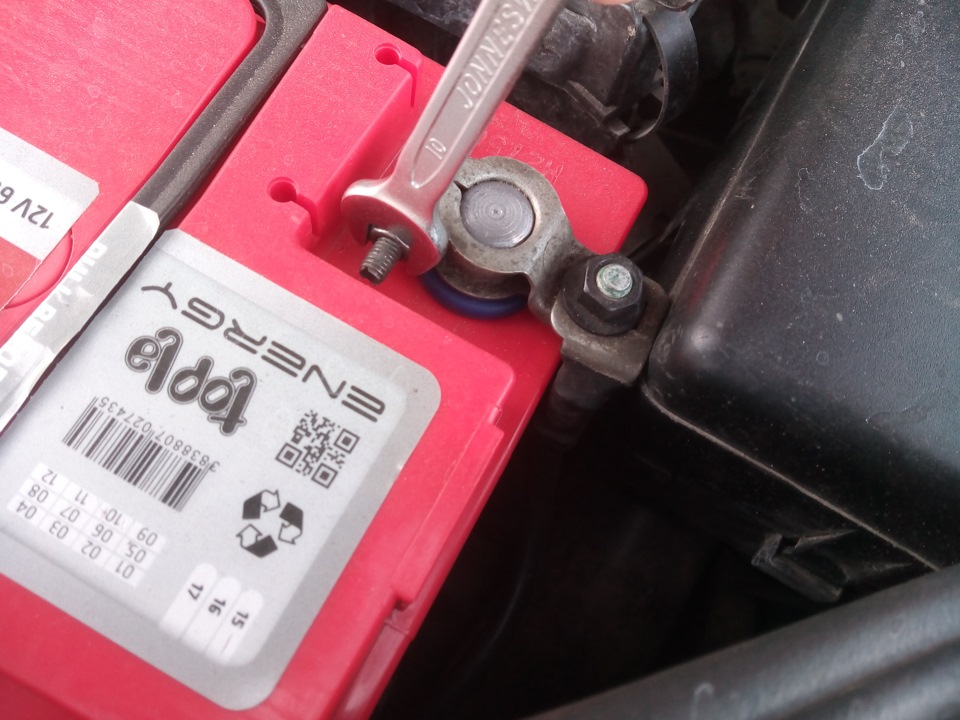
3. Remove the terminal from the battery terminal.
4. Lift the battery positive terminal cover.
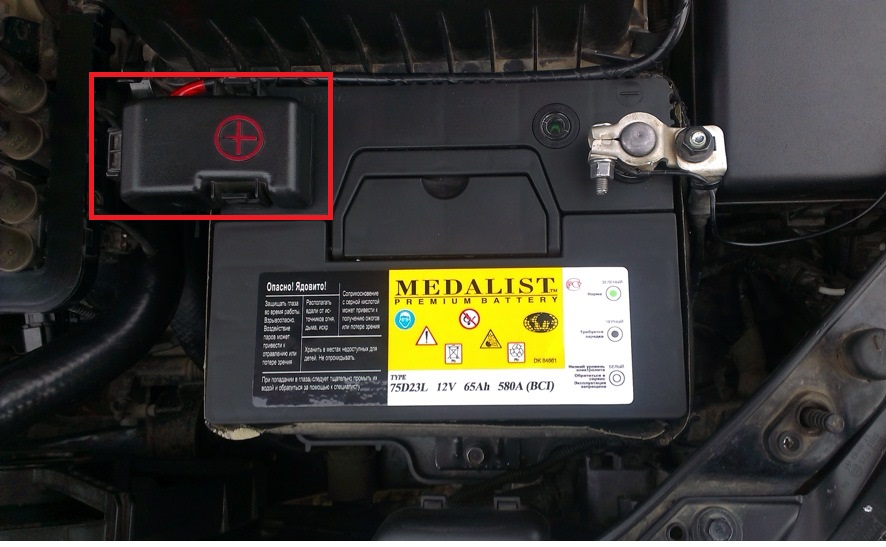
5. Loosen the positive wire clamp.
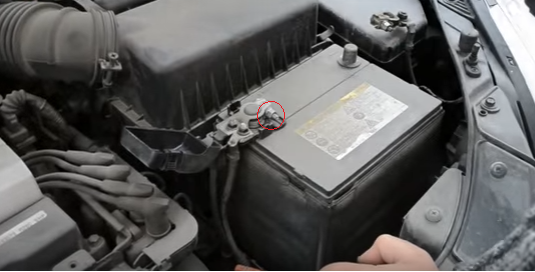
6. Remove the terminal from the battery terminal.
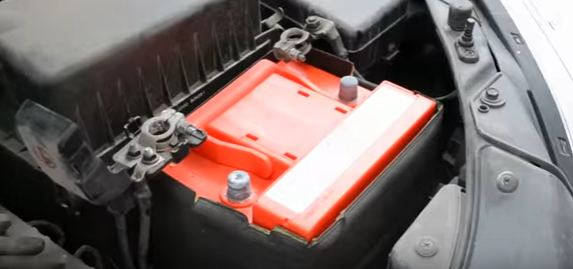
7. Turn out a bolt of fastening of a pressure plate and remove it.
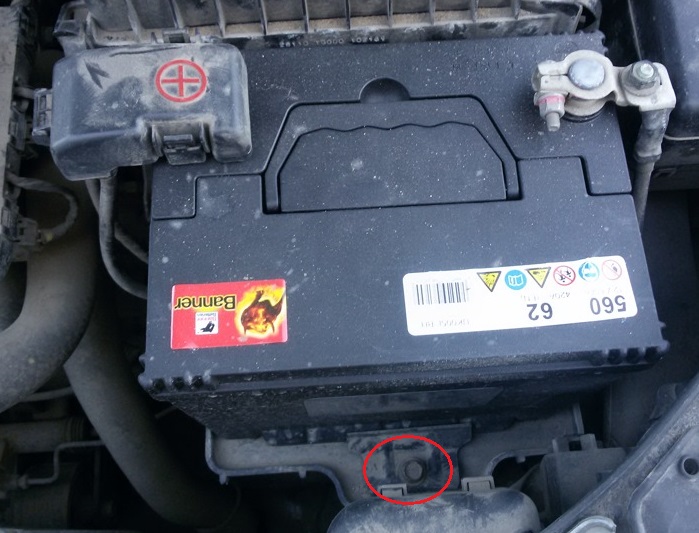
8. Remove the cover from the battery.
9. Remove the battery from the engine compartment.
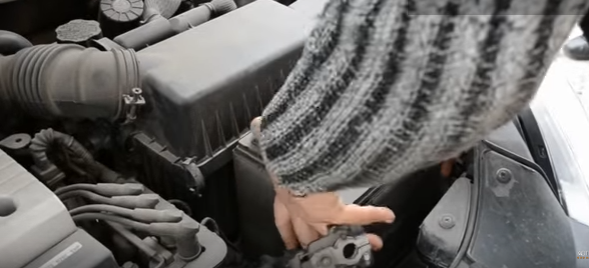
Note:
Try to hold the battery firmly. The ideal option is to hold the battery by the bottom. Remember that even specially designed battery handles sometimes break or pop out of the grooves, which can lead to serious injury.
10. Before connecting the wires, clean the battery terminals and the inside surfaces of the wire lugs with fine sandpaper. Connect the wires in the reverse order of removal, observing polarity. After connecting the wires to the terminals, apply a thin layer of Litol-24 grease or similar grease to the wire lugs and exposed surfaces of the terminals (copper-containing conductive greases are most preferred). Install the battery in the reverse order of removal.
The article is missing:
- Photo of parts and consumables
- Tool photo
- High-quality repair photos
Source: carpedia.club


![2 generation [2005 - 2009]](/uploads/Kia_Rio_2005_-_2011.png)
![3 generation [2011 - 2015]](/uploads/9b0bb8ba0203729f482ae8eb3b95c4f1.jpg)
