![2 generation [2004 - 2008]](/uploads/Ford_Focus_2_2004_-_2008_.jpg)
![3 generation [2011 - 2017]](/uploads/Ford_Focus_3_2011-2015_.jpg)

You will need: wrenches "for 8", "for 10", "for 13", "for 15", a socket head "for 13", a screwdriver with a flat blade.
1. Place the vehicle on a lift or pit.
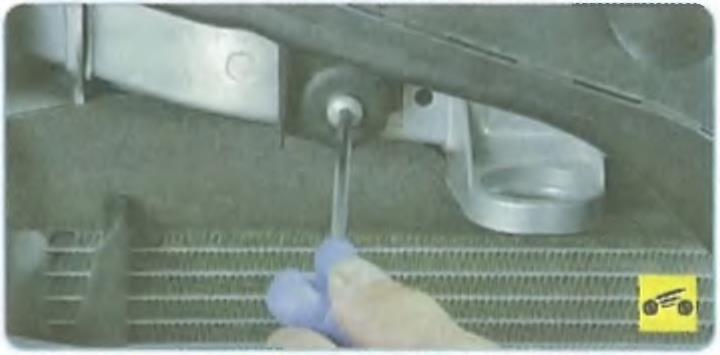
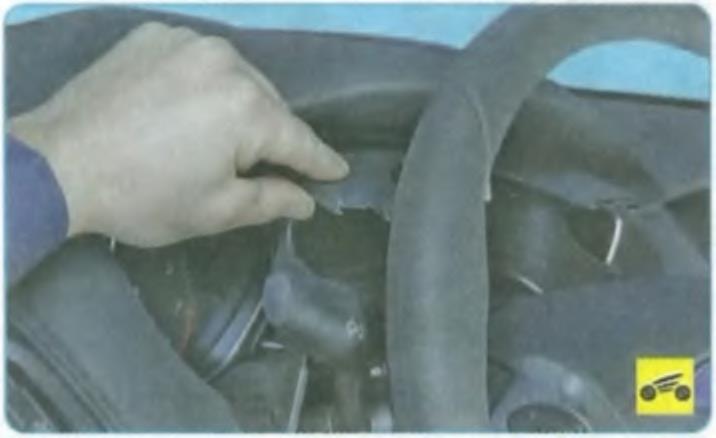
2. Turn out screws of fastening of an air duct...
3. ...unfasten the latches with a screwdriver...
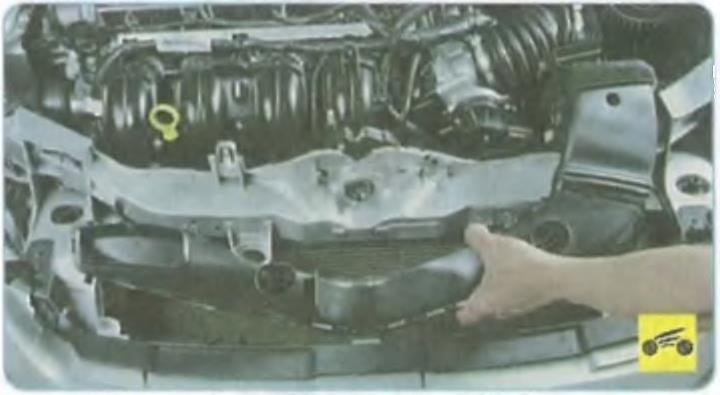
4... and remove the air duct.
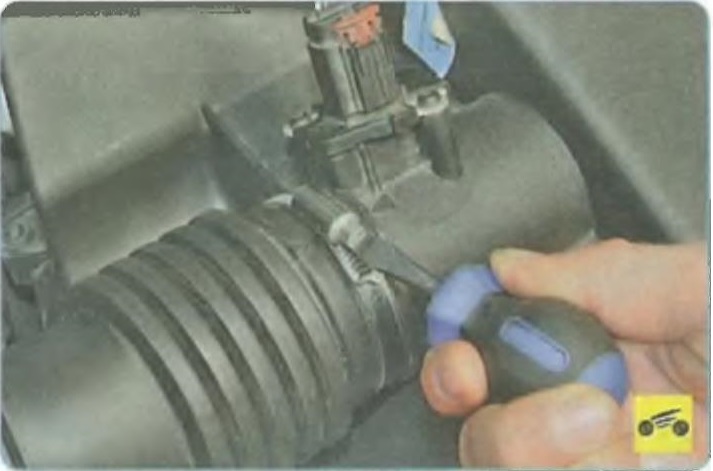
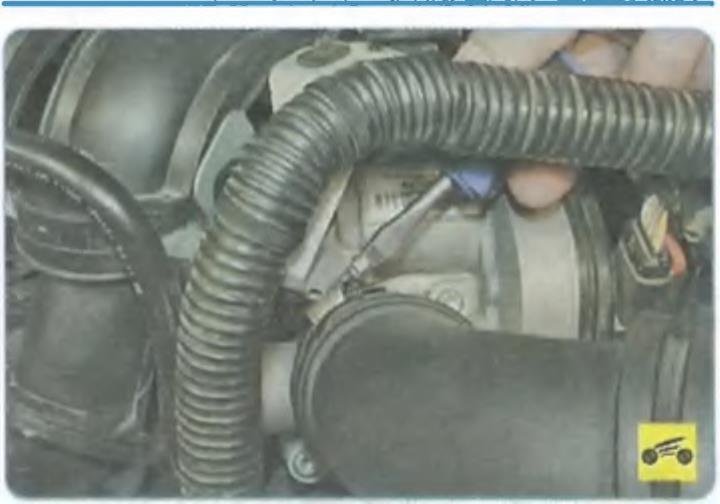
5. Loosen the clamp securing the air supply sleeve to the air filter housing ...
6. ... and disconnect the sleeve from the nozzle.
NOTE
Please note that there are triangular marks on the 1.6L engine air filter housing nozzle and on the edge of the air inlet sleeve for correct installation of the sleeve. When attaching the sleeve to the air filter, align these marks.
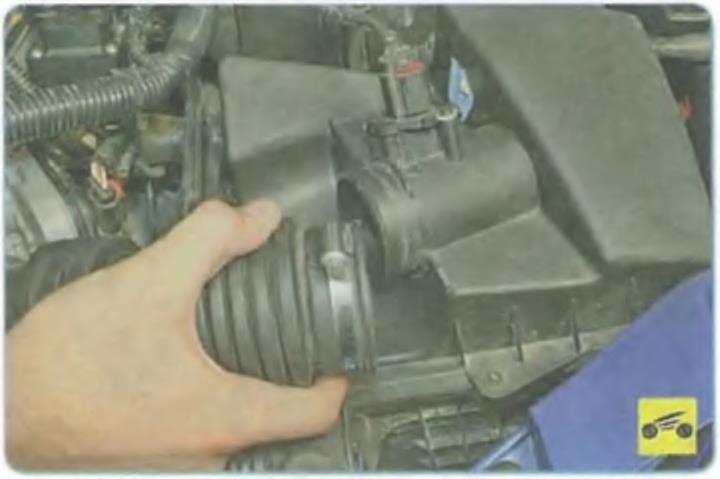
7. Loosen the clamp securing the air supply hose to the throttle assembly ...
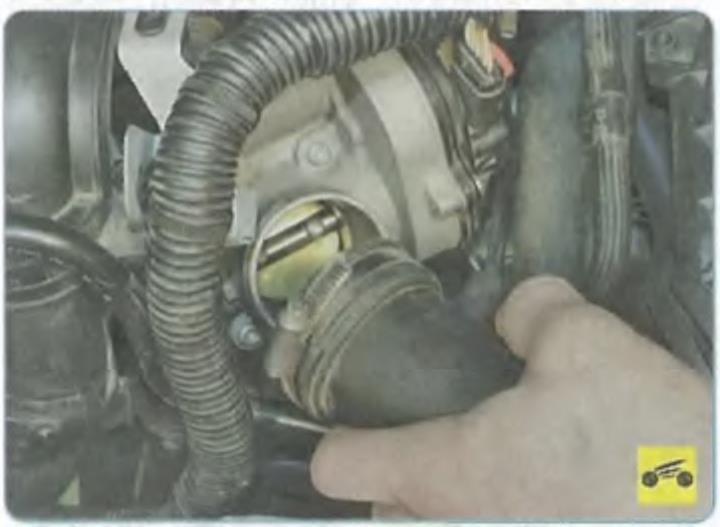
8. ... and, having disconnected from the nozzle of the throttle assembly ...
9. ... remove the air supply sleeve.
NOTE
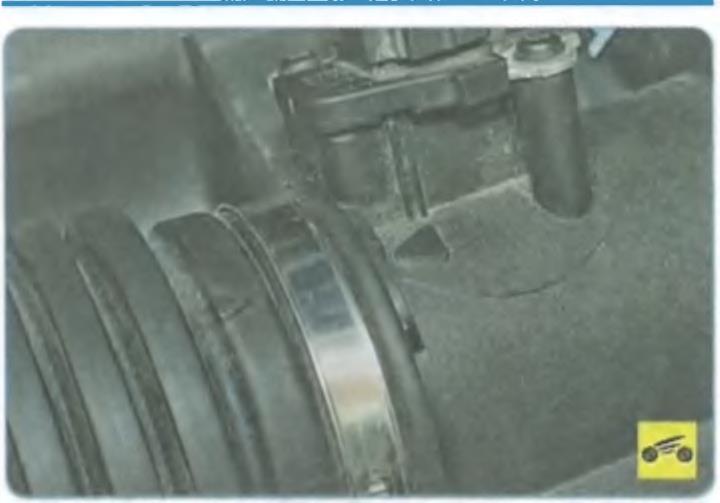
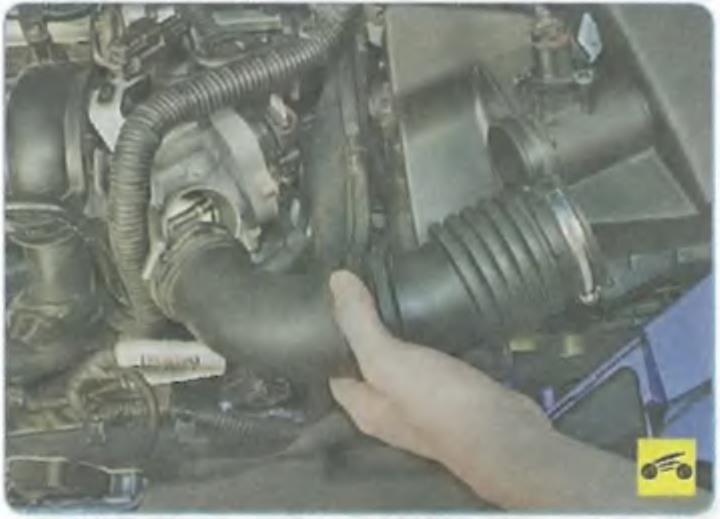
We recommend removing the air supply sleeve for convenience. However, this is not necessary when removing the air filter housing.
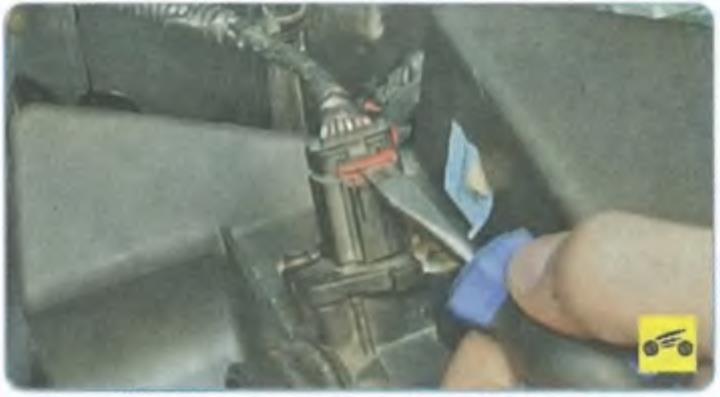
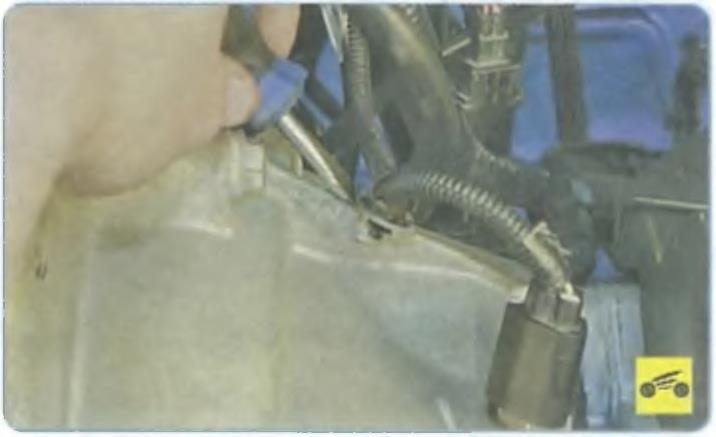
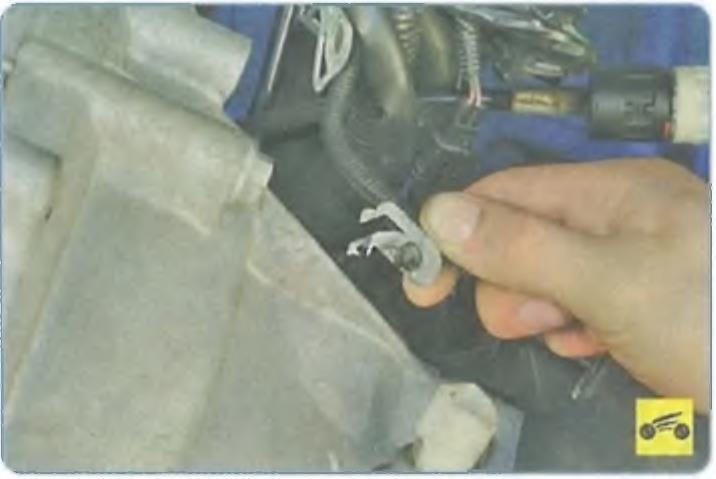
10. Pry off with a screwdriver, lift up the clamp of the block of the wiring harness of the mass air flow sensor ...
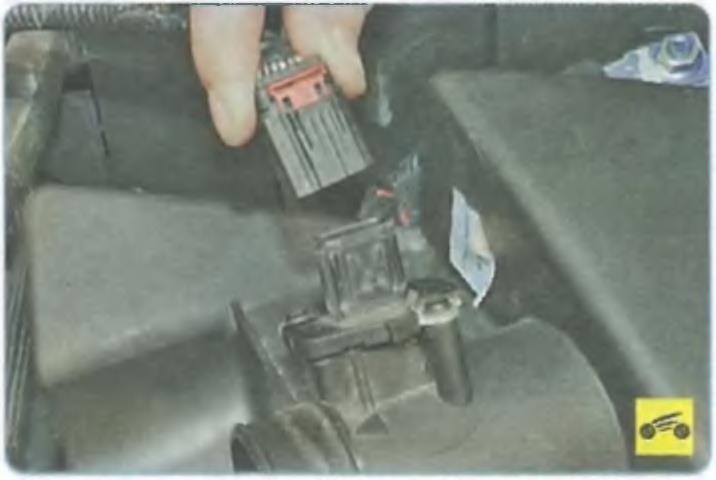
11. ... and disconnect the block from the sensor.
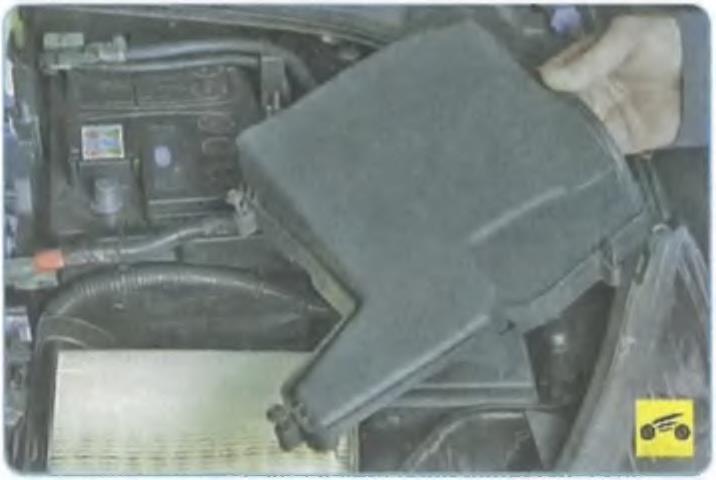
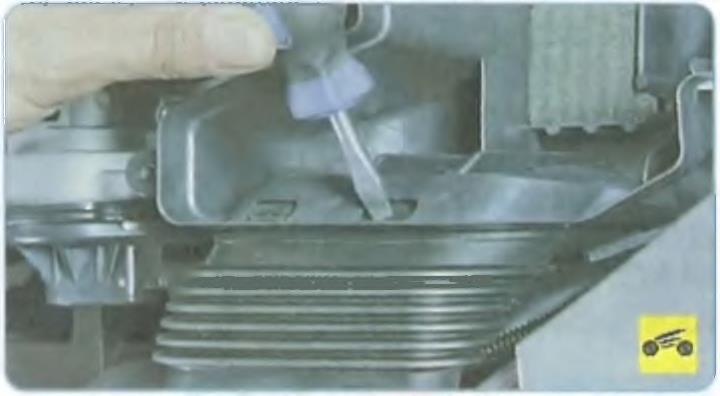
12. Remove the cover and air filter element.
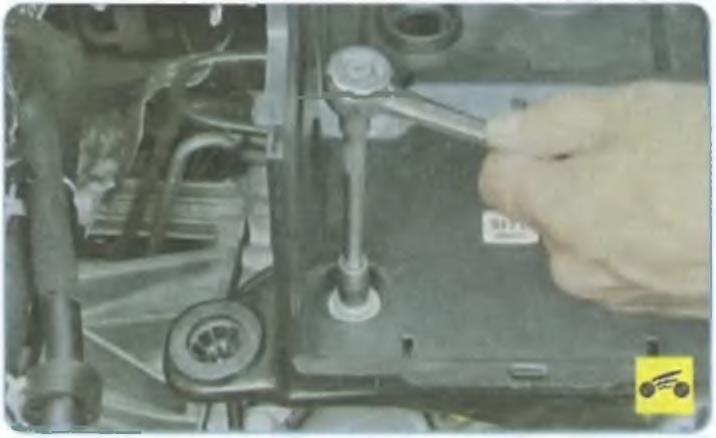
13. Turn out a bolt of fastening of the case of the air filter (only on cars with the engine of 2,0 l).
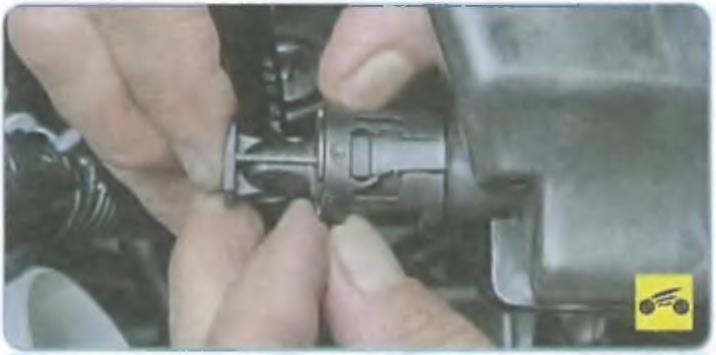
14. Disconnect the crankcase ventilation hose from the fitting on the filter housing by squeezing the hose clamps.
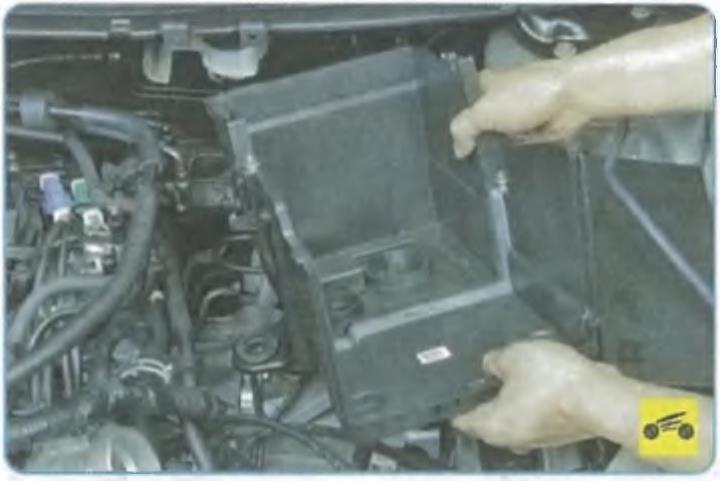
15. Remove the air filter housing.
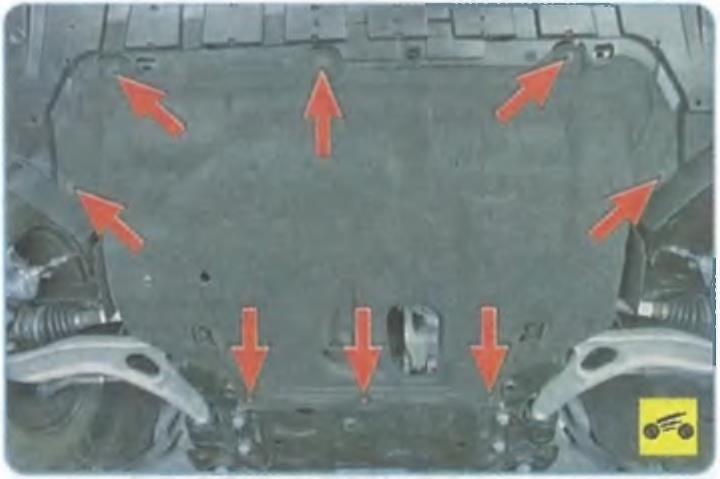
16. Turn out eight screws of fastening of a mudguard of the engine...
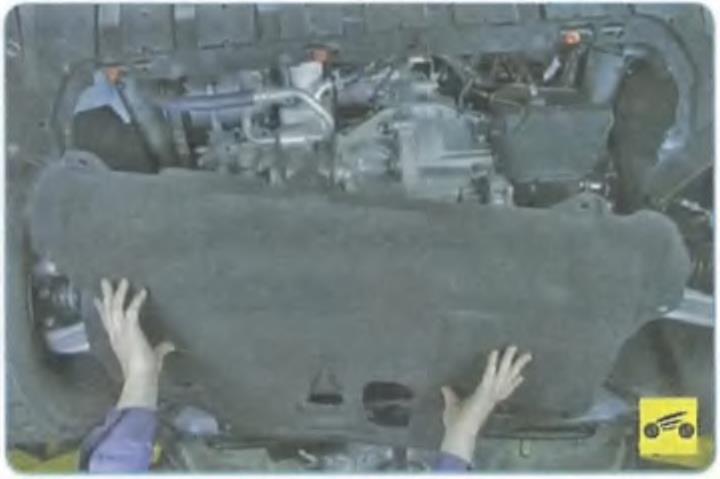
17. ... and remove the engine mudguard.
18. Turn out three bolts of fastening of a casing...
19. ...and take it off.
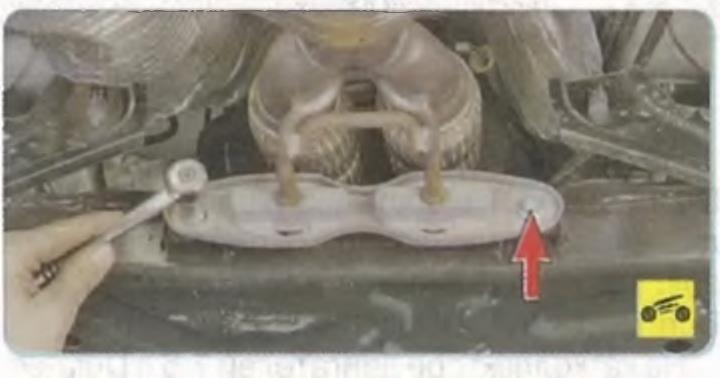
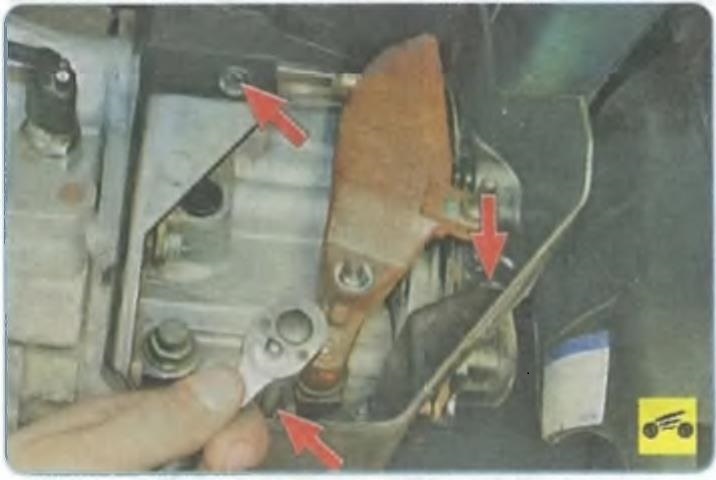
20. Remove the drain plug...
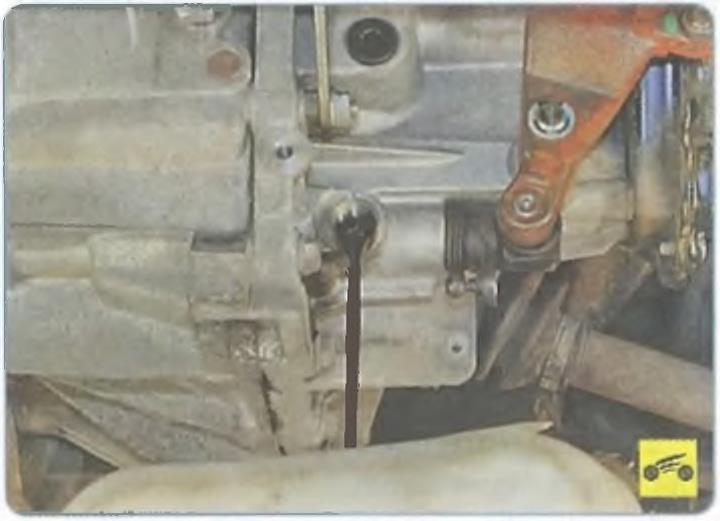
21 ...and drain the oil into a prepared container.
USEFUL
ADVICE It is recommended to drain the oil within 15 minutes after the trip, until it has cooled down and has good fluidity.
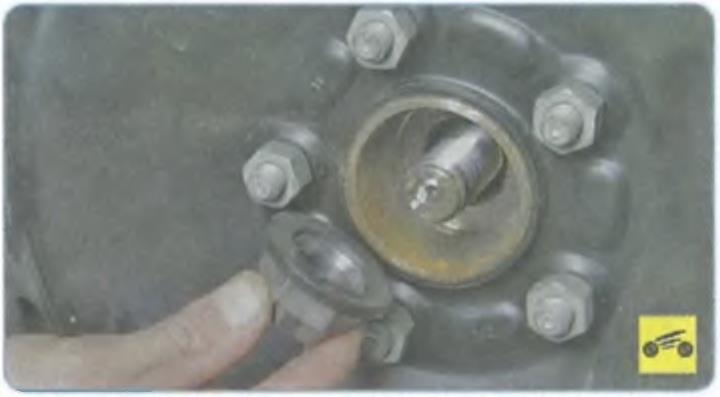
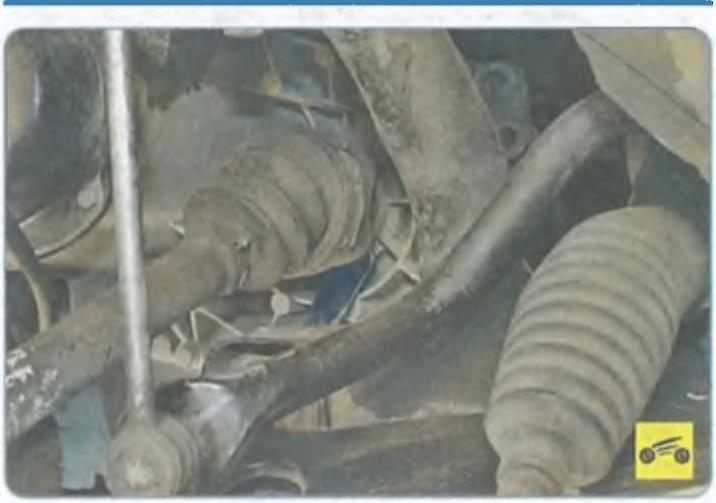
22. Establish the car on wheels and remove a decorative cap of the left forward wheel.
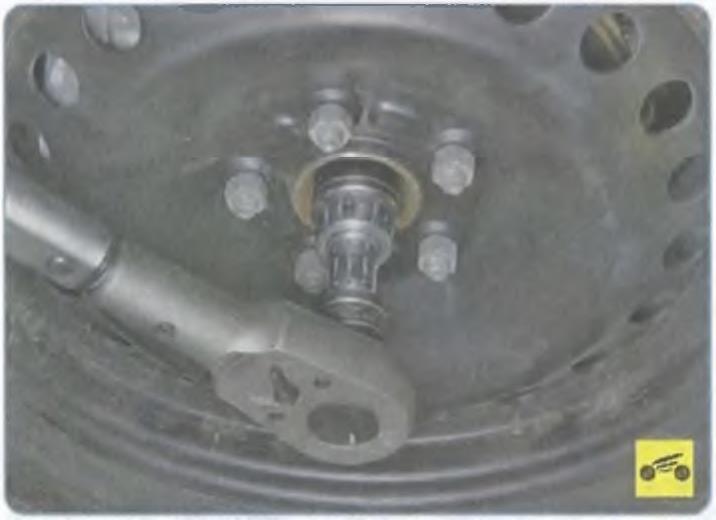
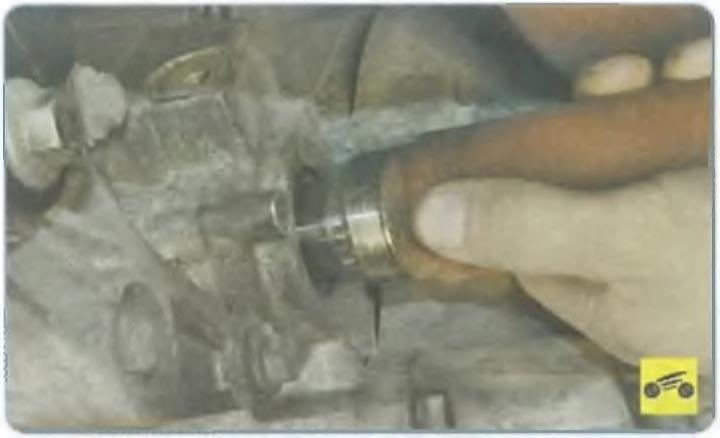
23. Loosen the hub nut and wheel nuts.
WARNINGS
When loosening the hub nut, the vehicle must be on the ground!
Loosen and tighten the wheel nuts only with the vehicle on the ground.
24. Brake the vehicle with the parking brake, place chocks under the rear wheels and raise the front of the vehicle to secure stands.
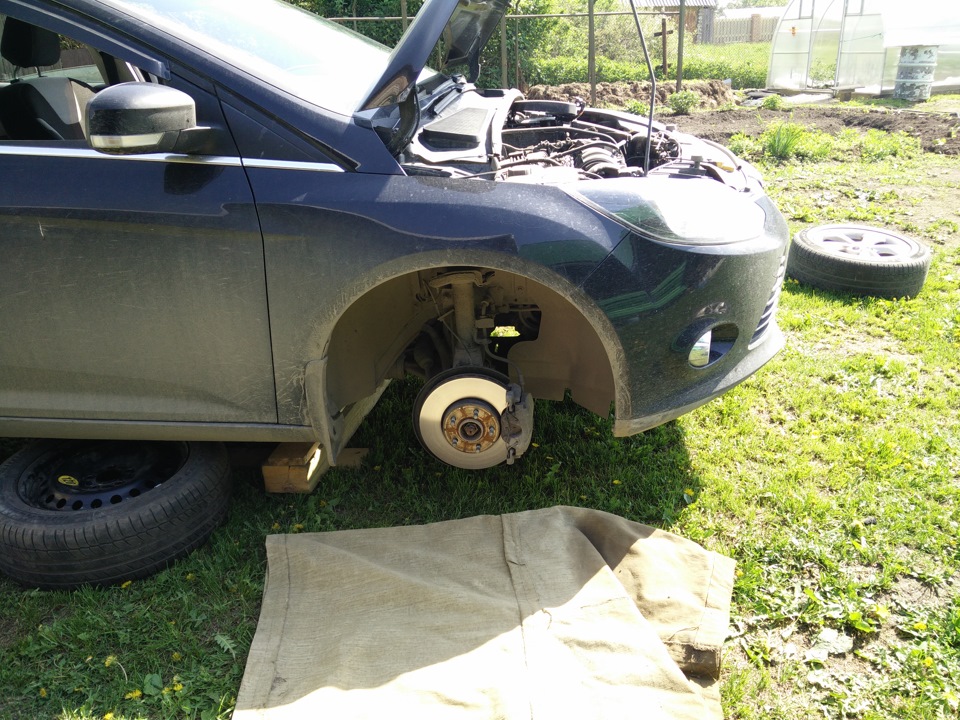
25. Remove the front wheel.
26. Disconnect the wheel speed sensor harness connector.
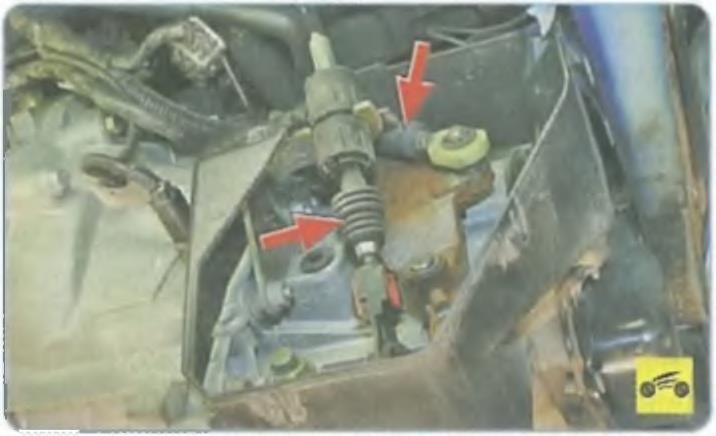
27. Turn away a nut of a nave and remove it.
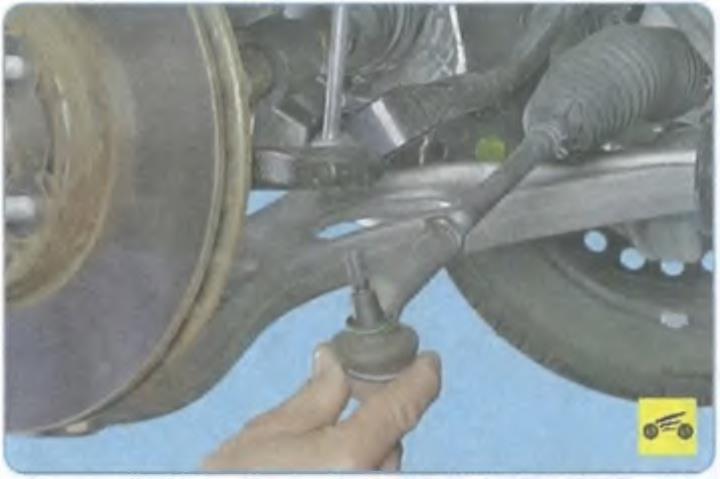
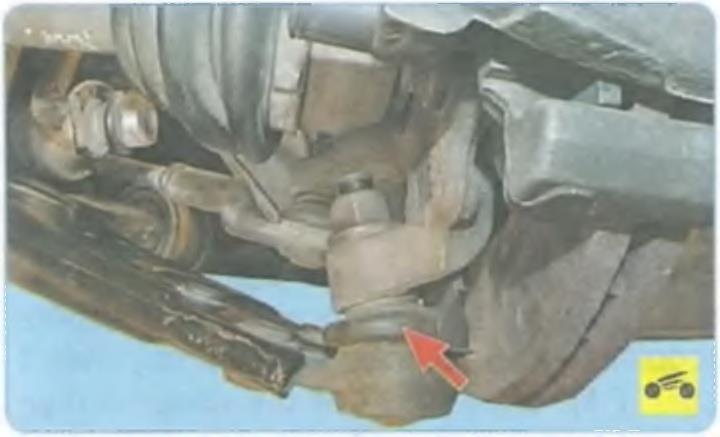
28. Disconnect from the rotary lever the left steering draft.

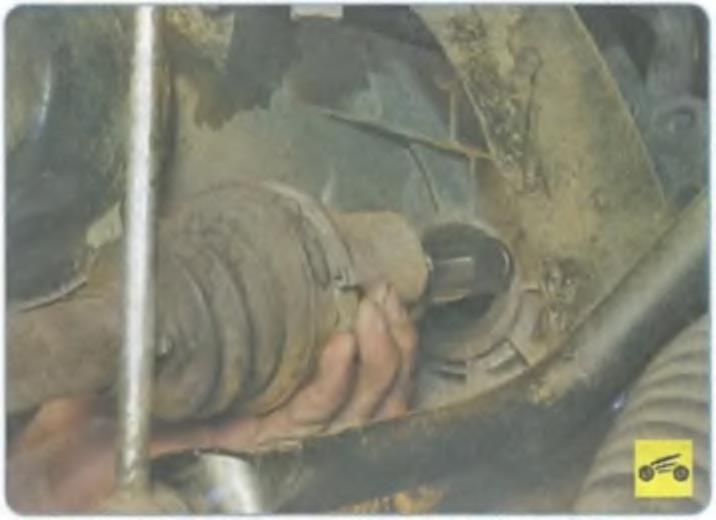
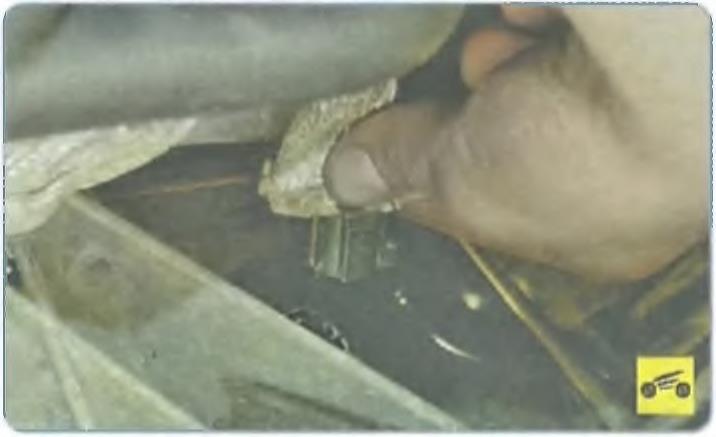
29. Remove the ball joint pin from the steering knuckle hole.
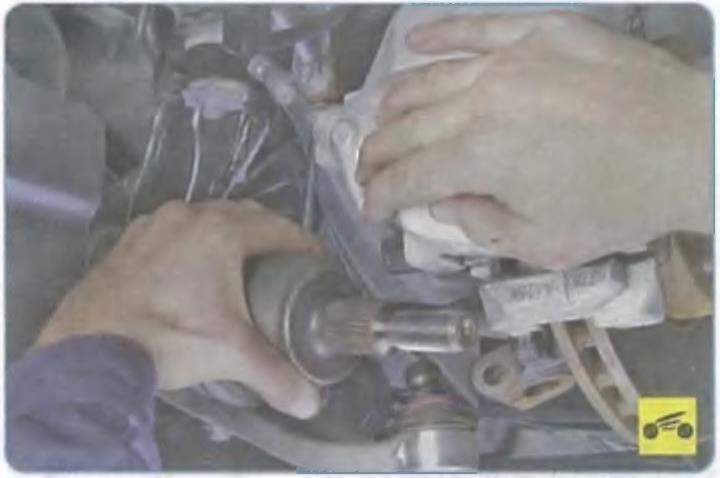
30. Move the shock absorber strut a little to the side, pull the outer hinge cage and remove the shank of the outer constant velocity joint from the hub.
USEFUL ADVICE
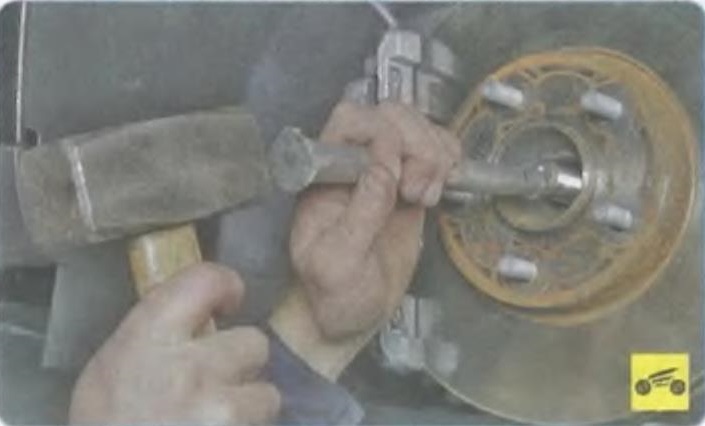
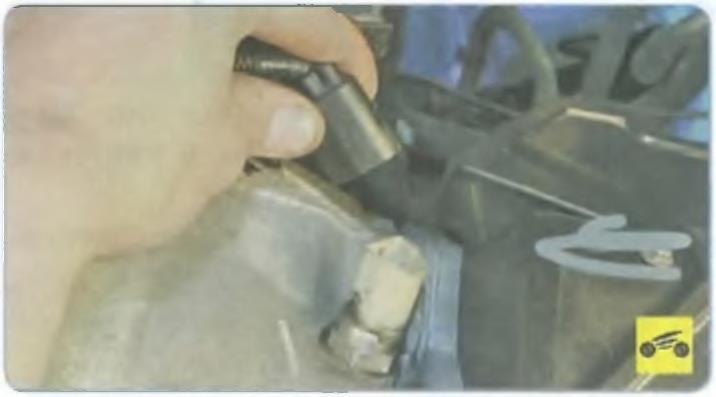
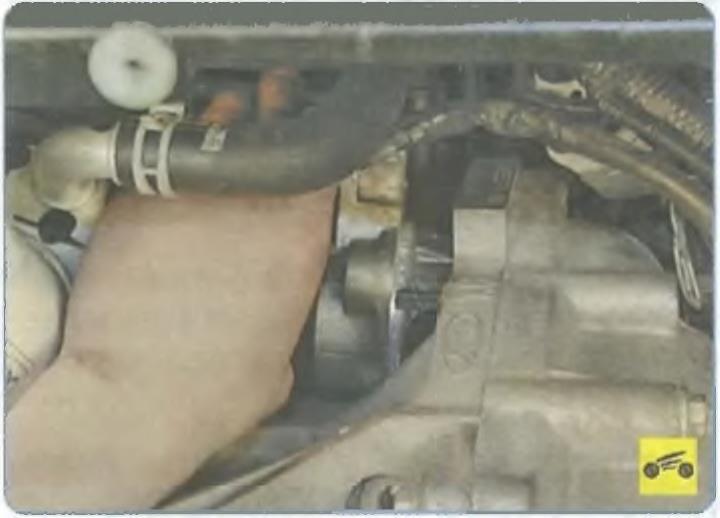
If it is difficult to remove the shank of the external hinge, carefully, without damaging the threads, knock it out of the hub with a hammer through a drift or a wooden block of a suitable size.
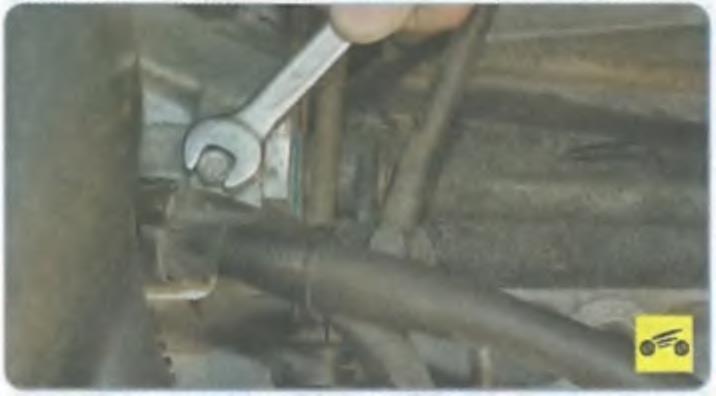
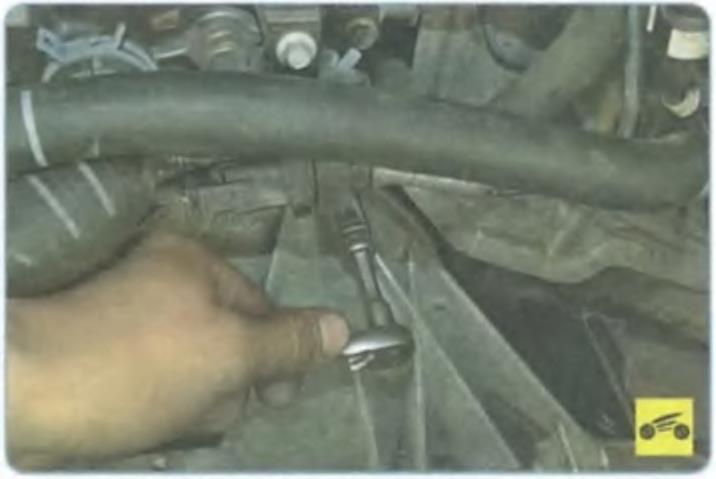
31. Having rested the mounting blade in the gearbox housing ...
32. ... press out the internal hinge of the drive from the side gear and remove the left front wheel drive assembly.
33. Perform operations 22-30 on the right side of the car, which were performed on the left side to remove the drive of the left front wheel (see above).
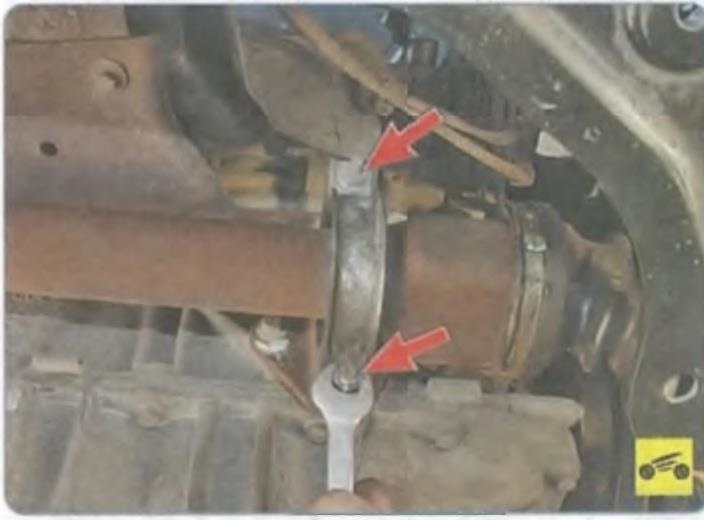
34. Turn off two nuts of fastening of an intermediate support bracket...
35. ... and remove the bracket.
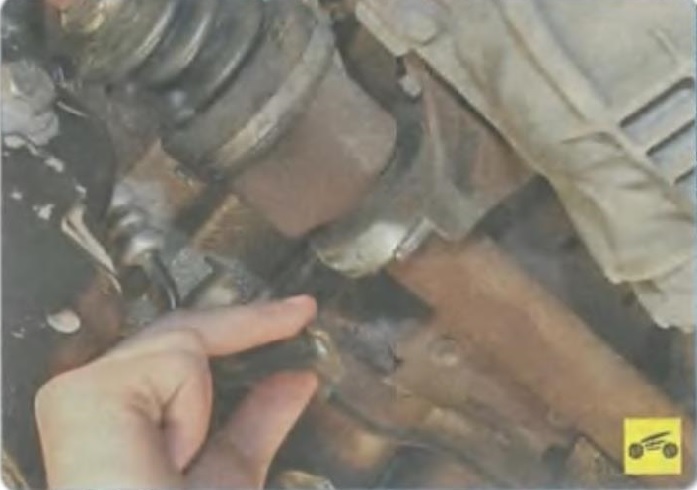
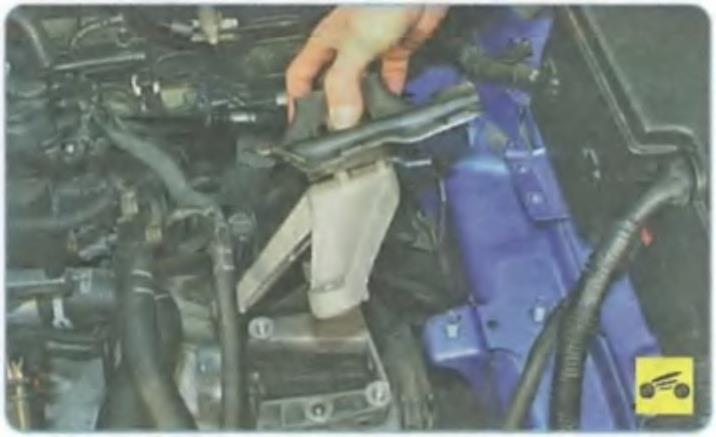
36. Remove the inner joint shank from the side gear...
37. ... and remove the right front wheel drive assembly.
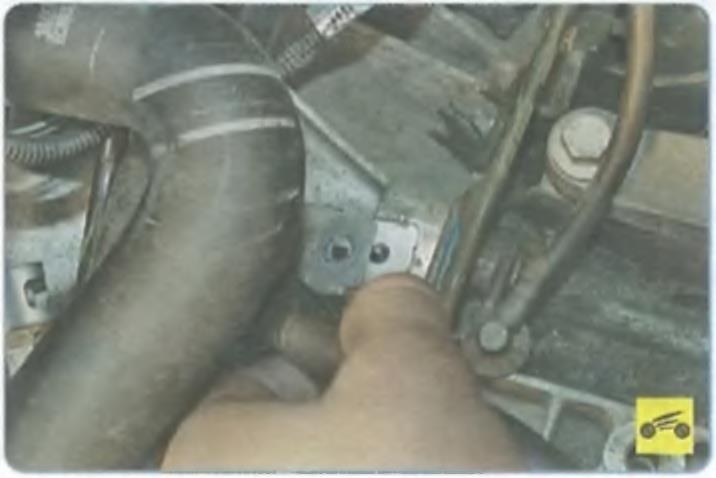
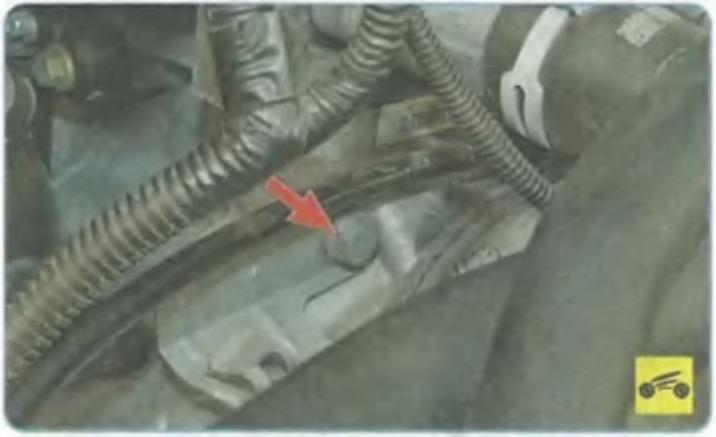
38. Disconnect the gearbox control cables from the gearbox.
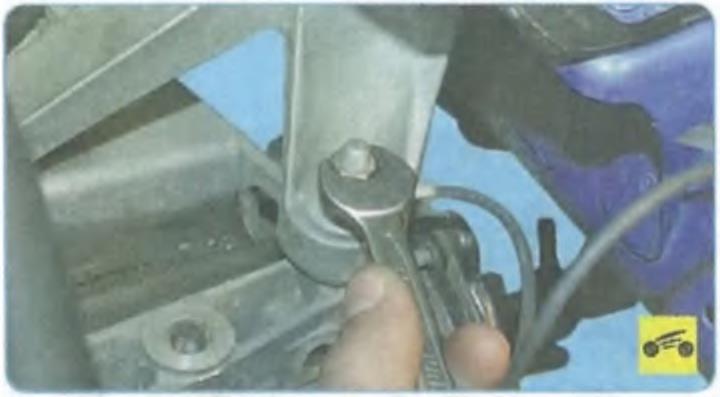
39. Remove the air filter mounting bracket.
40. Disconnect the wiring harness connector from the reversing light switch.
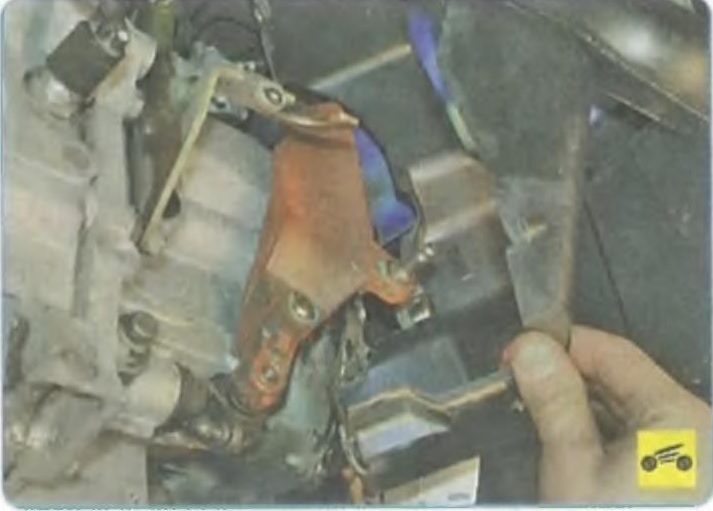
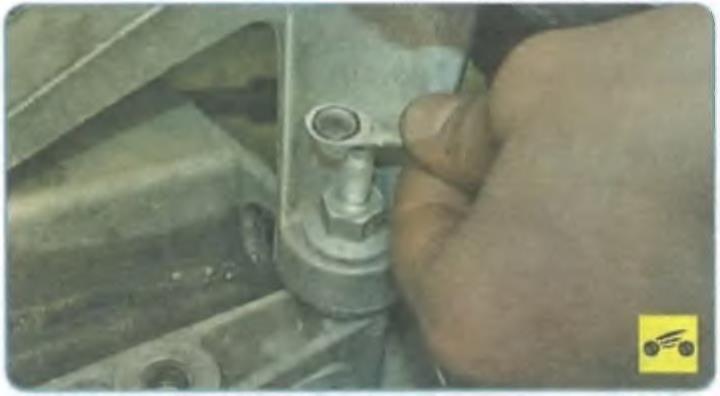
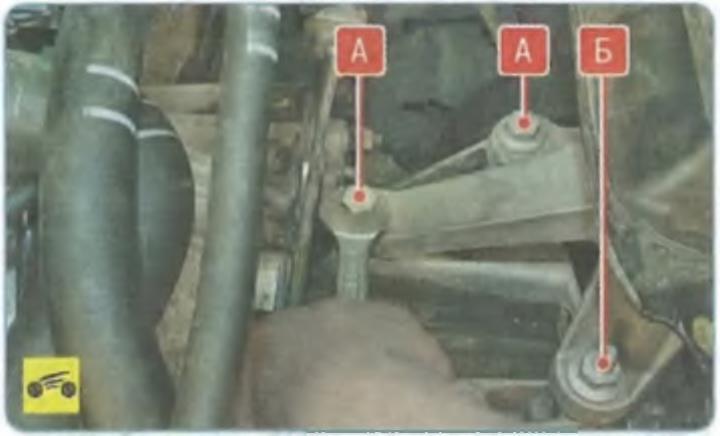
41. Pry off with a screwdriver...
42. ... disconnect the reversing light switch harness holder from the gearbox housing and move the harness to the side.
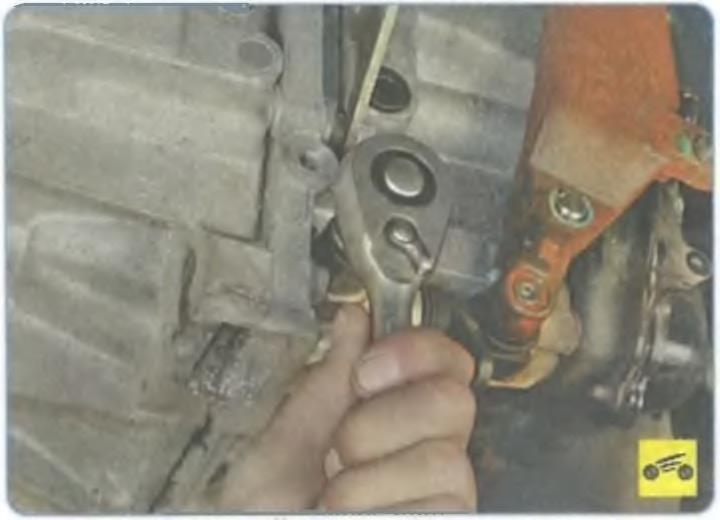
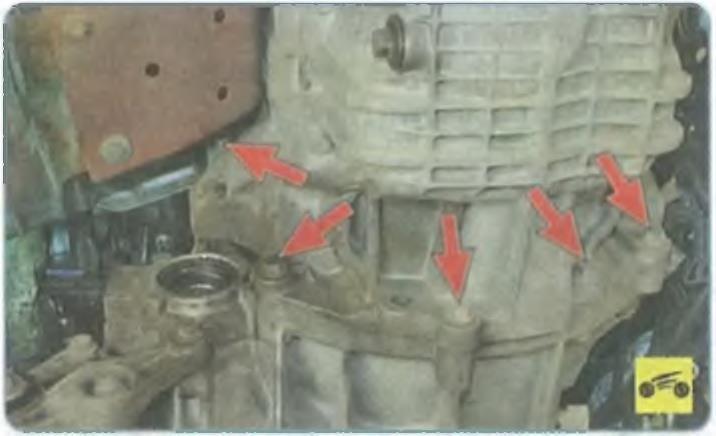
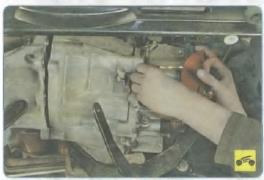
43. Disconnect the speed sensor wiring harness connector.

44. Disconnect the hydraulic clutch release hose from the hydraulic tube.
45. Remove the bolt securing the hose brackets to the gearbox housing ...
46. ... and move the bracket along with the hoses to the side.

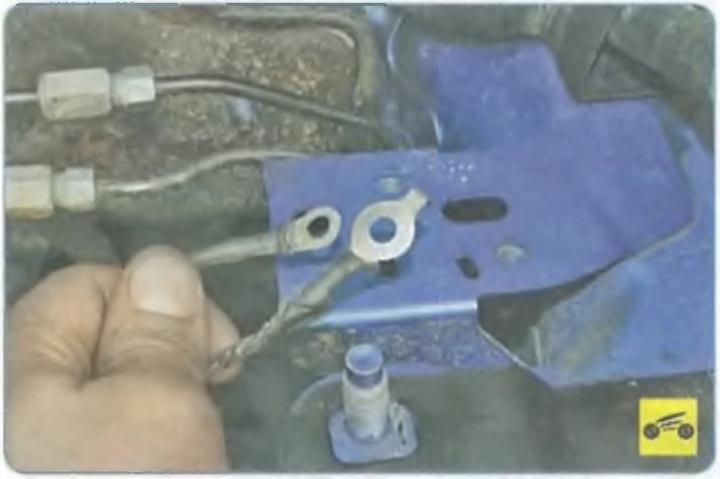
47. Turn out a bolt of fastening of "mass" wires to an arm of a body...
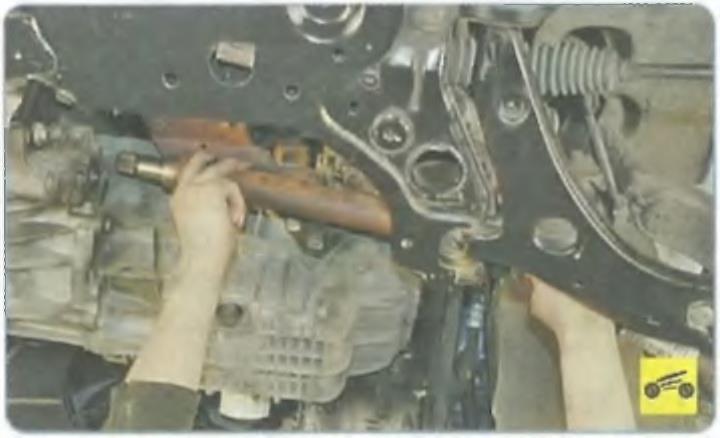
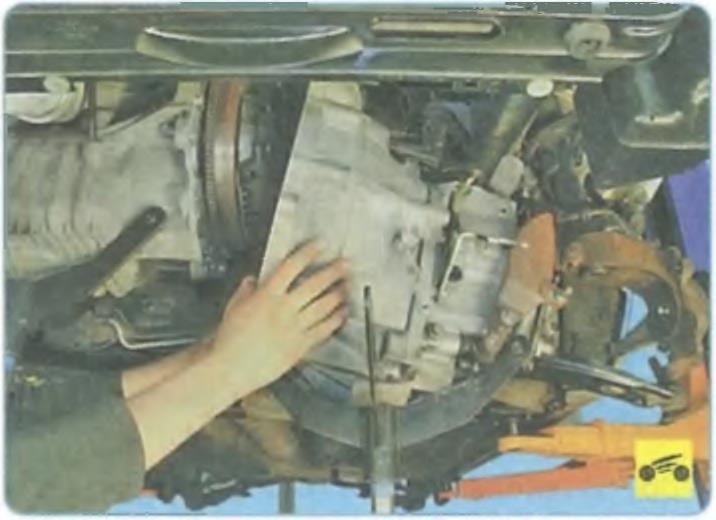
48. ... disconnect the wires from the bracket and take them aside.
49. Remove the mounting bolts and remove the starter from the clutch housing without disconnecting the wires from it. Take the starter aside and secure in any way so that it does not interfere with further work.
50. Support the engine securely or hang it out with a hoist. Install a similar support under the gearbox.
51. Remove the gearbox breather from the edge of the holder of the left support of the power unit.
52. Unscrew the nut securing the "mass" wire to the stud securing the bracket of the left suspension support of the power unit ...
53. ... remove the wire tip from the hairpin and take the wire to the side.
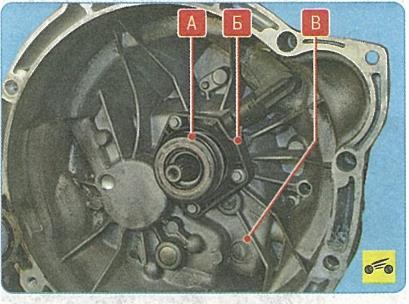
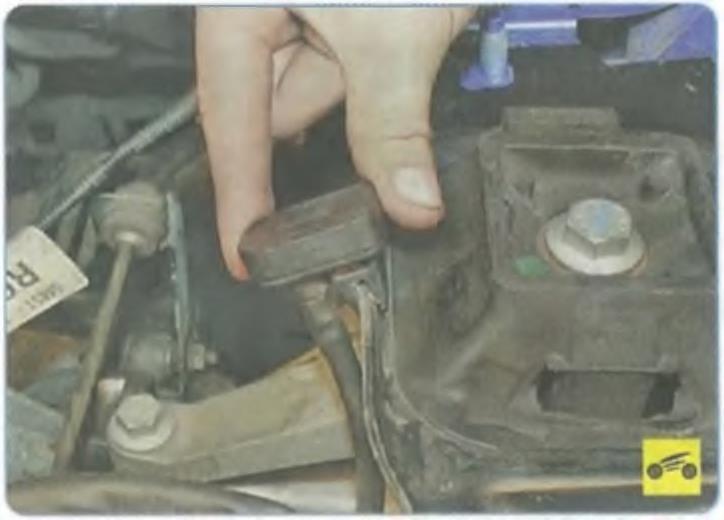
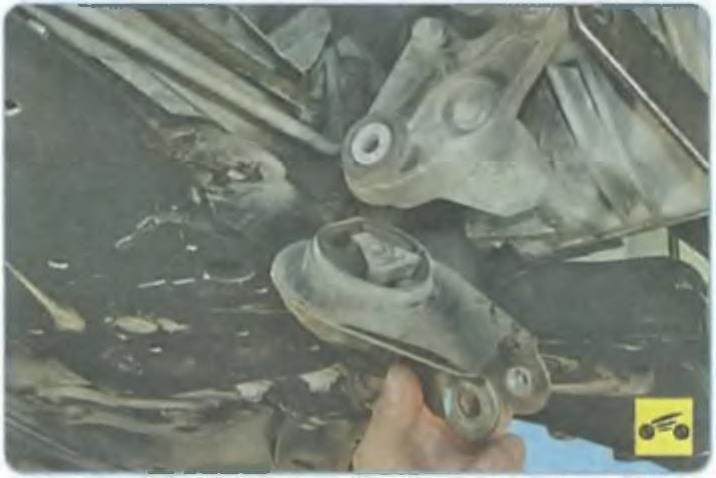
54. Remove two bolts A and pin B fastening the bracket of the left support of the suspension of the power unit to the gearbox housing ...
55. ... and remove the support along with the bracket.
56. Remove one bolt securing the gearbox housing to the engine from the top left ...
57. ...and to the right...

58. ... two bolts on the left side ...
59. ... and five bolts from the bottom.
60. Remove the rear suspension support of the power unit.
61. Move the gearbox back until the input shaft of the box comes out of the hub of the clutch disc.
62. Move the box as far back as possible, remove the support from under it and, tilting the back of the box down, remove it from the car.
WARNING
When removing the gearbox, do not rest the end of the input shaft on the petals of the diaphragm spring, so as not to deform them.
63. Establish a transmission and all removed details and knots in an order, the return to removal.
USEFUL ADVICE
Before installing the gearbox, we recommend lubricating the splines of the input shaft with a thin layer of refractory grease.
64. Fill the gearbox with oil.
65. Remove air from the hydraulic clutch release.
66. If necessary, adjust the gearbox control drive.
Source: Operation, maintenance and repair manual in photographs series "Repair without problems" Third Rome