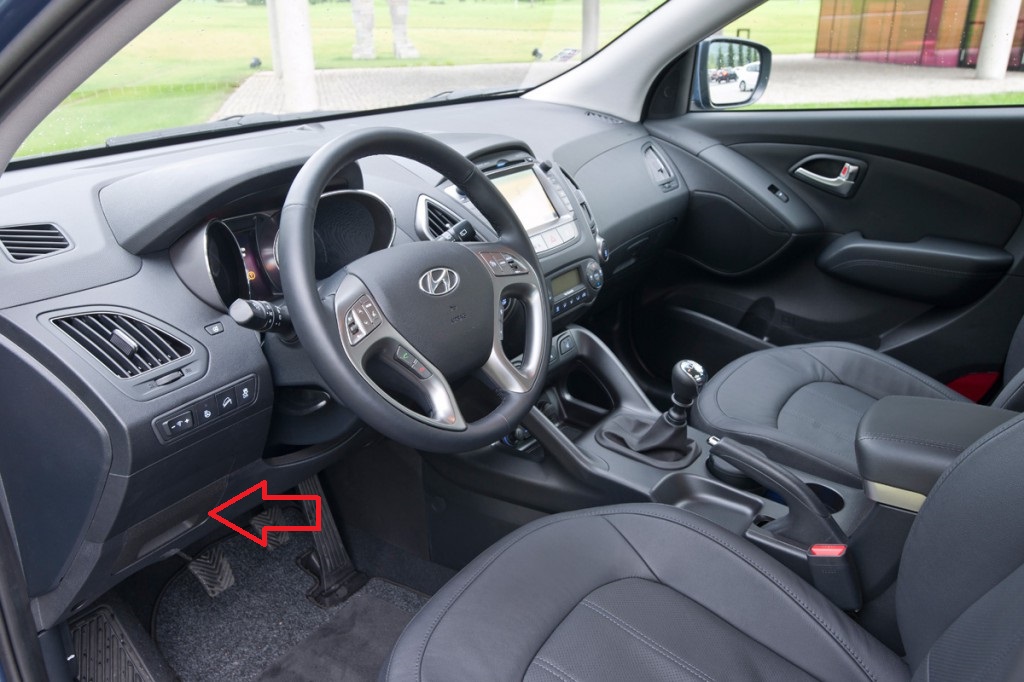
![1 generation [2010 - 2015]](/uploads/Hyundai_ix_35_2013_-_2015_.jpg)

Tools:
- L-shaped socket wrench 8 mm
- L-shaped socket wrench 14 mm
- Pliers
- Phillips screwdriver, medium
- Screwdriver flat medium
Parts and consumables:
- Paper towel
- Insulating tape
- Wet rag
- Fuel pump module (if required) (31110-2S000)
Note:
This article describes how to remove the fuel pump on a Hyundai ix35 car.
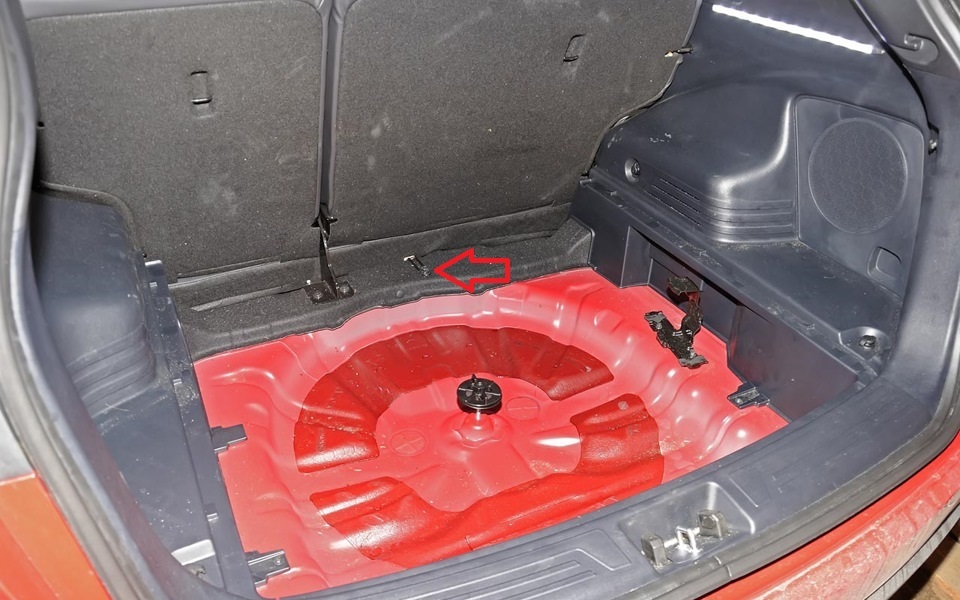
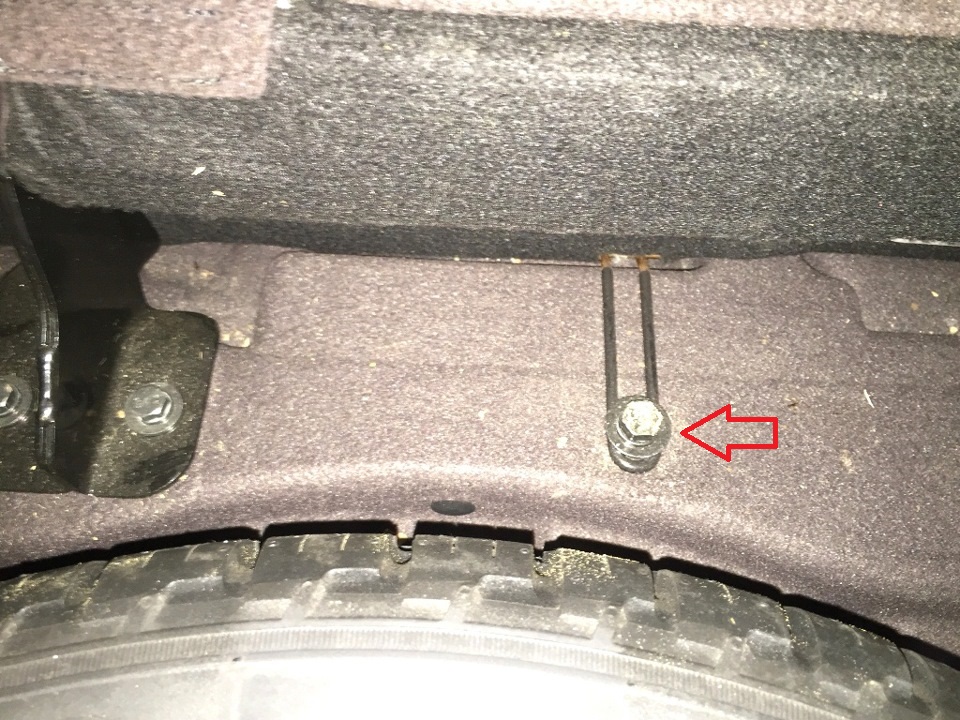
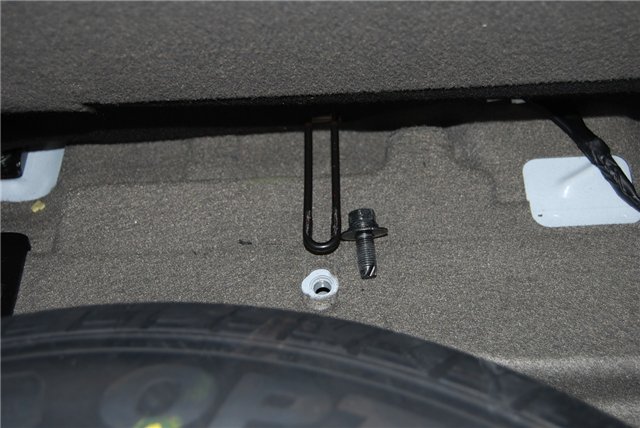
1. Open the trunk, raise the shelf in the trunk where the spare wheel is located and unscrew the rear seat bolt.
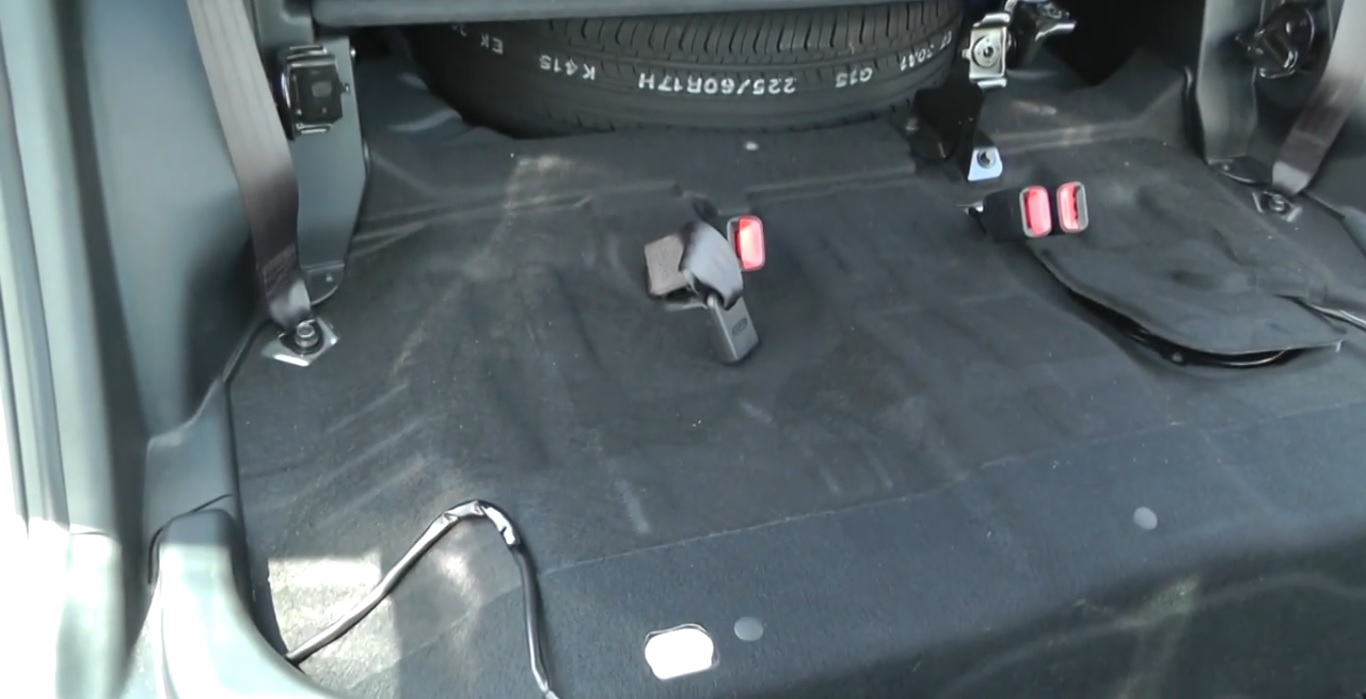
2. Pull the seat up from the left and right ends (so that the latches come out of the latches), disconnect the seat heating wire block (there are two of them, on the right and on the left) and remove the seat from the car.
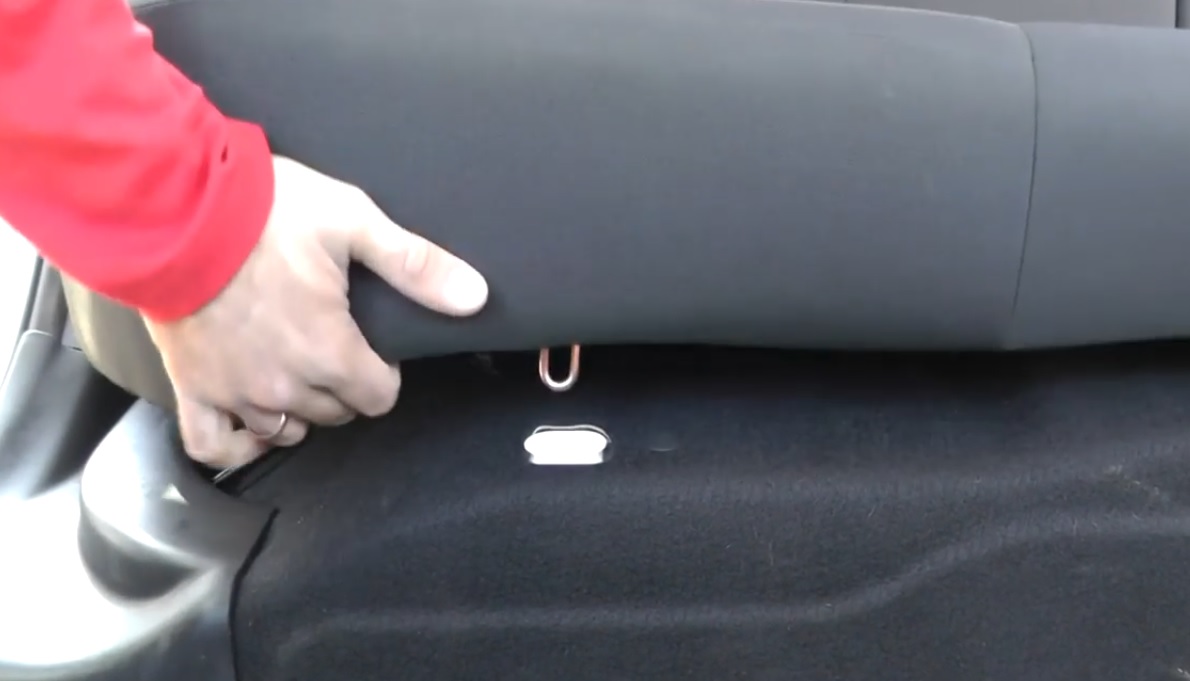

3. On the left side of the car there is a hatch. Raise the upholstery of the hatch and fix it with a seat belt so that it does not interfere.
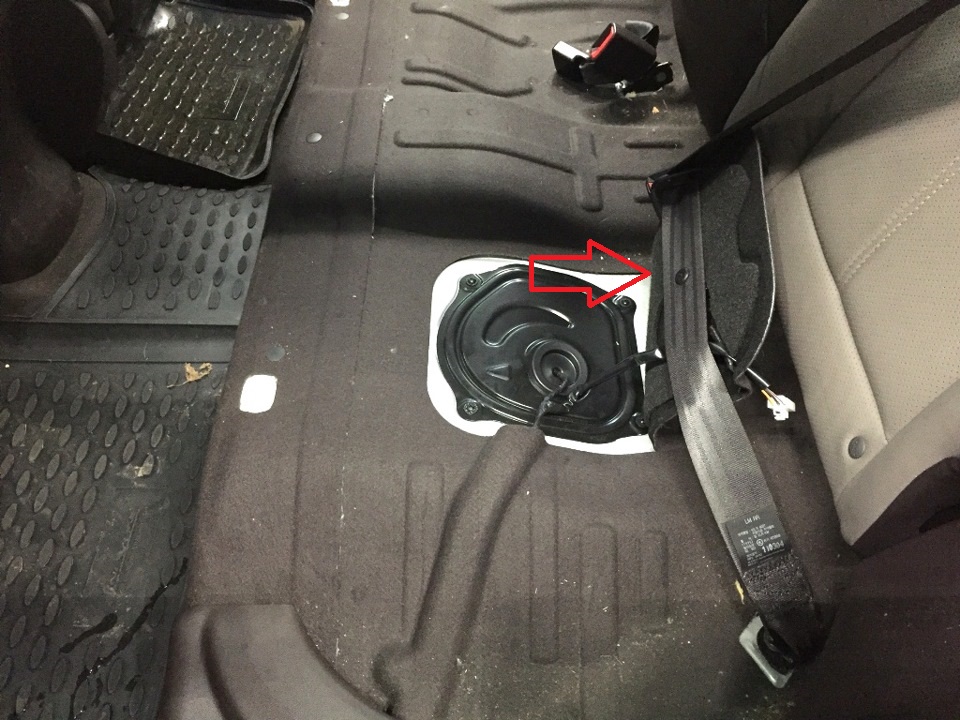
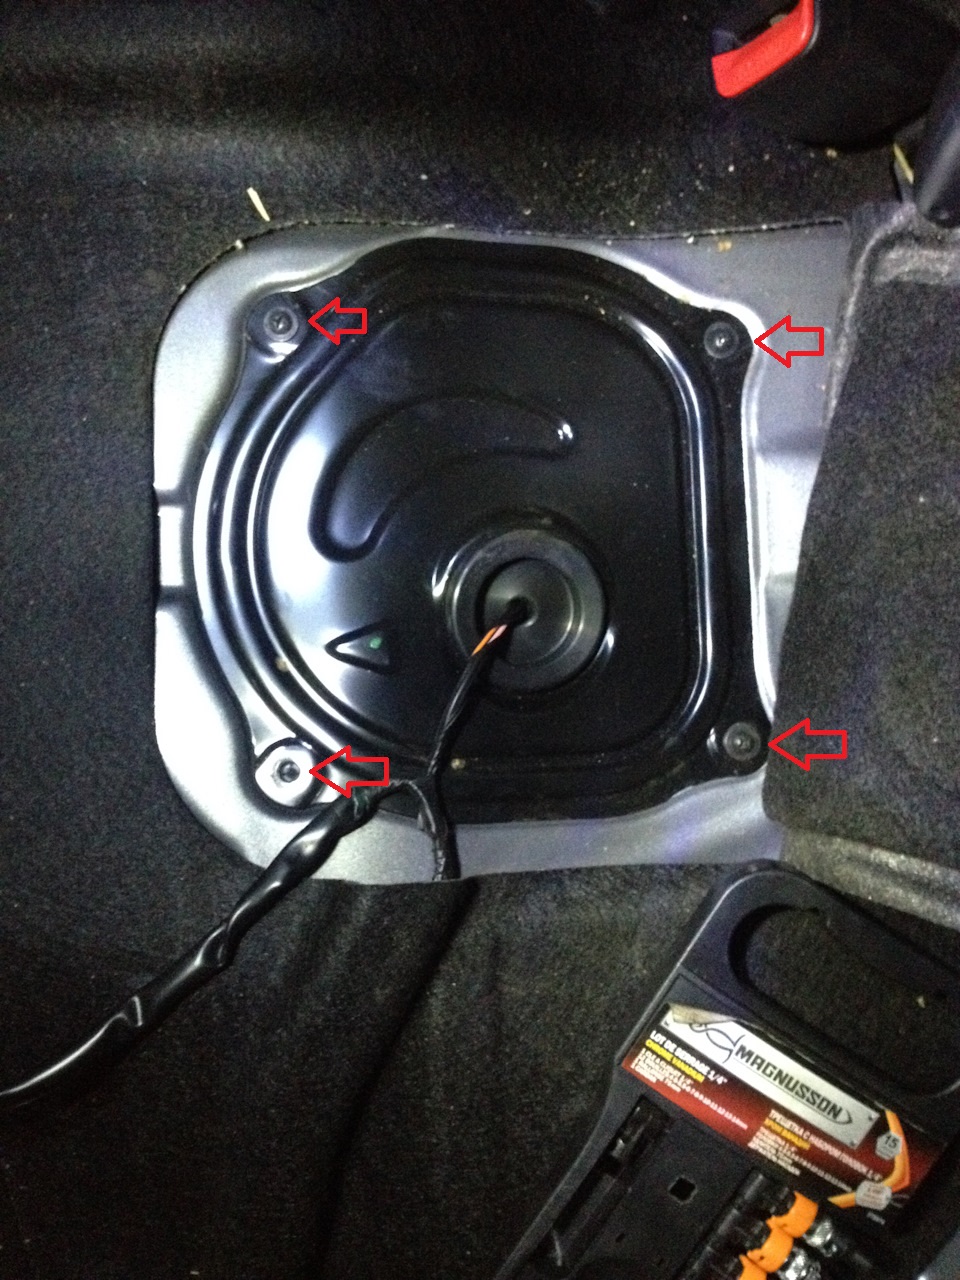
4. Unscrew the four self-tapping screws of the fuel module cover, tilt the fuel module cover back and, with the ignition off, squeeze the clamps of the wiring harness block and disconnect the block from the fuel module cover connector.
Note:
If the ignition was turned on shortly before starting the dismantling of the fuel module, then it is necessary to relieve the fuel pressure in the fuel system. To do this, we start the engine and, if it starts, let it idle until it stops due to running out of fuel in the system. Then, turn on the starter for 2–3 s. After that, the fuel pressure in the supply system will be reset.
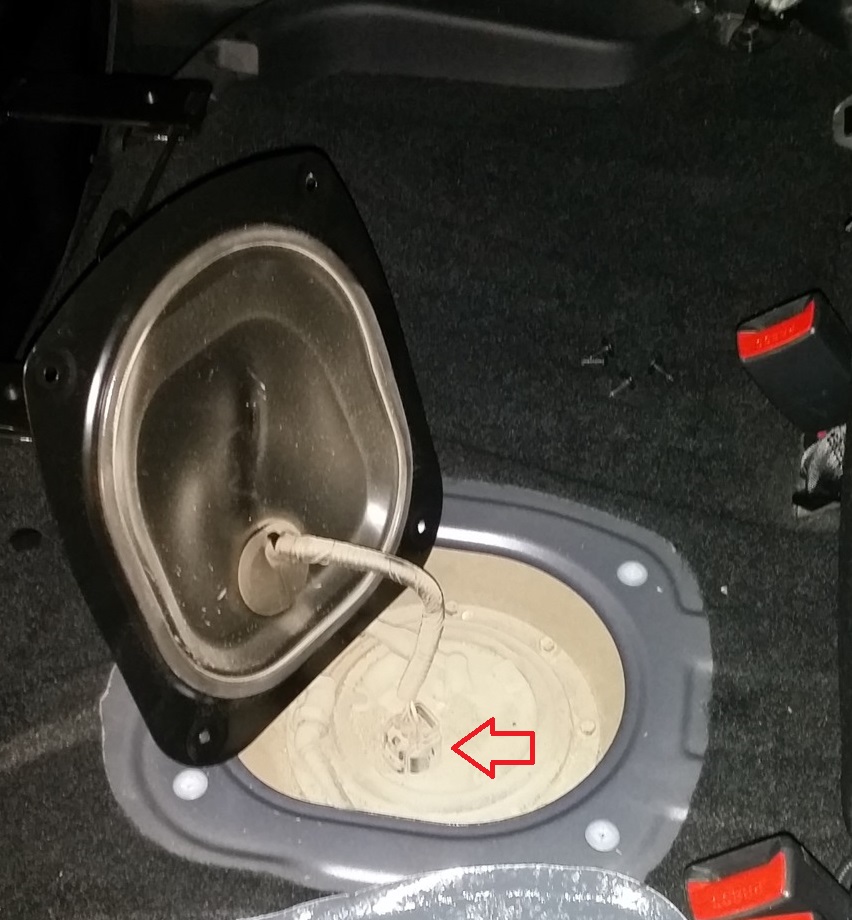
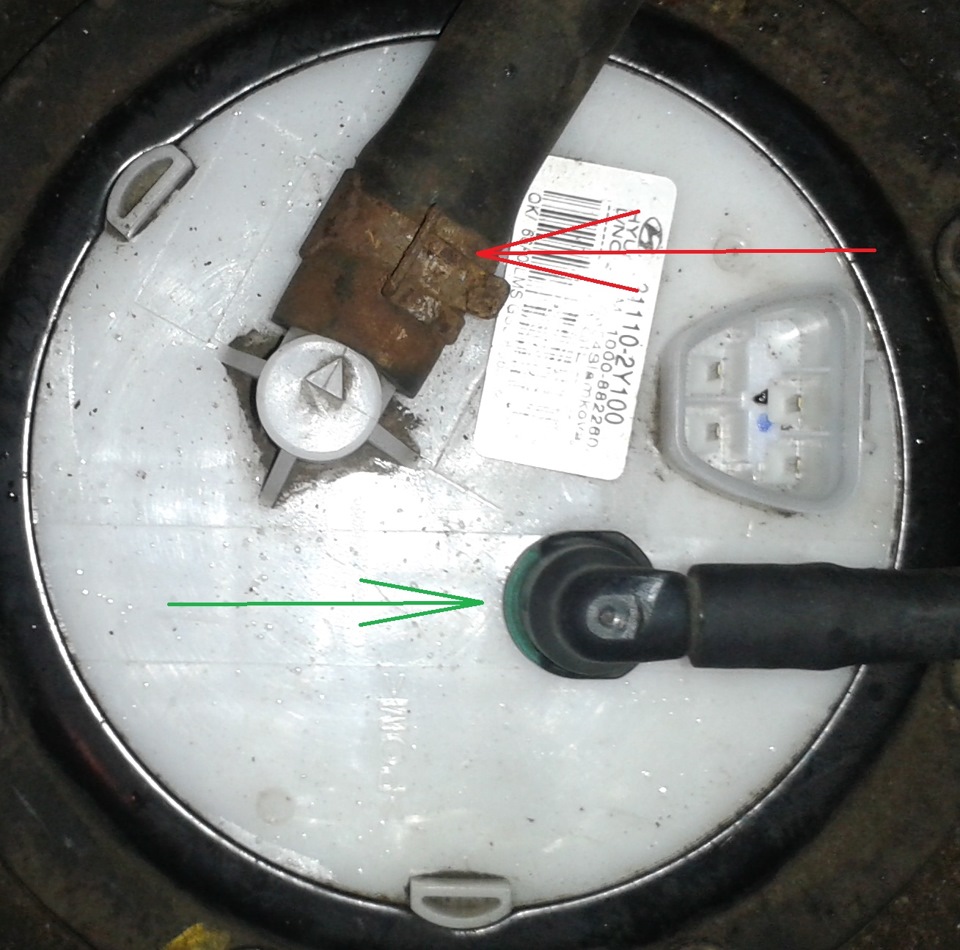
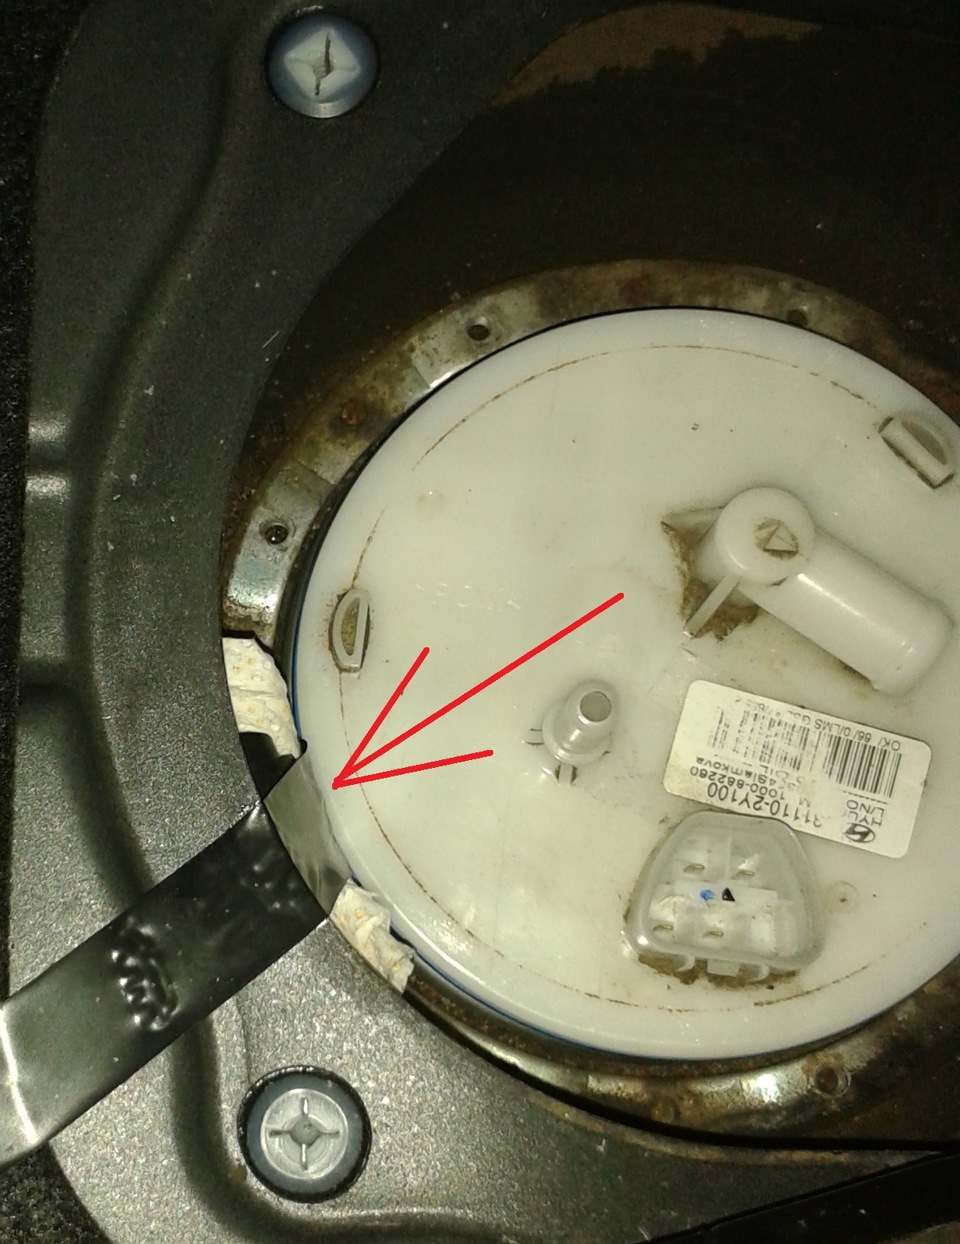
5. Squeeze the ends of the hose clamp with pliers and disconnect the hose (shown by the red arrow). Using a screwdriver, press the green lever into the base of the hose, and remove the hose (shown by the green arrow).
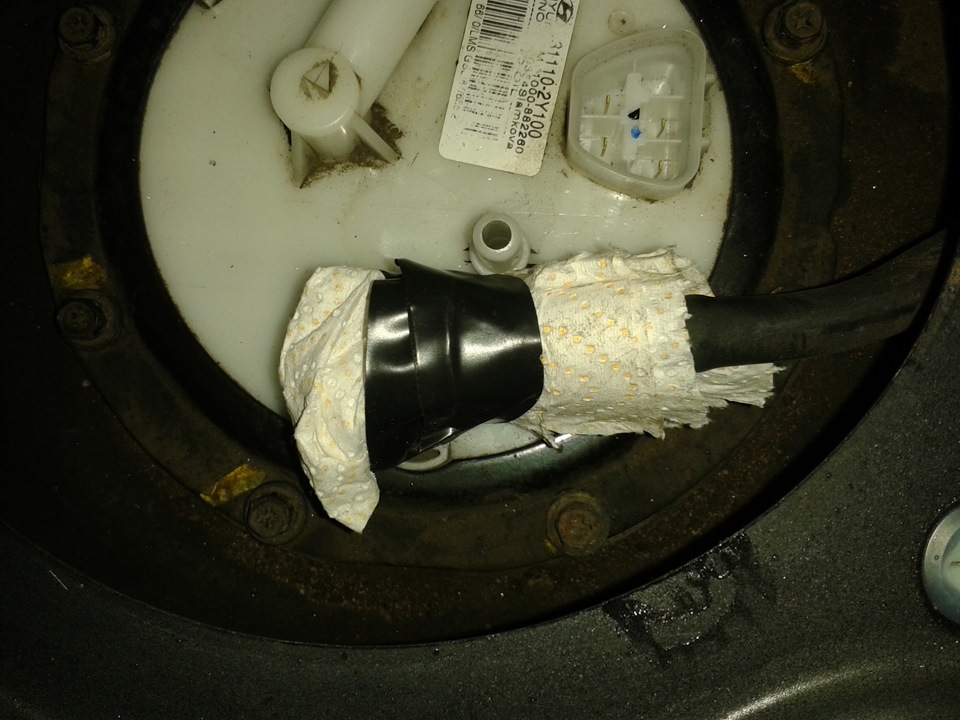
6. Using paper towel and duct tape, plug the hoses to keep dirt out.
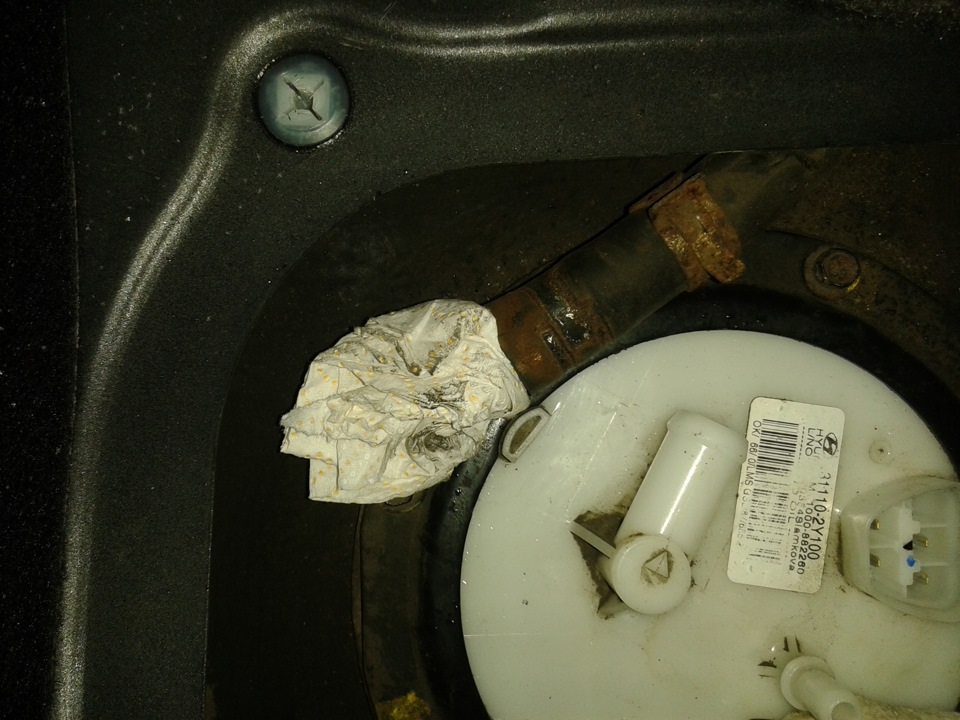
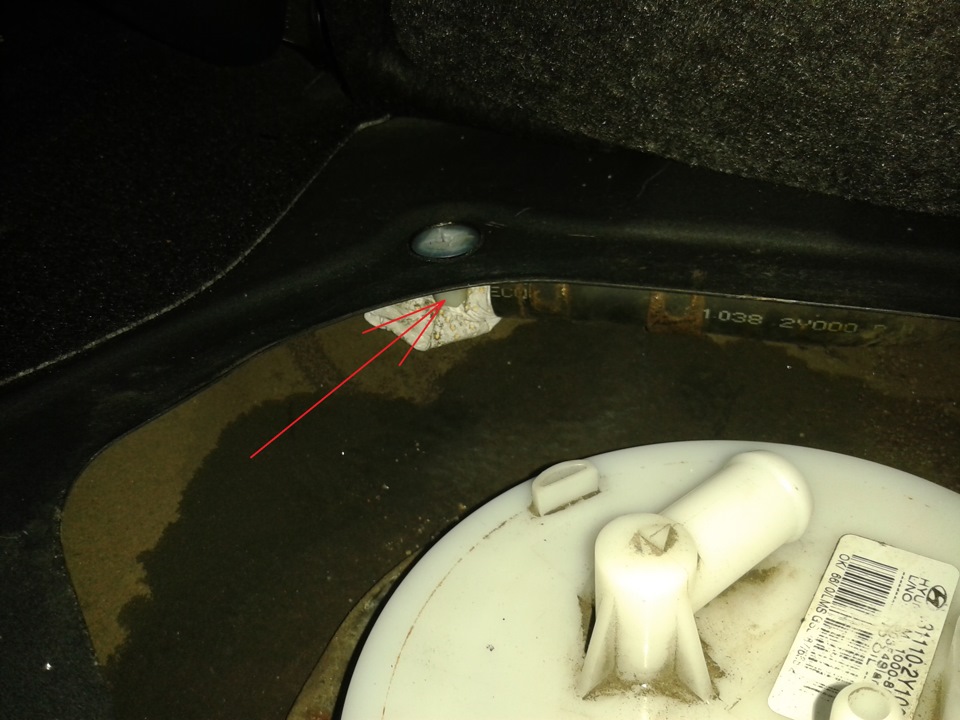
7. Bring both hoses under the body so that they do not interfere when removing the fuel module (one hose can be hidden behind a clip, and the second can simply be fixed with electrical tape).
Note:
Use a damp cloth to clean the dirt from the fuel module, and it is better to moisten the surface of the fuel module with water so that the dirt loses its volatility and does not get into the open tank.
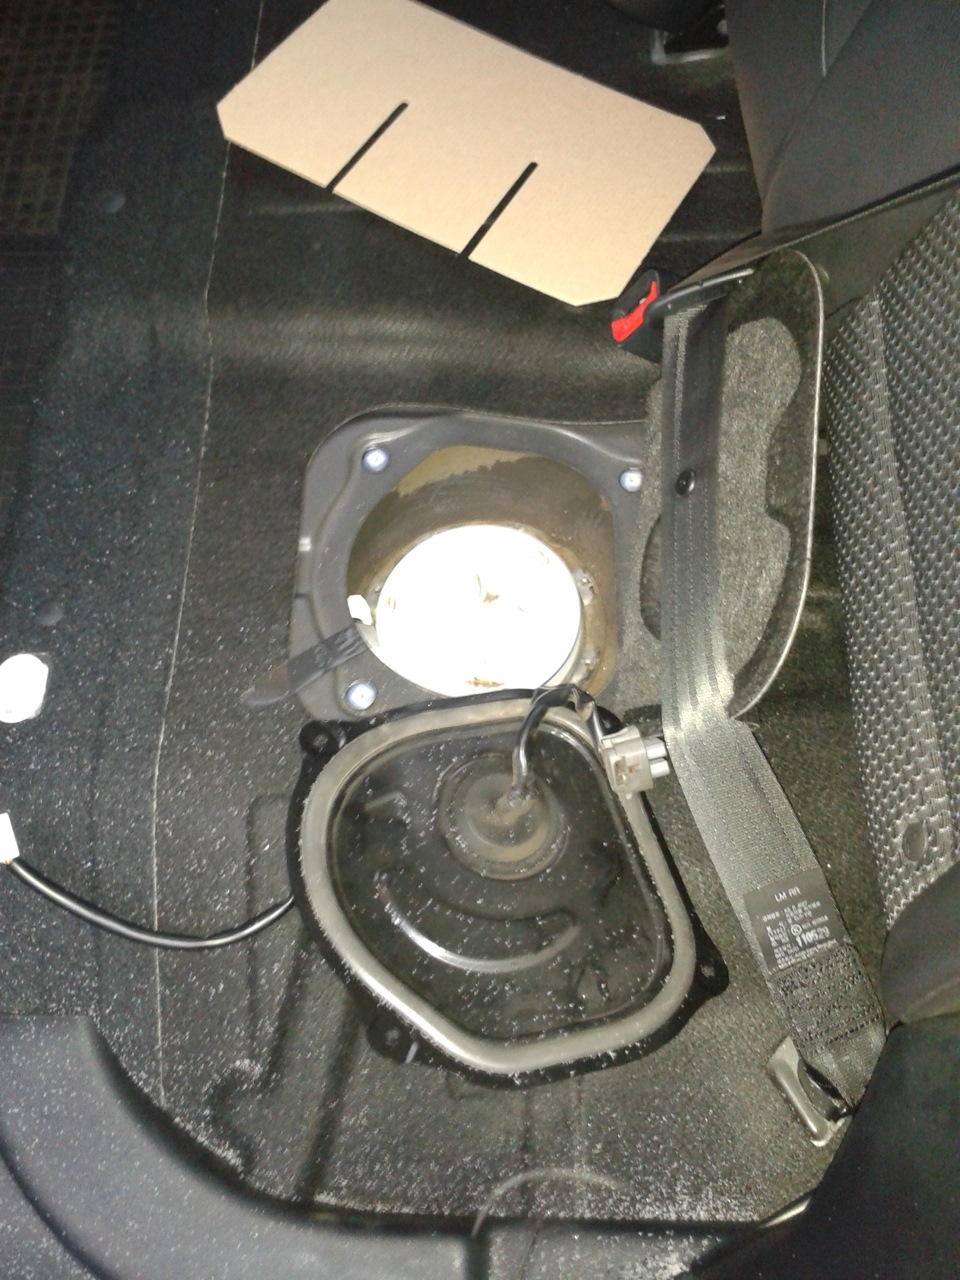
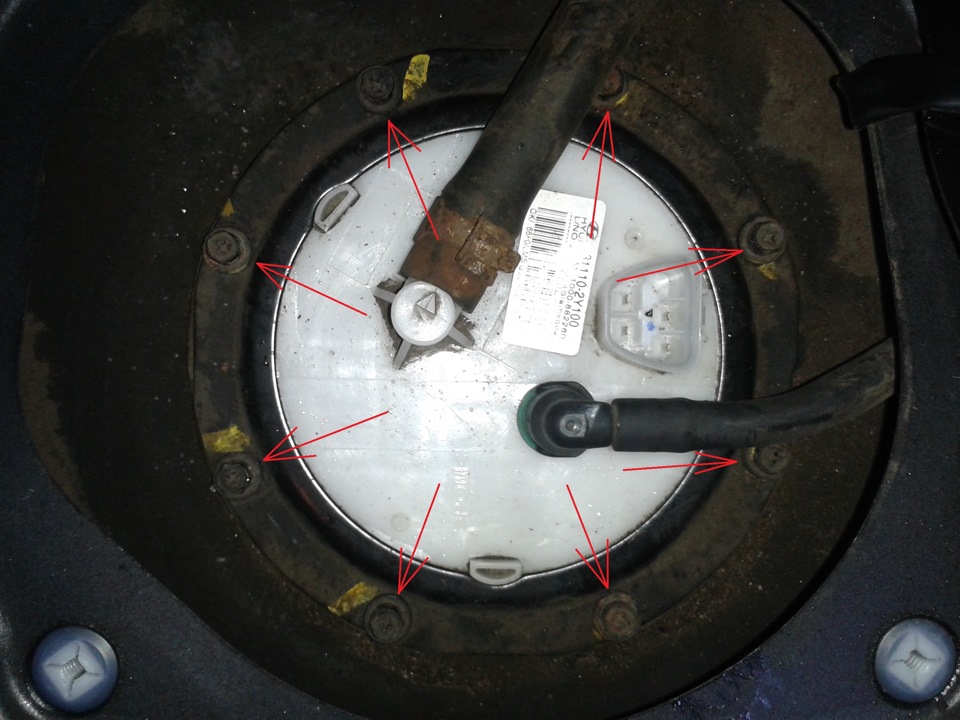
8. Using an “8” wrench or (with a Phillips screwdriver), unscrew the eight bolts securing the pressure plate of the module cover, remove the plate and remove the fuel module.
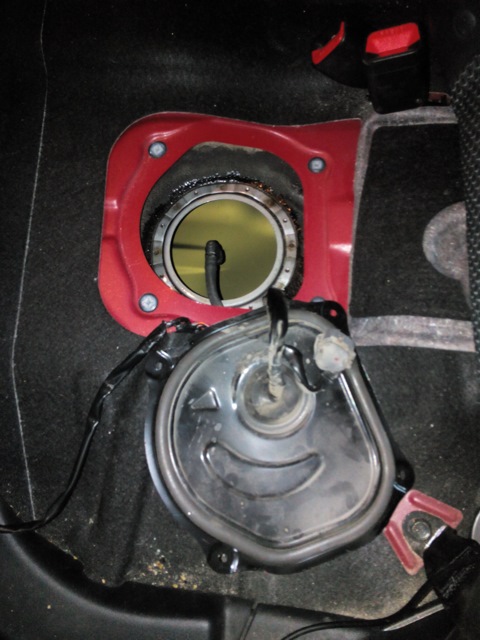
The fuel module has already been removed.
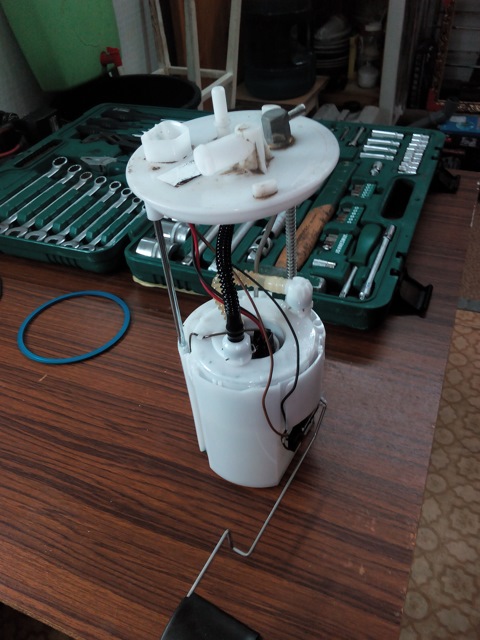
Fuel pump module for Hyundai ix35.
Note:
Remove carefully so as not to catch the float of the fuel gauge sensor.
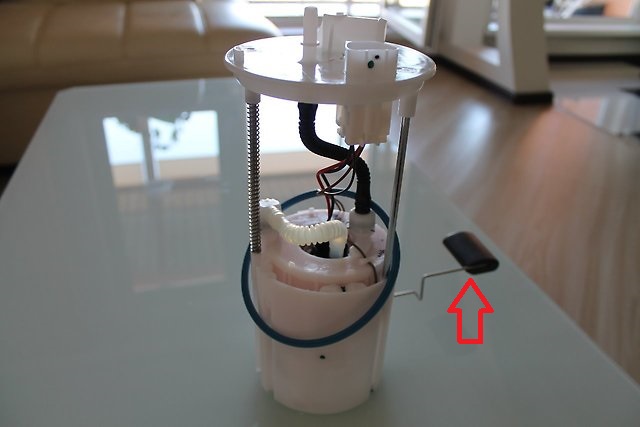
Fuel level sensor for Hyundai ix35.
9. Install the fuel module and all parts in the reverse order of removal.
The article is missing:
- Tool photo
- Photo of parts and consumables
- High-quality repair photos
Source: http://carpedia.club/