Tools:
- Large flat screwdriver
- Phillips screwdriver small
- Ratchet wrench
- Hex key set
Note: the article describes sequential disassembly. The assembly process is a sequence of actions performed in the reverse order of removal.
The presence and location of instruments and warning lamps may vary depending on the modification of the vehicle.
A flat screwdriver is needed to pry the edges of the car casing, if after twisting the screws, the casing will not be removed.
Description:
1. First you need to remove the lower and upper steering wheel protection. To do this, unscrew 4 cross screws from the bottom and two from the top.
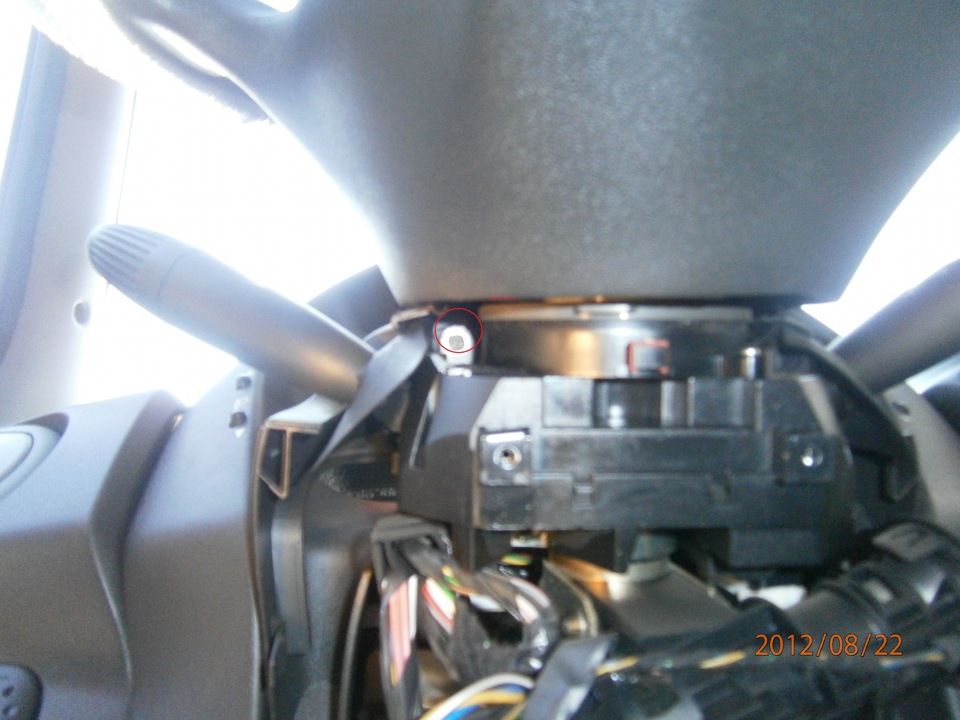
2. After that, you need to remove the dashboard protection. The two screws at the top of the panel are unscrewed with a hex wrench. Then unscrew, using a screwdriver with a cross section, the two remaining self-tapping screws from the bottom.
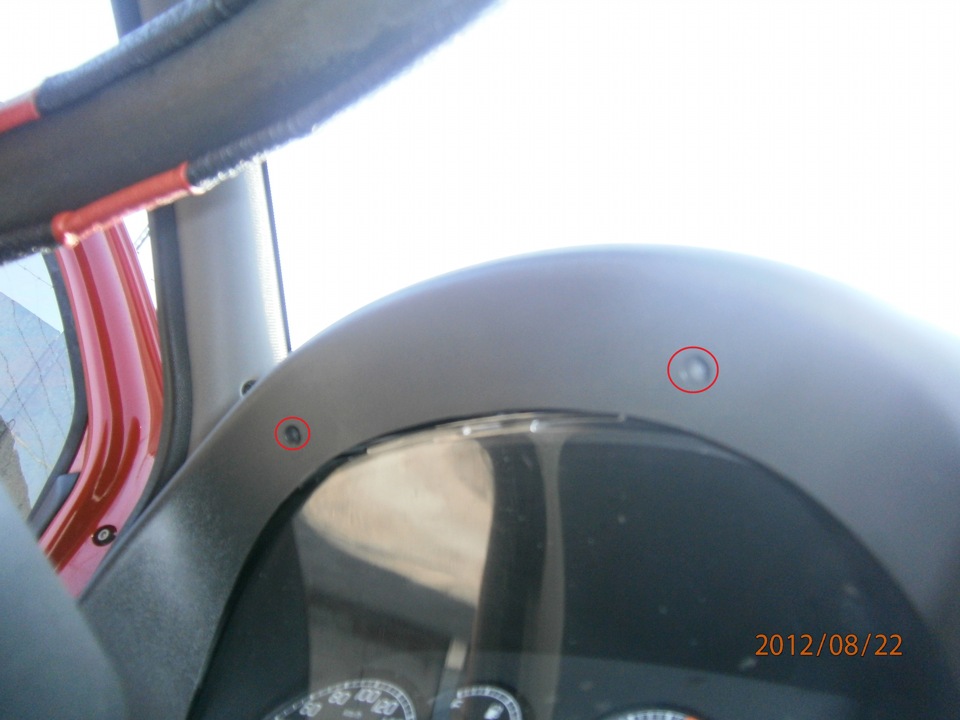
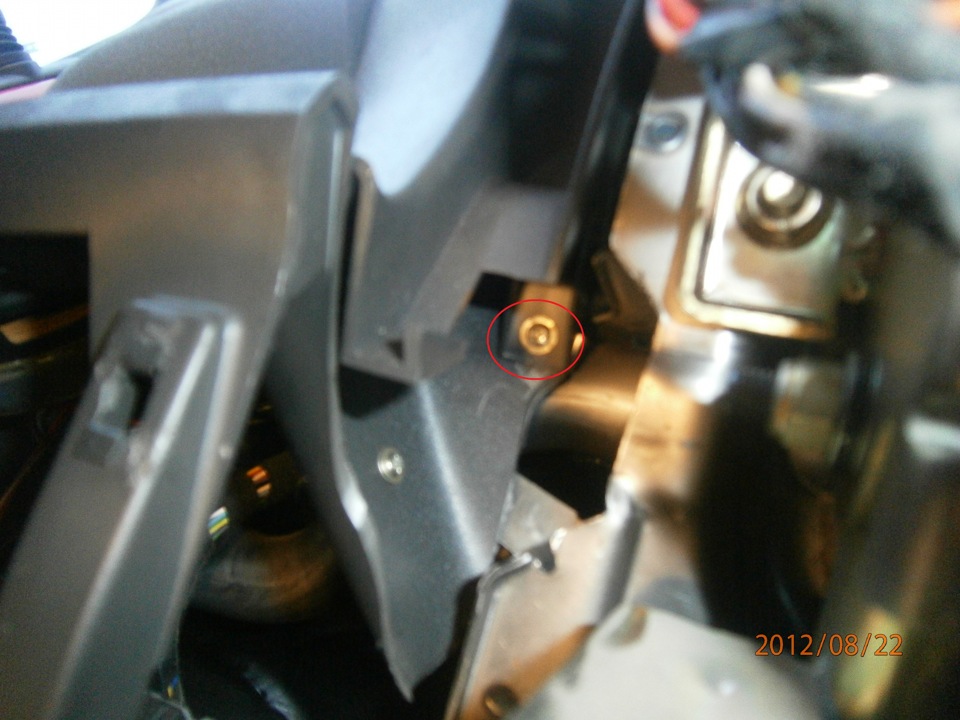
3. After removing the dashboard guard, you will find 4 more bolts. They are unscrewed with a hex key.
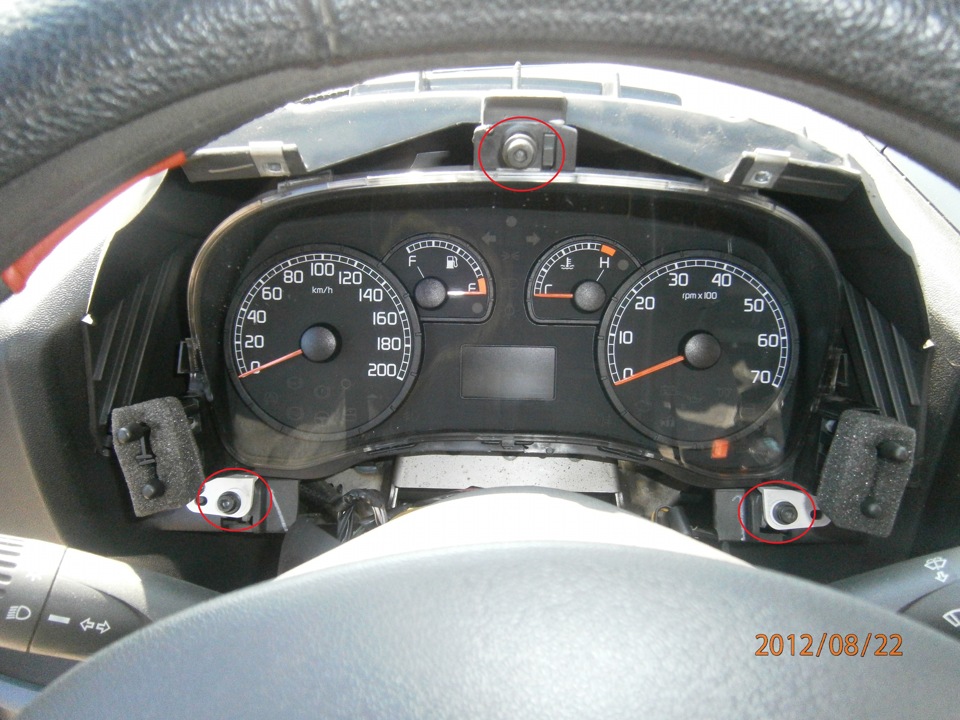
4. We take out the dashboard and disconnect all wires from it, and only after that you can completely dismantle the panel from the car.
5. Dismantling of the panel is carried out by opening the latches of the panel glass.
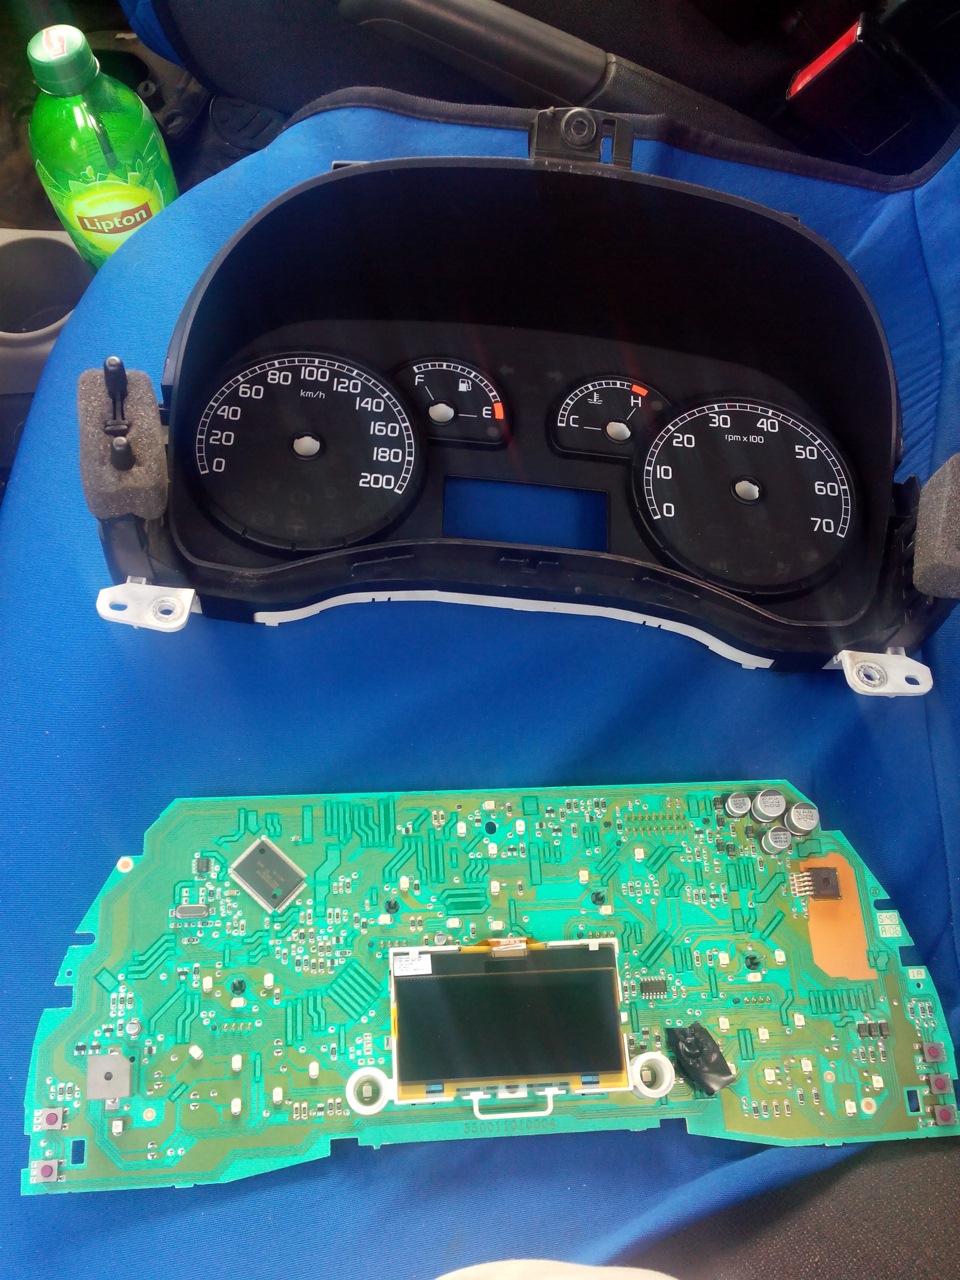
Note: the nature of the disassembly of the panel itself may differ depending on the configuration, year of manufacture and vehicle configuration.
6. We perform the assembly process in the reverse order of removal.
A source:
https://carpedia.club/
The article is missing:
- Repair photo
The article lacks:
- Фото ремонта
![1 generation [restyling] [2005 - 2015]](/uploads/Fiat_Doblo_I_2001_-_2014_.jpg)
