Fiat
Doblo
1 generation [restyling] [2005 - 2015]
Petrol
1 generation [restyling] [2005 - 2015]
Maintenance
Body and Interior
Undercarriage
Transmission
Steering
Brake system
Engine
Electrical equipment
Ventilation and air conditioning system
Security system
Spare parts and consumables
Add to garage Filter

Removal and installation of the back buffer (bumper) Fiat Doblo 2005

print share bookmark_border
0 Views
0.0 Rating
Tool
Not indicated
Car services nearby

Tools:

  • Phillips screwdriver
  • Head wrench
  • Set of heads
  • Head for 17

Note : In order to remove the rear bumper, the headlights must be removed as there are two bolts that hold the bumper in place.

Description:

1. Open the trunk lid.
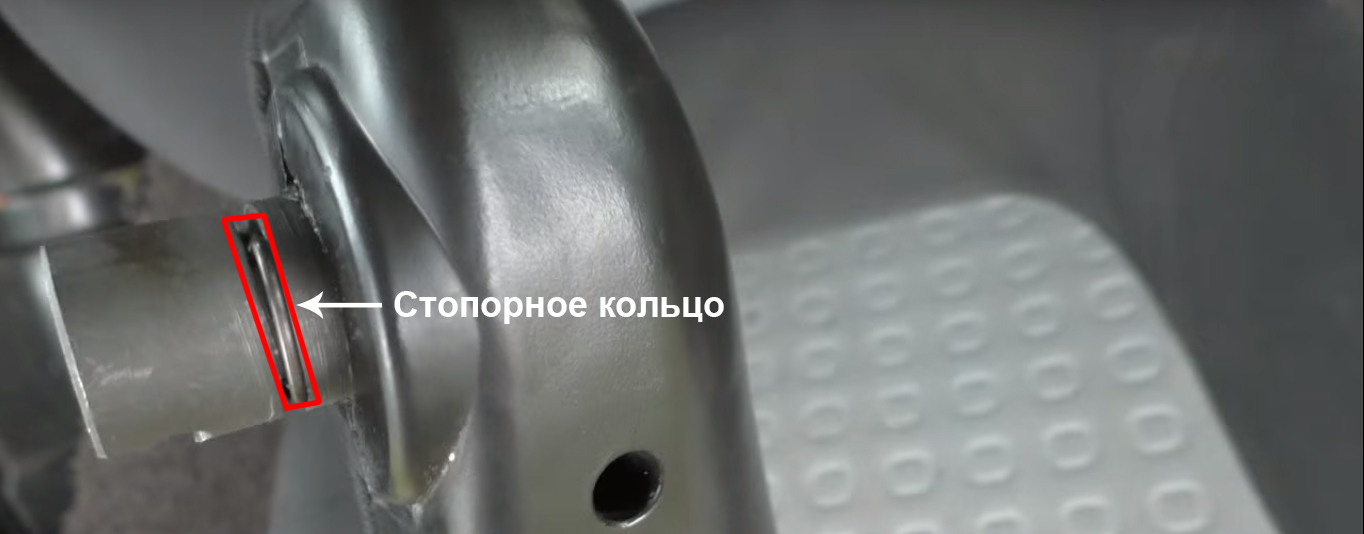
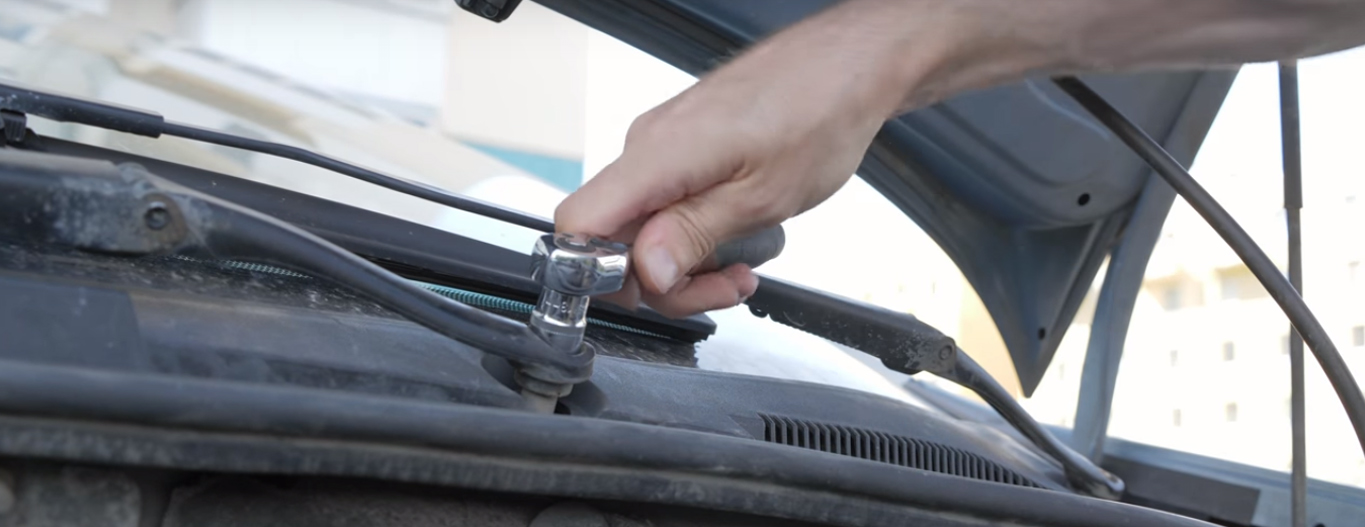
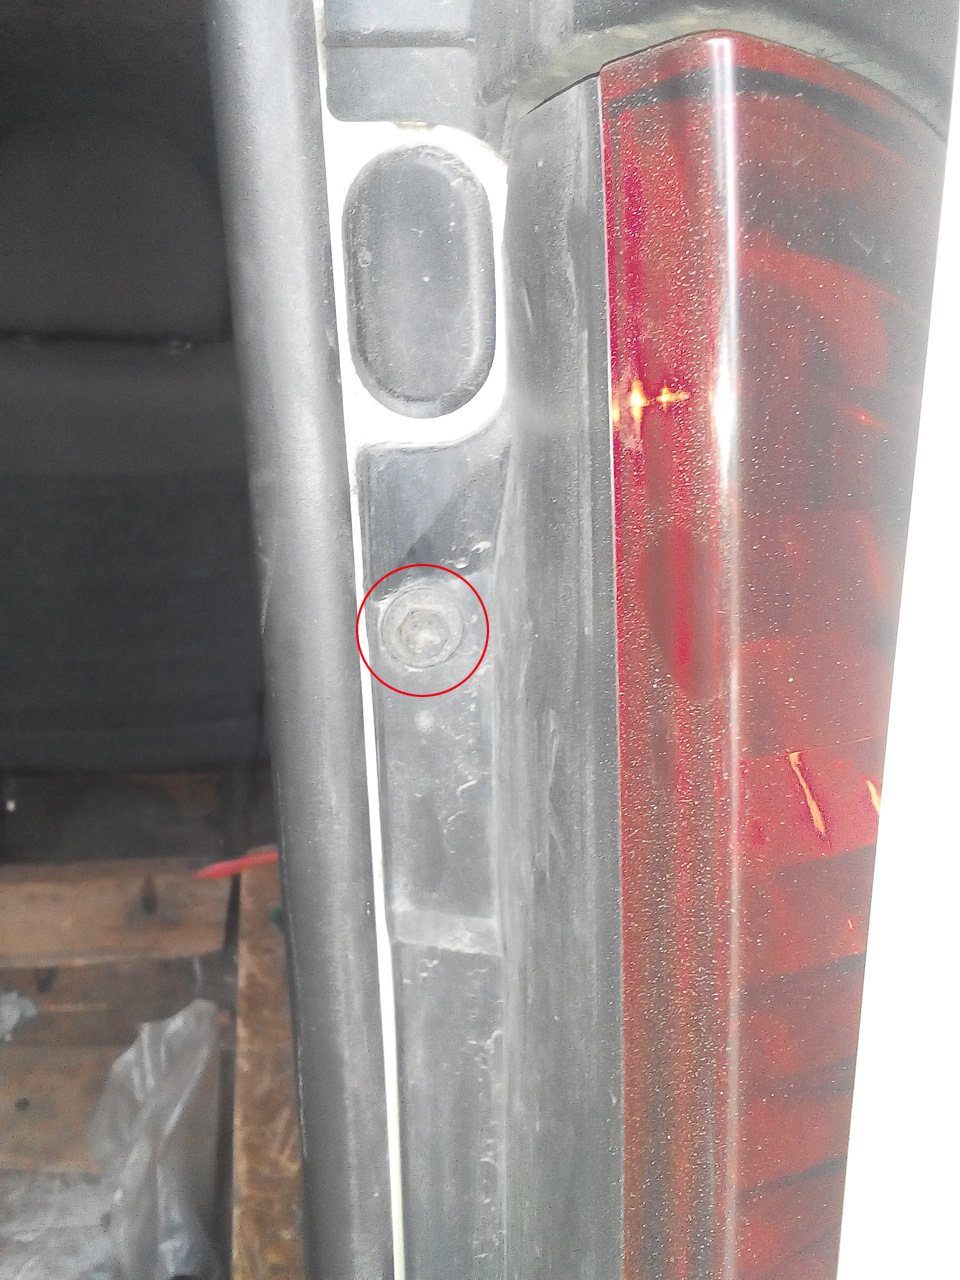
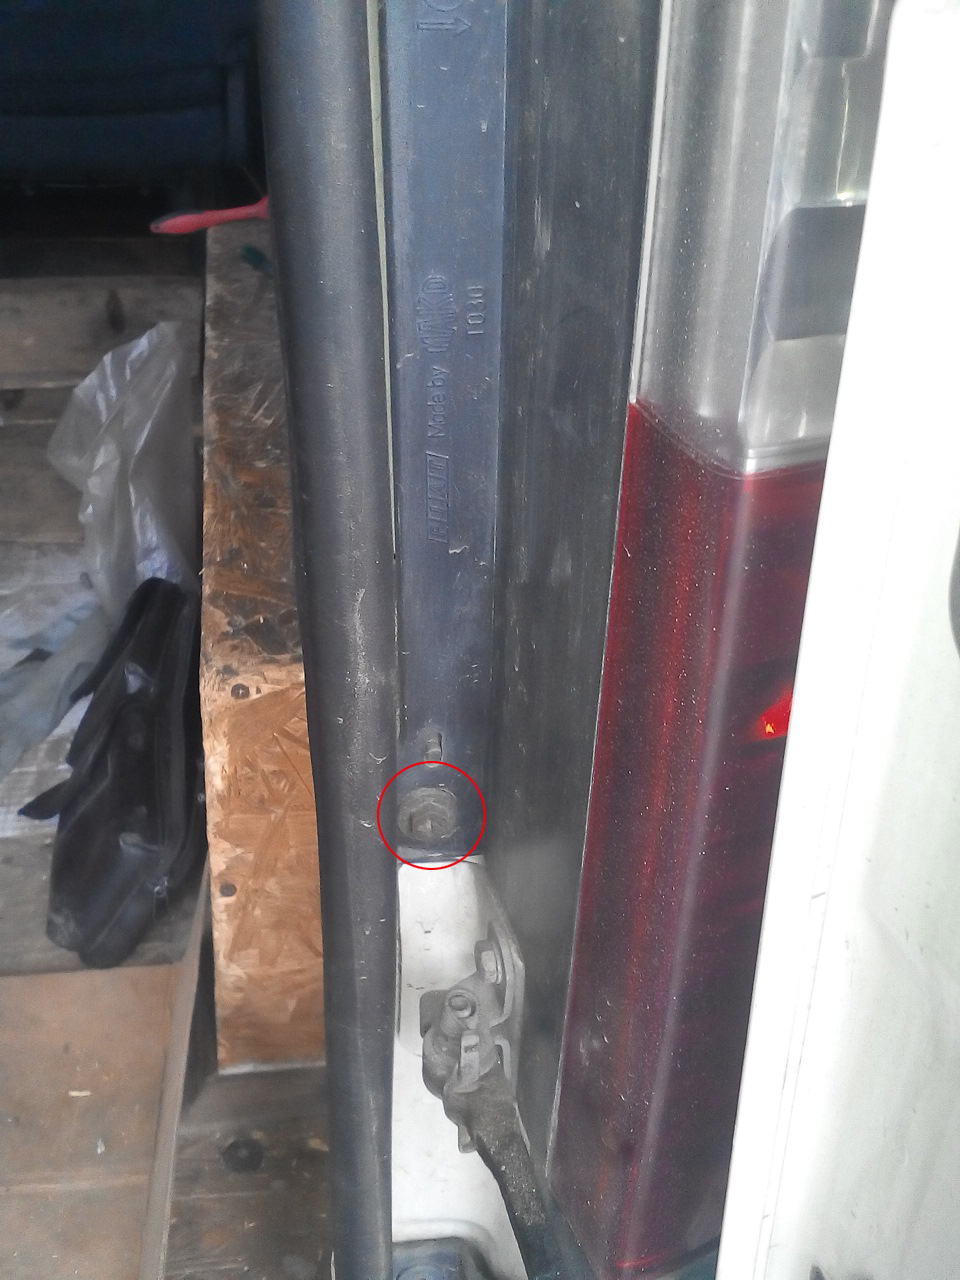
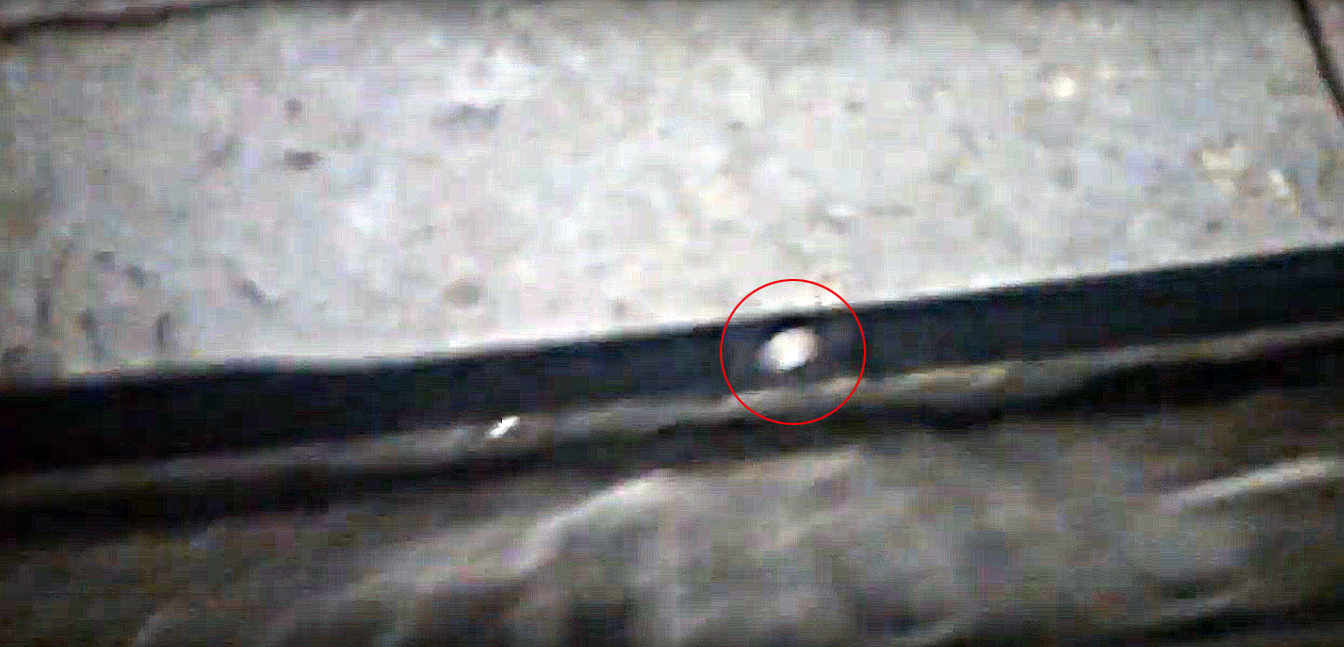
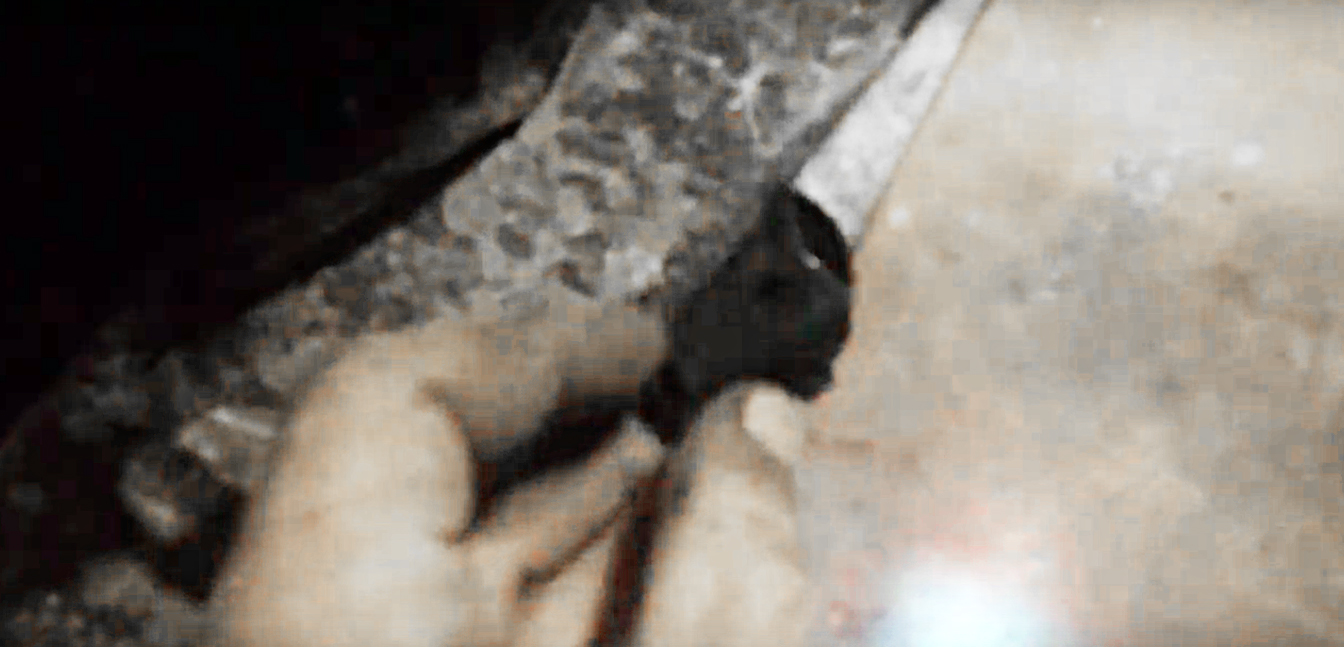
2. We find in the area of ​​​​the hinges of the tailgate the bolts of the headlights to the body and unscrew them.

We find in the area of ​​​​the hinges of the tailgate the bolts of the headlights to the body and unscrew them Fiat Doblo

Fiat Doblo taillight upper bolt
Upper headlight mounting bolt
Fiat Doblo taillight lower bolt
Lower headlight mounting bolt

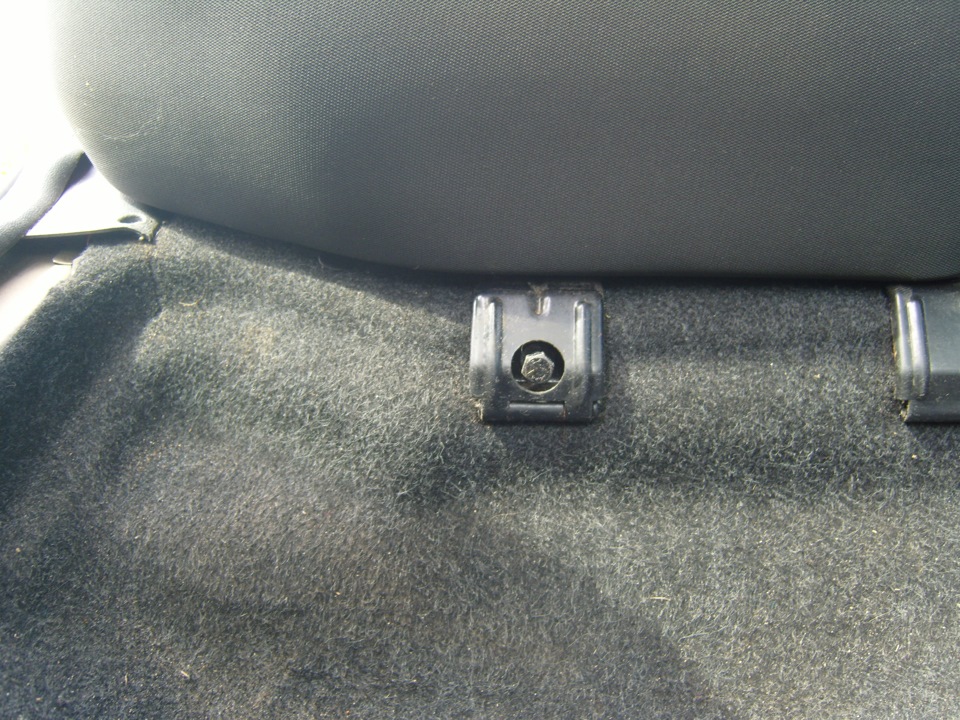
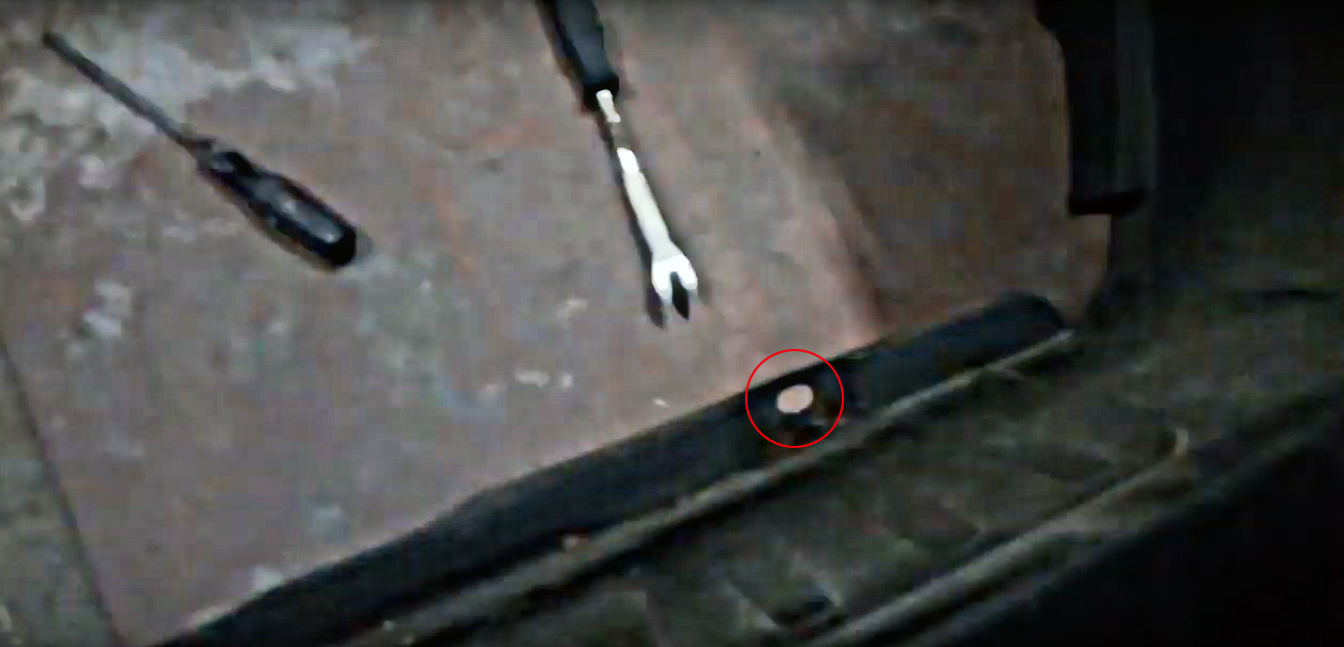
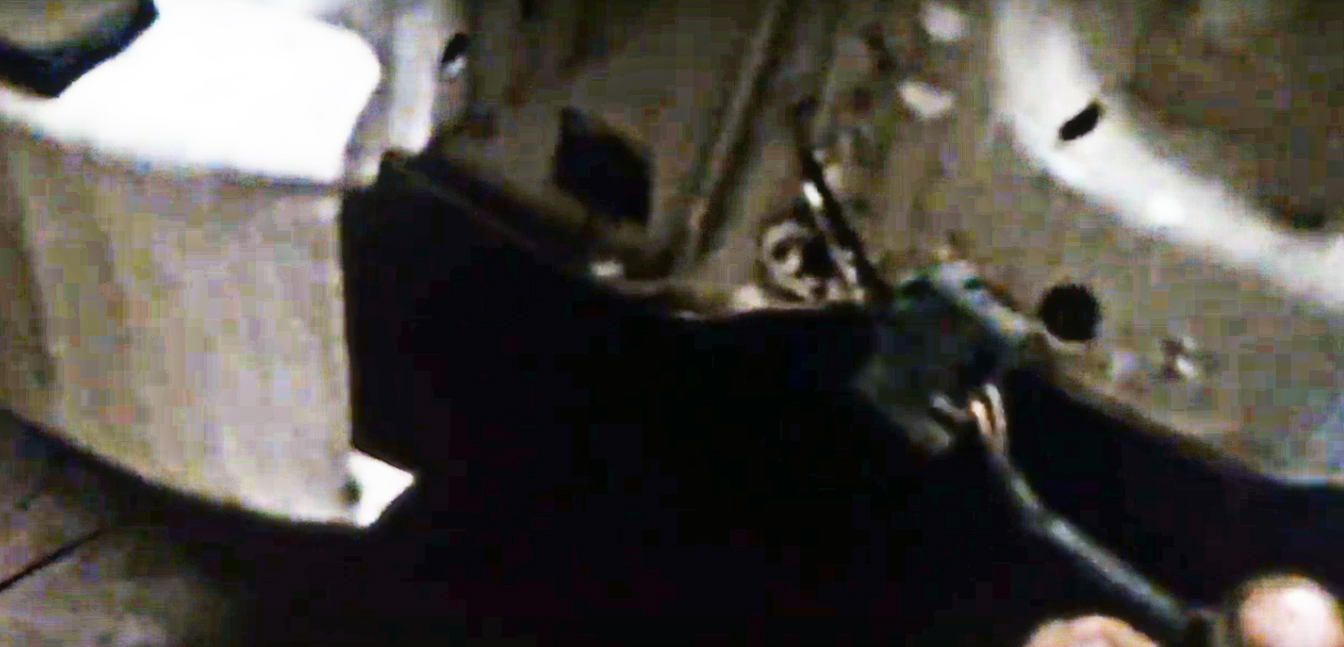
3. We find and unscrew the additional nut, which is located in the cabin.

We unscrew the additional nut, which is located in the cabin of the Fiat Doblo

Note: as a rule, this nut is hidden under a rubber plug. The nut is unscrewed with a 17 head.

The nut is hidden under the rubber plug Fiat Doblo

4. Carefully remove the headlight towards ourselves so as not to damage the side clips, and disconnect the headlight power wires.

We remove the headlight towards ourselves so as not to damage the side clips, and disconnect the power wires for the Fiat Doblo headlight
Bolt on which the nut is screwed

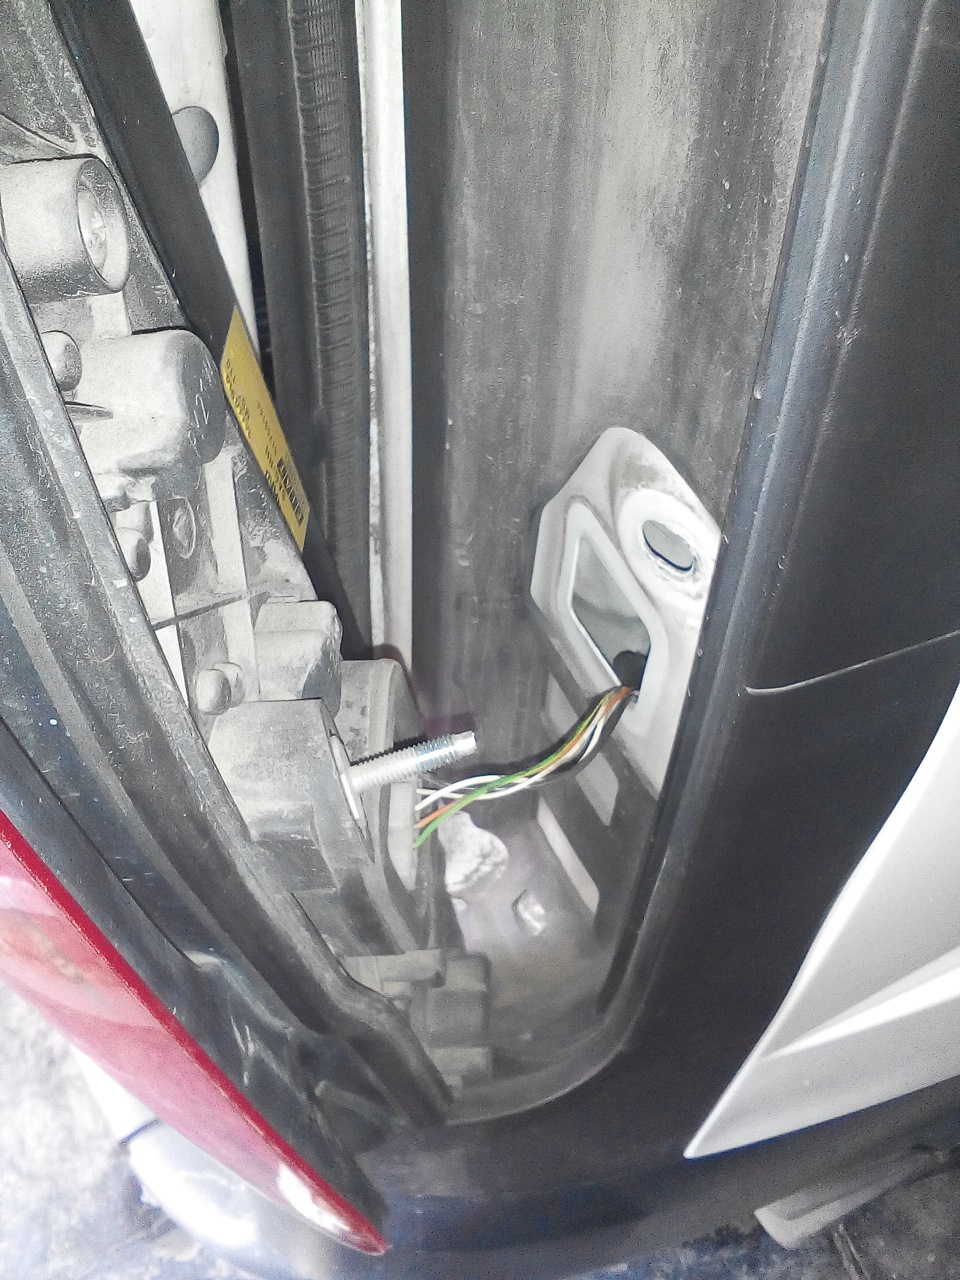
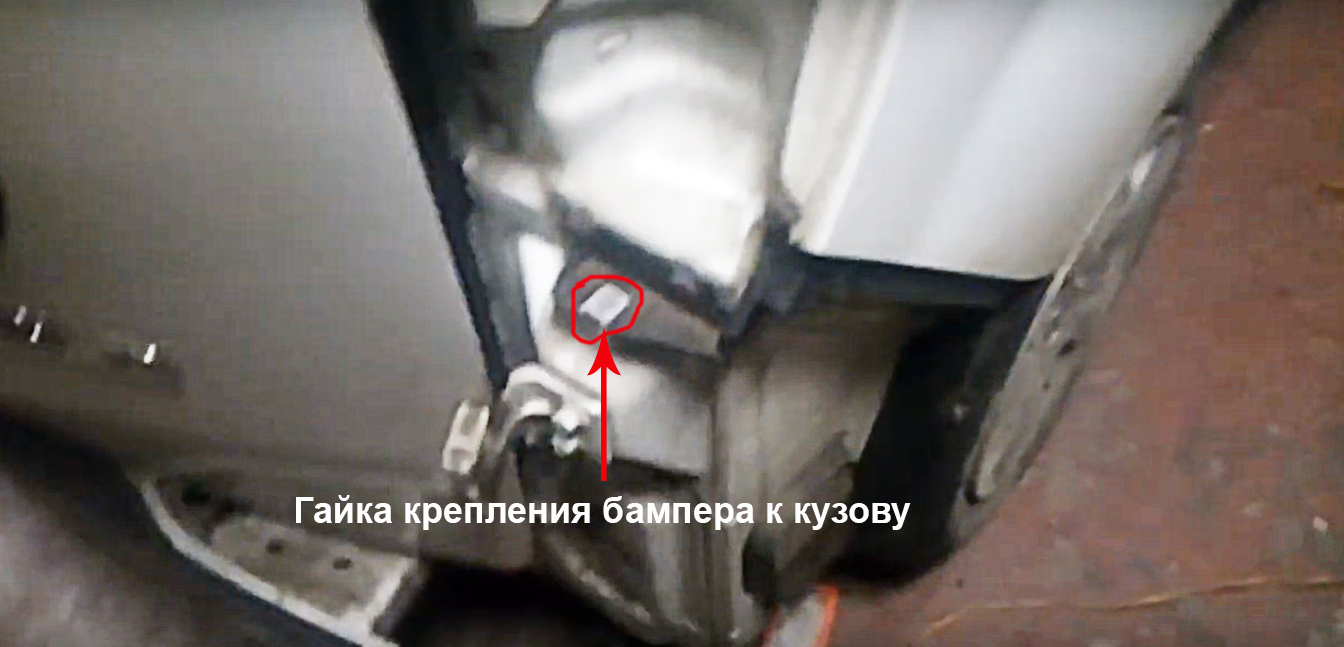
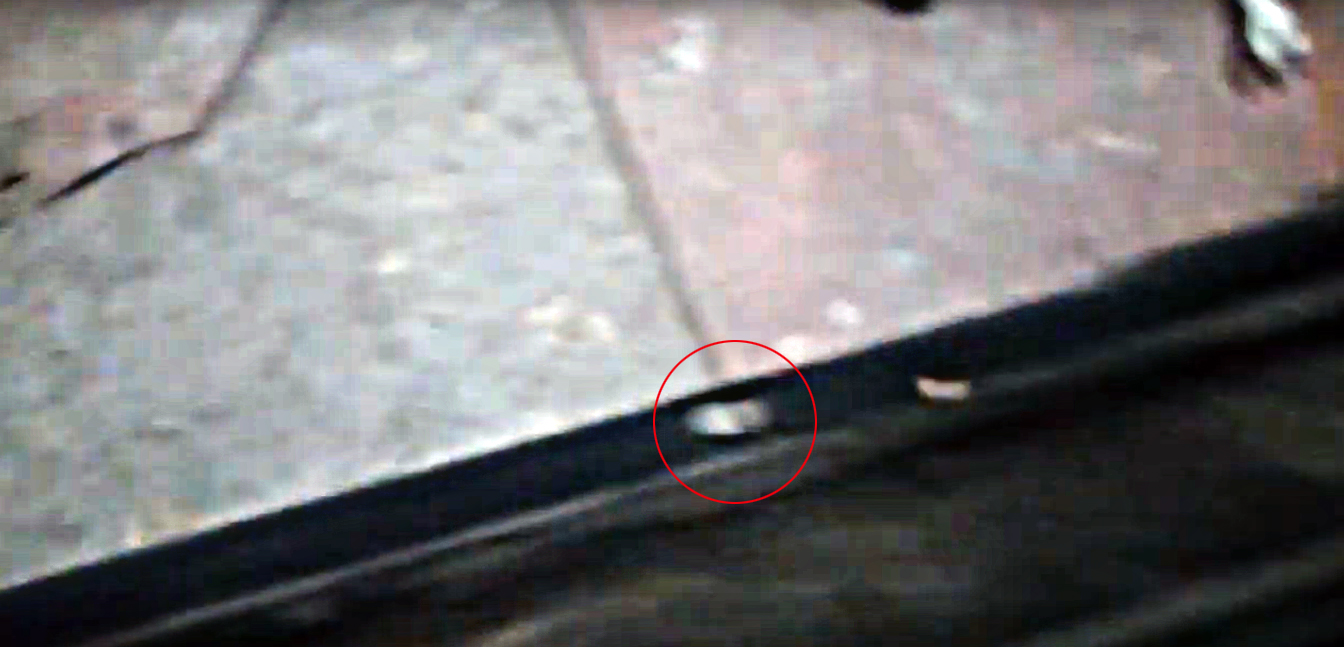
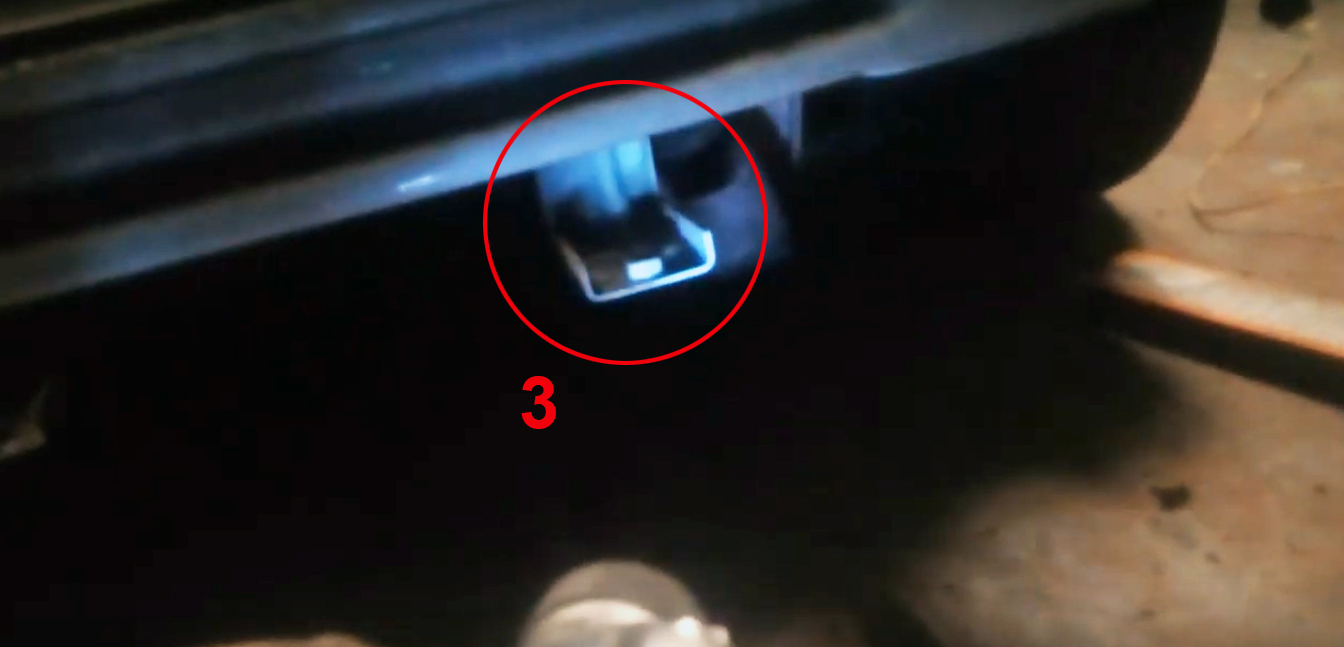
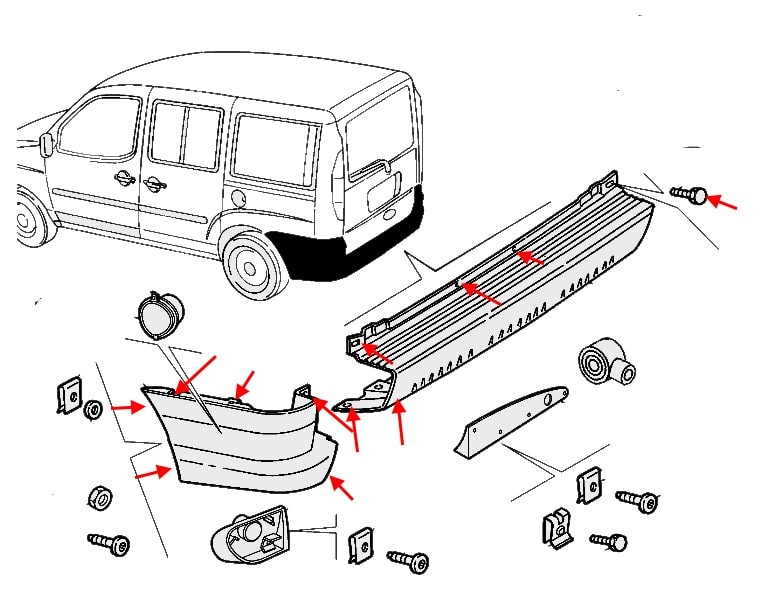
5. We unscrew the bolts of the bumper to the body near the stoplights.

We unscrew the bolts securing the bumper to the body near the stoplights Fiat Doblo

We unscrew the bolts securing the bumper to the body near the stop lights 2 Fiat Doblo

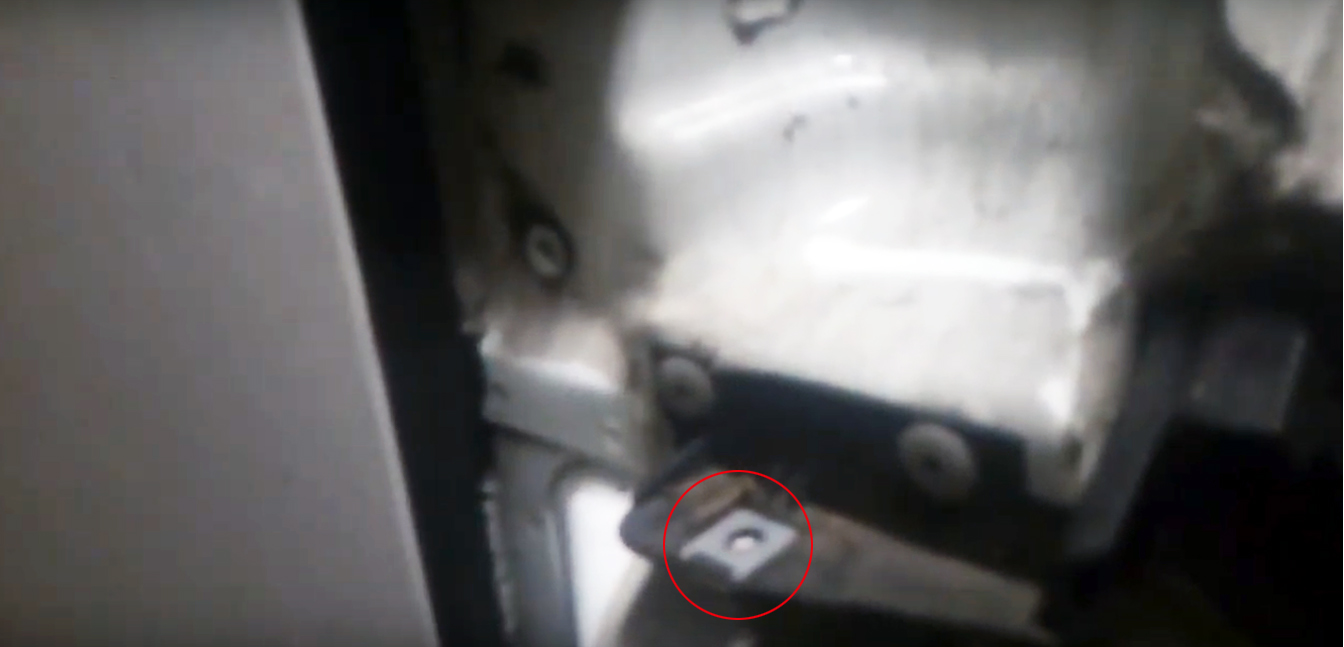
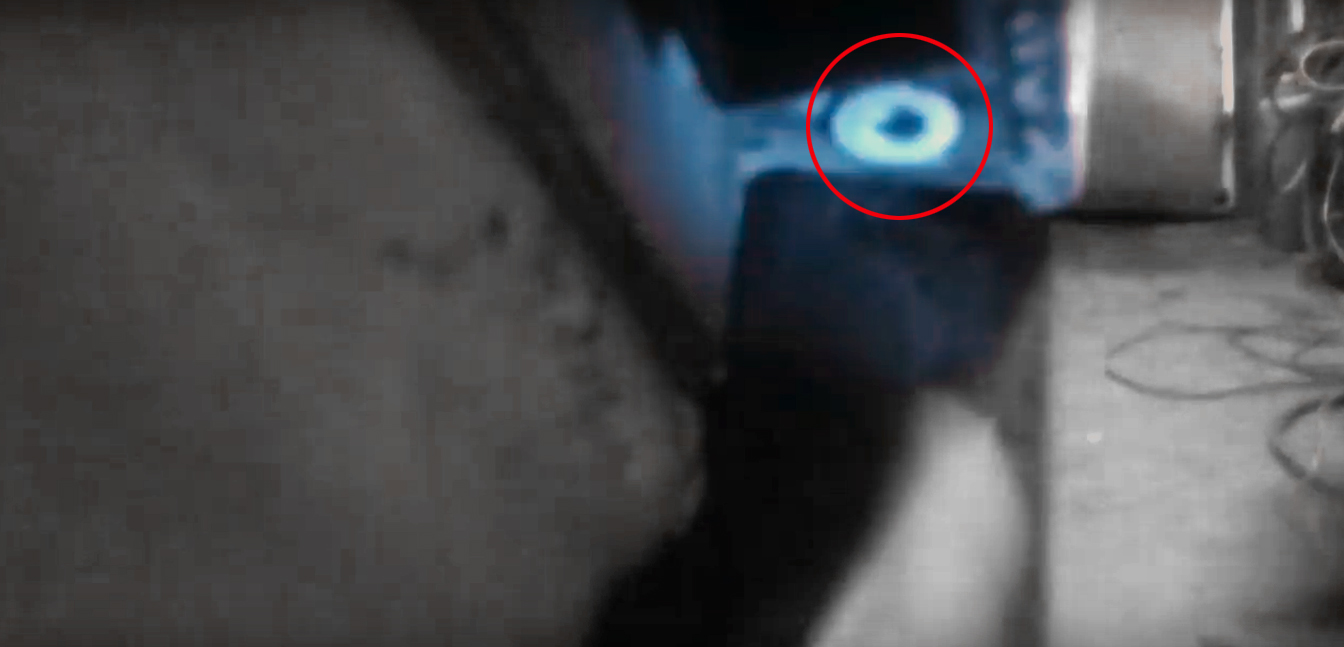
6. In the trunk opening, unscrew the screws that secure the upper part of the bumper.

In the trunk opening, unscrew the screws that secure the upper part of the Fiat Doblo bumper

In the opening of the trunk, we unscrew the screws that secure the upper part of the bumper 2 Fiat Doblo

In the opening of the trunk, we unscrew the screws that secure the upper part of the bumper 3 Fiat Doblo

In the opening of the trunk, we unscrew the screws that secure the upper part of the bumper 4 Fiat Doblo

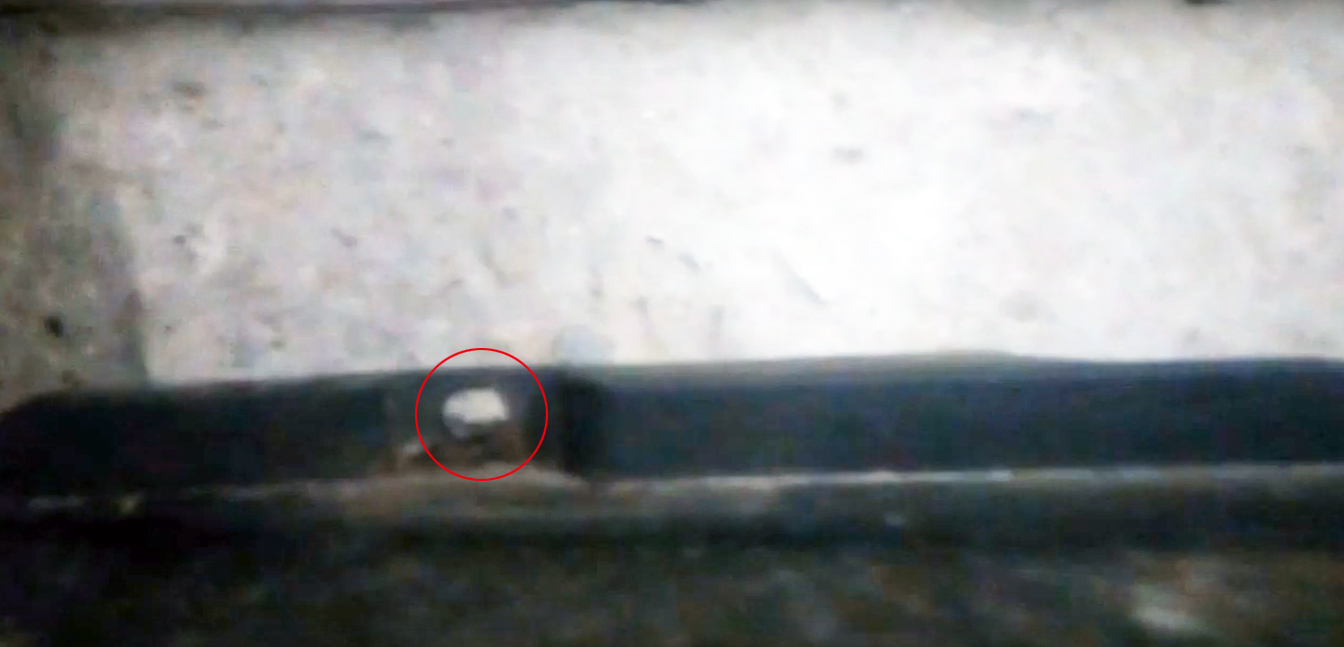
7. From the bottom, unscrew the screws that secure the lower part of the bumper.

From the bottom side, unscrew the screws that secure the lower part of the Fiat Doblo bumper

From the side of the bottom, we unscrew the screws that secure the lower part of the bumper 2 Fiat Doblo
The middle fastening of the lower part of the bumper is made under the groove
From the side of the bottom, we unscrew the screws that secure the lower part of the bumper 3 Fiat Doblo

8. Unscrew the screws in the wheel arches and release the fender liner.

From the side of the bottom, we unscrew the screws that secure the lower part of the bumper 4 Fiat Doblo

Note: it is enough to unscrew the 3 bolts holding the fender liner.

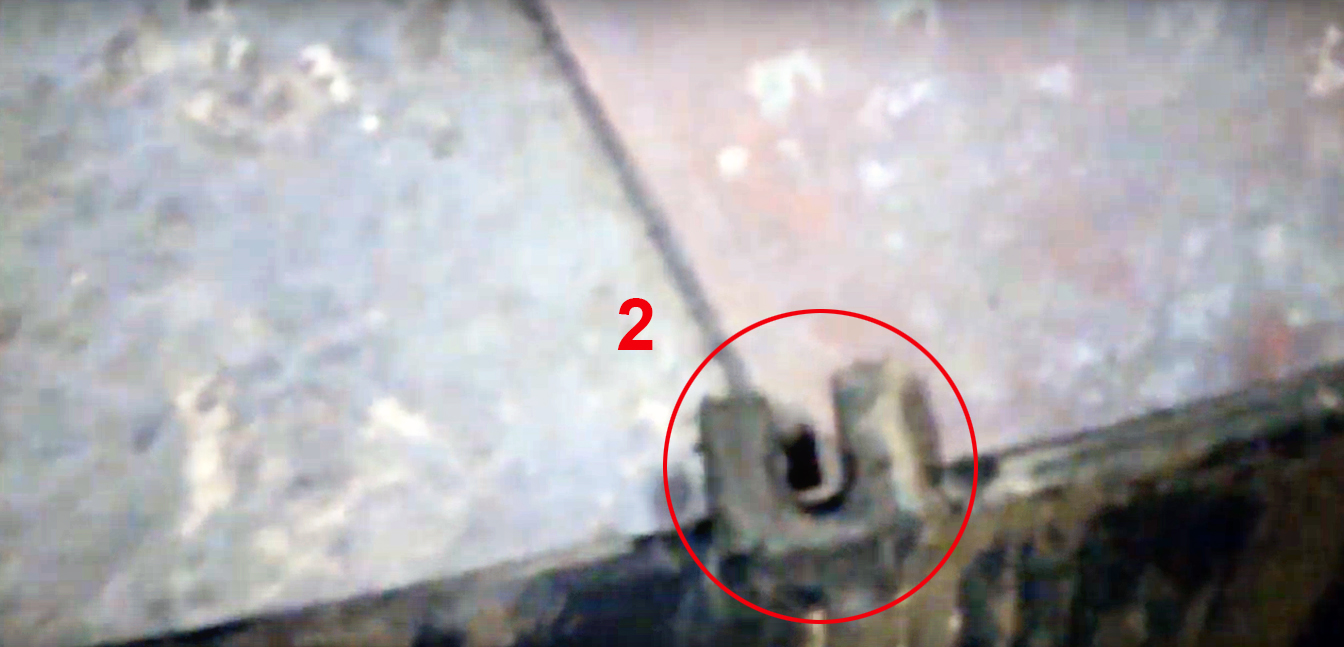
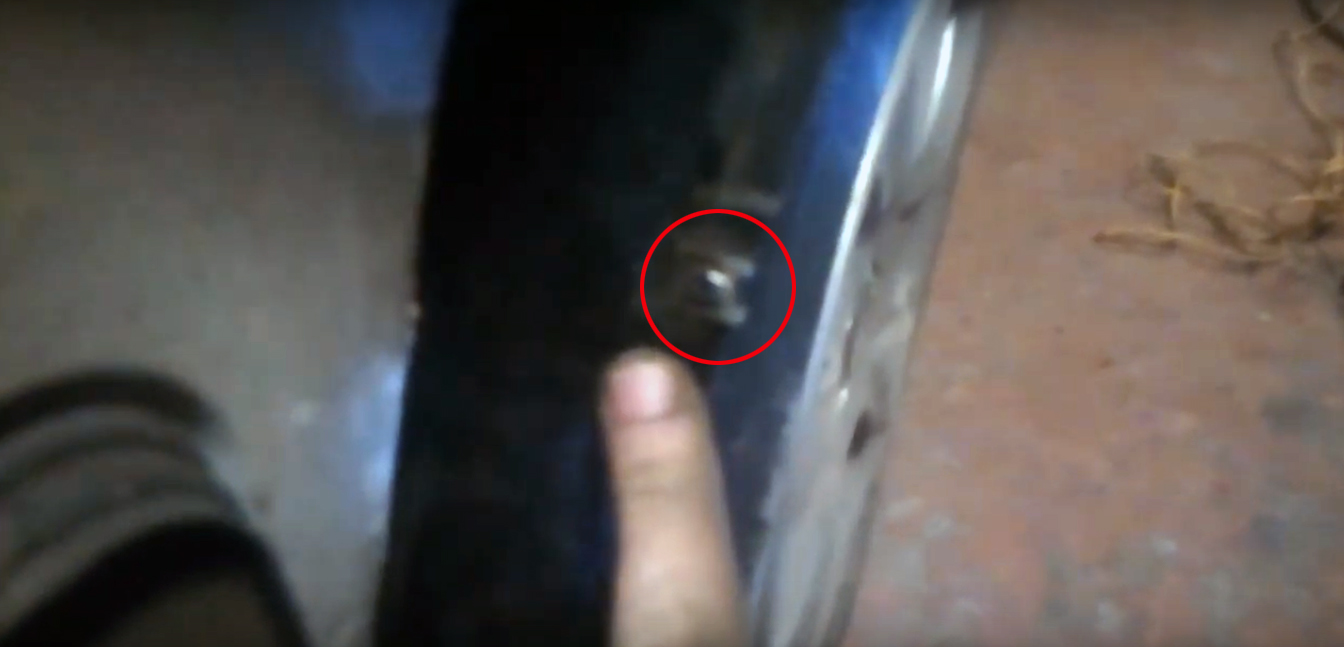
9. Behind the fender liner, we unscrew two bolts on each side - they fasten the corners of the bumper to the wings.

Behind the fender liner, we unscrew two bolts on each side - they fasten the corners of the bumper to the wings of the Fiat Doblo

10. Disconnect the upper clips securing the bumper to the body, and slightly tilt the bumper to disconnect the parking assistance system clamps, if any. Otherwise, go to the next item.

We disconnect the upper clips of the bumper to the body, and slightly tilt the bumper to disconnect the terminals of the Fiat Doblo parking assistance system
Bumper Clip
Fiat Doblo parking radar connection terminal
Parking aid connection terminal
Terminal for parking radar 2 Fiat Doblo

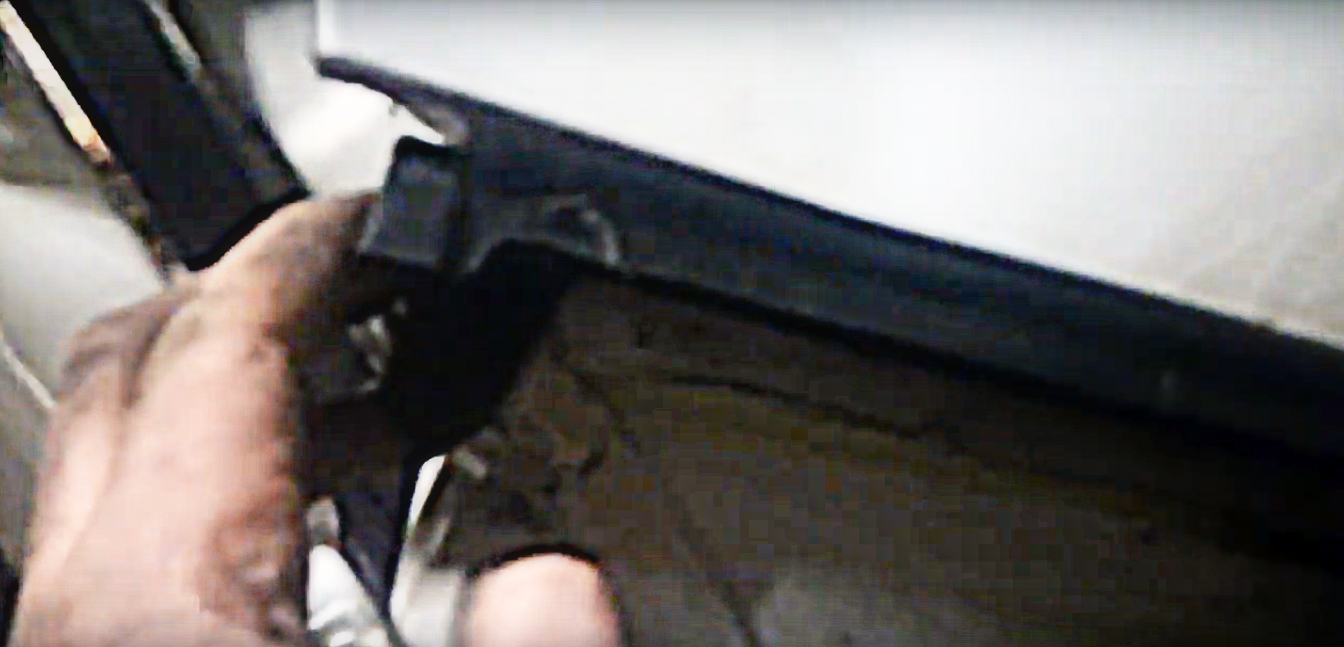
11. Gently, moving the bumper towards you, remove it from the car.

Fiat Doblo rear bumper mounting scheme

A source:

https://carpedia.club

The article is missing:

  • Repair photo
  • Video

The article lacks:

  • Фото ремонта
  • Видео
favorite 0
print
share
bookmark_border
None