![1 generation [2010 - 2015]](/uploads/Renault_Duster_2010-2015_.jpg)

We remove the radiator to check for leaks (if a leak is suspected) or to replace it if it is damaged.
We perform work on a viewing ditch or overpass.
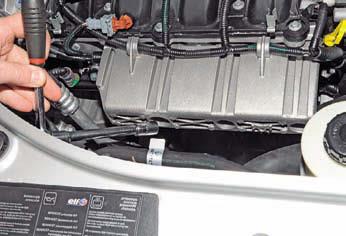
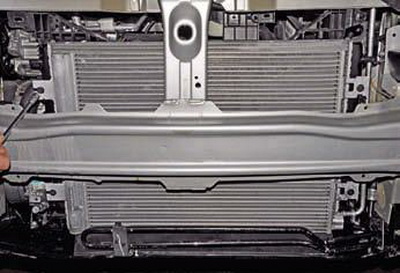
Remove the front bumper and radiator fan.
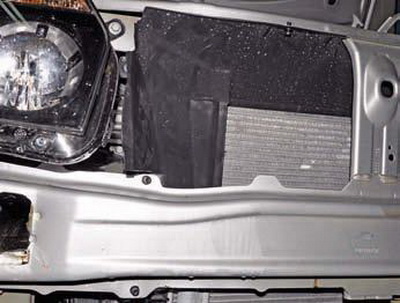
To access the radiator mounts, the plastic radiator and air conditioning condenser deflector must be removed.
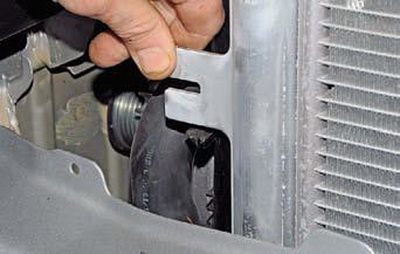
On each side of the car, the deflector is attached with three clips.
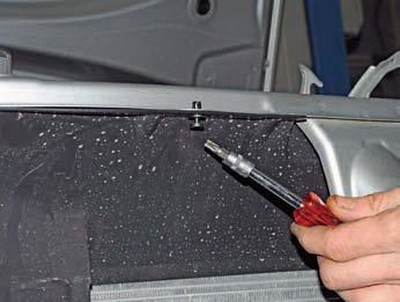
With a Torx T-30 wrench, we unscrew the retainer of the right-hand deflector fastening clip to the upper cross member of the radiator frame.
Using the same tool, we unscrew the clamps of the two caps of the right fastening of the deflector to the front bumper beam.
Similarly, we unscrew the latches of the three caps of the left-hand deflector mount.
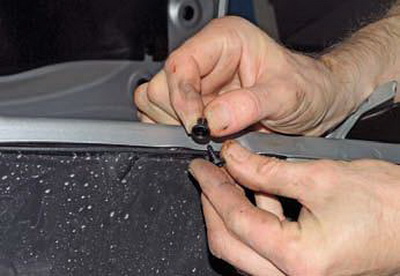
We take out the caps with clamps ...
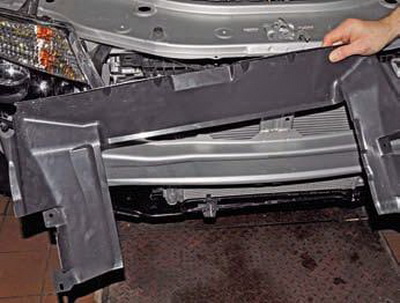
... and remove the radiator and condenser deflector.
We substitute a container for draining the coolant under the lower radiator pipe.
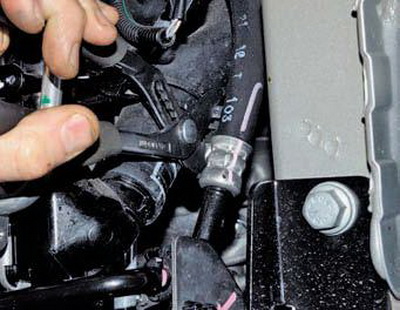
Using sliding pliers, we compress the ends of the clamp for fastening the radiator outlet hose and slide the clamp along the hose.
At the factory, the hoses are installed on the radiator pipes with sealant.
Therefore, if it is difficult to remove the hose from the radiator pipe ...
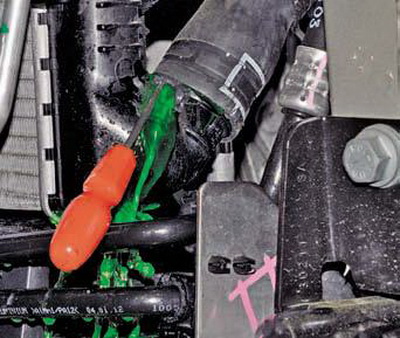
... carefully (so as not to damage the hose) we insert a slotted screwdriver into the gap between the pipe and the hose.
Moving the screwdriver around the circumference of the pipe, pry the hose ...

... and remove it from the lower radiator pipe, draining the coolant into a substituted container.

Using sliding pliers, we compress the ends of the clamp for attaching the radiator inlet hose and slide the clamp along the hose.
Remove the radiator inlet hose from the upper radiator hose.
If it was not possible to disconnect the hose from the nozzle (because the nozzle is in a hard-to-reach place), then you can disconnect the upper end of the hose from the nozzle of the thermostat cover.
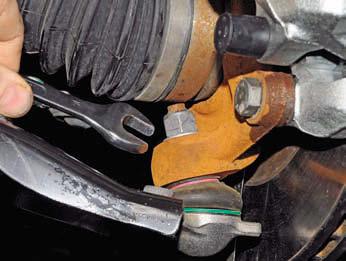
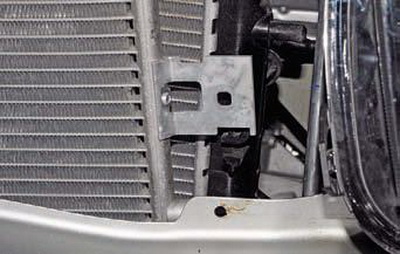
Using the “8” head, we unscrew the four screws securing the air conditioning condenser to the radiator.
Without disconnecting the refrigerant inlet and outlet pipes from the condenser, we raise it ...
... removing the bracket of its right upper mount from the holder on the radiator.
Similarly, we remove the bracket for the upper left mount of the capacitor from the holder on the radiator.
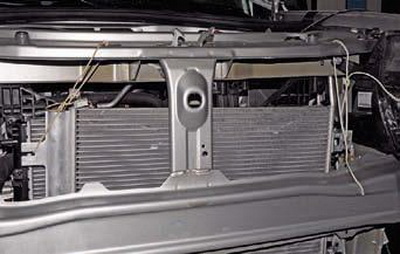
We tie the capacitor to the upper cross member of the radiator frame.
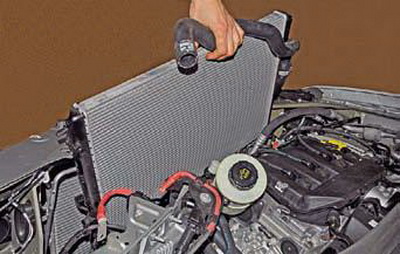
We take out the radiator from the engine compartment.
We check the tightness of the radiator in a bath of water.
Having plugged the radiator pipes with wooden plugs, we supply compressed air to it through one of the plugs at a pressure of about 1 bar (1 kgf / cm2) and lower the radiator into a bath of water for at least 30 s.
In this case, the appearance of air bubbles should not be observed.
We replace the leaky radiator with a new one.
Install the radiator in reverse order.
Pour coolant into the cooling system and bring the fluid level in the reservoir to normal.
Source: http://www.renault-duster.dv13.ru/sistema-oxlazhdeniya/snyatie-radiatora/