![1 generation [2011 - 2017]](/uploads/Lada_Granta_2011_-_2015.jpg)

Tool:
- Open end wrench 10 mm
- Straight ring wrench 21 mm (for 8-valve engines)
- Ratchet wrench (for 16-valve engines)
- Extension (for 16-valve engines)
- 21 mm socket (for 16-valve engines)
- Manometer with adapter
Parts and consumables:
- Low Oil Pressure Sensor
Note:
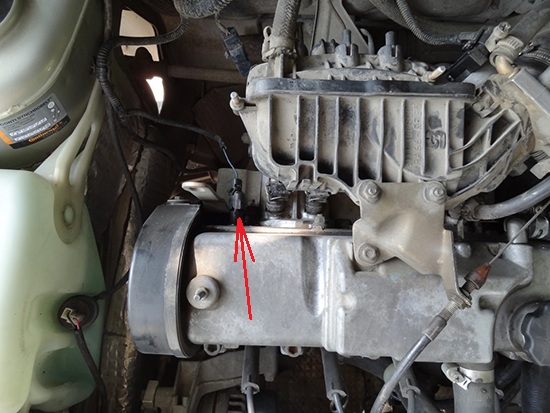
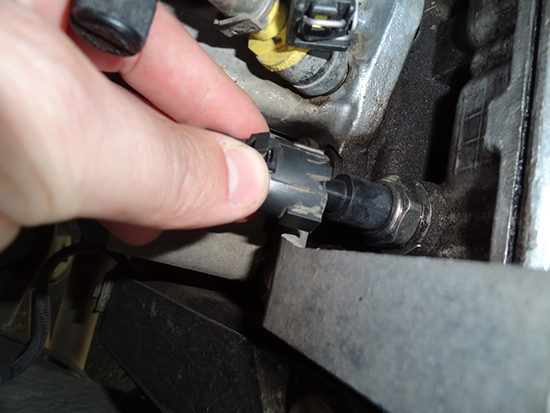
In 8-valve engines, the low oil pressure indicator sensor is screwed into a threaded hole in the rear wall of the cylinder head, next to the eye of the power unit.
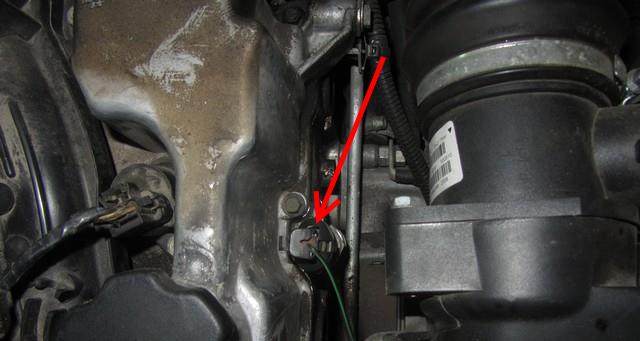
In 16-valve engines, the sensor is installed on the right side, and is located directly on the cylinder head.
The further description is illustrated by the example of 8-valve motors. In 16-valve versions, all operations are similar.
1. Disconnect a wire from the minus plug of the storage battery.
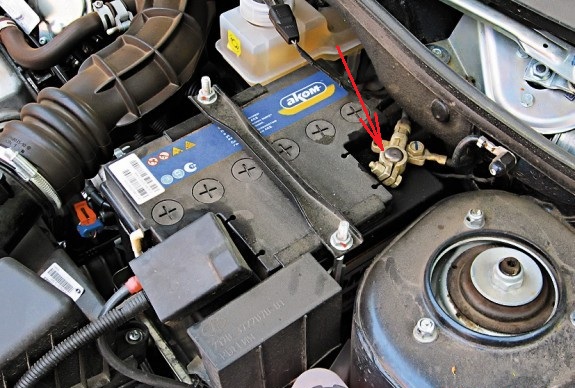
2. Squeezing the latches of the wire block, disconnect the block from the sensor connector.
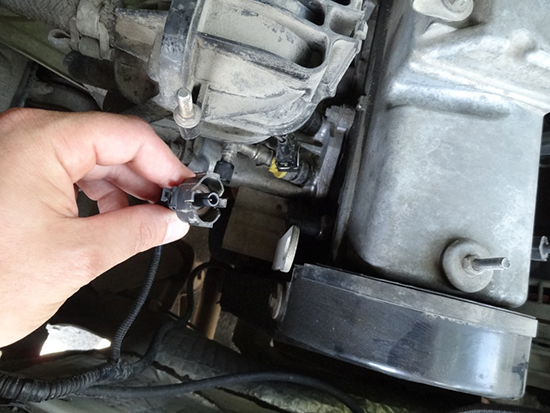
3. Using a 21 mm ring wrench (for 16-valve models - a ratchet wrench with an extension and a head), unscrew the sensor from the threaded hole in the cylinder head.
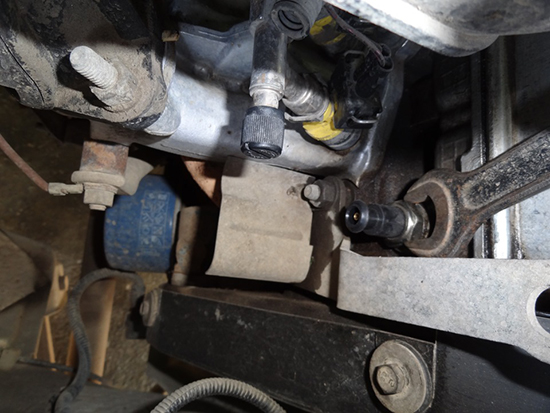
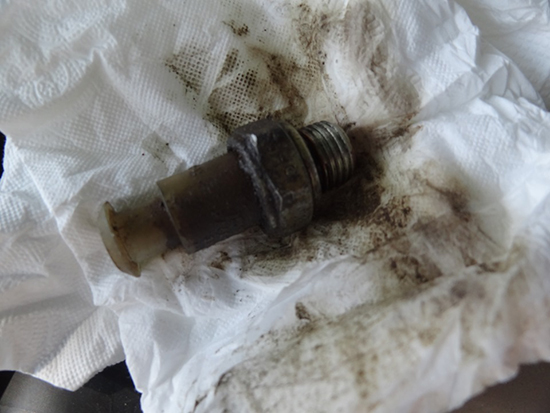
4. Remove the sensor from the seat.
Note:
The connection between the sensor and the cylinder head is sealed with a soft metal ring.
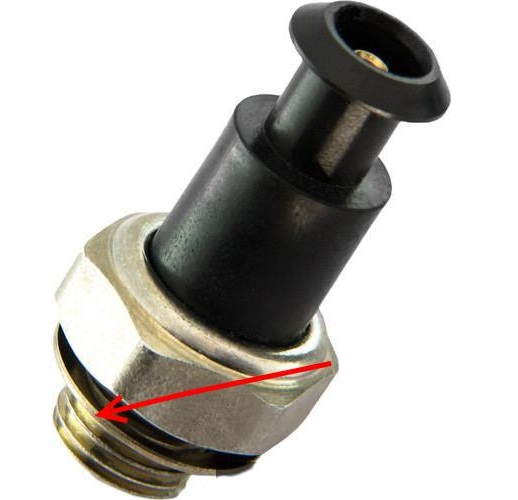
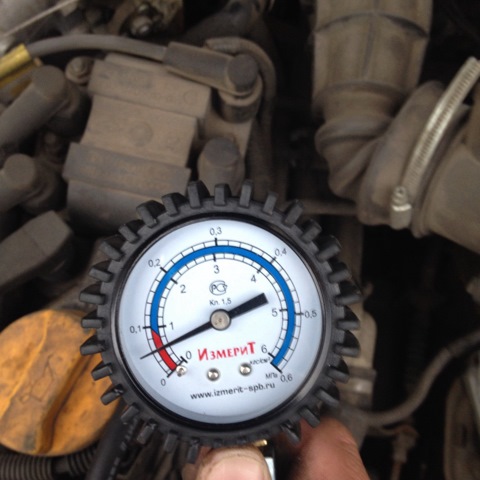
5. To check the pressure in the engine oil line, screw an adapter into the threaded hole (M14 × 1.5 thread) of the cylinder head, to which connect the pressure gauge.
Note:
The pressure of the oil warmed up to the operating temperature of the engine, when it is idling, must be at least 0.5 bar.
6. Install the low oil pressure sensor in reverse order.
The article is missing:
- Tool photo
Source: carpedia.club