![T31 [2007 - 2011]](/uploads/-_2009.jpg)


Note:
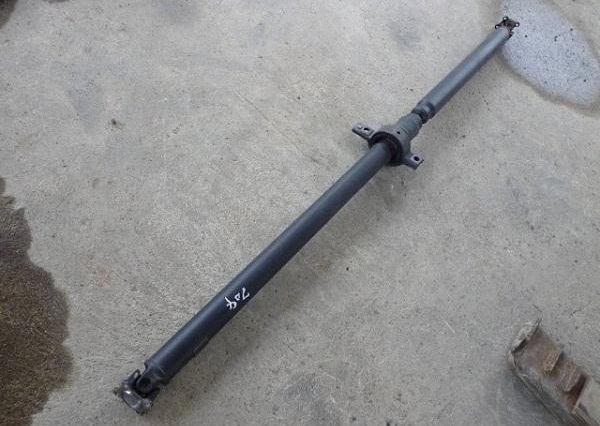
The need to replace the Nissan X-Trail driveshaft is determined by checking its technical condition.
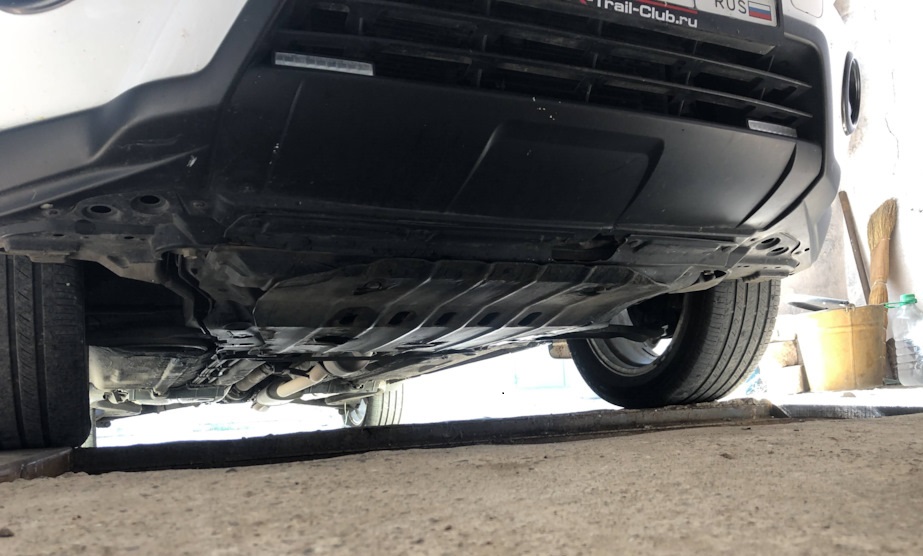
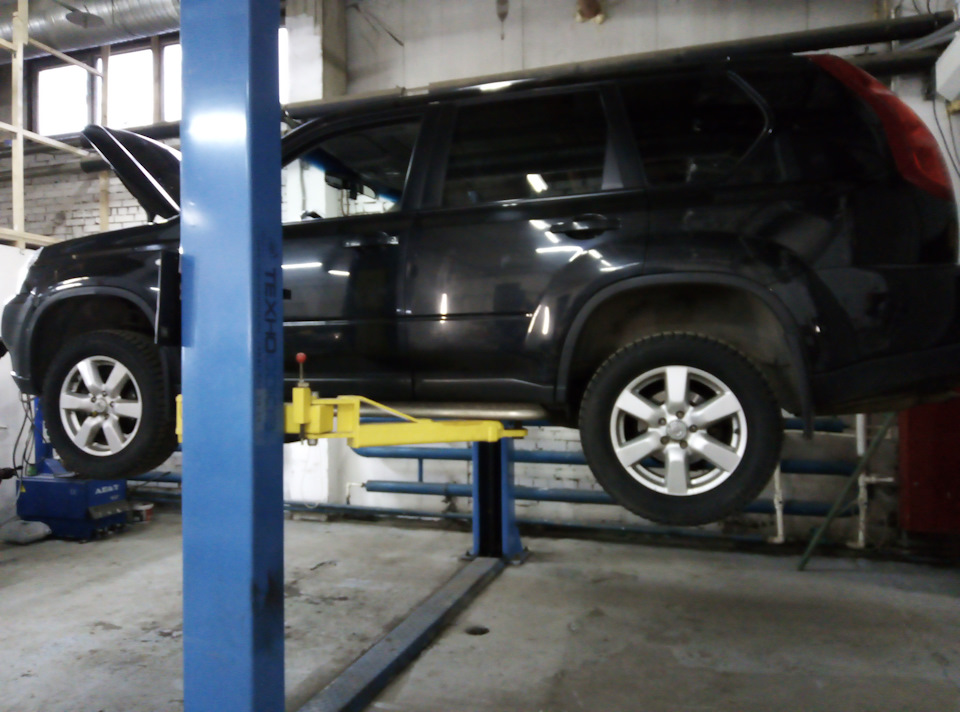
It is more convenient to perform work with an assistant on a lift or in a viewing ditch.
Nissan X-Trail Driveshaft Replacement
1. Place the vehicle on a lift or pit.
2. When reinstalling the propeller shaft on the Nissan X-Trail, mark with a marker or paint the relative position of its front flange relative to the transfer case flange. Also mark the relative position of the rear shaft flange and the rear gearbox flange.
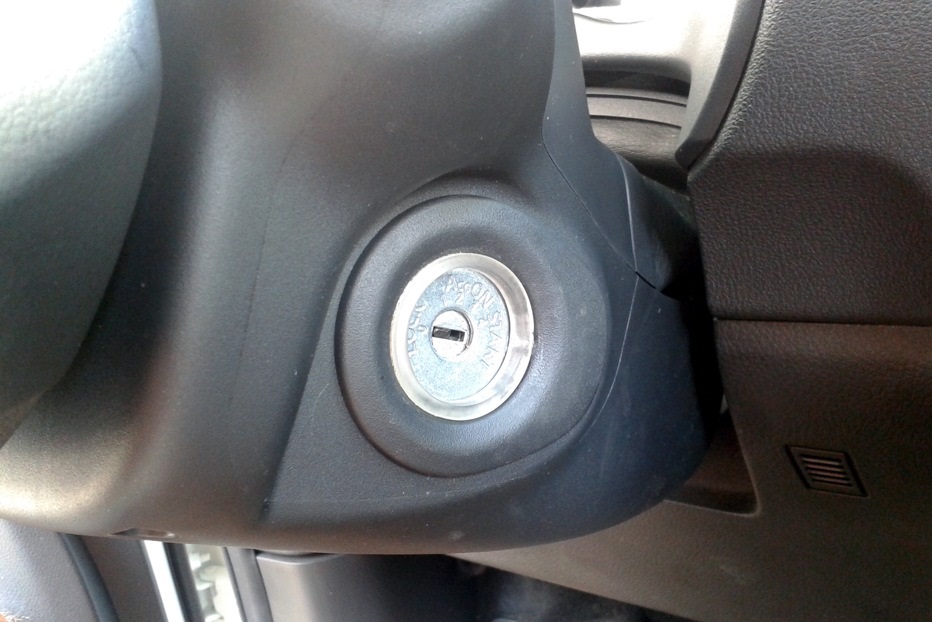
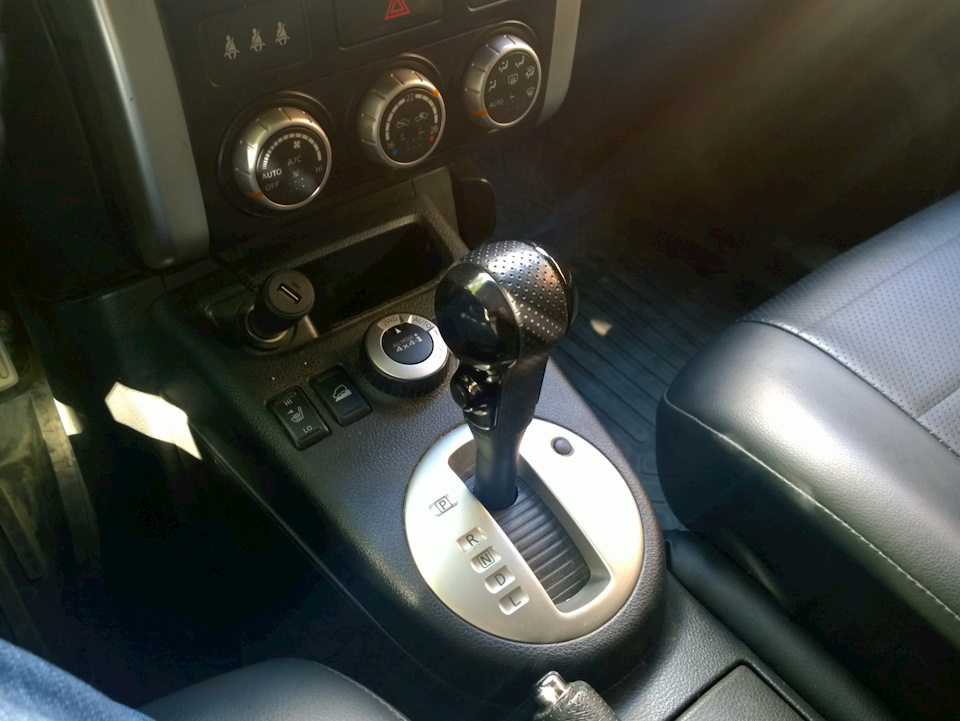
3. On a vehicle with automatic transmission, move the gear selector to position N. On a car with a manual transmission, put it in neutral.
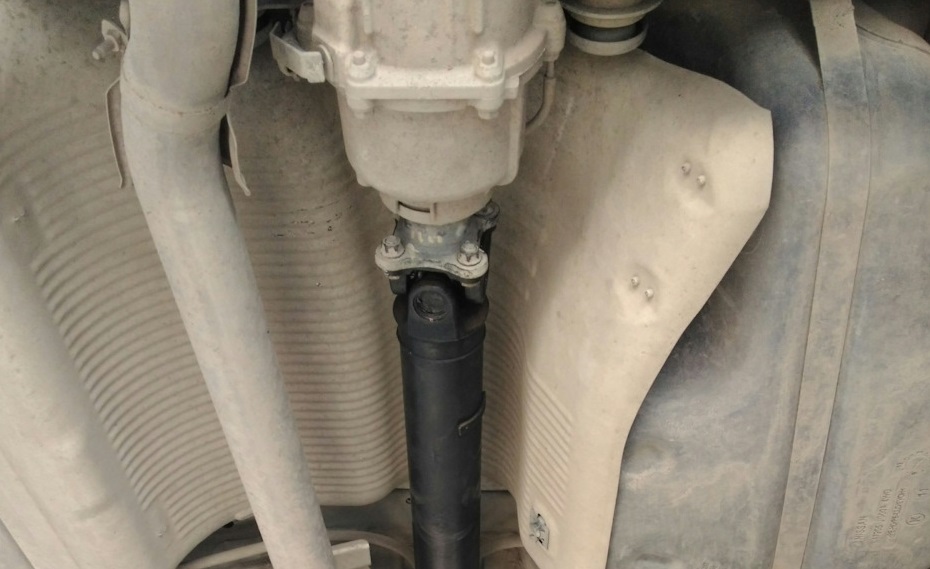
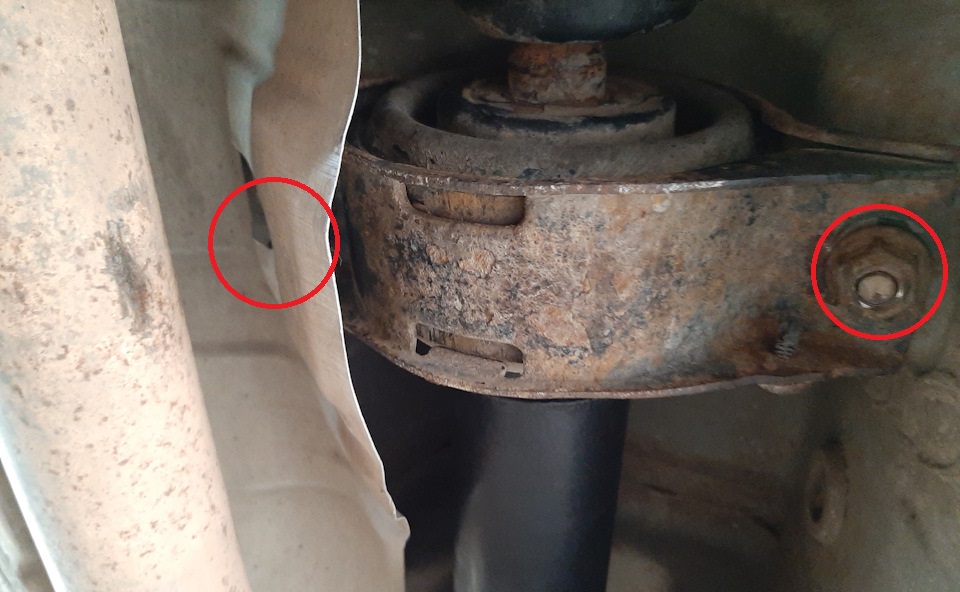
4. Using a Torx T50 wrench or a 14 mm box wrench, remove the 4 bolts securing the front flange of the Nissan X-Trail driveshaft to the transfer case flange.
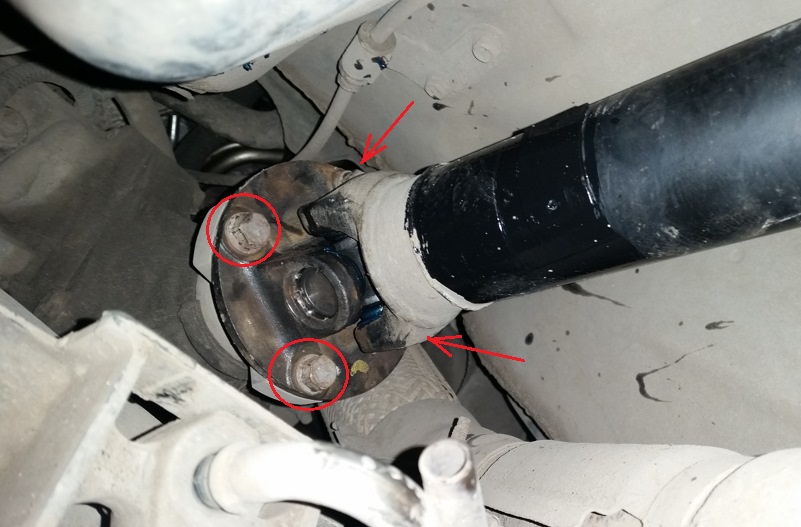
5. Pull the bolts out of the flange holes.
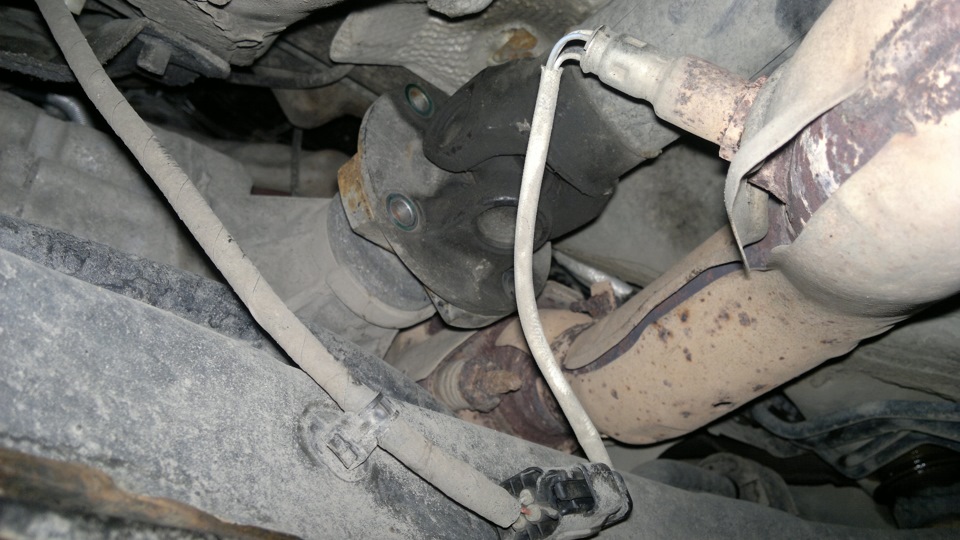
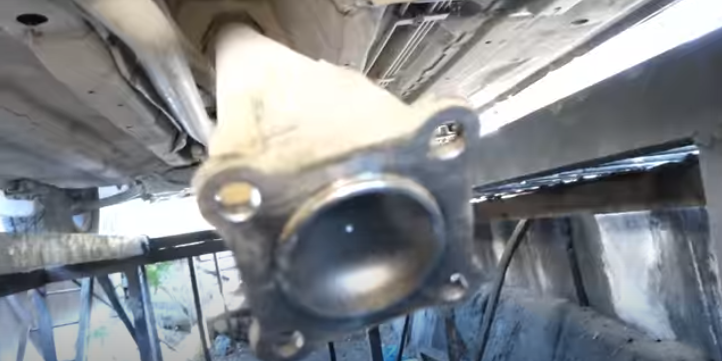
6. Using a 14 mm spanner , unscrew the nuts of the 4 bolts securing the rear shaft flange to the rear gearbox flange.
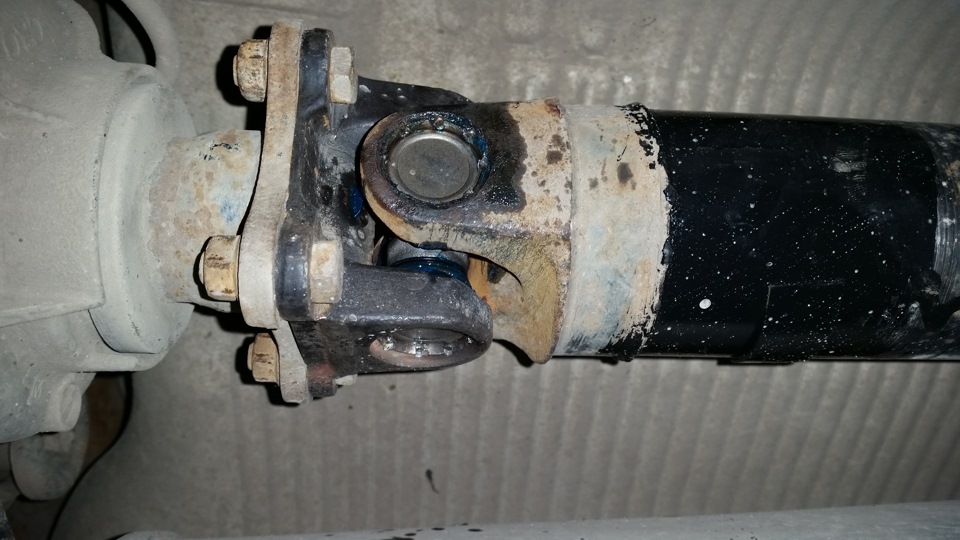
7. Pull the bolts out of the flange holes.
Warning:
Have an assistant hold the driveshaft on the Nissan X-Trail as you remove the mounting nuts to avoid injury if it falls. Or install a stand under the front propeller shaft.
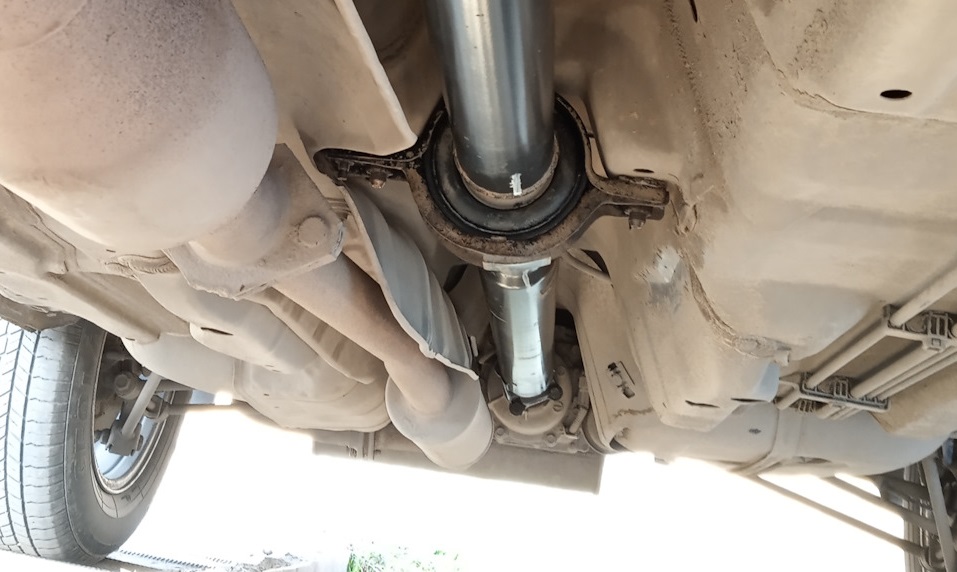
8. Remove the suspension bracket of the additional muffler.
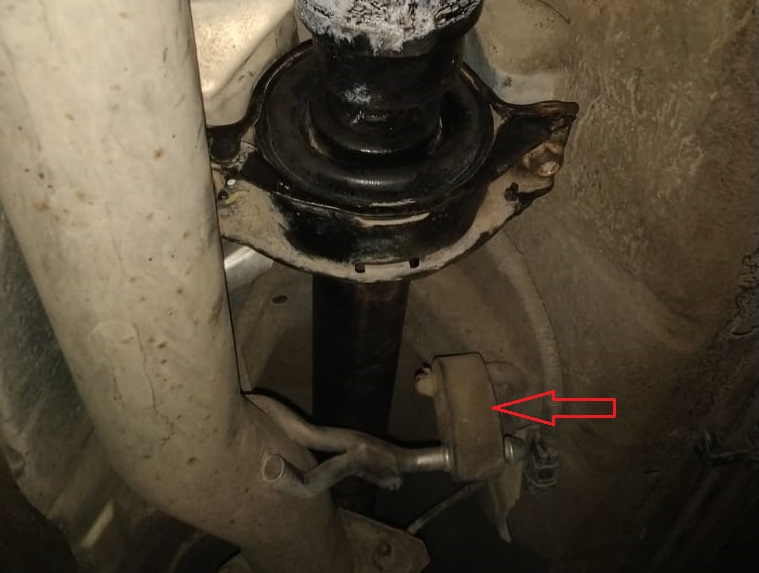
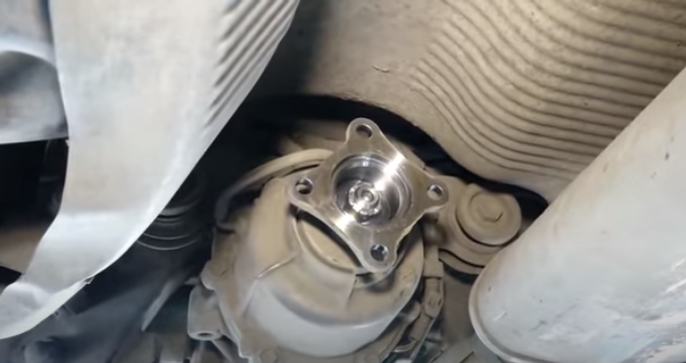
9. Using a 16 mm socket wrench, remove the 2 nuts securing the Nissan X-Trail intermediate driveshaft support.
10. Remove the intermediate support bracket.
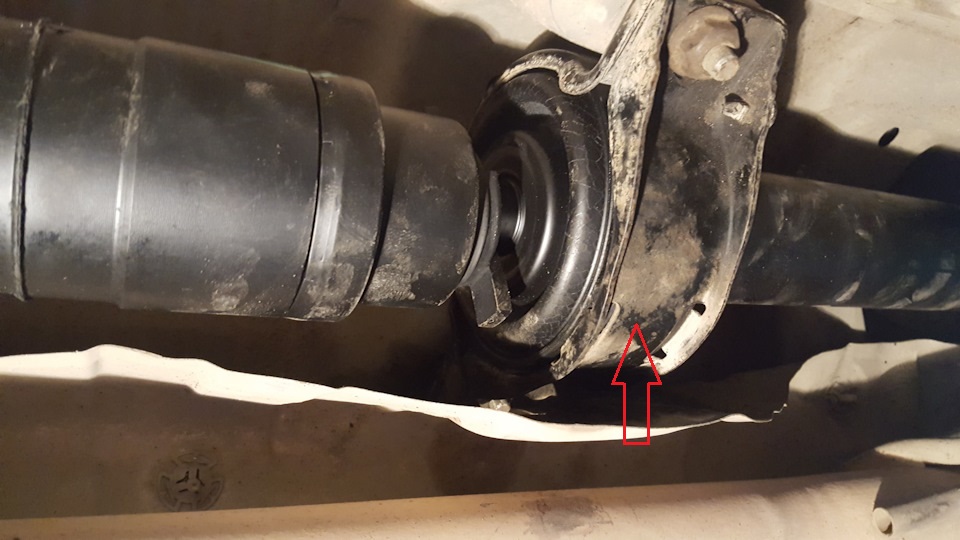
11. Lower the rear shaft down.
12. Remove the driveshaft back and down, bringing it over the pipe bracket of the additional muffler.
13. If necessary, replace the Nissan X-Trail driveshaft with a new one.
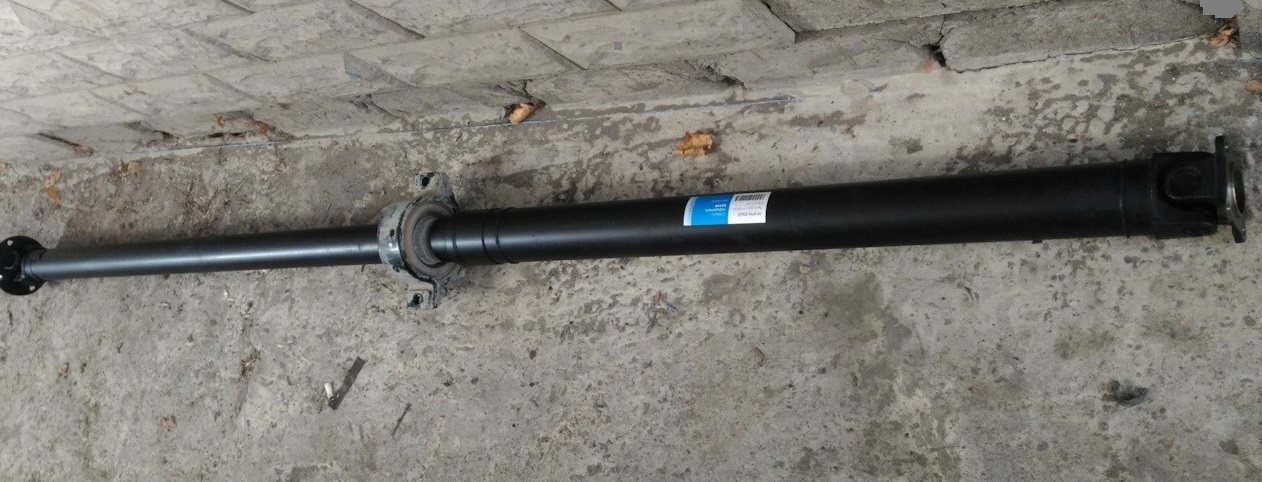
14. Combining the marks made earlier, establish a cardan shaft and all details in an order, the return to removal.
Tightening torques:
- nuts for fastening the intermediate support with a torque of 45 N•m;
- bolts for fastening the front flange with a torque of 49 N•m;
- nuts of bolts of fastening of a back flange the moment of 50 Н•м.
Source: carpedia.club