![P12 [2001 - 2008]](/uploads/Nissan_Primera_Primera_1.9_DCi_Sedan.jpg)

Symptoms are a hum that increases with increasing speed and knocks when driving over bumps. With the wheel hung out and the gear engaged, there was a rumble and noise, as if the box was falling apart, but the swaying of the wheel in a vertical plane convinced that it was still a bearing. Well, 180 thousand is probably normal. Worth changing. No pit or lift is required, all work is easily and naturally done on the ground.
An original Nissan bearing was bought for a little over 1400 (the price varies from 1100 to about 2000), which turned out to be actually SKF, this is for the future so as not to buy the original.
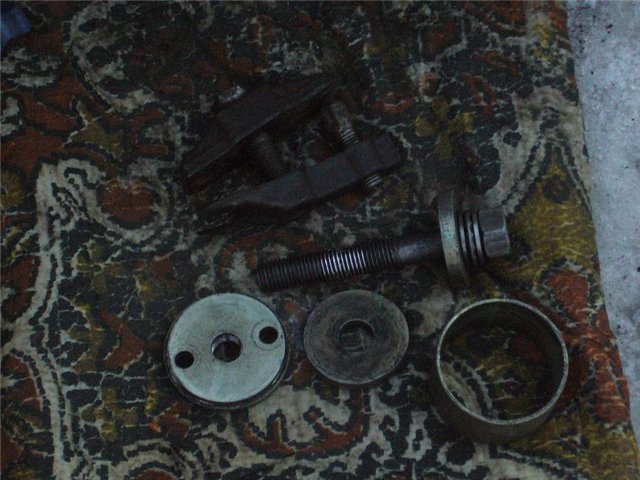
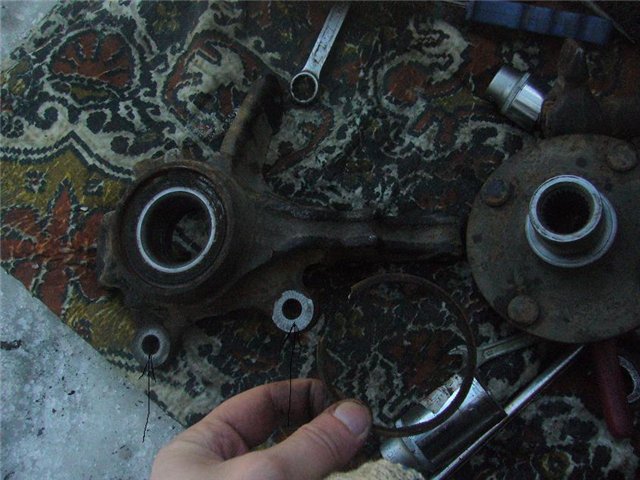
For work, we need, in addition to the usual standard tool, a head for 30 (for unscrewing the hub and using it as a mandrel, in N-15 for 32), a head for 16 or 18 (I used only 16, which I turn out the candles), a hinge puller connections and a bearing replacement kit from 2109. The latter can be replaced with a long thick bolt and pieces of pipe, the diameter of the inner and outer race of the bearing, or anything your fancy can do. They are just shown in the picture.
There are generally 2 replacement options. Those. completely independent replacement if available, than to repress, or disassembly of the assembly, repressing in the service and assembly.
First, pull off the hub nut, after removing the cotter pin. We put it on transmission. We ask the assistant to press the brake, and we ourselves turn away. If there is no one to help, you can put a piece of wood as a brake stop. Without, approximately, such a piece of pipe, you can not even try to do it.
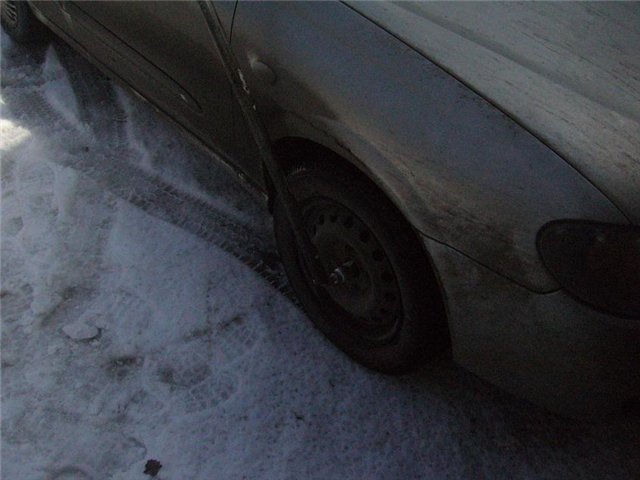
The moment is healthy. Turn counterclockwise (on both wheels). Better with sharp jerks than just pulling.
Then we raise the desired side, securely fix it so that it does not fall and remove the wheel. The next job is to remove the caliper and brake disc. Do not forget to hang the caliper securely so that it does not interfere with the replacement process and does not hang on the hose.
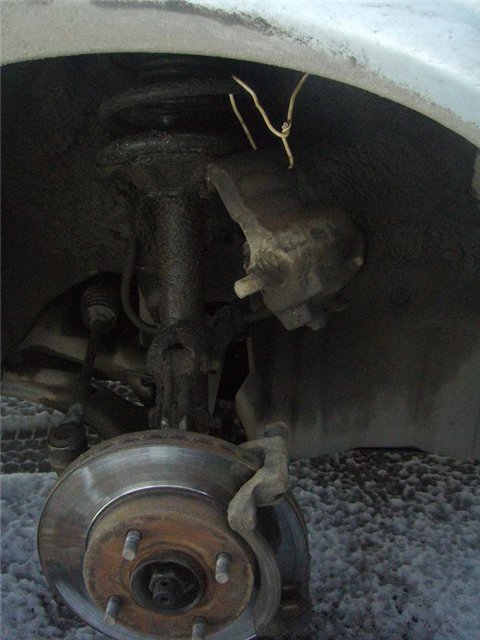
This is not good. If you have never changed the brake disc yourself, then I think you should not meddle yourself to change the bearing. I will add that it is better to mark the relative position of the TD and the hub, for example, by slightly pointing them.
After removing the TD, be sure to clean it of dirt and then pour plenty of water into the attachment points of the ball and rack.
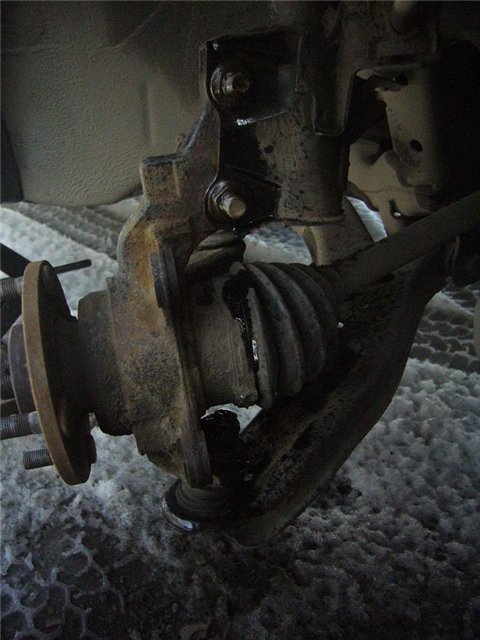
And a steering knuckle.
In general, accustom yourself to pre-spill all such connections with a VDshkoy and thoroughly clean the threads. Next, we take out the cotter pins that fix the nuts of the ball and steering tip, and tear off their nuts from their place. The steering knuckle nut can be unscrewed completely. We also unscrew the rack mount, but do not remove the bolts yet. Here was a little problem. The nut turned out to be 18. And the bolt itself was 16. I didn’t have a head for 18, I had to use a candle head and an assistant with pliers. Next, press out the steering tip with a puller, and remove it to the side. We take out the drive from the hub and hang it. He shouldn't talk either. Well, the ball is right in front of us.
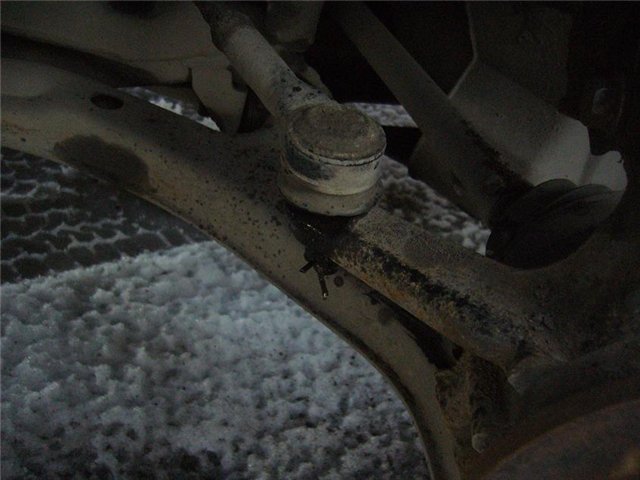
You can already unscrew the nut completely. Now it is convenient to press the ball joint with a suitable puller. After that, the steering knuckle is in our hands. Actually, half of the work has already been done, now the most jewelry and labor-intensive part remains. Remove the retaining ring from the outside. It's there on the outside. Next, ideally, you need a vice. My assistant played the role of a vice, holding the steering knuckle, resting it on something hard and motionless, with the ears of the brake caliper (shown by arrows in the photo).
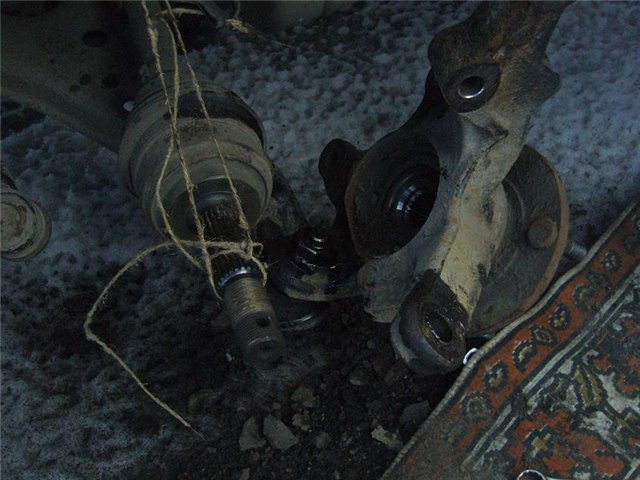
We take the head at 30 and using it as a mandrel, with strong blows, we knock out the hub. It fit me perfectly. The inner ring of the bearing remained in place. If it remains on the hub, then you will have to remove it with a suitable two-legged puller. Next, we take a suitable washer from the set (as an option, a larger head, offhand the size that comes after 32 will be just right), and knock out the bearing itself in the same way. Thoroughly clean everything inside from oxides and dirt. We bait the bearing so that it enters exactly by hand, and we construct such a structure.
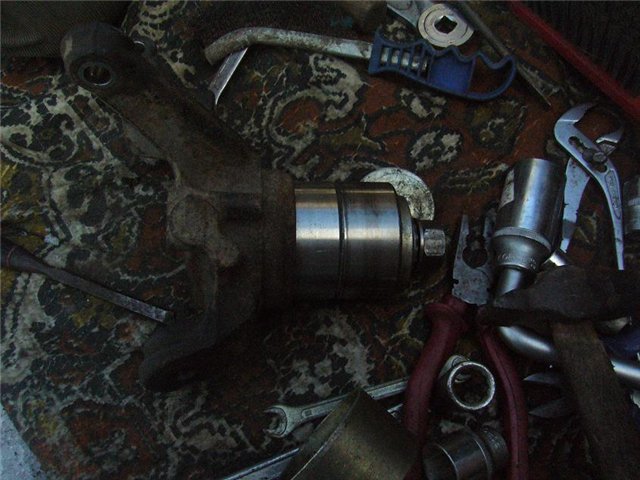
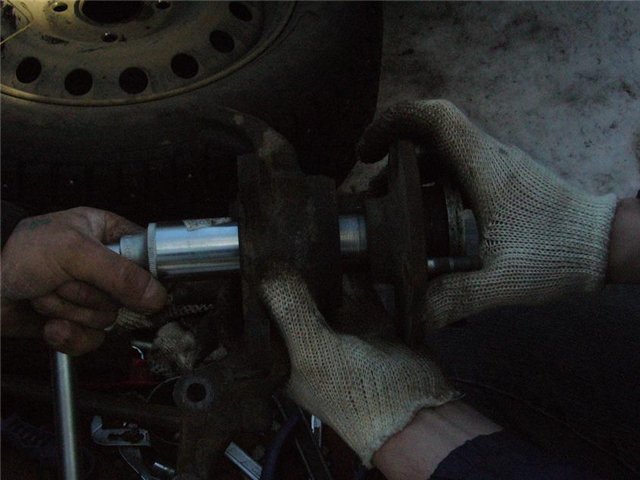
An old bearing is ideal as a pressure mandrel. We press it to the very stop. Naturally, there can no longer be any talk of any hammer here. Now we press the hub. The principle is an emphasis on the inner ring of the bearing (a suitable washer, a piece of pipe, a head at 30) and an emphasis on the outside of the hub. And it all pulls together.
Don't forget to install the retaining ring. Everything. You can collect disassembled.
Working time is just over 3 hours. There is no need to do any gatherings and collapses, although it would hardly be superfluous.
Source: http://www.faqnissan.ru/faq/006/10655.html