Tools:
- balloon wrench
- Emphasis (shoe) recoil
- Support legs
- screw jack
- L-shaped socket wrench 14 mm
- L-shaped socket wrench 17 mm
- Large flat screwdriver
- Pliers
- Knife
Parts and consumables:
- Shock absorber cup (if required) (55330-2S000)
- Shock absorber bumper (if necessary) (55348-3K600)
- Shock absorber boot (if necessary) (55316-2G700)
- Boot from the car VAZ-2108 (2108-2915681)
Note:
This article describes how to replace the rear shock absorber boot on a Hyundai ix35.
Due to its "special" suspension on the Hyundai ix35, at low speeds, a slight knock from the rear axle may appear (even if the suspension is in perfect condition). The problem lies in the standard anthers, they must either be replaced or modified as described below.
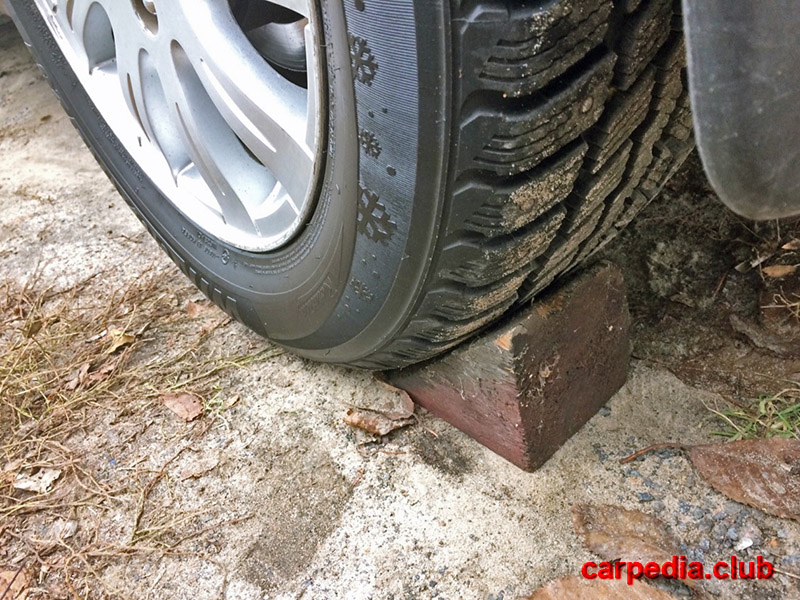
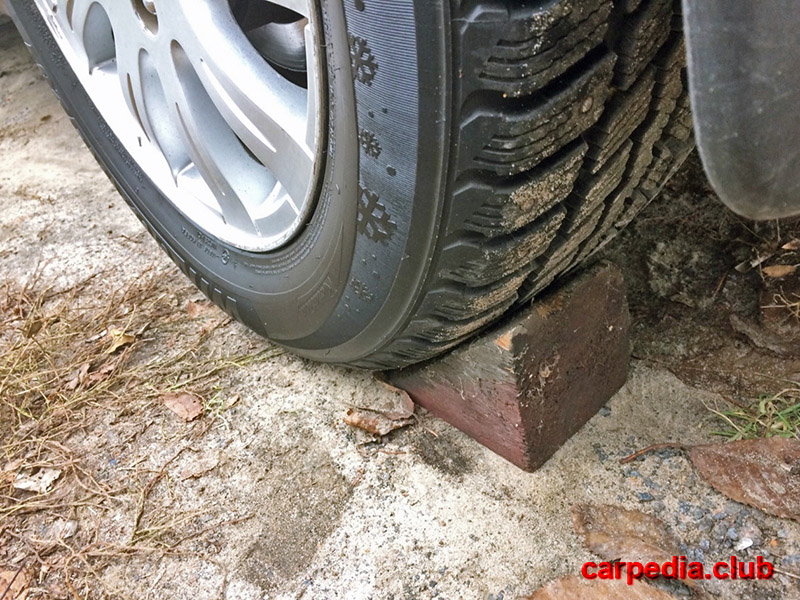
1. Engage 1st gear (transfer the automatic transmission selector to the “P” position) and install the chocks “boots” under the front wheels.
2. Loosen the wheel nuts, jack up the rear of the vehicle, securely support the vehicle and remove the wheel.
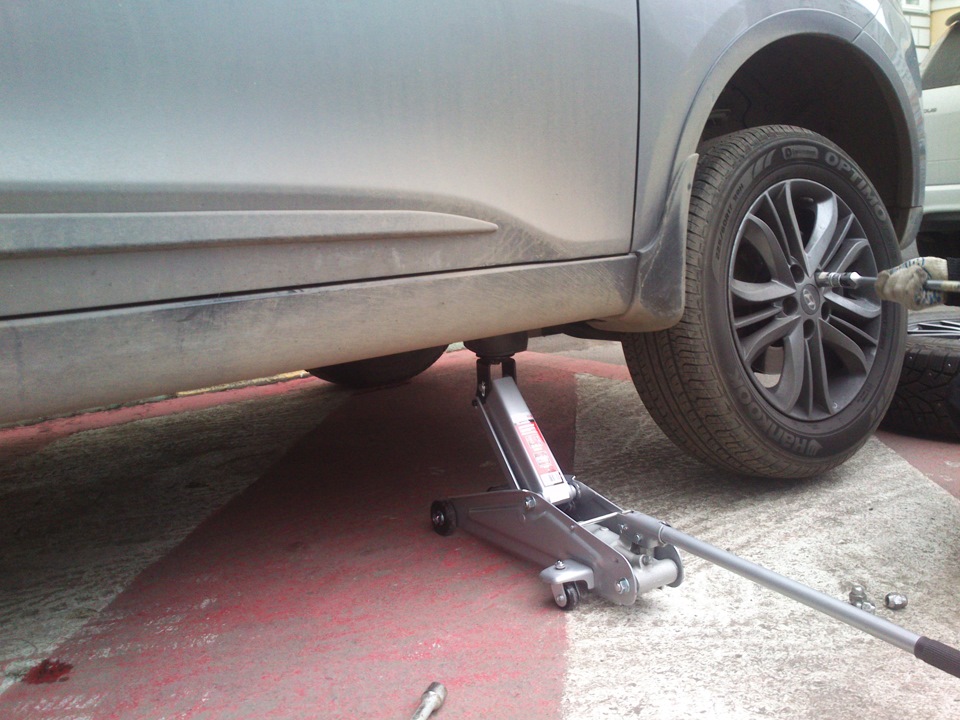
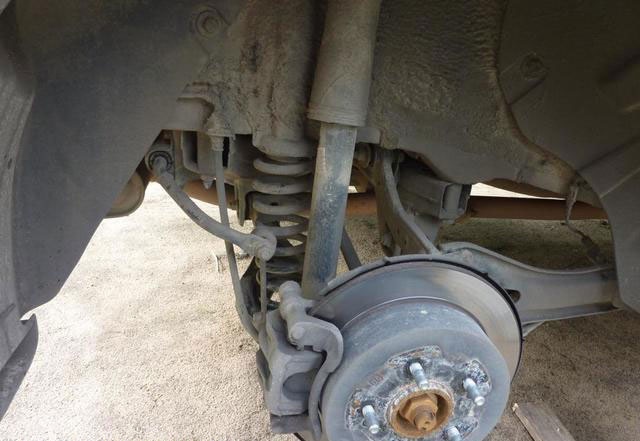
WARNING:
Loosen and tighten the wheel nuts only with the vehicle on the ground.
3. Turn off two top bolts of fastening of a back shock-absorber.
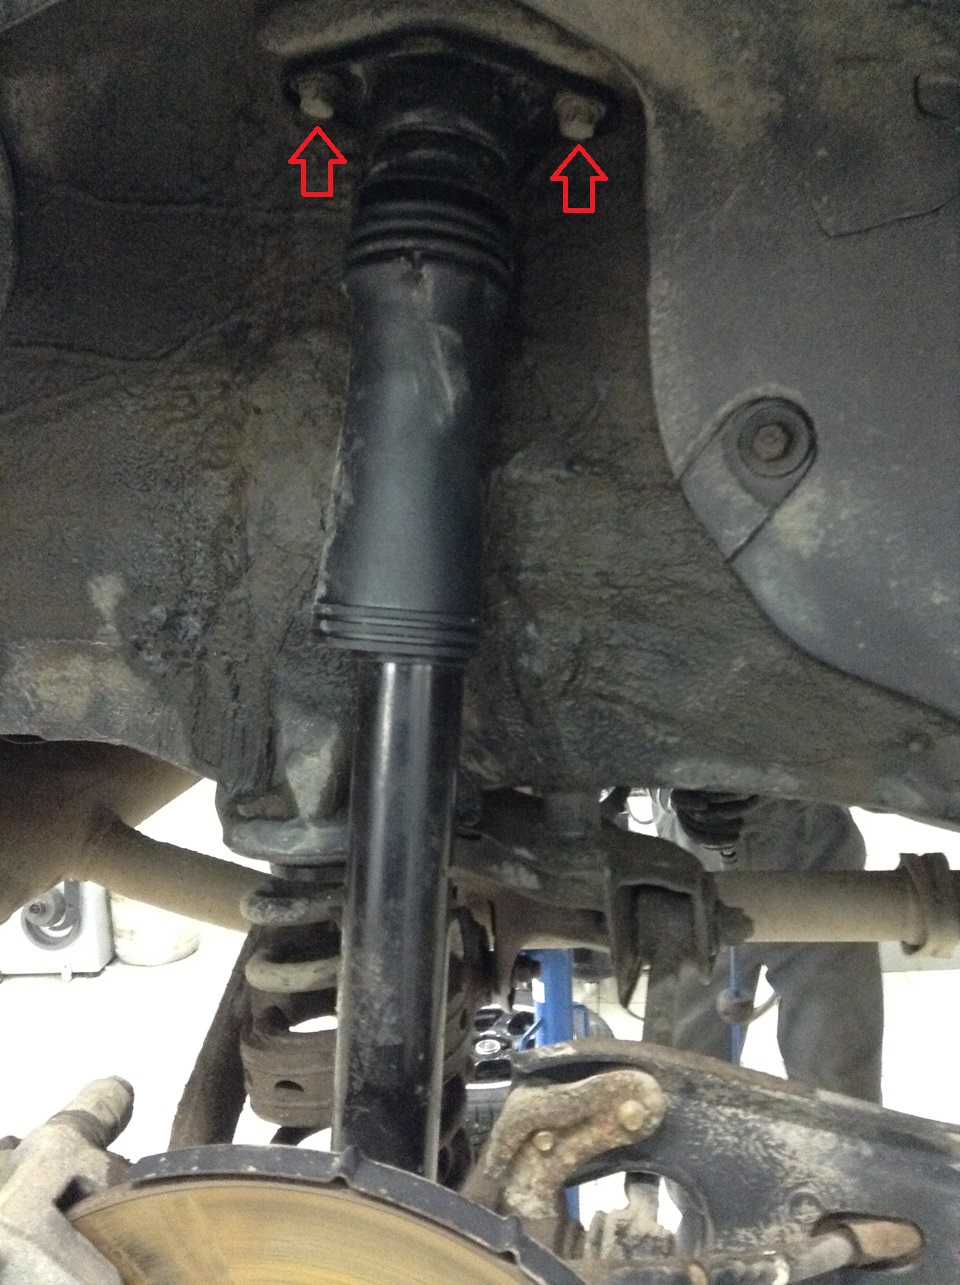
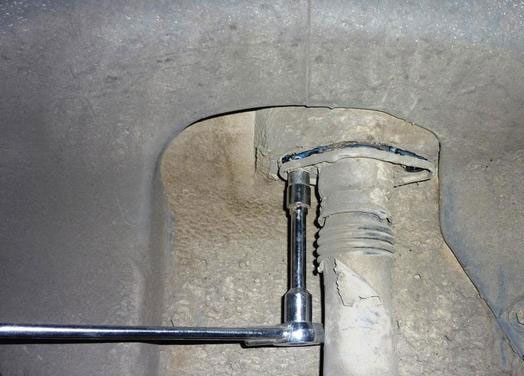
4. Remove the bolts, lower the shock absorber down so that it comes out of its seat.
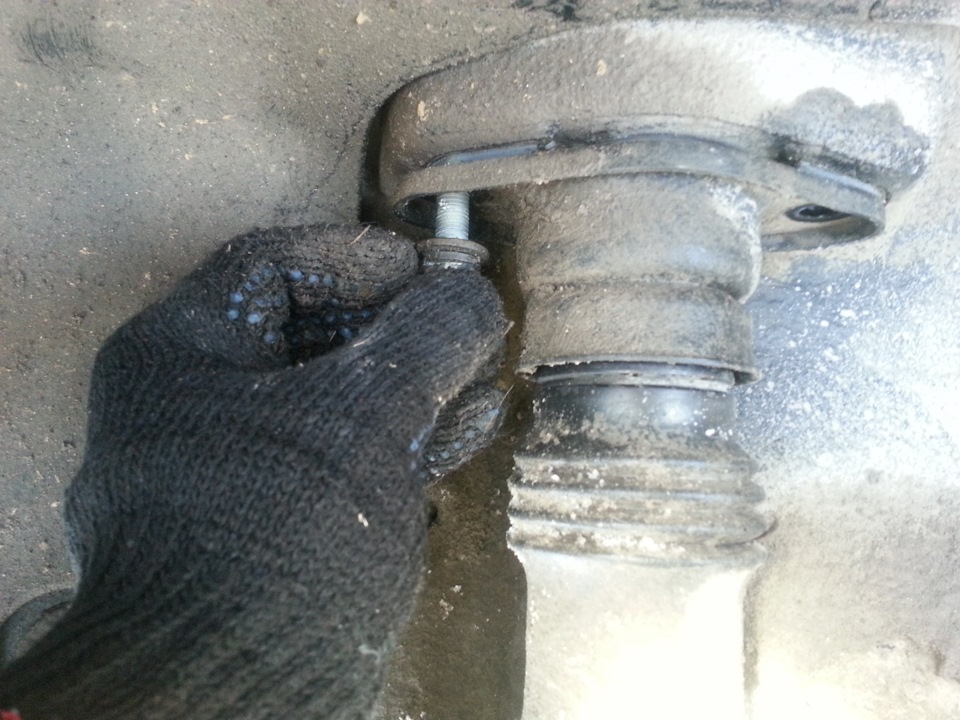
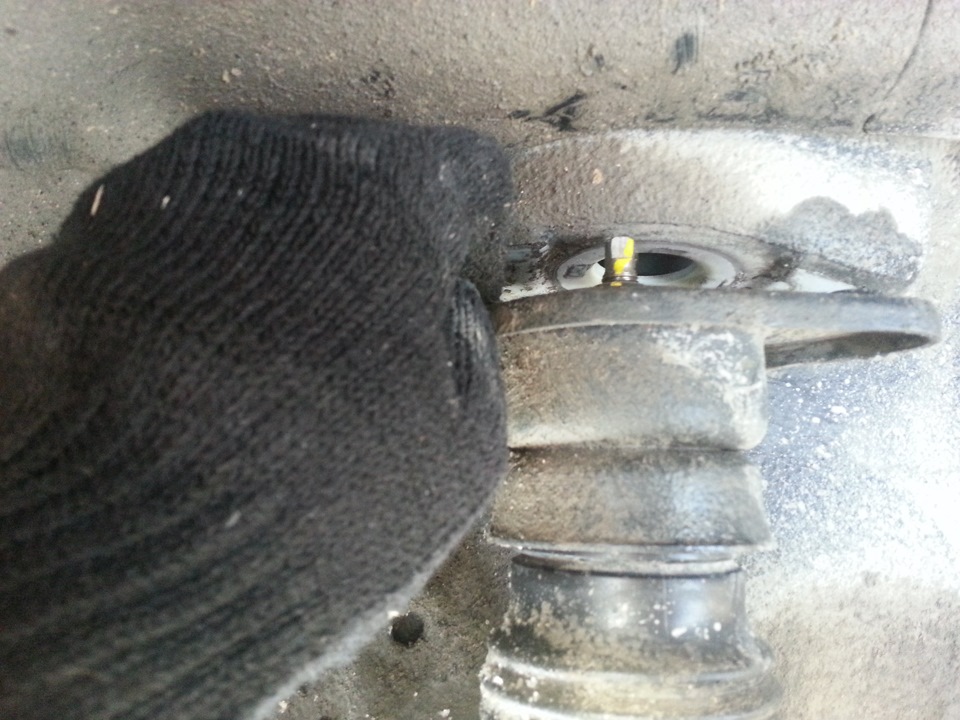
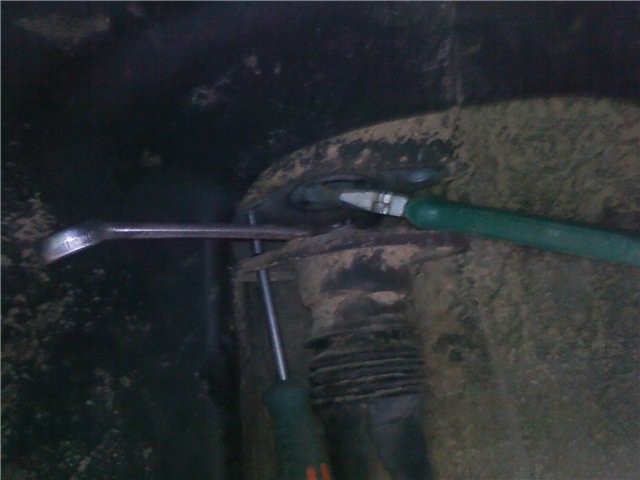
5. Insert a screwdriver as thick as possible to fix the shock absorber (as in the photo). At the same time holding the central rod of the shock absorber with pliers, sharply turning the key to “17”, we tear off the nut holding the central rod and the upper cup of the shock absorber. Remove the boot from the shock absorber.
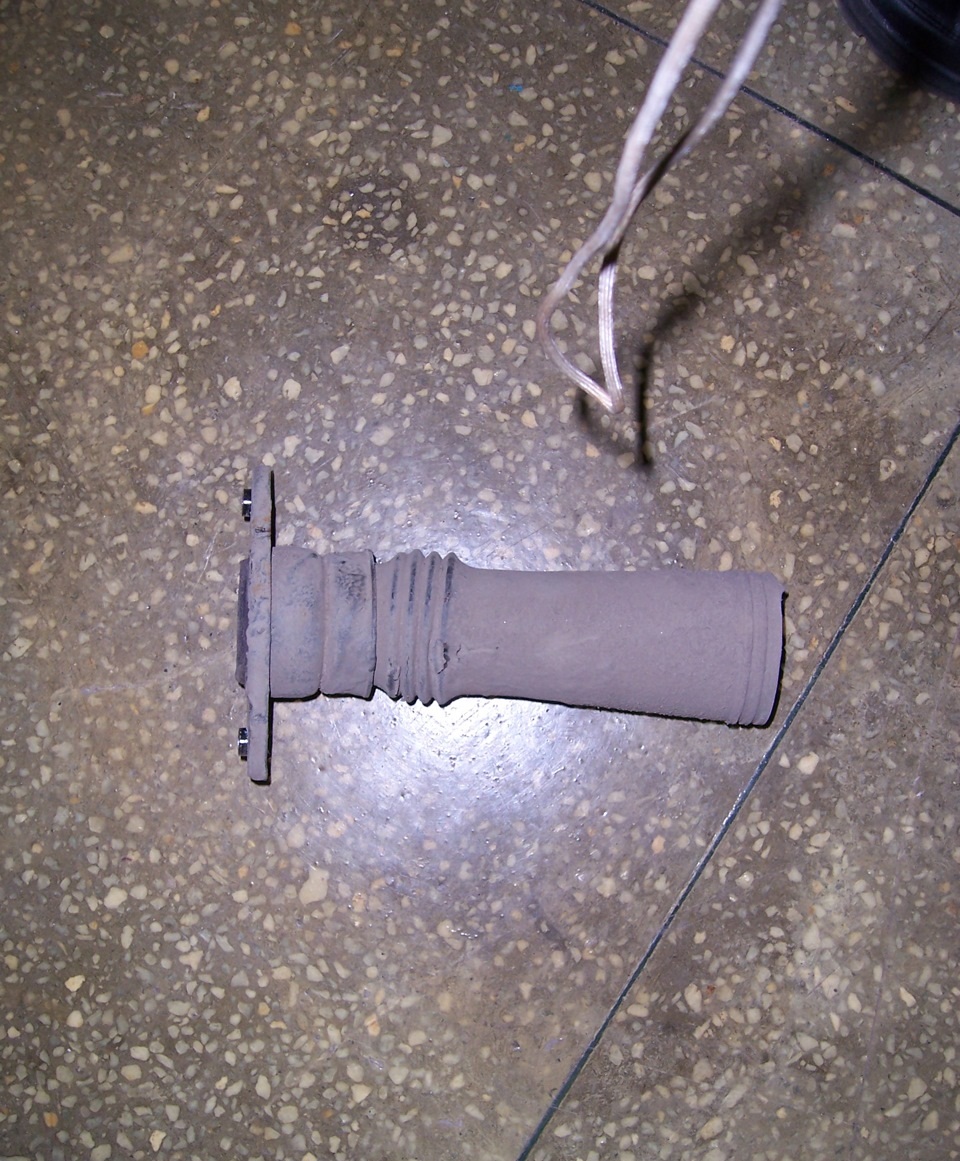
Rear shock absorber boot assembly for Hyundai ix35.
6. Disassemble the dust boot ( 3 ), remove the bump stop ( 2 ) and shock absorber cup ( 1 ) from it.
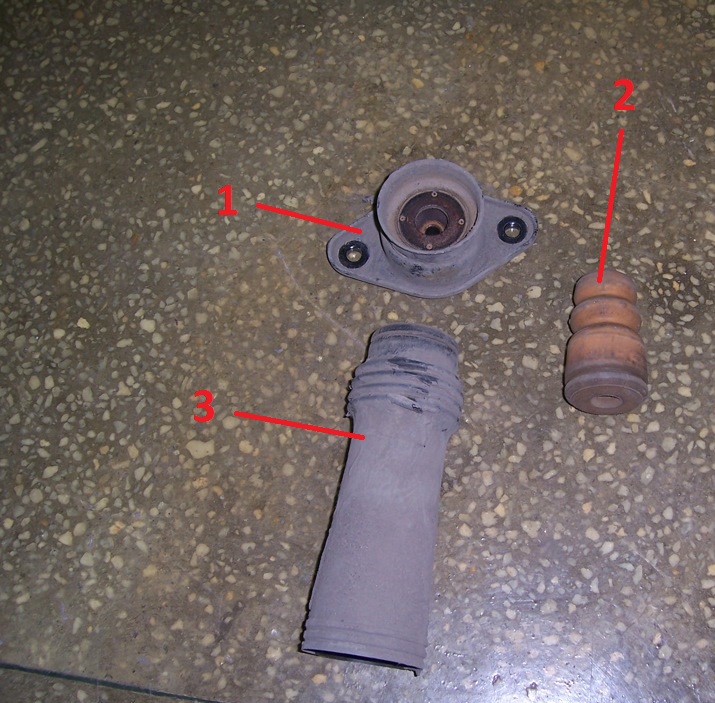
Cup, boot, shock absorber bumper for Hyundai ix35.
Useful advice:
You can simply replace the boot, or you can save a little and put the boot from the VAZ-2108 car, as described below. The result will not be worse.
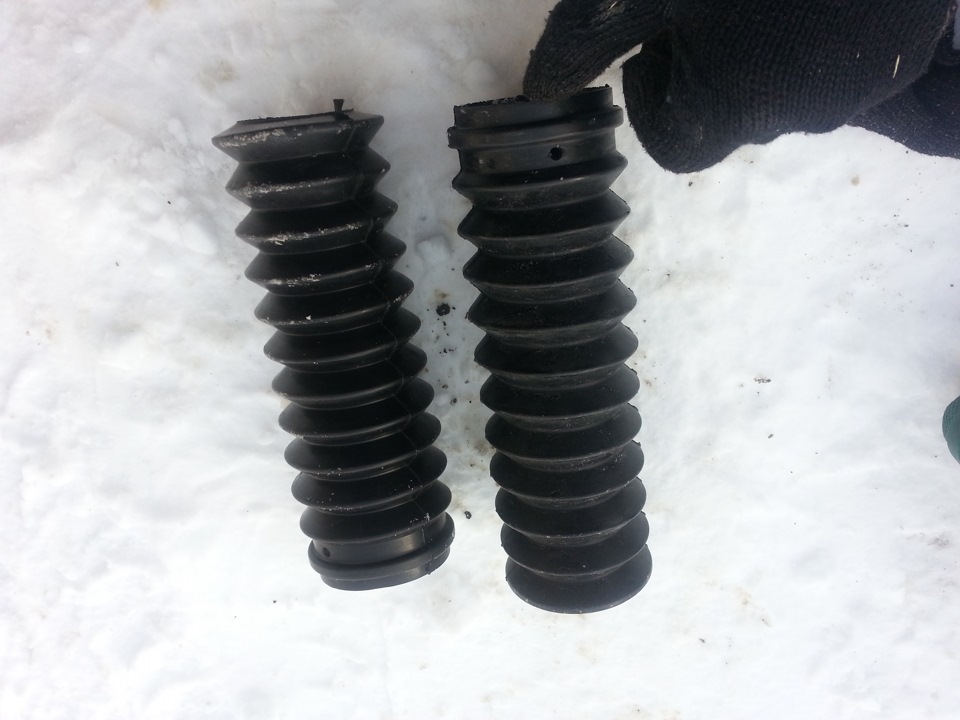
Rear shock absorber anthers VAZ 2108.
7. Cut off the top of the old dust boot and install the bumper into the cut off part of the old dust boot.
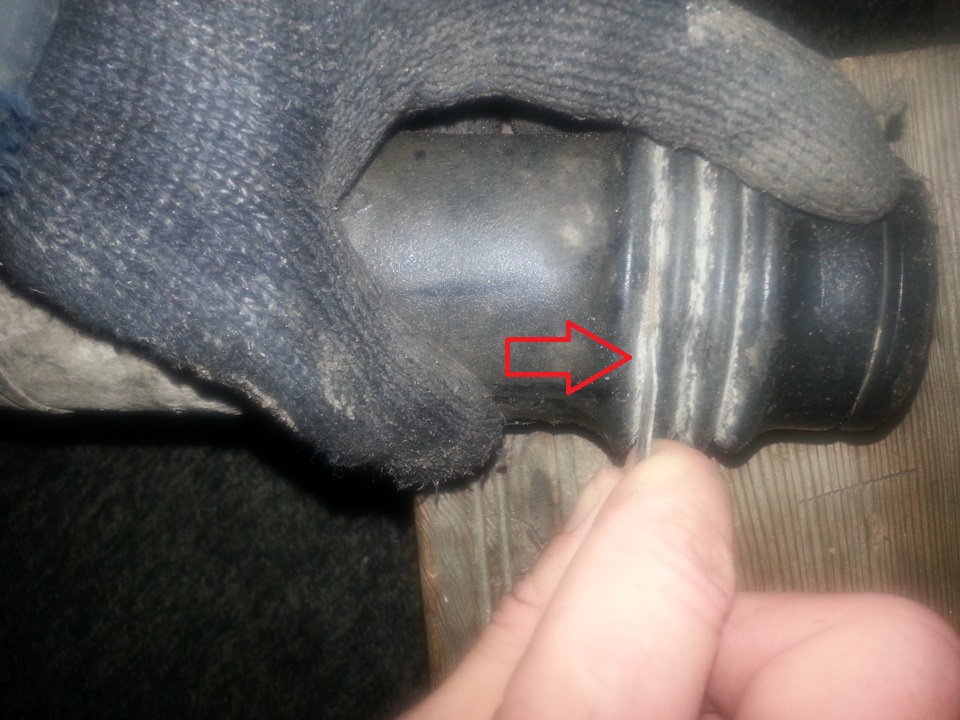
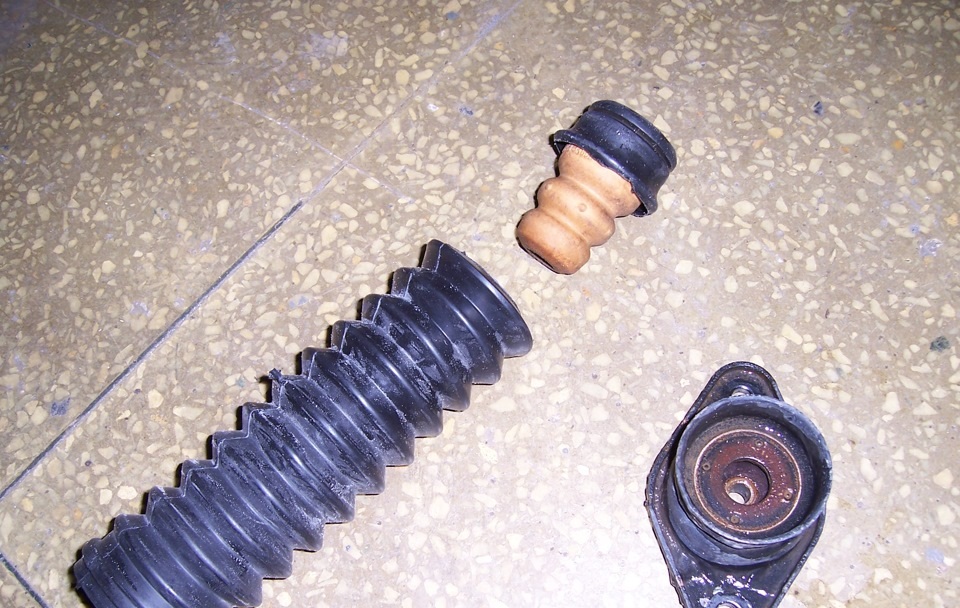
8. Install the bump stop in a new boot and install the boot in the shock absorber cup to the height of one ring.
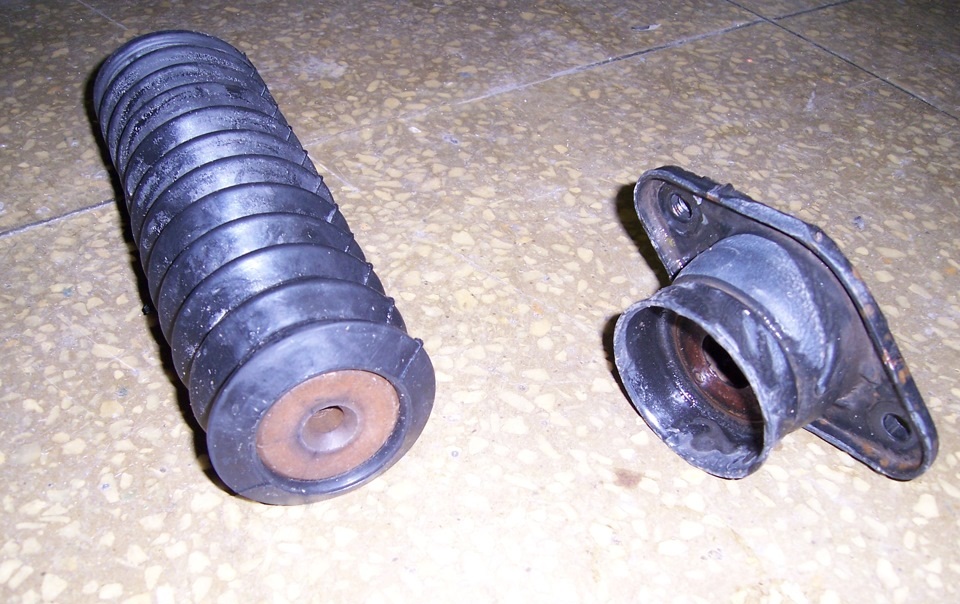
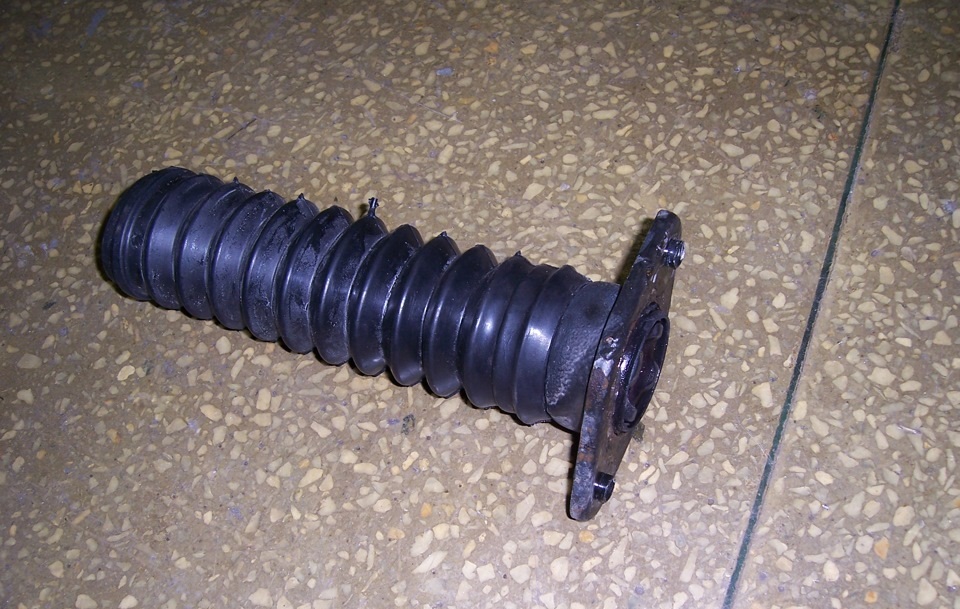
New boot assembly.
Note:
The part of the old boot with the bumper takes its place and is held in it thanks to the new boot, which is tightly pulled over the shock absorber cup and is securely fixed on it.
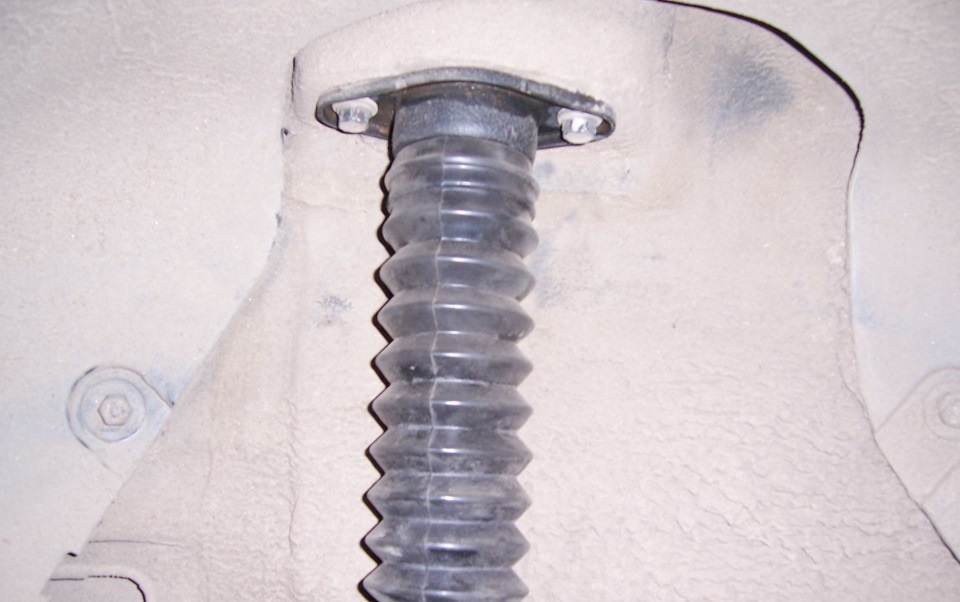
9. Install boot and shock absorber in reverse order of removal.
The article is missing:
- Tool photo
- Photo of parts and consumables
Source: http://carpedia.club/

![1 generation [2010 - 2015]](/uploads/Hyundai_ix_35_2013_-_2015_.jpg)
