![B6 [2000 - 2005]](/uploads/Audi_A4_2000-2005_B6_.jpg)
Tools:
- Torx wrench (sprocket) T10
- Medium flat screwdriver
- Medium Phillips screwdriver
Rear door cladding details diagram Audi A4
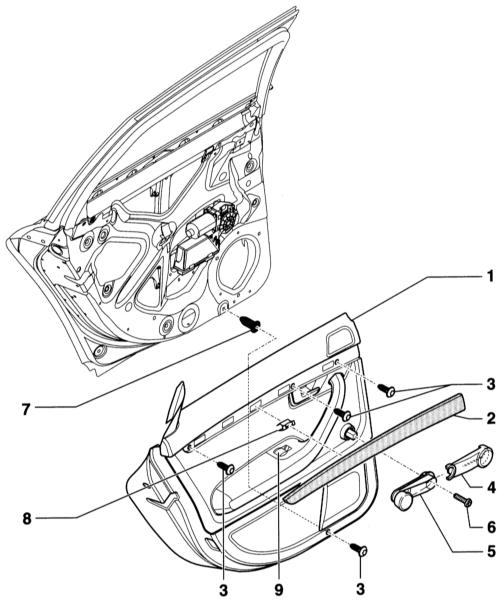
1 - door facing;
2 - decorative strip;
3 - screws, 4 pcs;
4 - cover;
5 - window regulator handle, manual drive;
6 - screw;
7 - expanding nut, 4 pcs;
8 - clamping nut, 4 pcs;
9 - power window switch.
Removing and installing rear door trim Audi A4
1. To remove the tailgate trim, disconnect the negative (-) battery cable.
2. Detach the trim strip ( 2 ) from the trim and remove it from the front.
3. Remove the 4 screws ( 3 ).
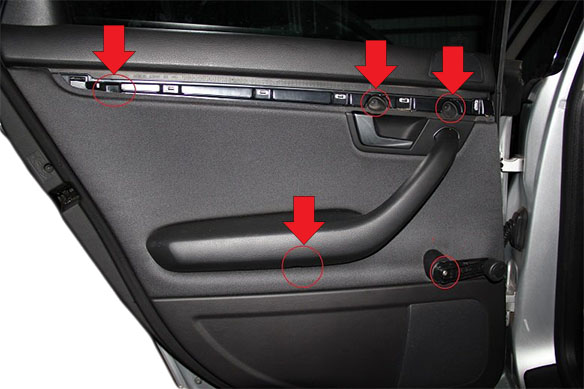
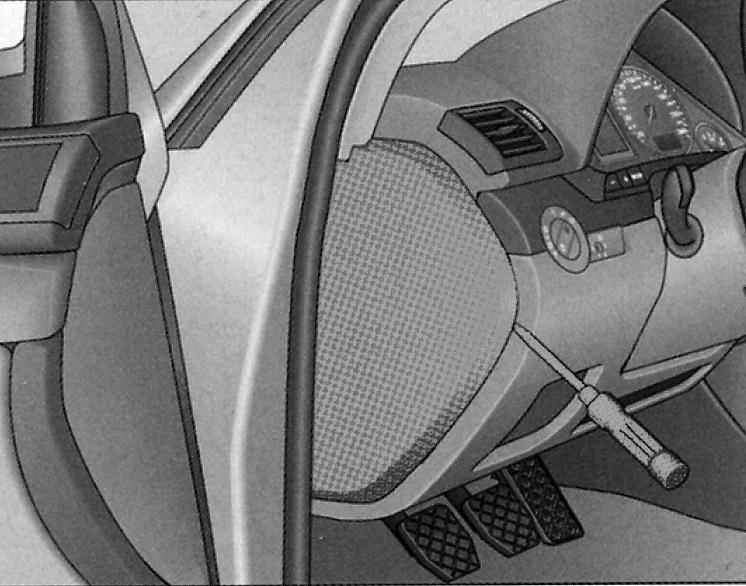
4. Manual window regulator: pry the outer cover ( 4 ) of the window regulator handle with a screwdriver, unscrew the fastening bolt and remove the handle ( 5 ).
5. Insert a plastic wedge in the area of the clips between the door panel and the cladding and remove the cladding from the door.
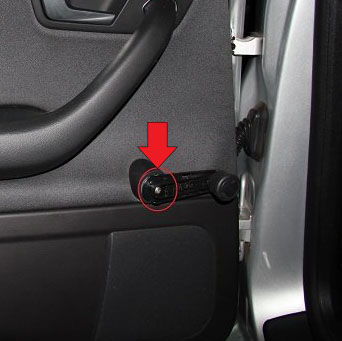
6. Move the trim slightly out of the door frame and disconnect the door drive cable, refer to the Removing and Installing the Front Door Trim.
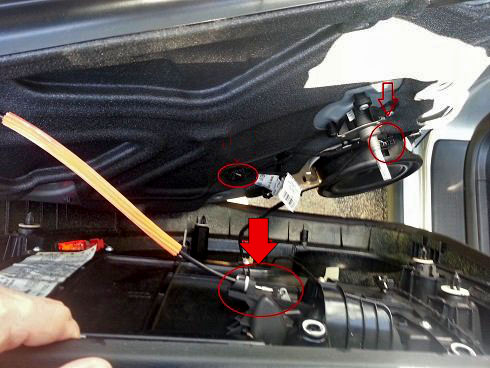
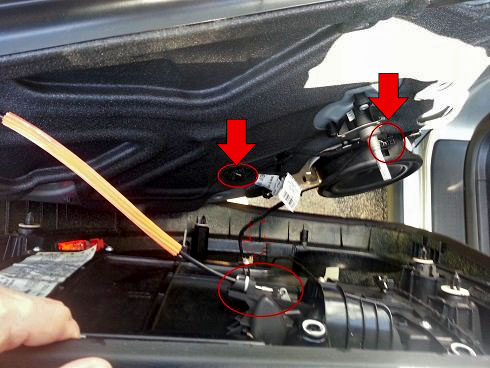
7. Disconnect the power window switch connector ( 9 ), and also disconnect the backlight and acoustics wires.
8. Remove the trim from the door frame.
9. Before installing the tailgate trim, check that the clamping nuts ( 8 ) and expansion nuts ( 7 ) are correctly positioned on the door frame.
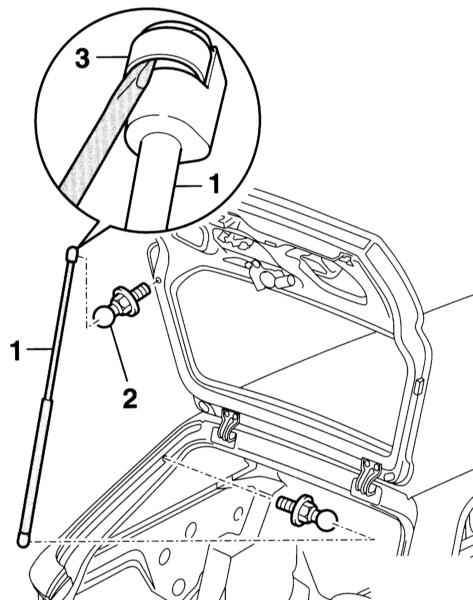
10. Installation is carried out in the reverse order of removal. When doing so, note that the hook ( 3 ) of the link points upwards.
11. Manual window regulator: Refit the window regulator handle. Set the power window handle on the axle to the 6 o'clock position (± 15 °) with the window closed.
12. Connect the negative (-) battery cable.
The article is missing:
- Tool photo
- High-quality photos of repair
Source: http://carpedia.club