The summer season has come, and with it insects and stones have flown onto the unprotected radiator of my Polo.
Therefore, to protect it, I decided to install a protective mesh on the lower grille.
I note that the upper radiator grille does not require the installation of additional protection in the form of a grid, since it is deaf and the main air flow (and insects with stones with it) passes through the lower grille. A black-painted aluminum grille (300 rubles) and a set of black ties (100 rubles per 100 pieces - they were not sold individually) were bought on the market to fix the mesh on the grille.
The following tools were required for installation: pliers, metal shears, a flat screwdriver, a 4 mm drill and a screwdriver.
First of all, using a screwdriver, remove the grilles under the PTF on the left and right, starting from the corners. Then we remove the number, after which, gently prying with a screwdriver, remove the central lower grille starting from the left or bottom right corner, wash all the removed parts, including the bumper.
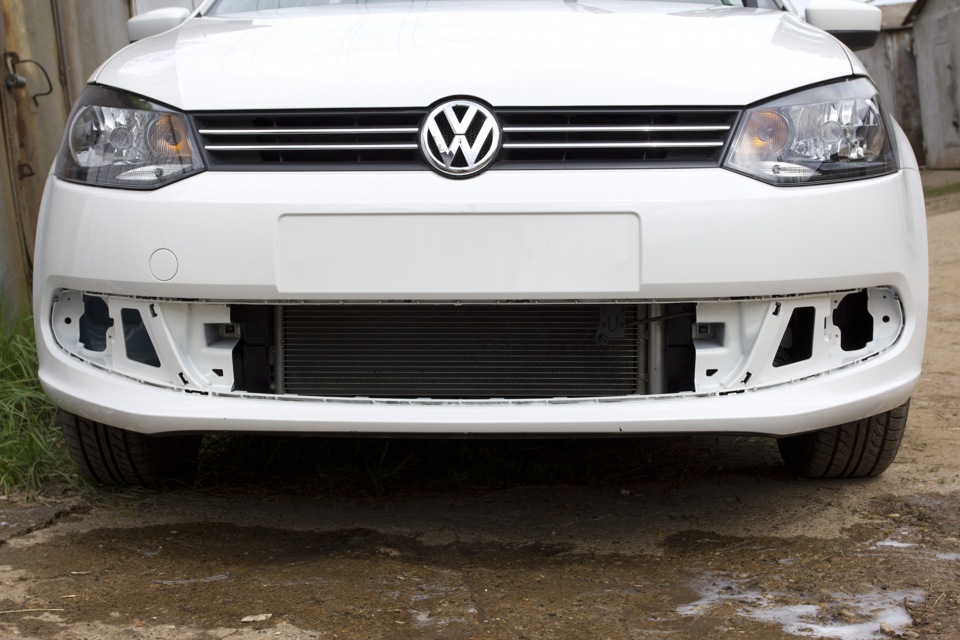
The grids have been removed.
Having attached the grid to the inner side of the grid, cut it out along the contour with metal scissors, leaving 2-3 cm at the edges, so that you can then bend the grid.
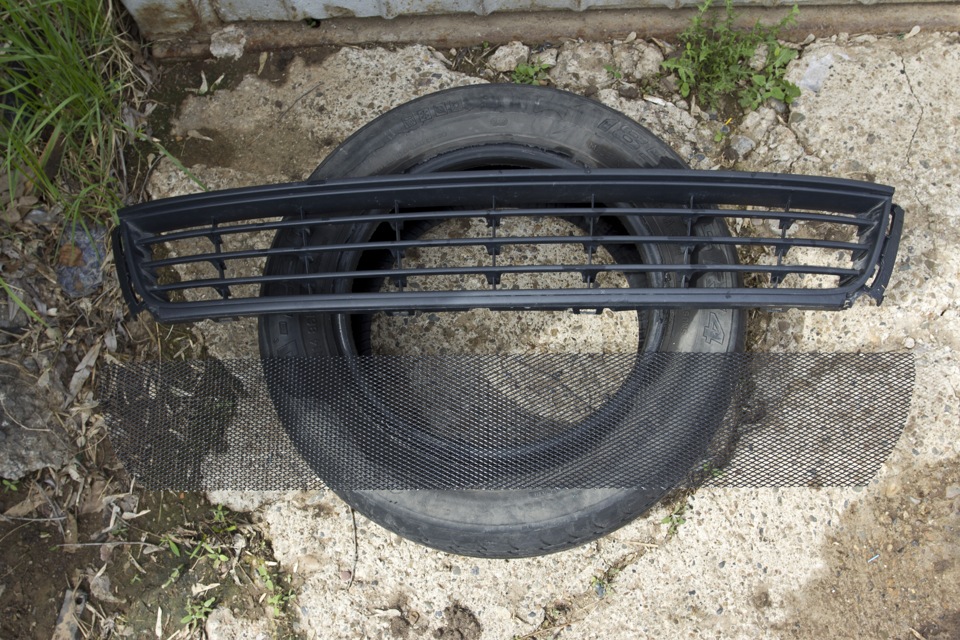
Prepared lattice and mesh.
We prepare the grating itself by drilling holes "on the vertical honeycombs" of the grating, we try to drill carefully not in the middle between the ribs, but higher (so that the ties are not noticeable). Drilling is carried out from the inside of the grid, we drill the required number of holes (I have about 18 holes). We fix the grid on the grid with plastic ties, cut off the excess with metal scissors. We bend the edges of the mesh along the inner contour of the lattice - the lattice is ready!
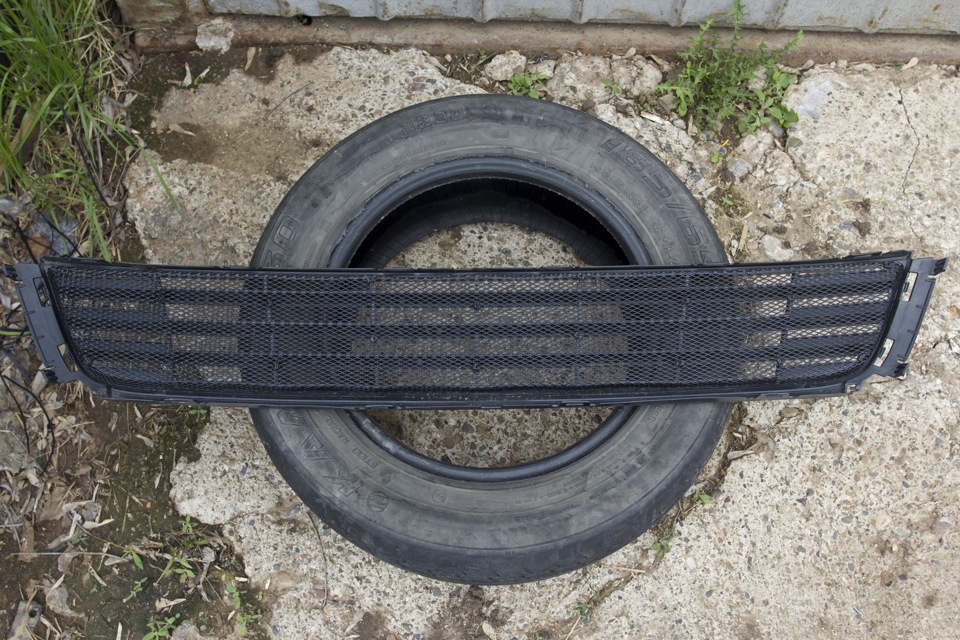
The grid is fixed.
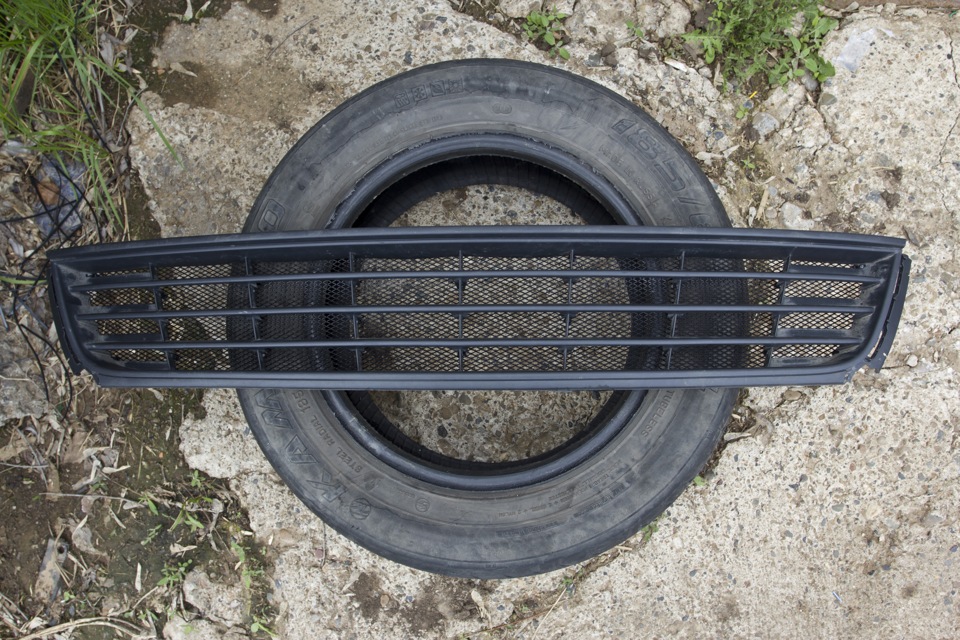
This is what the finished grid looks like.
We put all the removed parts in the reverse order, check that all the latches of the parts are in place and nothing sticks out (without gaps) and rejoice at the simply necessary work done!
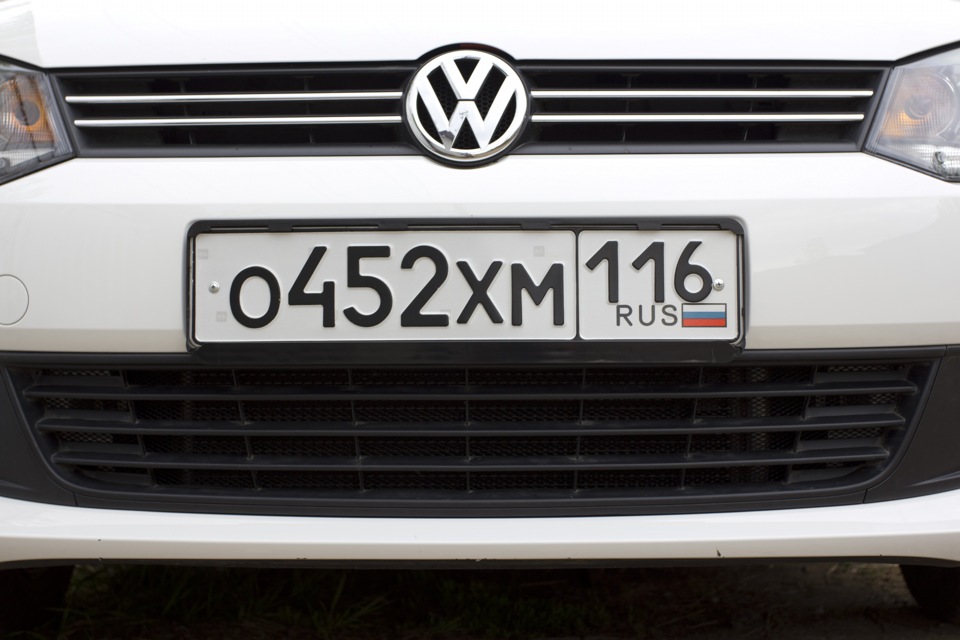
The radiator is protected from insects and stones.
Source: https://www.drive2.ru/l/288230376152985881/
![4 generation [2001 - 2005]](/uploads/Volkswagen_Polo_2005_-_2009_.jpg)
![5 generation [2009 - 2015]](/uploads/Volkswagen_Polo_2009-2015_.jpg)
