![1 generation [2003 - 2007]](/uploads/Mitsubishi_Outlander_I_2003_-_2008_.jpg)
![3 generation [2012 - 2014]](/uploads/3.png)
![XL [2005 - 2012]](/uploads/4d137205da66f_.jpg)

Tools:
- Ratchet wrench
- Head 10 mm
- Straight ring wrench 19 mm
- torque wrench
- Screwdriver flat medium
- Metal brush
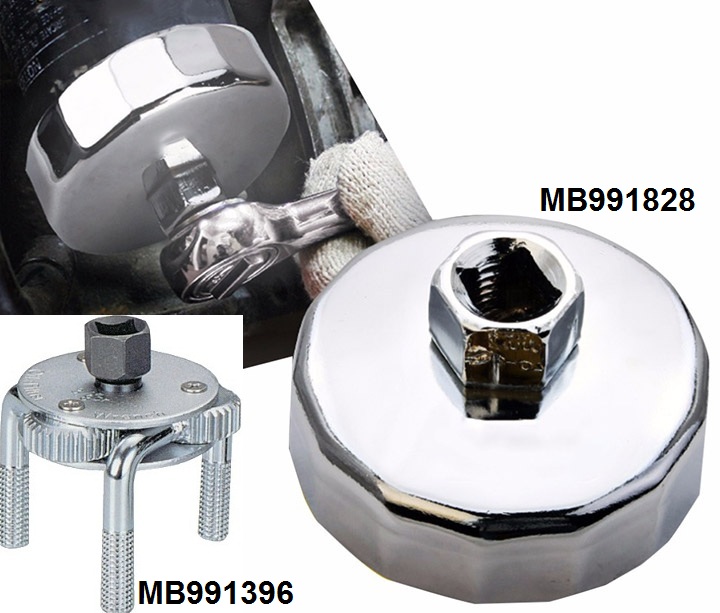
- Oil filter wrench (MB991396, MB991828 or equivalent) or chain wrench
- Funnel
Parts and consumables:
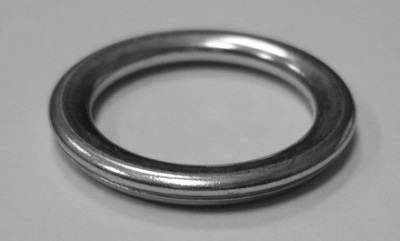
- Sump drain plug seal MD050317
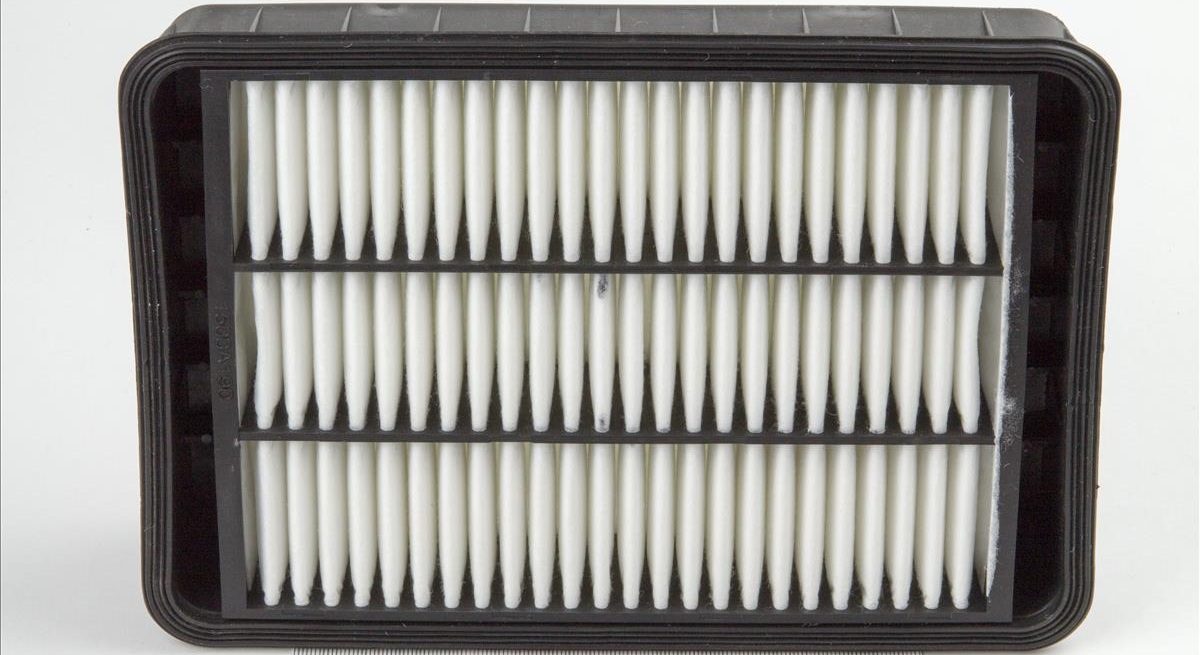
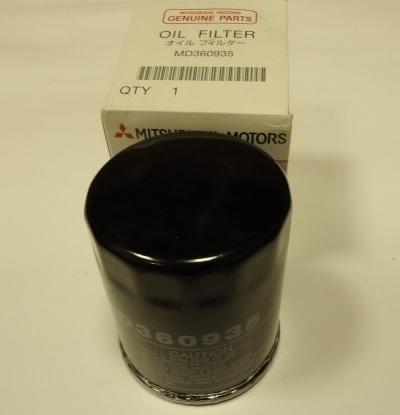
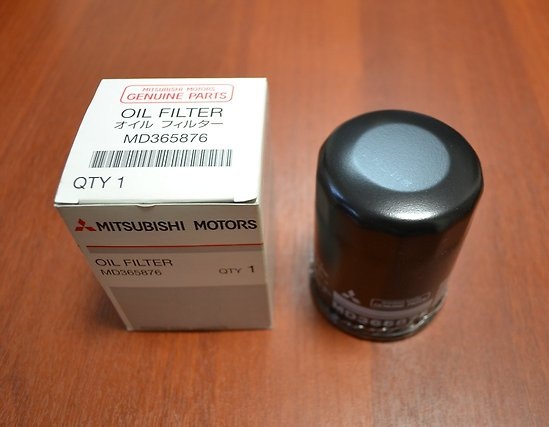
- Oil filter (MD360935 - for 4B12 and 4B11 engines or MD360935 / MD365876 / MD332687 - for 6B31 engine)
- Technical capacity
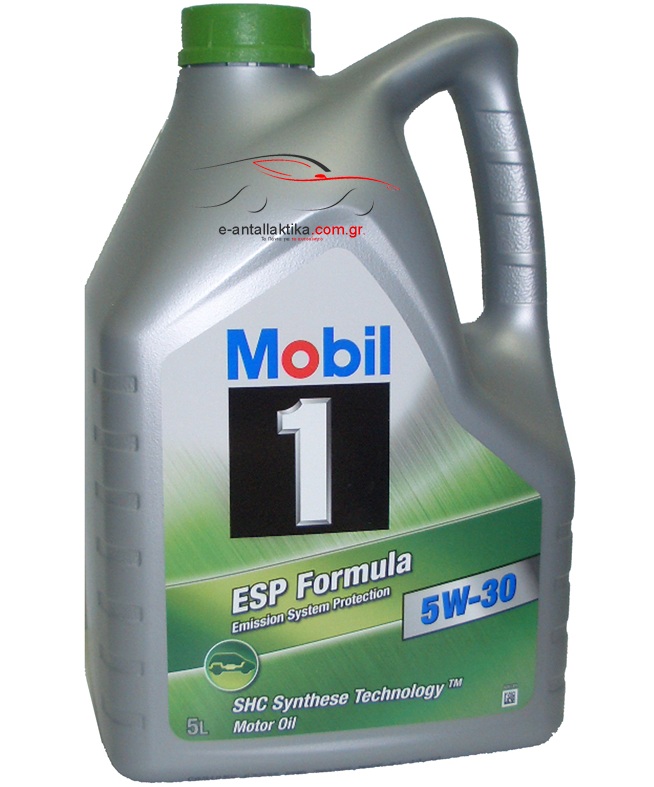
- Motor oil
- rags
Notes:
According to the manufacturer's recommendation, the Outlander XL oil should be changed after 1 year of operation or 15 thousand kilometers (whichever comes first).
When operating the car in difficult conditions, change the oil 2 times more often. When changing engine oil, it is recommended to replace the
Outlander HL oil filter at the same time . The intervals for changing the engine oil and the engine oil filter are the same.
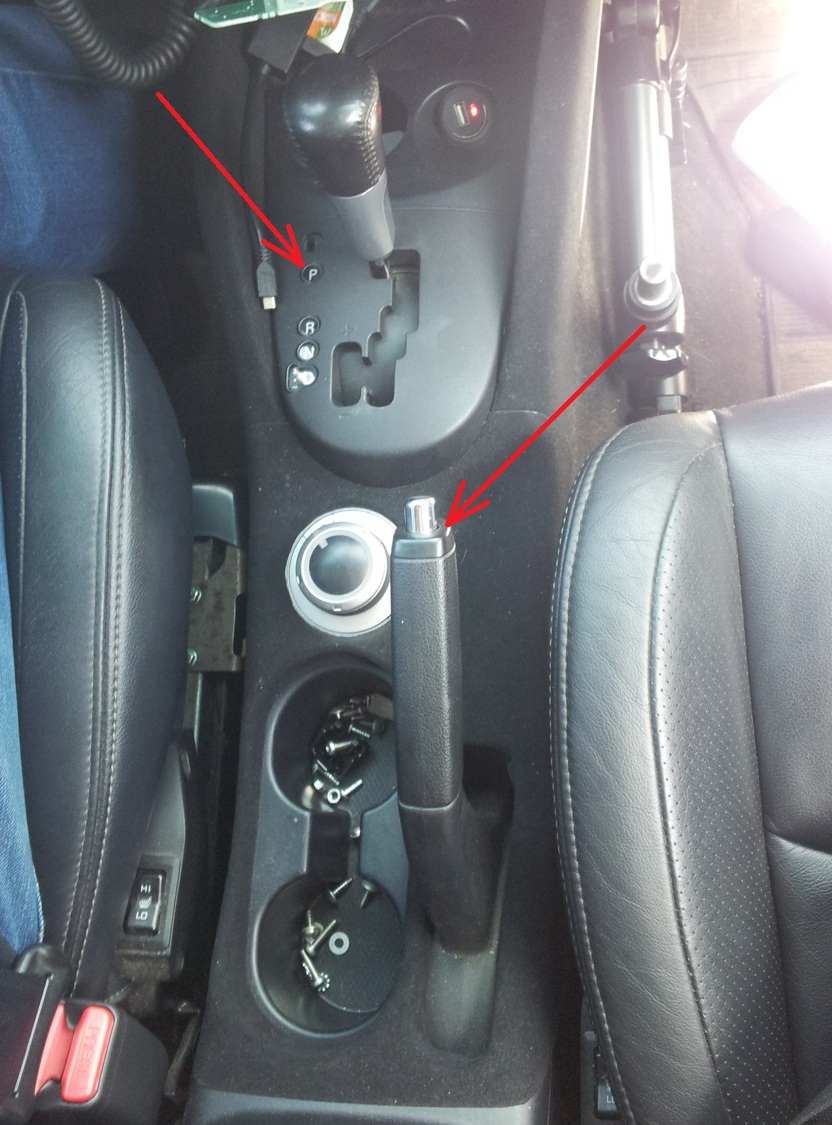
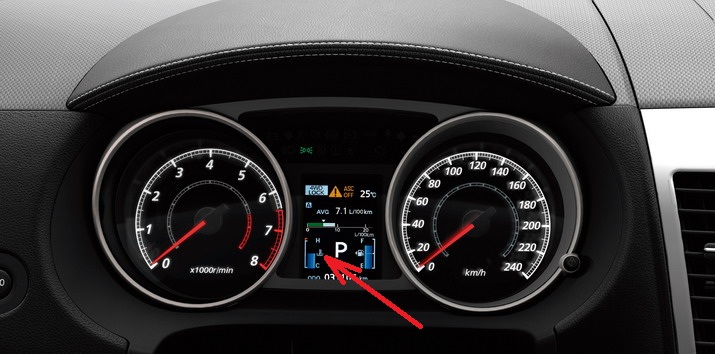
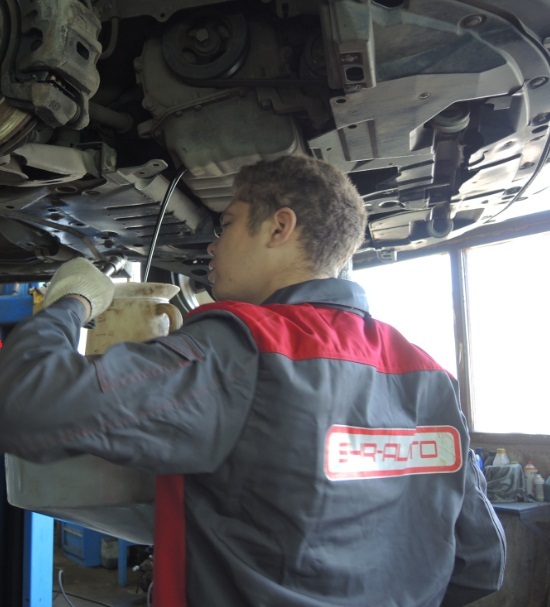
1. Install the car on a lift or a viewing hole. Set the transmission lever to neutral position (automatic transmission or stepless variator shift lever to the "P" - park position) and brake the vehicle with the parking brake.
2. Start the engine and warm it up at idle so that the coolant temperature reaches 80 - 90 ° C, then turn it off.
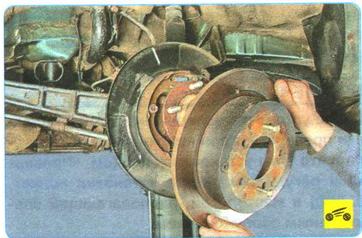
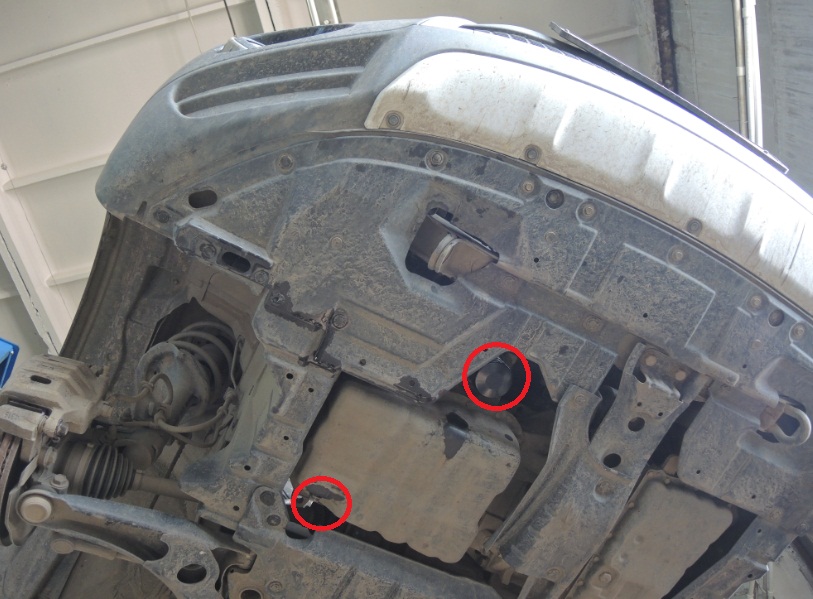
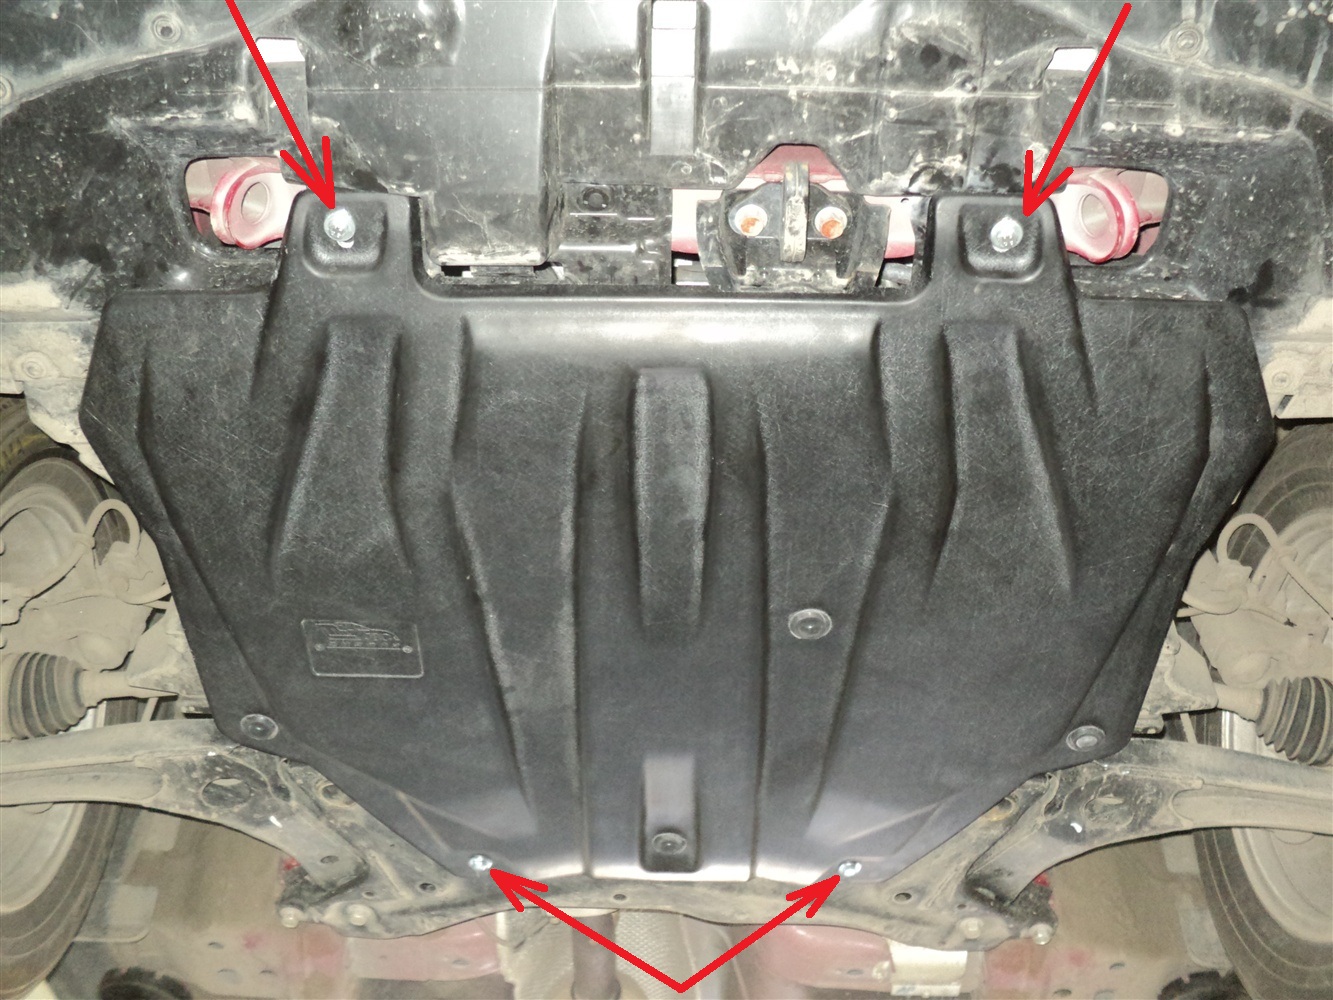
3. Remove the crankcase guard and front and lower engine boots as described here to gain access to the oil filter and engine pan.
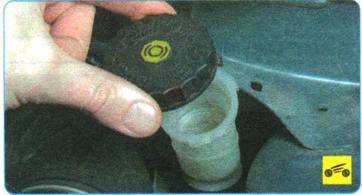
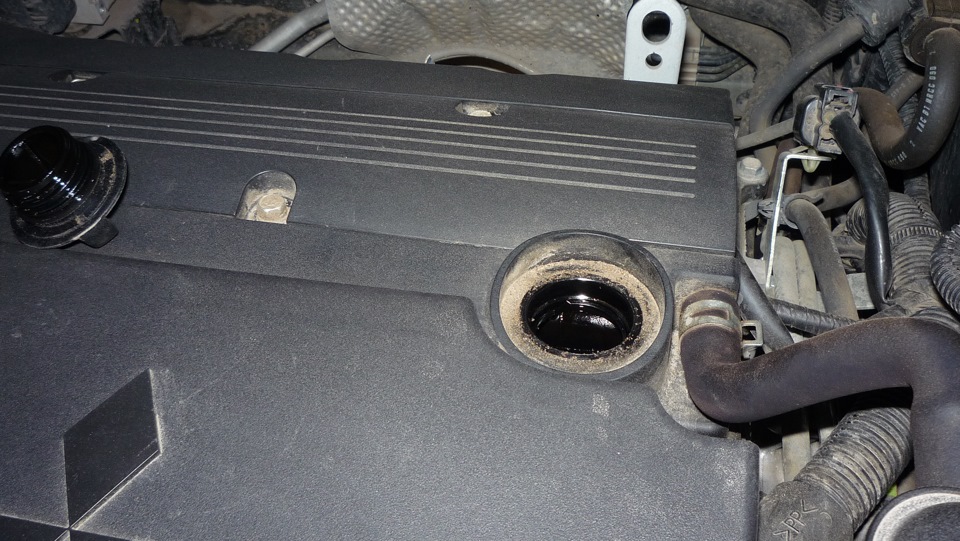
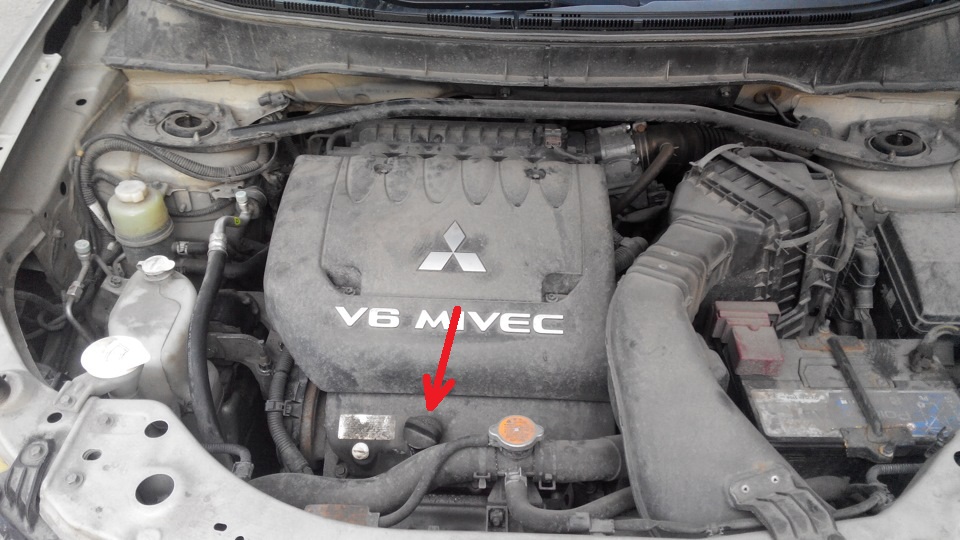
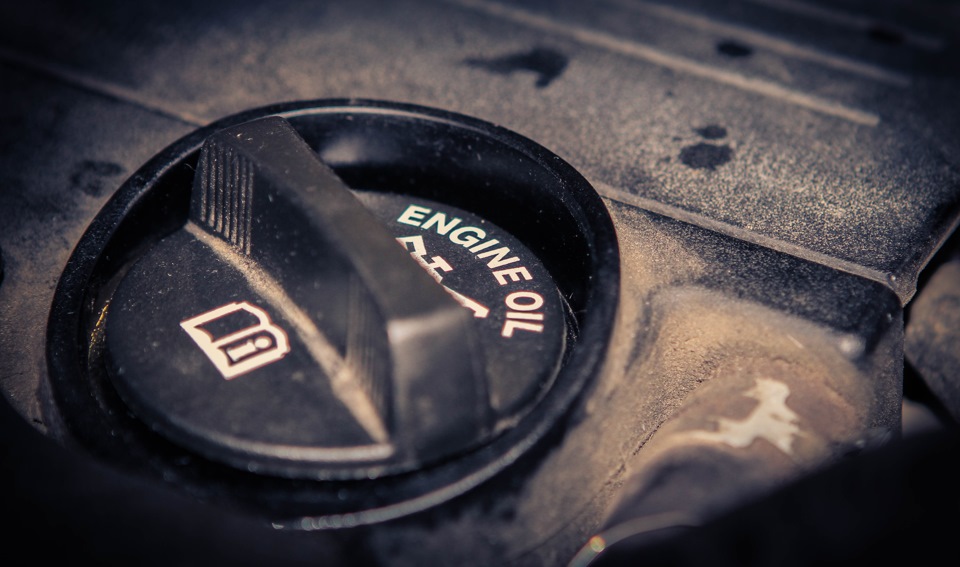
4. Open the hood and remove the oil filler cap.
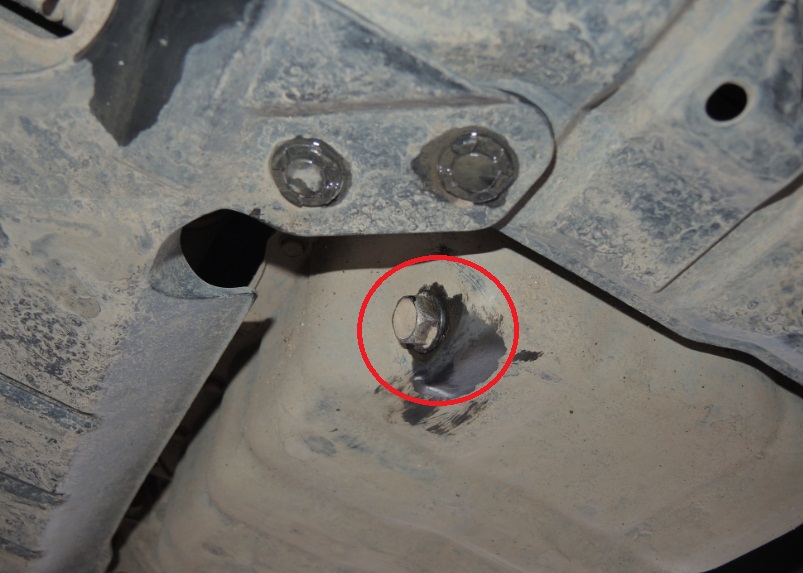
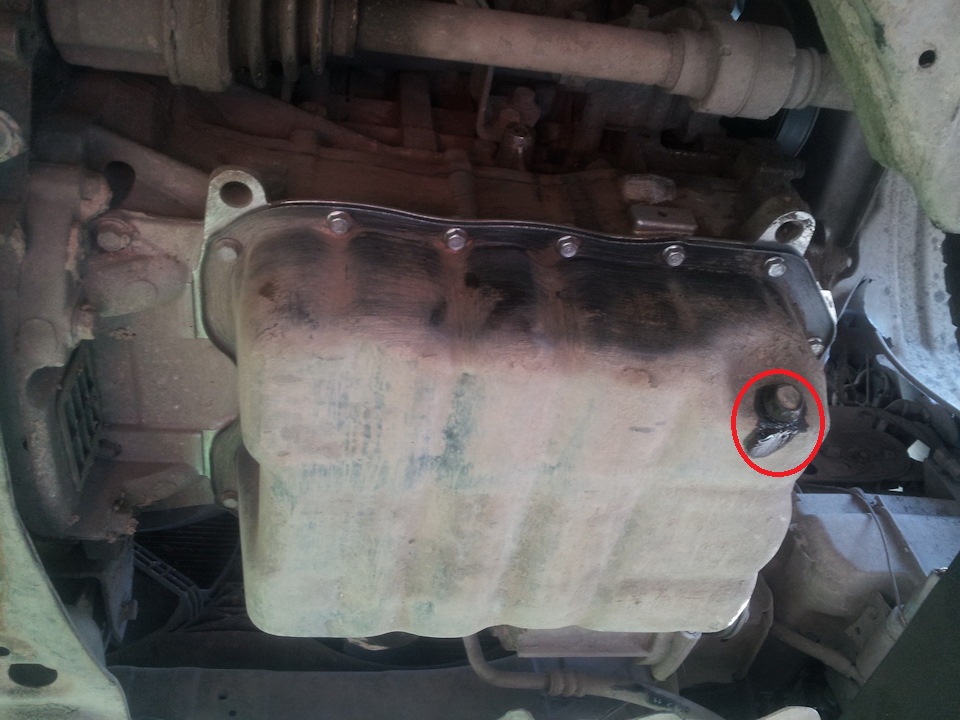
5. Remove the drain plug on the oil pan and drain the oil into a suitable container.
Note:
Be careful and careful as the oil is hot.
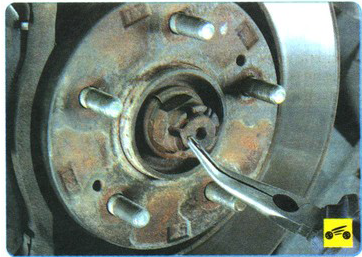
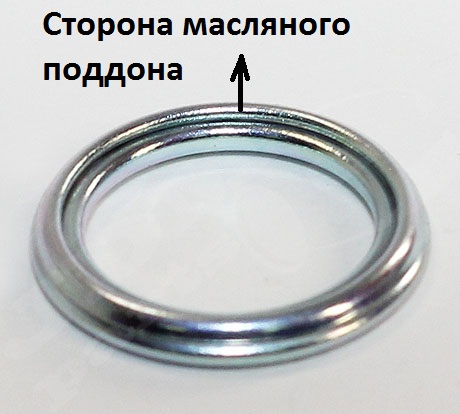
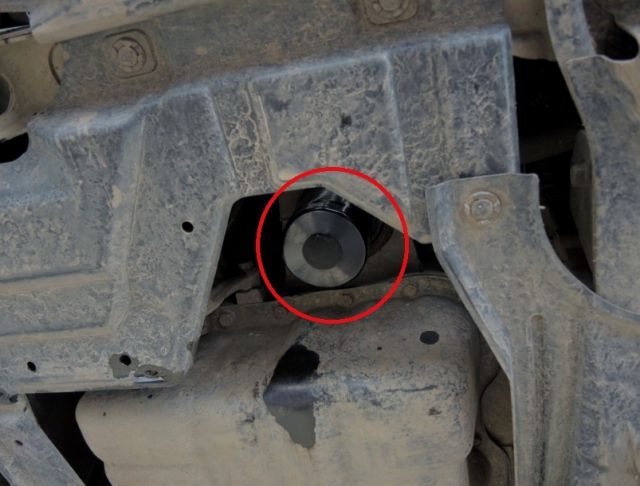
6. After completely draining the engine oil, reinstall the oil pan drain plug. Before installing, clean the drain plug and install a new gasket. Tighten the plug to the specified torque of 39 ± 5 Nm.
Note:
Install the drain plug gasket so that it faces the oil pan as shown in the illustration.
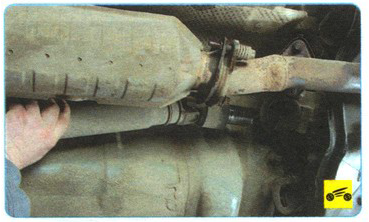
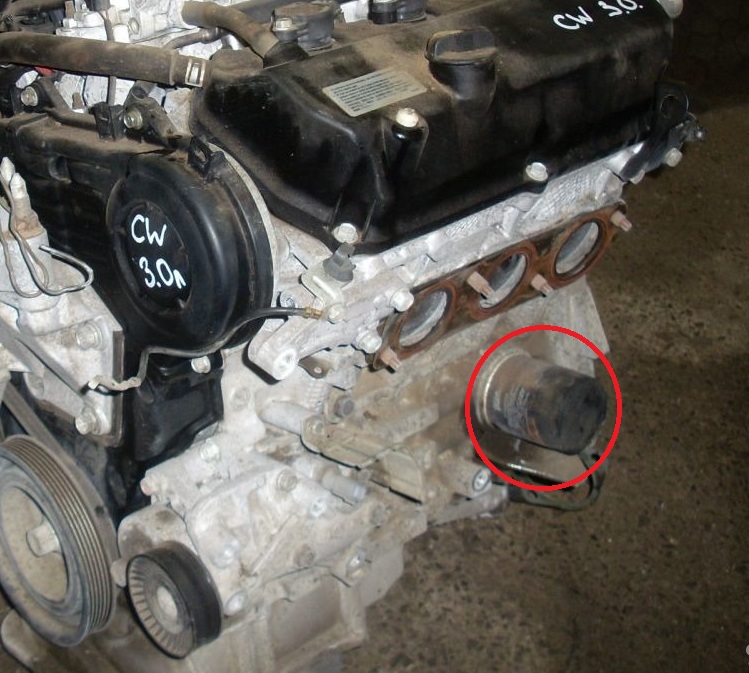
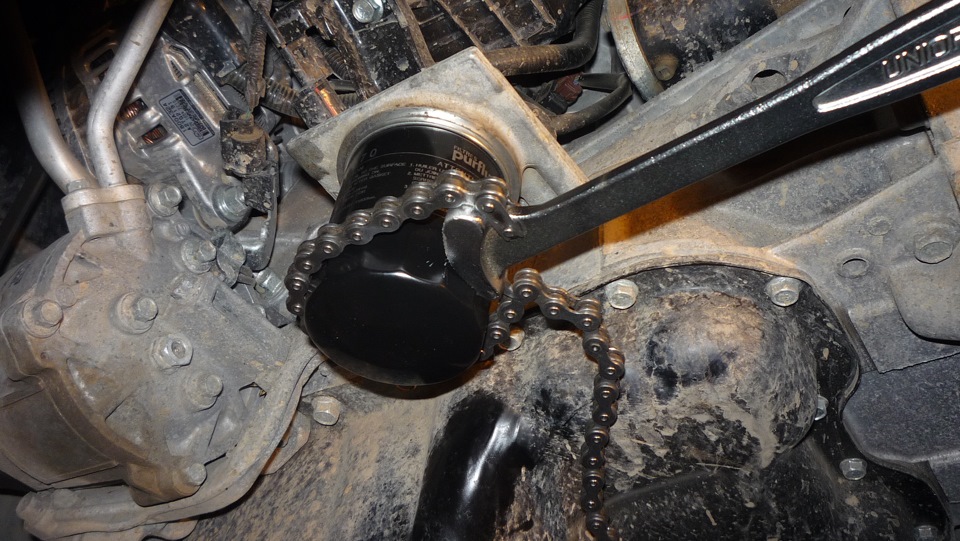
7. Using a puller, remove the oil filter from the car engine. If the key is missing, then wrap the oil filter with a rag and unscrew it with your hands.
Note:
Be careful not to burn yourself as the engine oil is hot.
Before removing the oil filter, place a suitable container under it to collect the oil.
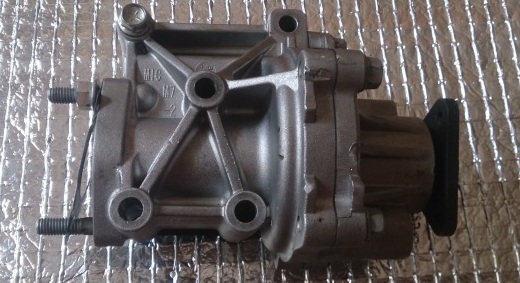
8. Check and clean the surface of the bracket adjacent to the oil filter.
9. Lubricate the O-ring of the new oil filter with a small amount of clean engine oil.
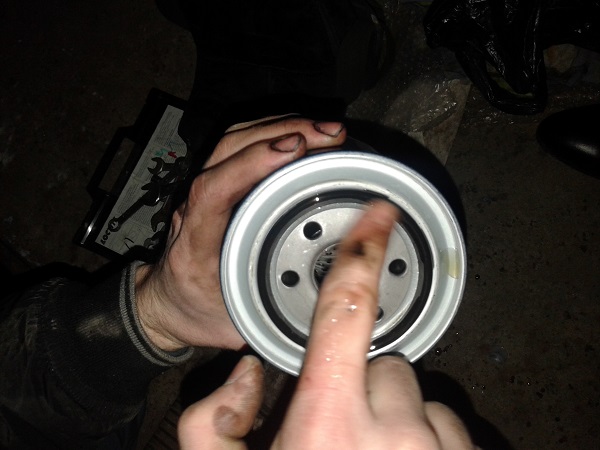
10. Install a new oil filter and screw it in by hand until the filter O-ring is snug against the bracket.
Note:
Before installing a new oil filter, fill it with a little clean engine oil, this is necessary to restore oil pressure in the system as soon as possible.

11. Finally tighten (tighten) the oil filter from 3/4 turn to one turn.
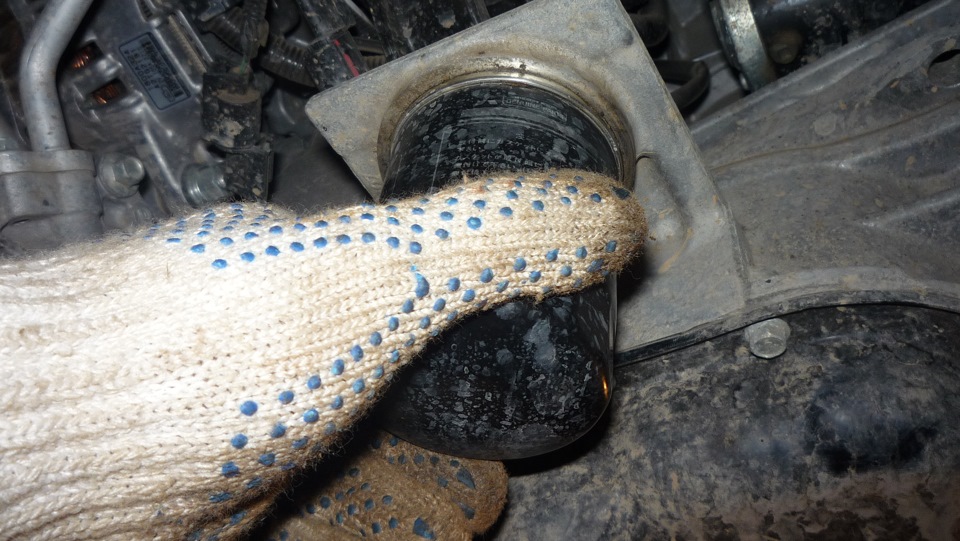
Note:
It is recommended to tighten the filter with a puller. In the absence of a puller, the filter can be tightened by hand, after putting on a rubber or leather glove.
12. Using a funnel, pour the specified volume of new engine oil through the engine oil filler neck, checking the level with the engine oil dipstick.
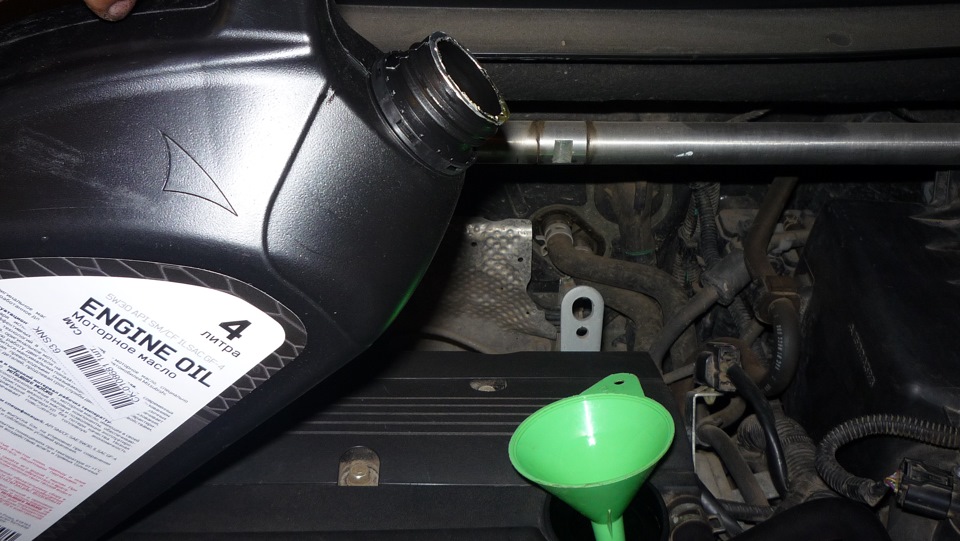
Note:
Fill with the same brand of oil as the oil that was in the engine. If you do decide to change the brand of oil, flush the lubrication system with flush oil or the same brand of oil as the one to be used.
13. The oil filler plug can now be reinstalled.
14. Start the engine, let it idle for a while and then press the accelerator pedal 2 to 3 times within a few minutes. Check for oil leaks from the oil filter and drain plug.
15. Stop the engine. Wait a while (5 minutes) and check the oil level again to make sure the level is within the acceptable range. Add oil if necessary.
16. Install the front and bottom anthers, as well as the engine protection in place (how to do this, see here ).
Recommendations for oil selection
The manufacturer recommends SAE 5W-30 engine oils as optimal for fuel economy and cold start. If the ambient temperature is not within the limits of application of this class of oil (see diagram here ), use a more suitable oil, but of a quality not lower than API SM / SJ, ILSAC GF-4.
The article is missing:
- Tool photo
- Photo of parts and consumables
Source: carpedia.club