![1 generation [2003 - 2007]](/uploads/Mitsubishi_Outlander_I_2003_-_2008_.jpg)
![3 generation [2012 - 2014]](/uploads/3.png)
![XL [2005 - 2012]](/uploads/4d137205da66f_.jpg)

Instruments:
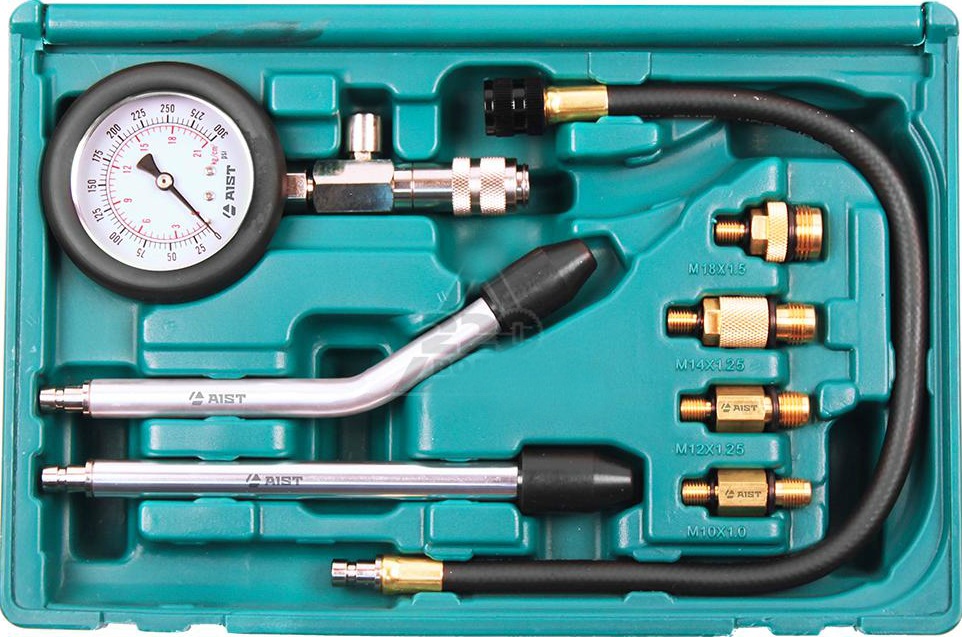
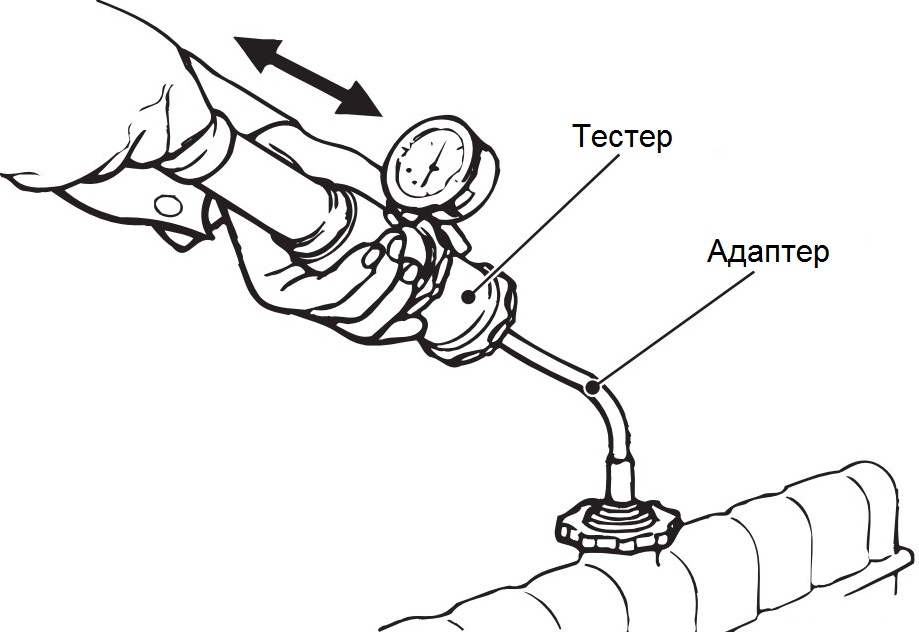
- Radiator filler cap valve test tool (MB992193 tester with MB992190 adapter kit) or equivalent
- Funnel (if necessary)
Parts and consumables:
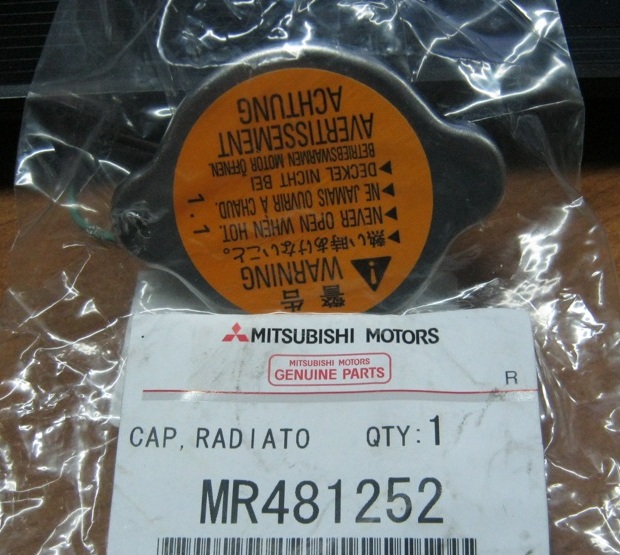
- Radiator cap MR481252 (if required)
- Coolant (if necessary)
- rags
Note:
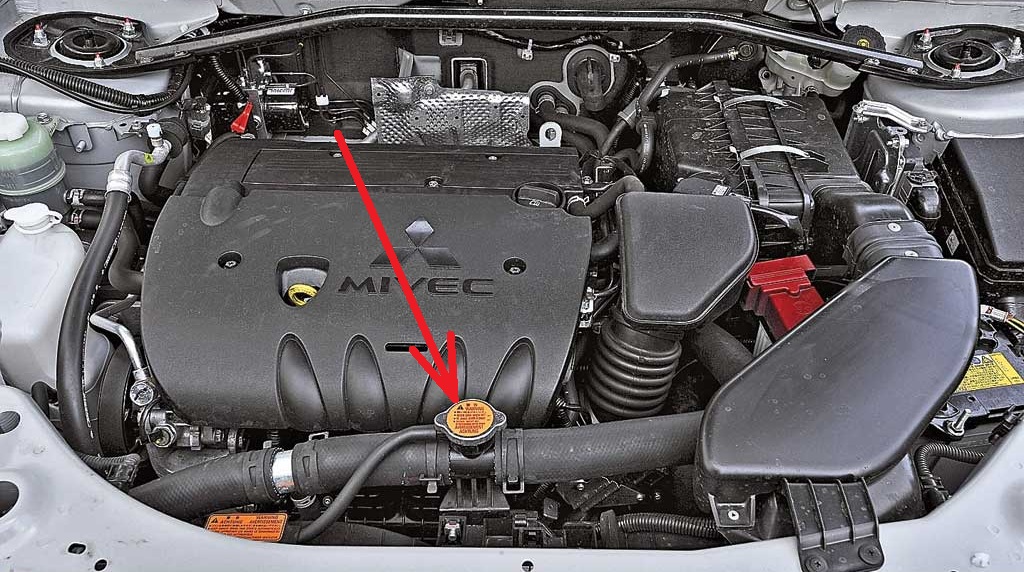
Outlander cooling system, engines 4B12 / 4B11 and 6B31, closed type, with forced circulation of coolant and expansion tank.
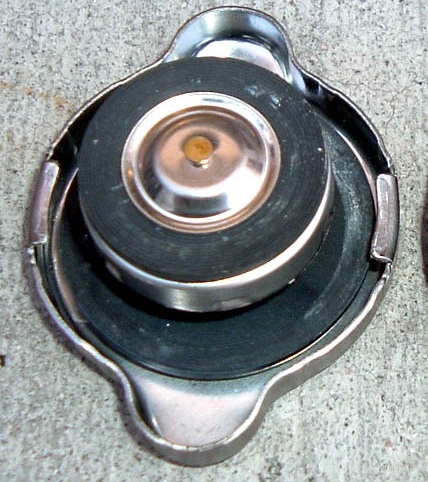
The radiator cap is sealed and maintains pressure inside the system. The pressurized operation of the system prevents the coolant from boiling even when the temperature of the latter exceeds 100°C.
The cover has two safety valves - steam and vacuum. The steam valve opens to remove steam through the expansion tank hose when the pressure inside the cooling system exceeds the maximum allowable (coolant temperature 110 - 120 ° C, pressure 93 - 123 kPa). The air (vacuum) valve opens to reduce the vacuum that occurs in the cooling system after the engine stops and the temperature drops (pressure -5 kPa or less). Opening the valve allows the coolant to return to the system from the expansion tank.
The operations for checking and replacing the coolant, as well as filling containers, are given here .
Checking the tightness of the cooling system
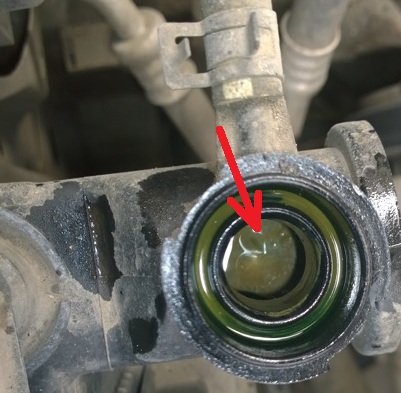
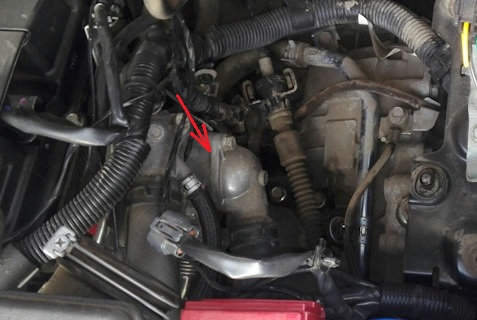
1. Remove the radiator cap and check that the coolant level reaches the radiator filler neck.
2. Connect a radiator filler cap valve tester and apply a pressure of 160 kPa.
Note :
Carefully remove moisture from the surface of all parts to be checked with a rag.
When connecting the tester, as well as during the test, be careful not to damage the radiator filler neck.
3. Then check for leakage of antifreeze from the hose connections or the cooling system hoses themselves.

Note:
When removing the radiator plug tester from the radiator neck, be careful not to splash (leak) coolant.
When disconnecting the tester, be careful not to damage the radiator filler neck.
4. If there are coolant leaks, repair or replace the related parts.
Checking the opening pressure of the radiator cap valve
Note:
Make sure the radiator cap is clean (free of contaminants) before checking as rust or other foreign matter on the cap seal may cause the pressure gauge to read incorrectly.
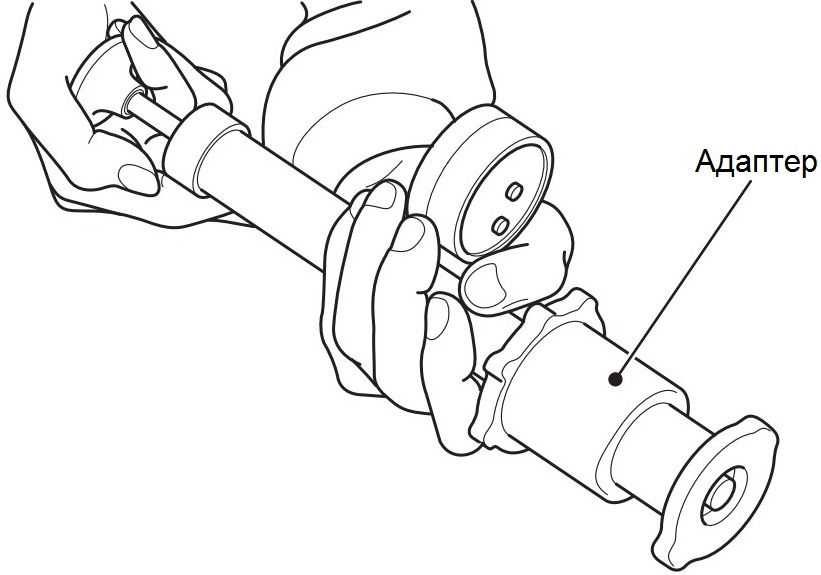
1. Use the special adapter to connect the radiator cap to the tester.
2. Increase the pressure until the pressure gauge needle stops.
Note:
Radiator cap pressure: nominal value - 93-123 kPa; maximum allowable value - 83 kPa.
3. Replace the radiator cap if the pressure shown on the pressure gauge is below the maximum allowable value.
The article is missing:
- Tool photo
- Photo of parts and consumables
Source: carpedia.club