Tools:
- Yardstick
- Phillips screwdriver
- ratchet
- Set of heads
Description:
1. Press a brake pedal several times then release a pedal.
2. Take a ruler and measure the distance of the pedal from the floor to the edge of the pedal.
3. Then press the pedal with your hand until resistance appears, after which measure the distance in this position.
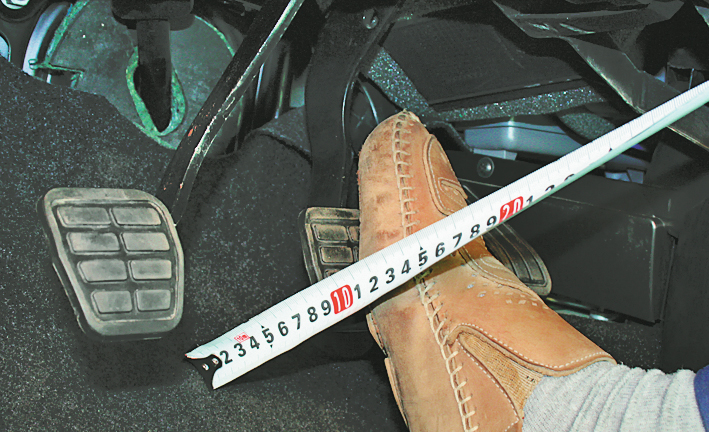
Note: this distance is considered pedal free play, as a rule it should be in the region of 1 to 5 mm. If this parameter is exceeded, then you need to adjust it.
The reason for the appearance may be the wear of the pusher fork of the vacuum booster. If the distance is less than the norm, then you may not have complete disinhibition of the wheels, otherwise the efficiency of the brake system may decrease.
4. Set the brake and clutch pedals to the same height from the body floor.
Note: adjusting the free play of the brake pedal consists in setting the correct clearance between the push rod and the master cylinder piston by changing the length of the push rod.
5. Remove the lower finishing overlay of the panel of devices.
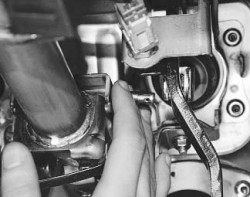
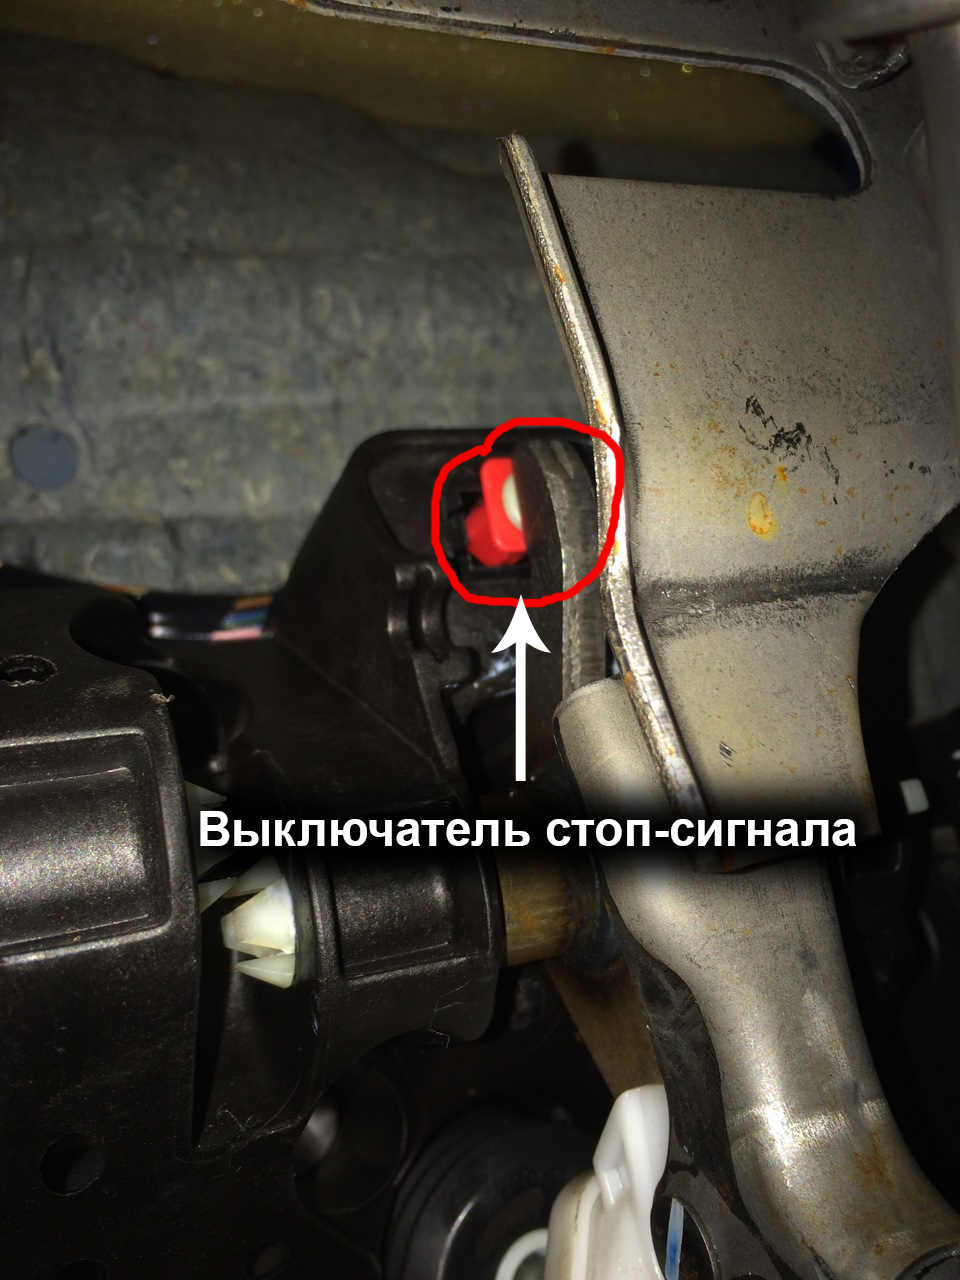
6. Disconnect the connector from the brake light switch.
7. Remove the brake light switch assembly.
8. Loosen the locknut 2 of the fork and, holding the pusher 3 from turning, rotate the fork 1 in the desired direction.
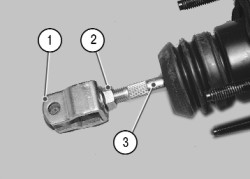
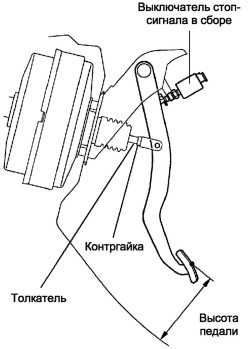
9. Tighten the pusher locknut.
10. Insert the brake light switch into the sleeve so that it lightly touches the brake pedal.
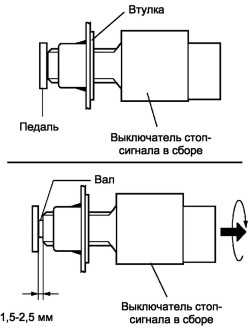
11. Finally install the brake light switch by turning it a quarter clockwise.
12. Connect the connector to the brake light switch assembly.
A source:
The article is missing:
- Repair photo
The article lacks:
- Фото ремонта
![1 generation [restyling] [2005 - 2015]](/uploads/Fiat_Doblo_I_2001_-_2014_.jpg)

